Project update 2 of 7
Programming the ESP-32
by Michael SchmidDear supporters of the EsPiFF,
We are so happy EsPiFF got funded on the second day of our campaign! Thank you so much for your support.
In this update, we’d like to show you how to get started with the EsPiFF. While this example is done in Linux (Ubuntu), there are minor differences for Windows or Mac users that are explained in the links on the Espressif "Getting Started" page.
Programming the ESP32
Connect the EsPiFF to your PC or Mac with an USB-C to USB-A cable. As with other ESP32 development boards, you can code using your preferred IDE or command line tools. Let’s start with an example using the Espressif IDF, the official tool set from the chip manufacturer. If you’re new to ESP32 development with the Espressif IDE, please follow these instructions to get started.
IMPORTANT: If your host PC is running Ubuntu, see the instructions in the datasheet on how to disable the braille driver, otherwise Ubuntu will not find the EsPiFF. (See also this [info about this TTY issue).
Also, be sure to check that the two UART0 jumpers, next to the USB-C port, are in the 1-2 position. They ship pre-installed in this position, but you sometimes an application requires redirectin the RXD- or the TXD-line, or both, to the DF11 connector. It’s happened to us a few times: we loan an EsPiFF board to a colleague and when they return it, we’d wonder why it wouldn’t accept any programming. We quickly learned to always check these two jumpers.
Finally, if you haven’t already, you’ll need to add your user to the deal out group.
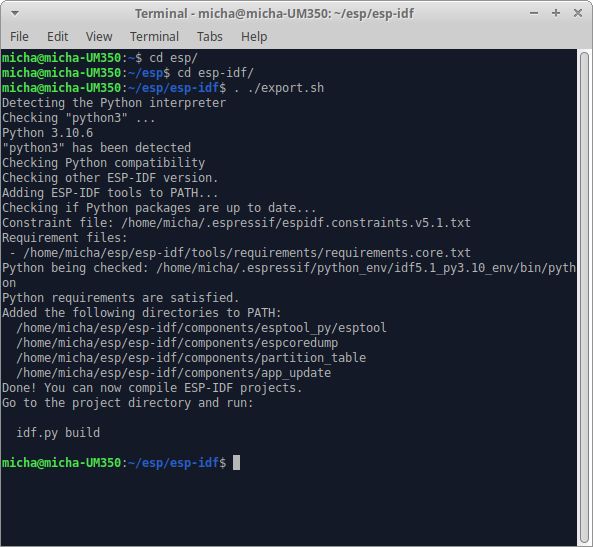
The Espressif IDF installs several examples which are a great way to get familiar with the ESP32. We’ll start with the typical "Hello World" application. After installing the IDF, we can:
cd esp
cd esp-idf
../export.sh
Now, while we could compile directly in the examples folder of the IDF, to avoid over-writing the original examples, we’ll make a copy:
cd ~/esp
cp -r $IDF_PATH/examples/get-started/hello_world .
cd ~/esp/hello_world
(Alternatively, you could do this with your GUI file manager.)
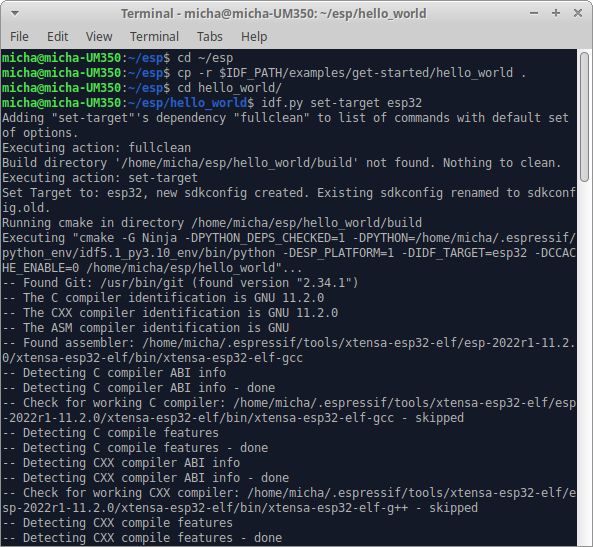
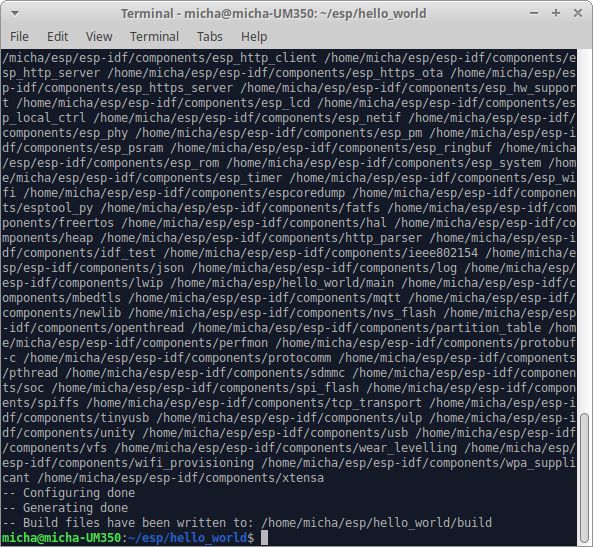
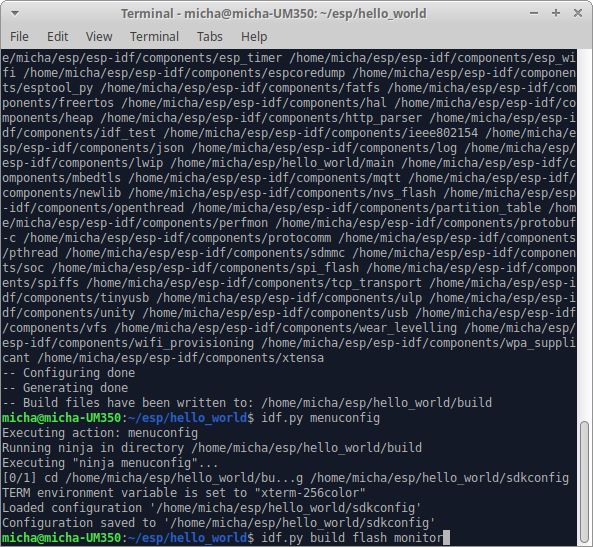
Because the IDF supports several different MCU models, on first run we’ll need to set the ESP32 as the target and call menuconfig:
idf.py set-target esp32
idf.py menuconfig
While it’s not required for the "hello world" example, now is a good time to tell the build system about the 16 MB flash memory upgrade from the default 2 MB to the EsPiFF’s 16 MB.
(There’s a lot more you can set with menuconfig, so we recommend that when you have a bit of time, take a look at what’s available there.)
Now, with a single final command, we can compile and upload the new code: idf.py build flash monitor.
As of version 4.4 of the IDF tool, the correct port is selected automatically. (This is true for Linux, other platforms may vary.) If need be, you can set the port by adding parameters such as -p /dev/ttyUSB0 for Linux/Mac, or -p COM9 on Windows.
You can use the integrated "monitor" to see the output of your work:
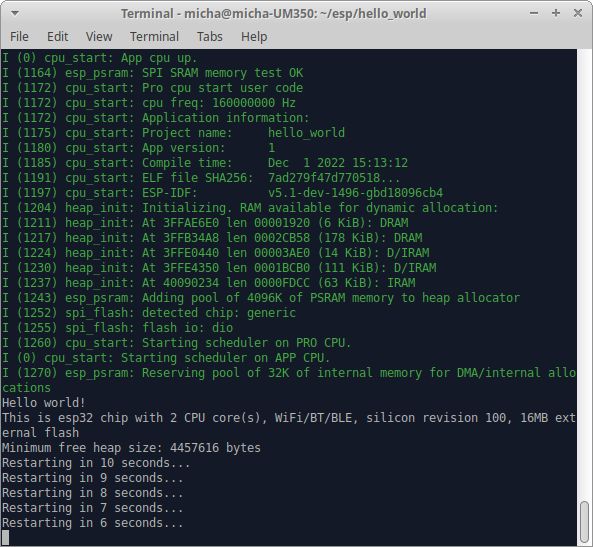
A few things to notice:
By default, the watchdog timers are enabled, not reset, and so the ESP32 boot takes all ten seconds. You can disable the watchdog with menuconfig, or reset the watchdog regularly. In addition, we have not enabled RAM bank switching, so you’ll see just 4 MB of the 8 MB of PSRAM. We suggest experimenting with the bank switching example to learn more and use two banks with 4 MB each.
If you prefer the Arduino IDE, there are great step-by-step instructions in our documentation. The Arduino IDE is officially supported by Espressiv, so we provide a large set of existing code, drivers, and protocols to start from.
Finally, the RP2040: If you programmed an RP2040 before, you will immediately feel at home. It is the exact same procedure as on other RP2040 boards:
- Write your code and compile it to the uf2 file.
- Connect a USB-A-to-USB-A cable between your computer and the EsPiFF. Remember: RP2040 uses USB-A, while ESP32 uses USB-C.
- Press and hold the RP2040 programming button, while plugging in the USB-C cable. After a second, release the programming button. You should then see a USB file system, into which you can copy and paste the uf2 file.
As both the ESP32 and RP2040 support multiple IDEs and command-line tools, there is more than one way to flash the controller(s). Users familiar with Arduino, Visual Studio, Plattform.io, or Eclipse can use these tools as well.
How can the ESP32 and RP2040 communicate? You can install Firmata on the RP2040 and the ESP32 to instruct the RP2040 what to do. At the time of writing, Firmata only supports UART, not SPI as a transport. We can run the UART connection up to 5 MBit, so you should modify the default Firmata sketch and change the baud rate accordingly. Of course, someone can also implement their own interface between the ESP32 and RP2040.
Lastly, We’d like to remind you that the datasheet is also a good source of information, with pinouts for every connector and explainations of the UART and SPI connections between ESP32 and RP2040.
We wish you all a great time. We’ll be back next week with more news about the EsPiFF.