Hi folks!
Clyde here with another update post:
I just got the latest logic board revision from PCBWay so I can finally prep the EMI sample for testing. I already had the latest version of the Audio/Video signals board, which removes the audio RAM socket and solders the chip directly. The new logic board that just arrived adds a reset controller IC that automatically starts the program on power-on, no longer requiring the user to hit the reset button manually. The ribbon cable connectors have been replaced to match the new flip-latch style used on the A/V board, and the ribbon cables are replaced with shorter ones to fix a noise issue.
I also have some new cartridge prototypes in hand. It’s essentially the same as the 2 MB flash cartridge that I’d been using and circulating before, with a small but important difference. The cartridge slot can only see 32K at once, so the 2 MB flash cart uses a shift register to control the higher address bits of the flash chip. The shift register on the existing cartridge has been wired to send the Least Significant Bit "LSB" first, while the SDK and tooling had all expected the Most Significant Bit "MSB" first, since early in the project. Now, because the software and flasher tool are all in alignment, this doesn’t cause any issues most of the time. However, when performing in-system write operations, the flash chip needs to erase a sector before it can be rewritten. The sectors on the flash chip are not all the same size, so when games started using a "save" feature they eventually encountered the problem of erasing more data than expected because the save sector was unintentionally placed within a larger sector containing game data.
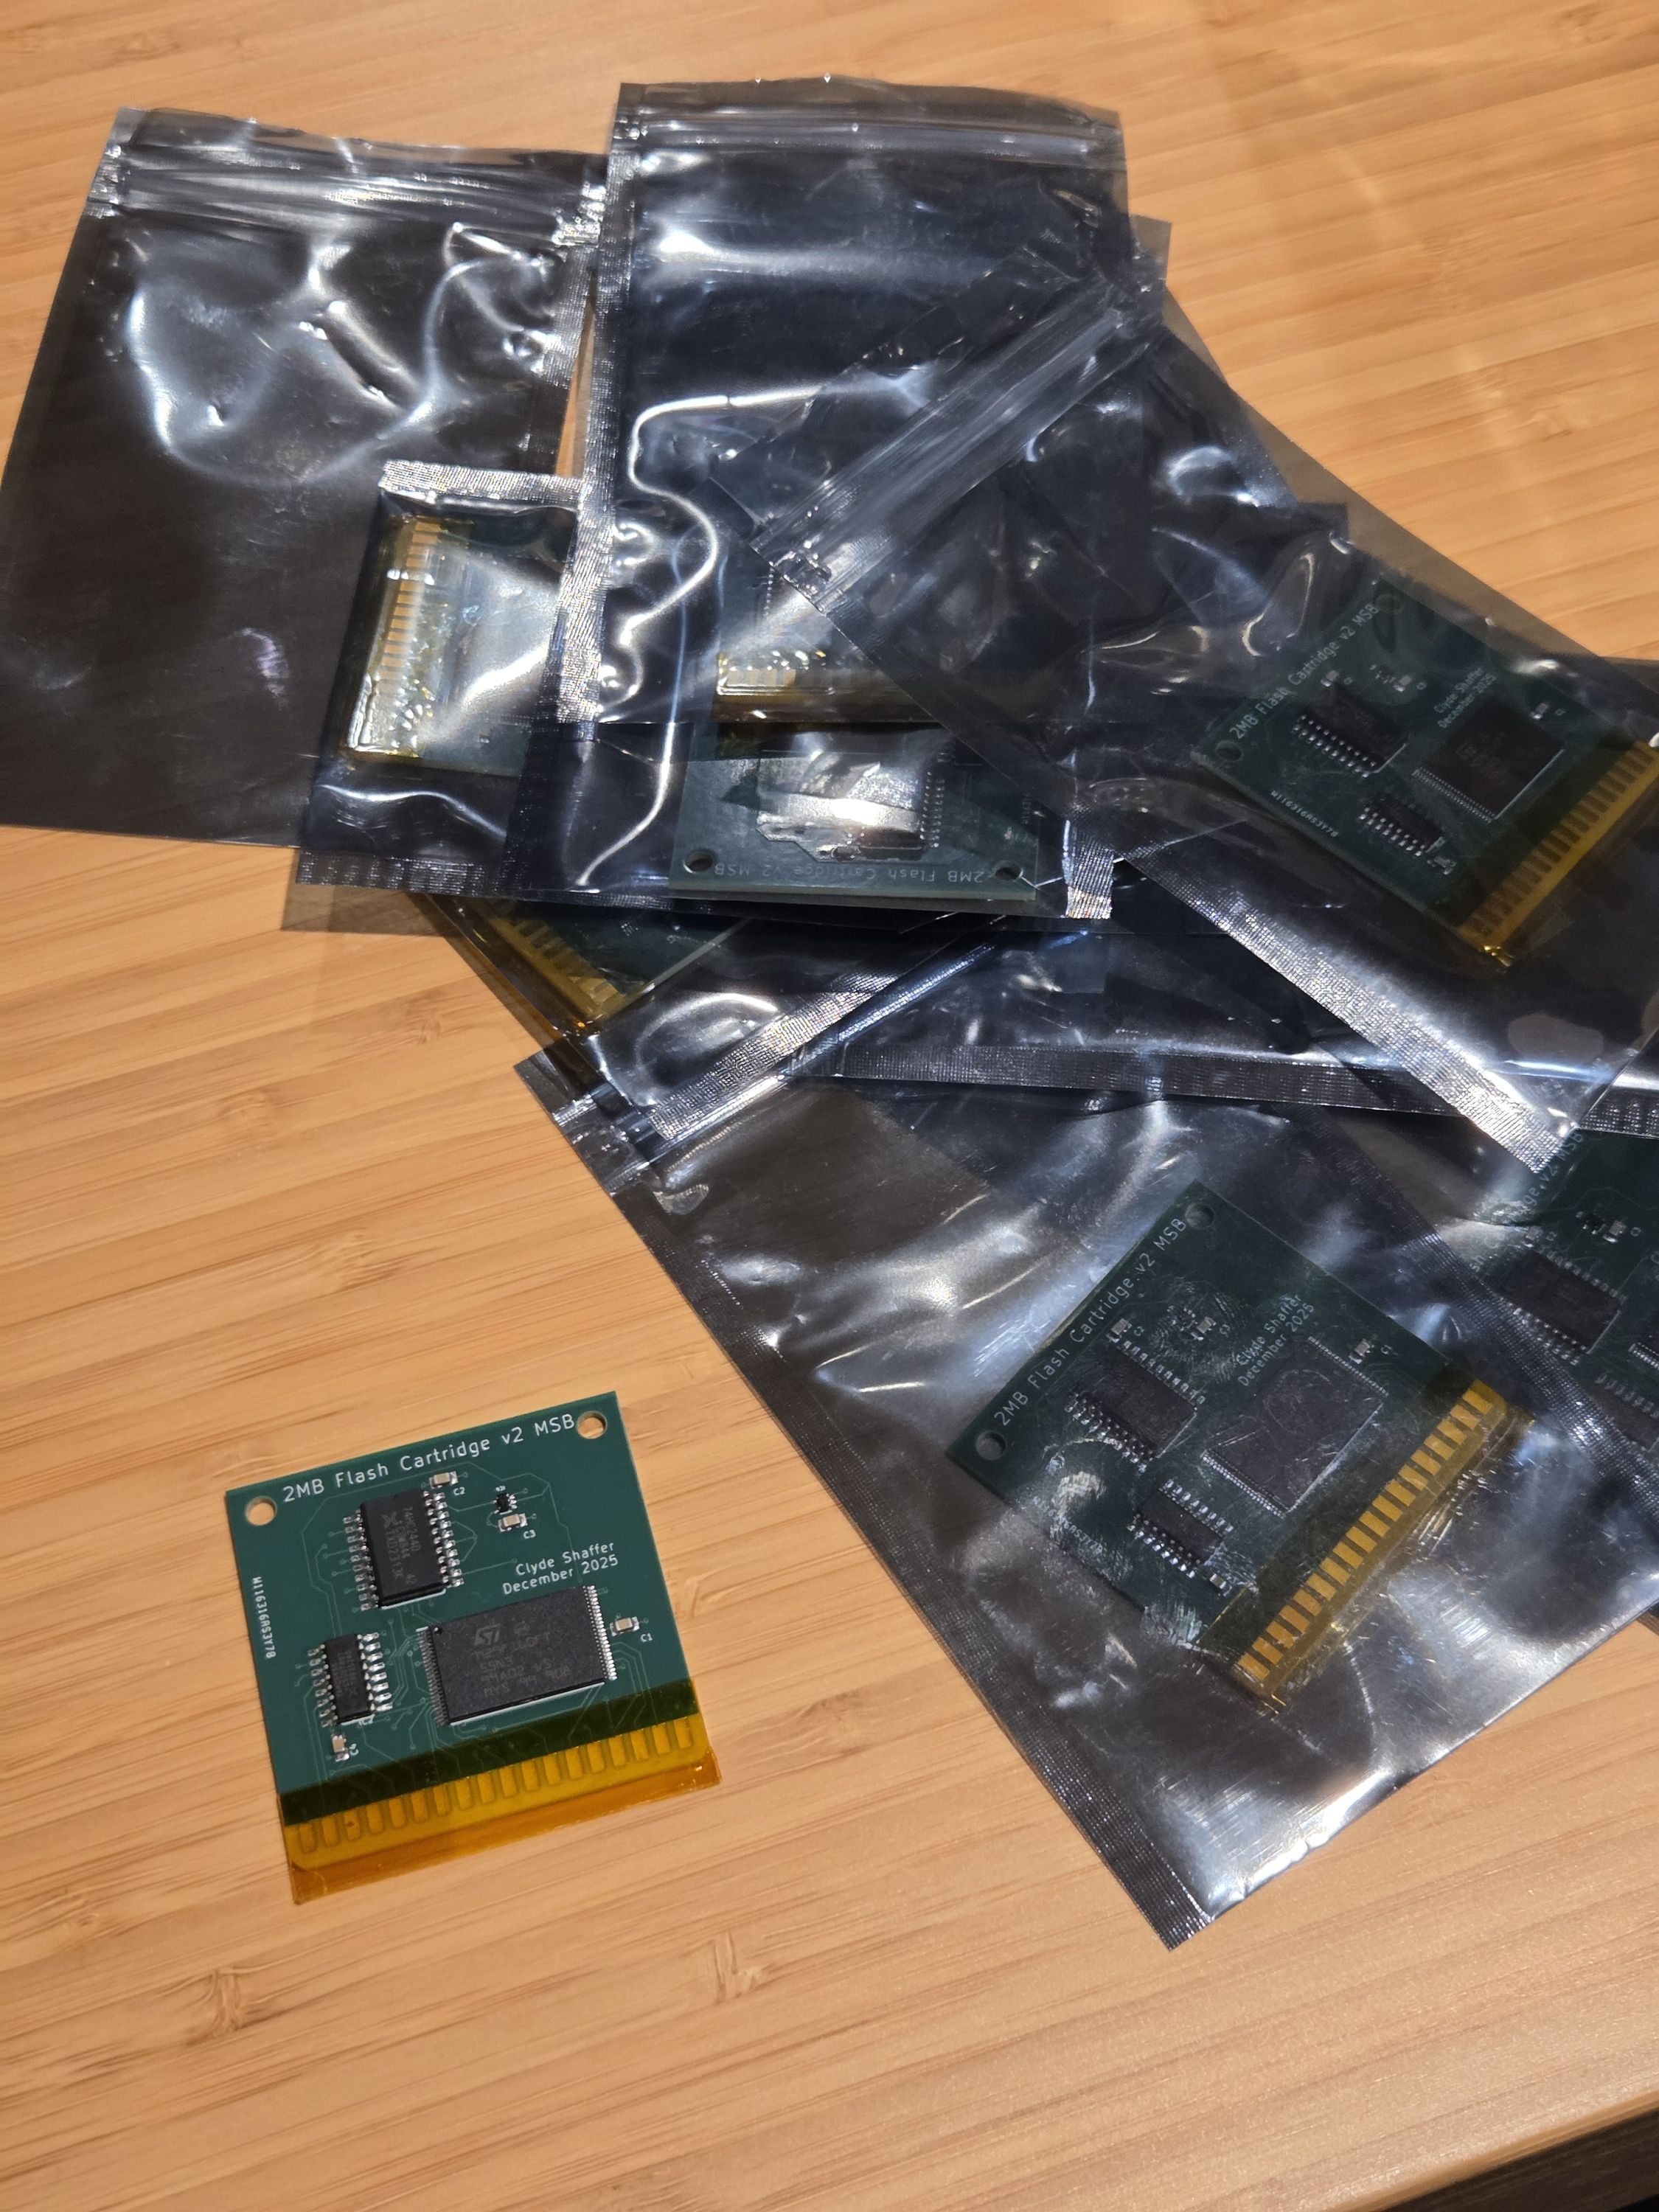
Since most software already written assumed MSB, the cleanest fix was to make the cartridges match the tooling and wire for MSB as had been expected. Fortunately, all the cartridges I’ve made before aren’t wasted, they just need some extra consideration when developing software that can self-write for saved games and such.
Community Spotlight: Controller Hacking
As the GameTank hardware invites hacking and experimentation, Dan Shimmyo ("shimmy" on Discord) has been modding his early-model controller to add extra buttons in preparation for an eventual paddle controller or even steering wheel.
Exploring the GameTank Hardware Repo
Our GitHub repo is the home for all the schematic, board, and 3D print files needed for building GameTanks and GameTank accessories.
CADcontains 3D models in STP, STL, and 3MF format for printing the console, cartridges, and controller.Docscontains the manual, a Bill of Materials for the SMT version, and packaging label art that I’ve used for customizing the "retail" box. (These will be re-designed for the Crowd Supply run.)Hardwarecontains the schematics and PCB files. Early on the project used EAGLE, but later switched to KiCad, so the most recent stuff is all in theKiCadsub-folder.Productioncontains files that get sent to PCBWay and the like, to order by turnkey manufacturing service.Sourcingcontains notes on sourcing components, though these files are a little dated. To see the latest parts lists for the through-hole, hand-soldered version, check out the list at GameTank Zone.Mediacontains graphics to use for social media or for applications such as RetroArch to use as icons for the emulator.
