Project update 3 of 8
IoT with Espoir Part Two: Can't code? No problem!
by Marc-Antoine LThis week, I wanted to go beyond theory and dive a little deeper into "doing actual stuff".
Complex automation for beginners
I have prepared a tutorial over at docs.connaxio.com that shows how to create a fully functional, custom automation setup with Espoir without any programming. The setup uses the open source Tasmota firmware and the Home Assistant IoT dashboard and automation software.
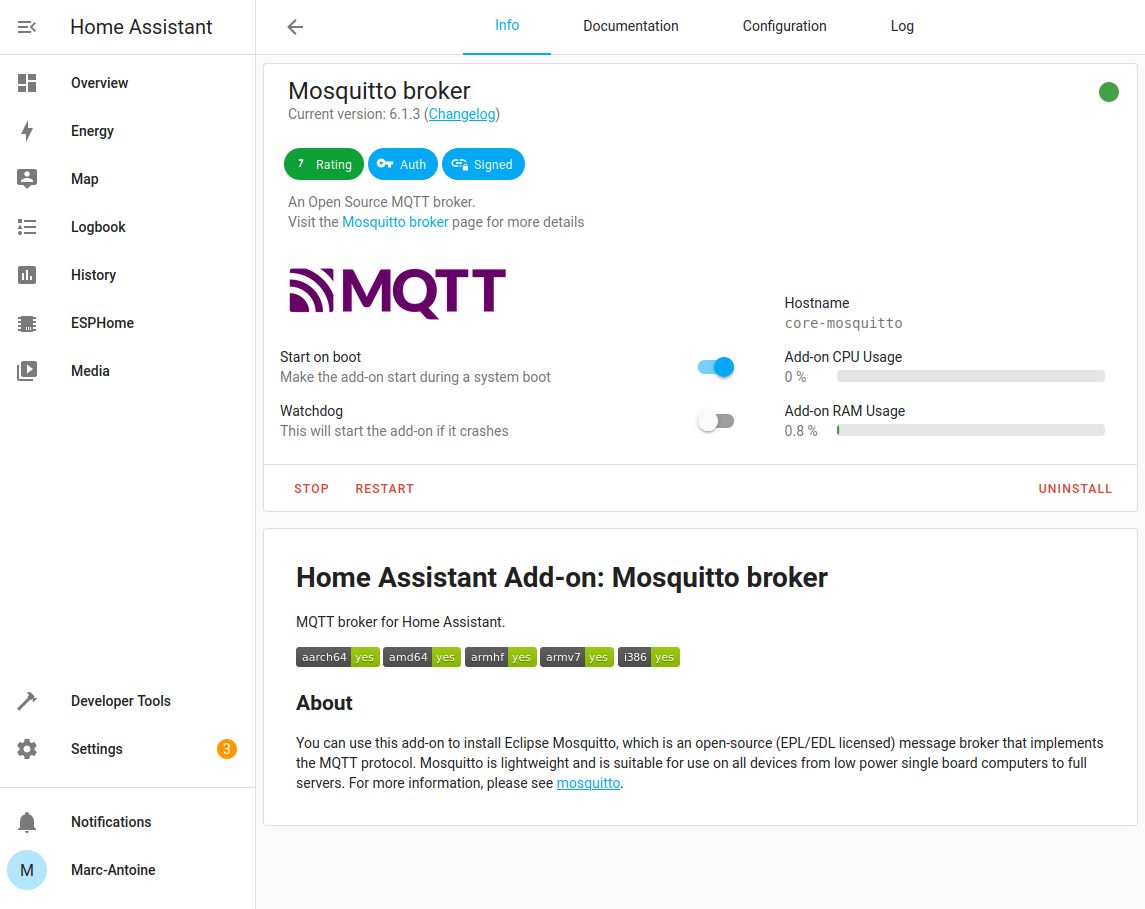
In broad strokes, this involves installing the Mosquitto broker Add-on in Home Assistant:
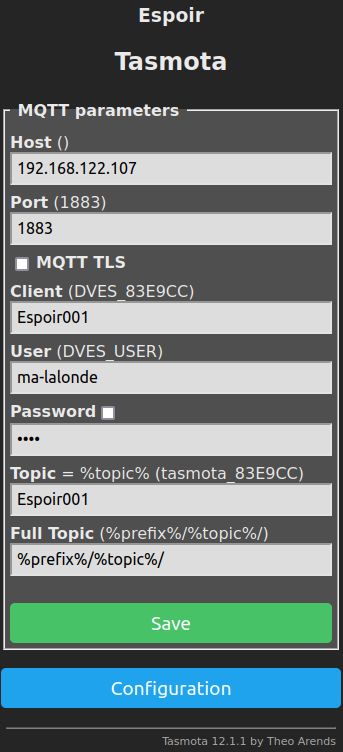
Then, following one of the guides I shared last week, configure the Espoir/Tasmota MQTT settings to connect to your Home Assistant installation:
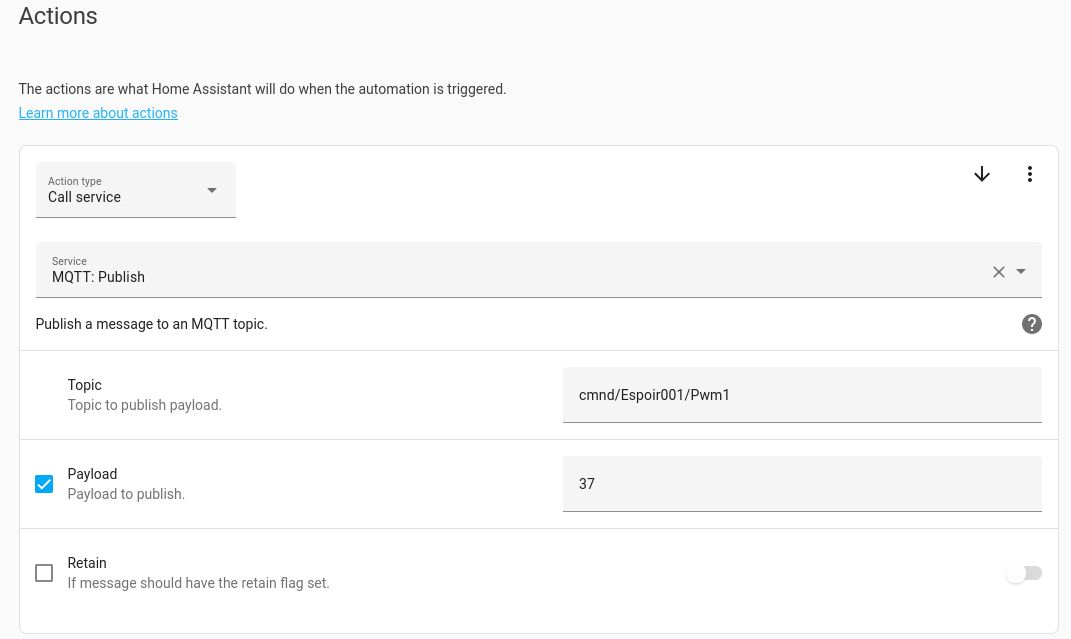
Finally, create automation rules with specific actions:
The full instructions are available at docs.connaxio.com, including lots of images.
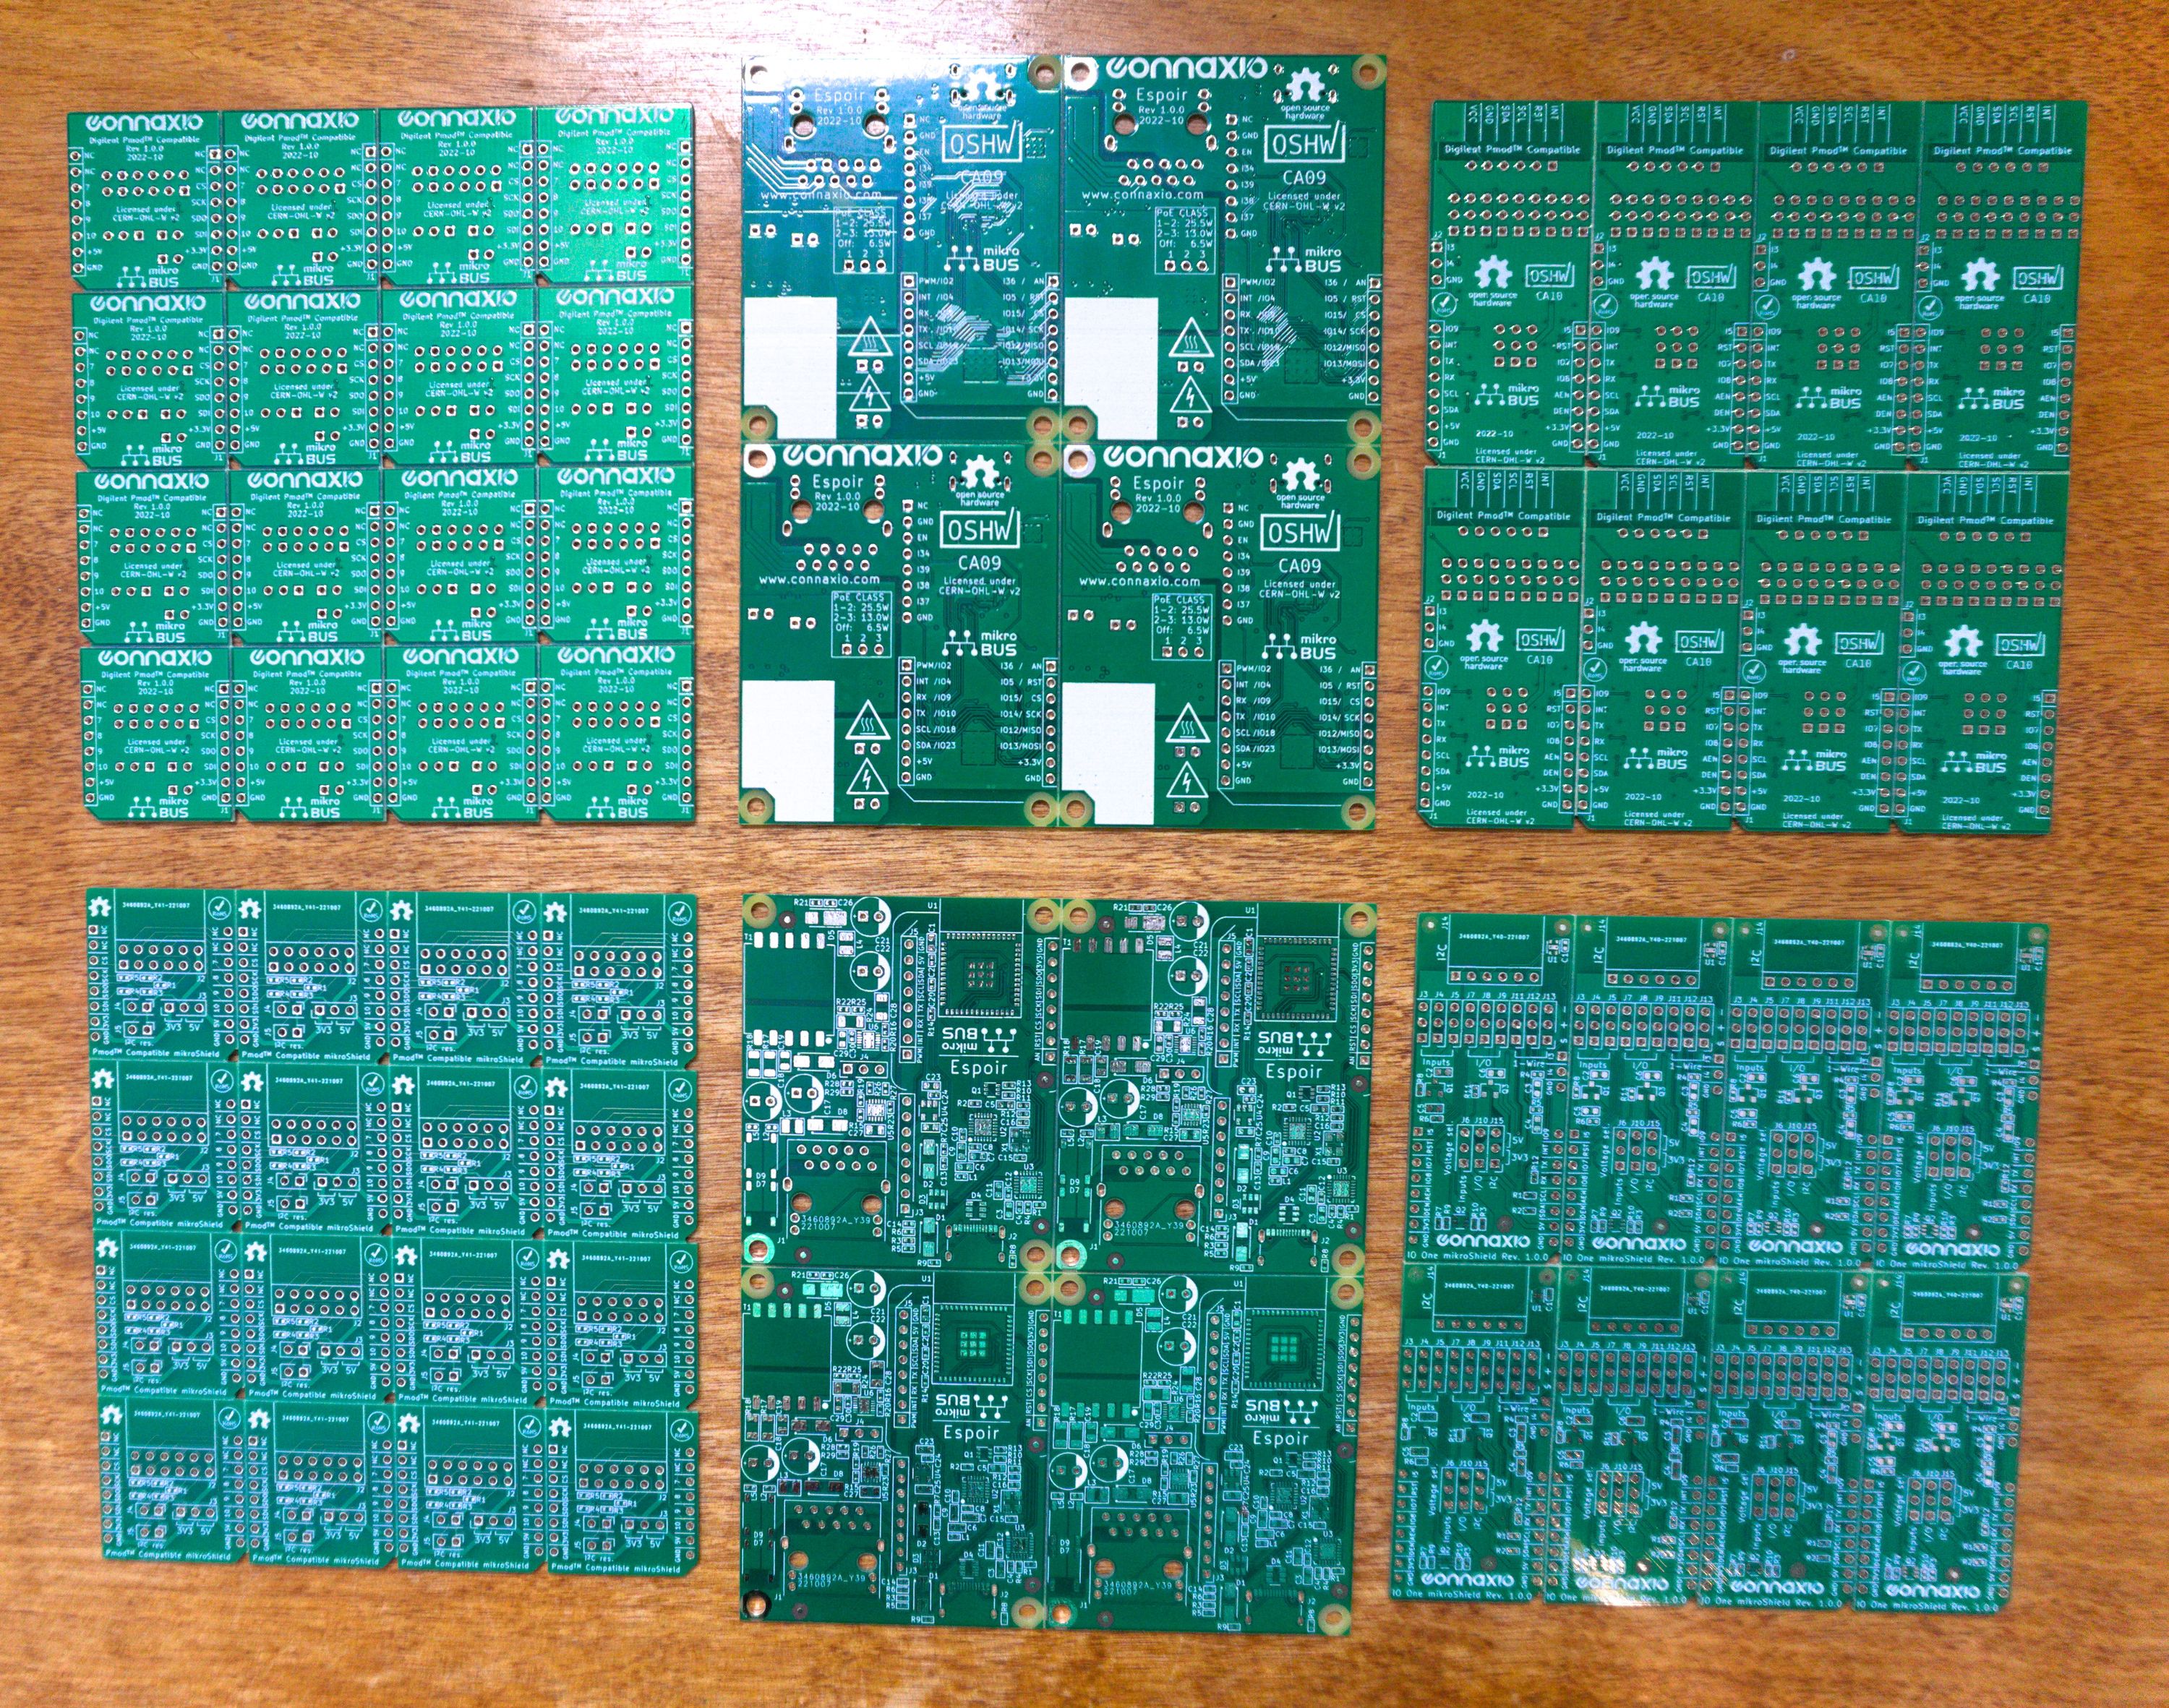
Espoir Rev 1.0.0 is alive!
I received the panelized boards last week, and they’re just like on the internet!
I don’t know yet if my modified T-962A reflow oven will be able to solder all four boards at once. I hope so, otherwise I’ll spend a lot of time babysitting the oven.
I assembled one Espoir module to make sure everything was as good as it looked and, unsurprisingly, everything went well. So here is one module, ready to ship!
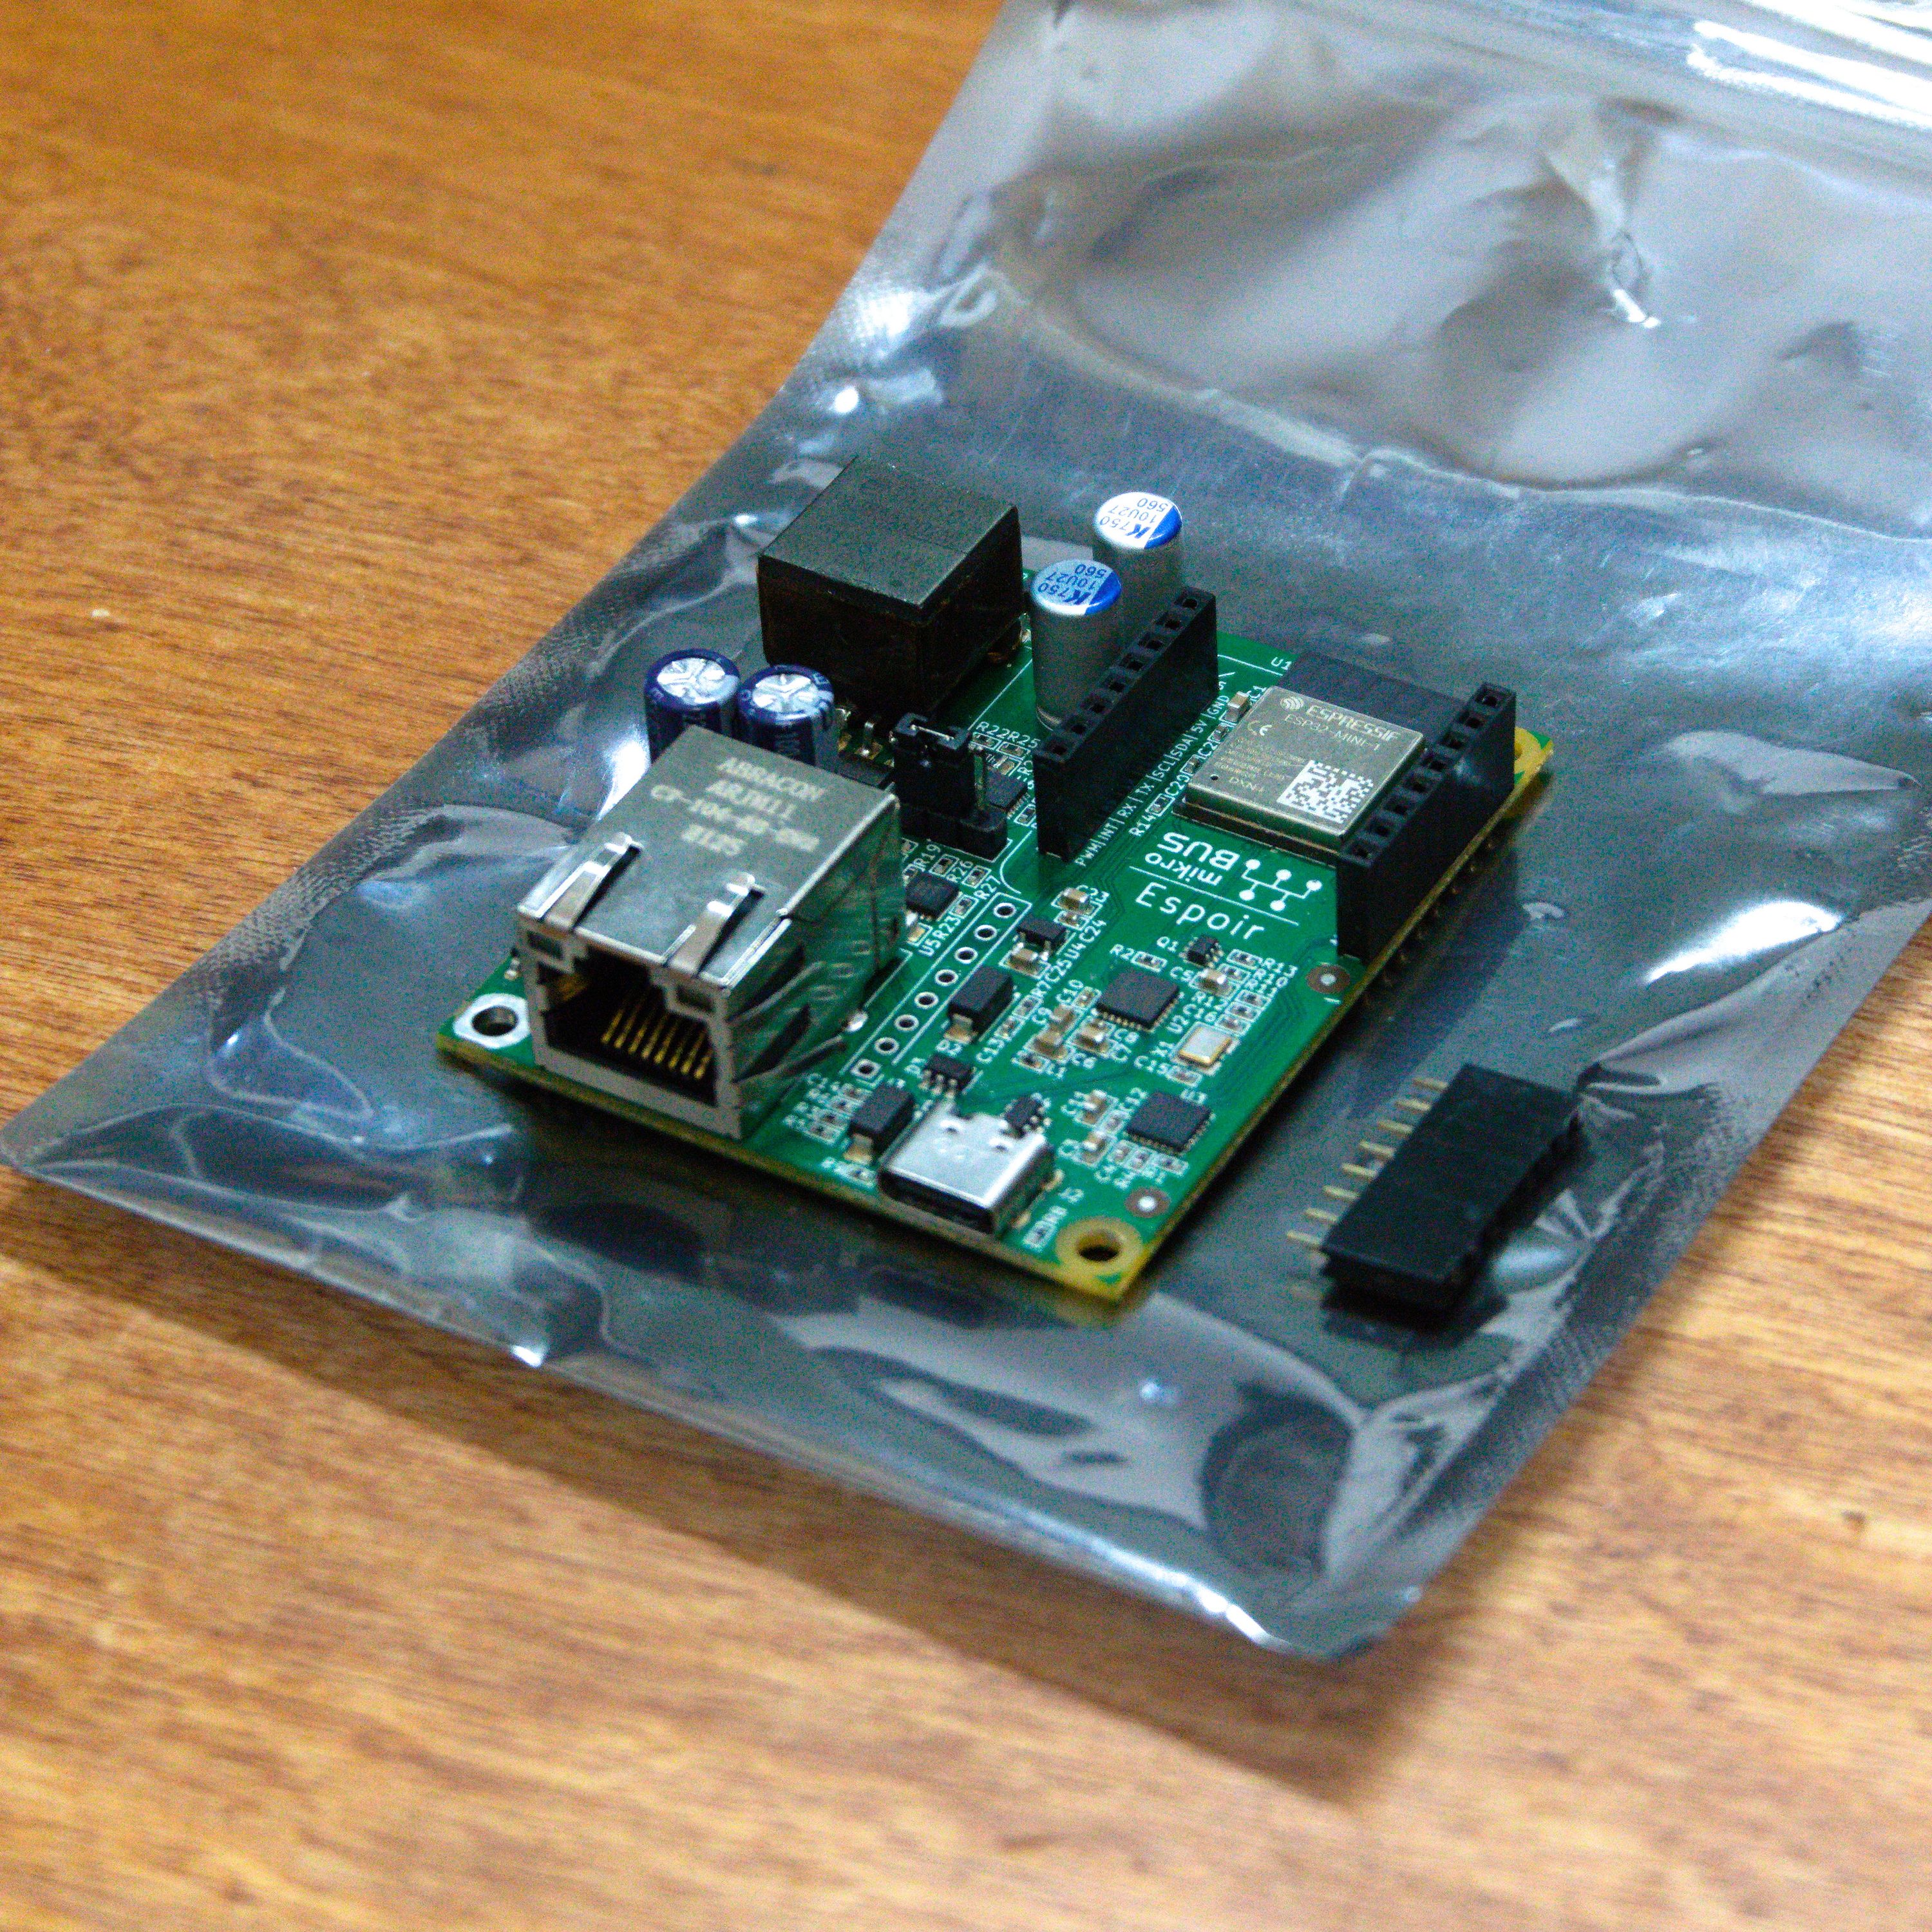
The extension header, just like before, is not soldered in order to remain compatible with most mikroBUS™ add-on boards. It is included, however. They’re under $0.04 each, after all.
Upgrading the Pick and Place
I also just received the two vacuum sensors I had ordered two months ago and talked about last week. I hope they work as advertised! They allow the pick and place machine to sense if it has really picked up a component, and they allow minimizing the dwell time (time spend waiting for vacuum) by instead sensing when the part is ready to be moved. This avoids the whole cycle of moving the nozzle over the camera, checking for the expected part, and then moving to the discard location to clear the nozzle (just in case) before trying again. Markmakr has a blog post with nice images that explains how cool this is, if you’re into that kind of geek stuff.
What firmware do you want on your Espoir?
I came to the realization that I really couldn’t just leave the validation code on the microcontroller after flashing it, since it outputs VCC and GND on every pin in quick succession. That’s a good way to kill a board.
So that leaves the question open: which firmware would you like to have by default on Espoir? The obvious options I see are MicroPython, Tasmota, and no firmware (erase flash). Let me know if you have a preference, there really is no practical difference, so I might as well make someone’s life easier.