Project update 3 of 10
Origins
by Nick PAnother week has passed and the campaign is cruising right along. Thanks to everyone who joined us in the past week, we’re now well over 200% funded! I’m already blown away, but there are still several weeks left before the first batch of BeanCounters starts its journey through manufacturing. In the meantime, I’m shepherding the first panels of production prototypes through assembly. There is a lot that I could say about design-for-manufacture and how I’m planning to do the final assembly once the panels come in from PCBWay—and I will talk more about that in a future update—but I want to take this opportunity early in the campaign to reflect on how the BeanCounter design has evolved up to this point.
I didn’t set out to make a tape-and-reel counter, at least not a commercially viable one. BeanCounter started life as a proof-of-concept for an entirely different project: An electronic paper-strip music box. After playing with a Kikkerland 15-note music box, I started to think about how nice it would be to trigger MIDI sounds with the same punched tape or to change the scale or transpose it without punching a new tape. The more I considered it, the more tricks I realized an electronic music box could do, such as acting as a USB punched-tape reader for data. But before I tried to read 15 rows of punched holes, I figured I should try reading just one. Making the leap to SMT carrier tape wasn’t hard. It’s punched paper tape and the hole size isn’t much smaller than that on music-box tape. So I laid out the first BeanCounter, constructed entirely from PCBs.
Gen 1: "Yo Dawg, I heard you like PCBs"
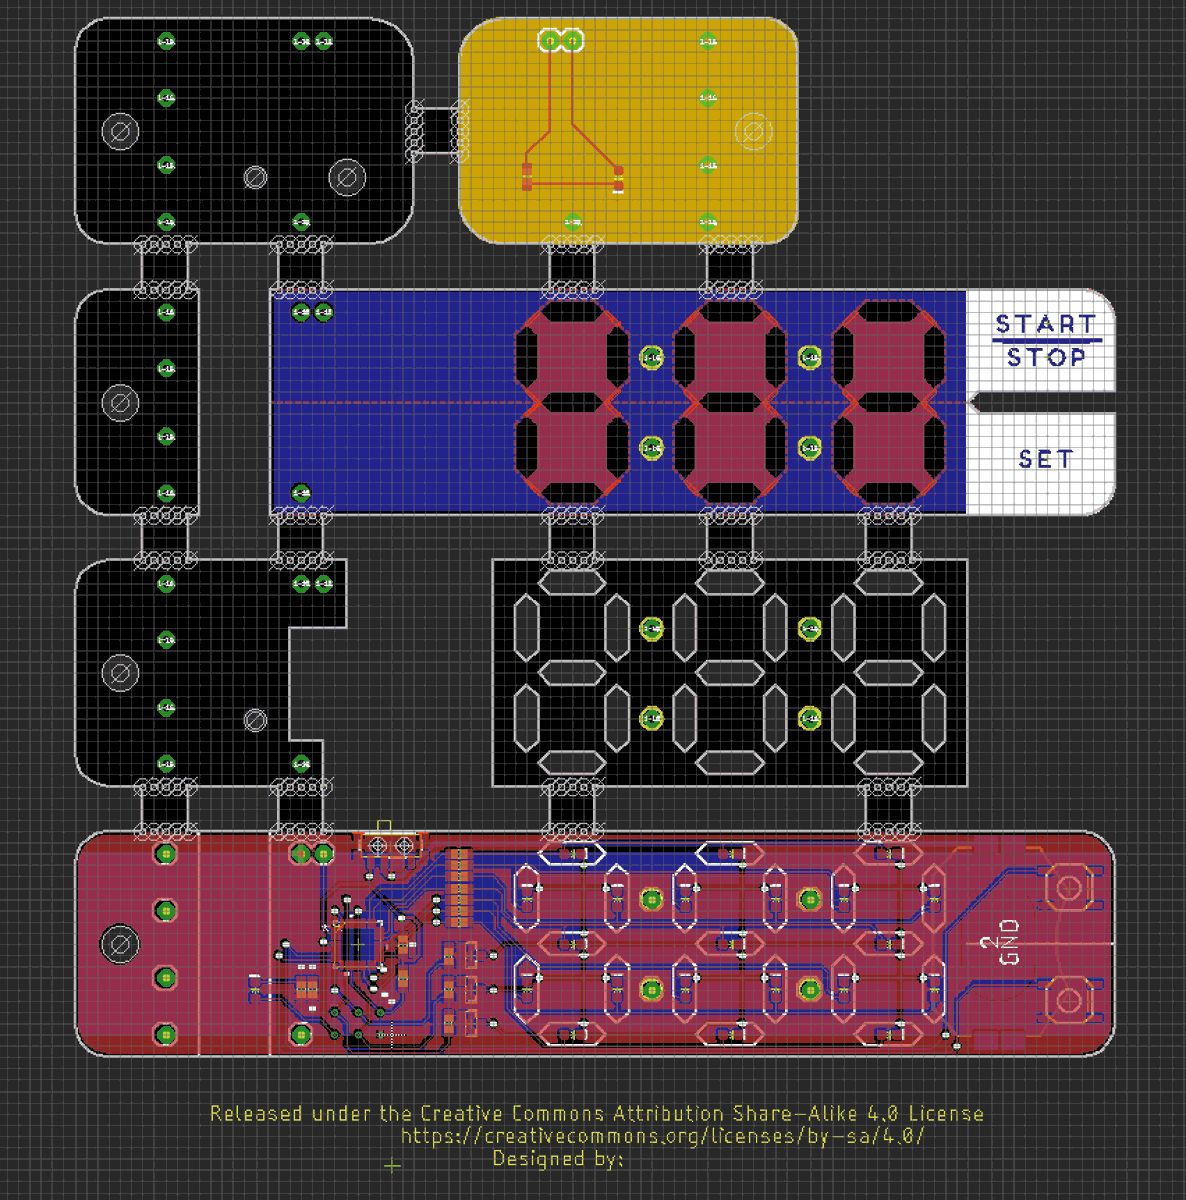
The original concept was to release BeanCounter as a DIY kit. You would receive an unbroken panel of PCBs to snap apart and assemble. This generation of designs went through a fair amount of revision, with different thicknesses of PCB and different combinations of those thicknesses to try to make the mechanical design work. The display itself changed as well, with the original segments being smaller and separated from each other in a way that prevented light bleed between them but ultimately made them harder to read.
The earliest revisions of BeanCounter only had one photointerrupter. Using a single photointerruptor meant that there was no way to detect which direction the tape was moving. It wasn’t until someone on Twitter pointed out that it might be useful to count back down that I added a second photointerruptor and implemented "Dispense Mode" in the firmware.
There were three things that ultimately killed the 100% PCB version of BeanCounter. The first was a mechanical issue: The small PCBs on the end that formed the tape slot were held in place by pins, but the holes that these pins passed through had to be very tight and always perfectly positioned with respect to the board edge or they would act as a hinge. This hinge allowed the board to act like a cam that would actively grip the tape as you pulled it through. With enough fiddling around, you could assemble it so this wasn’t a problem, but I wanted it to be foolproof. The second issue was assembly: Even ignoring the first problem, the all-PCB assembly contained—at best—six separate PCBs. While it was satisfying to stack all of those parts, I could imagine it getting old if you ever had to make more than a few of them. The final nail in the coffin for this design was the falling cost of high quality SLA printing…
Gen 2: "Yaaaaas, SLA queen!"
About this time, we were exploring our options for plastic enclosures at my day job. I had just finished our first foray into injection molding, which got us excited about doing custom enclosures. Unfortunately, we can’t always take a chance on the tooling costs associated with injection molding for a new product, so I started to look at production-scale 3D printing. As it turns out, for certain applications, it’s practical and affordable to just print the enclosures.
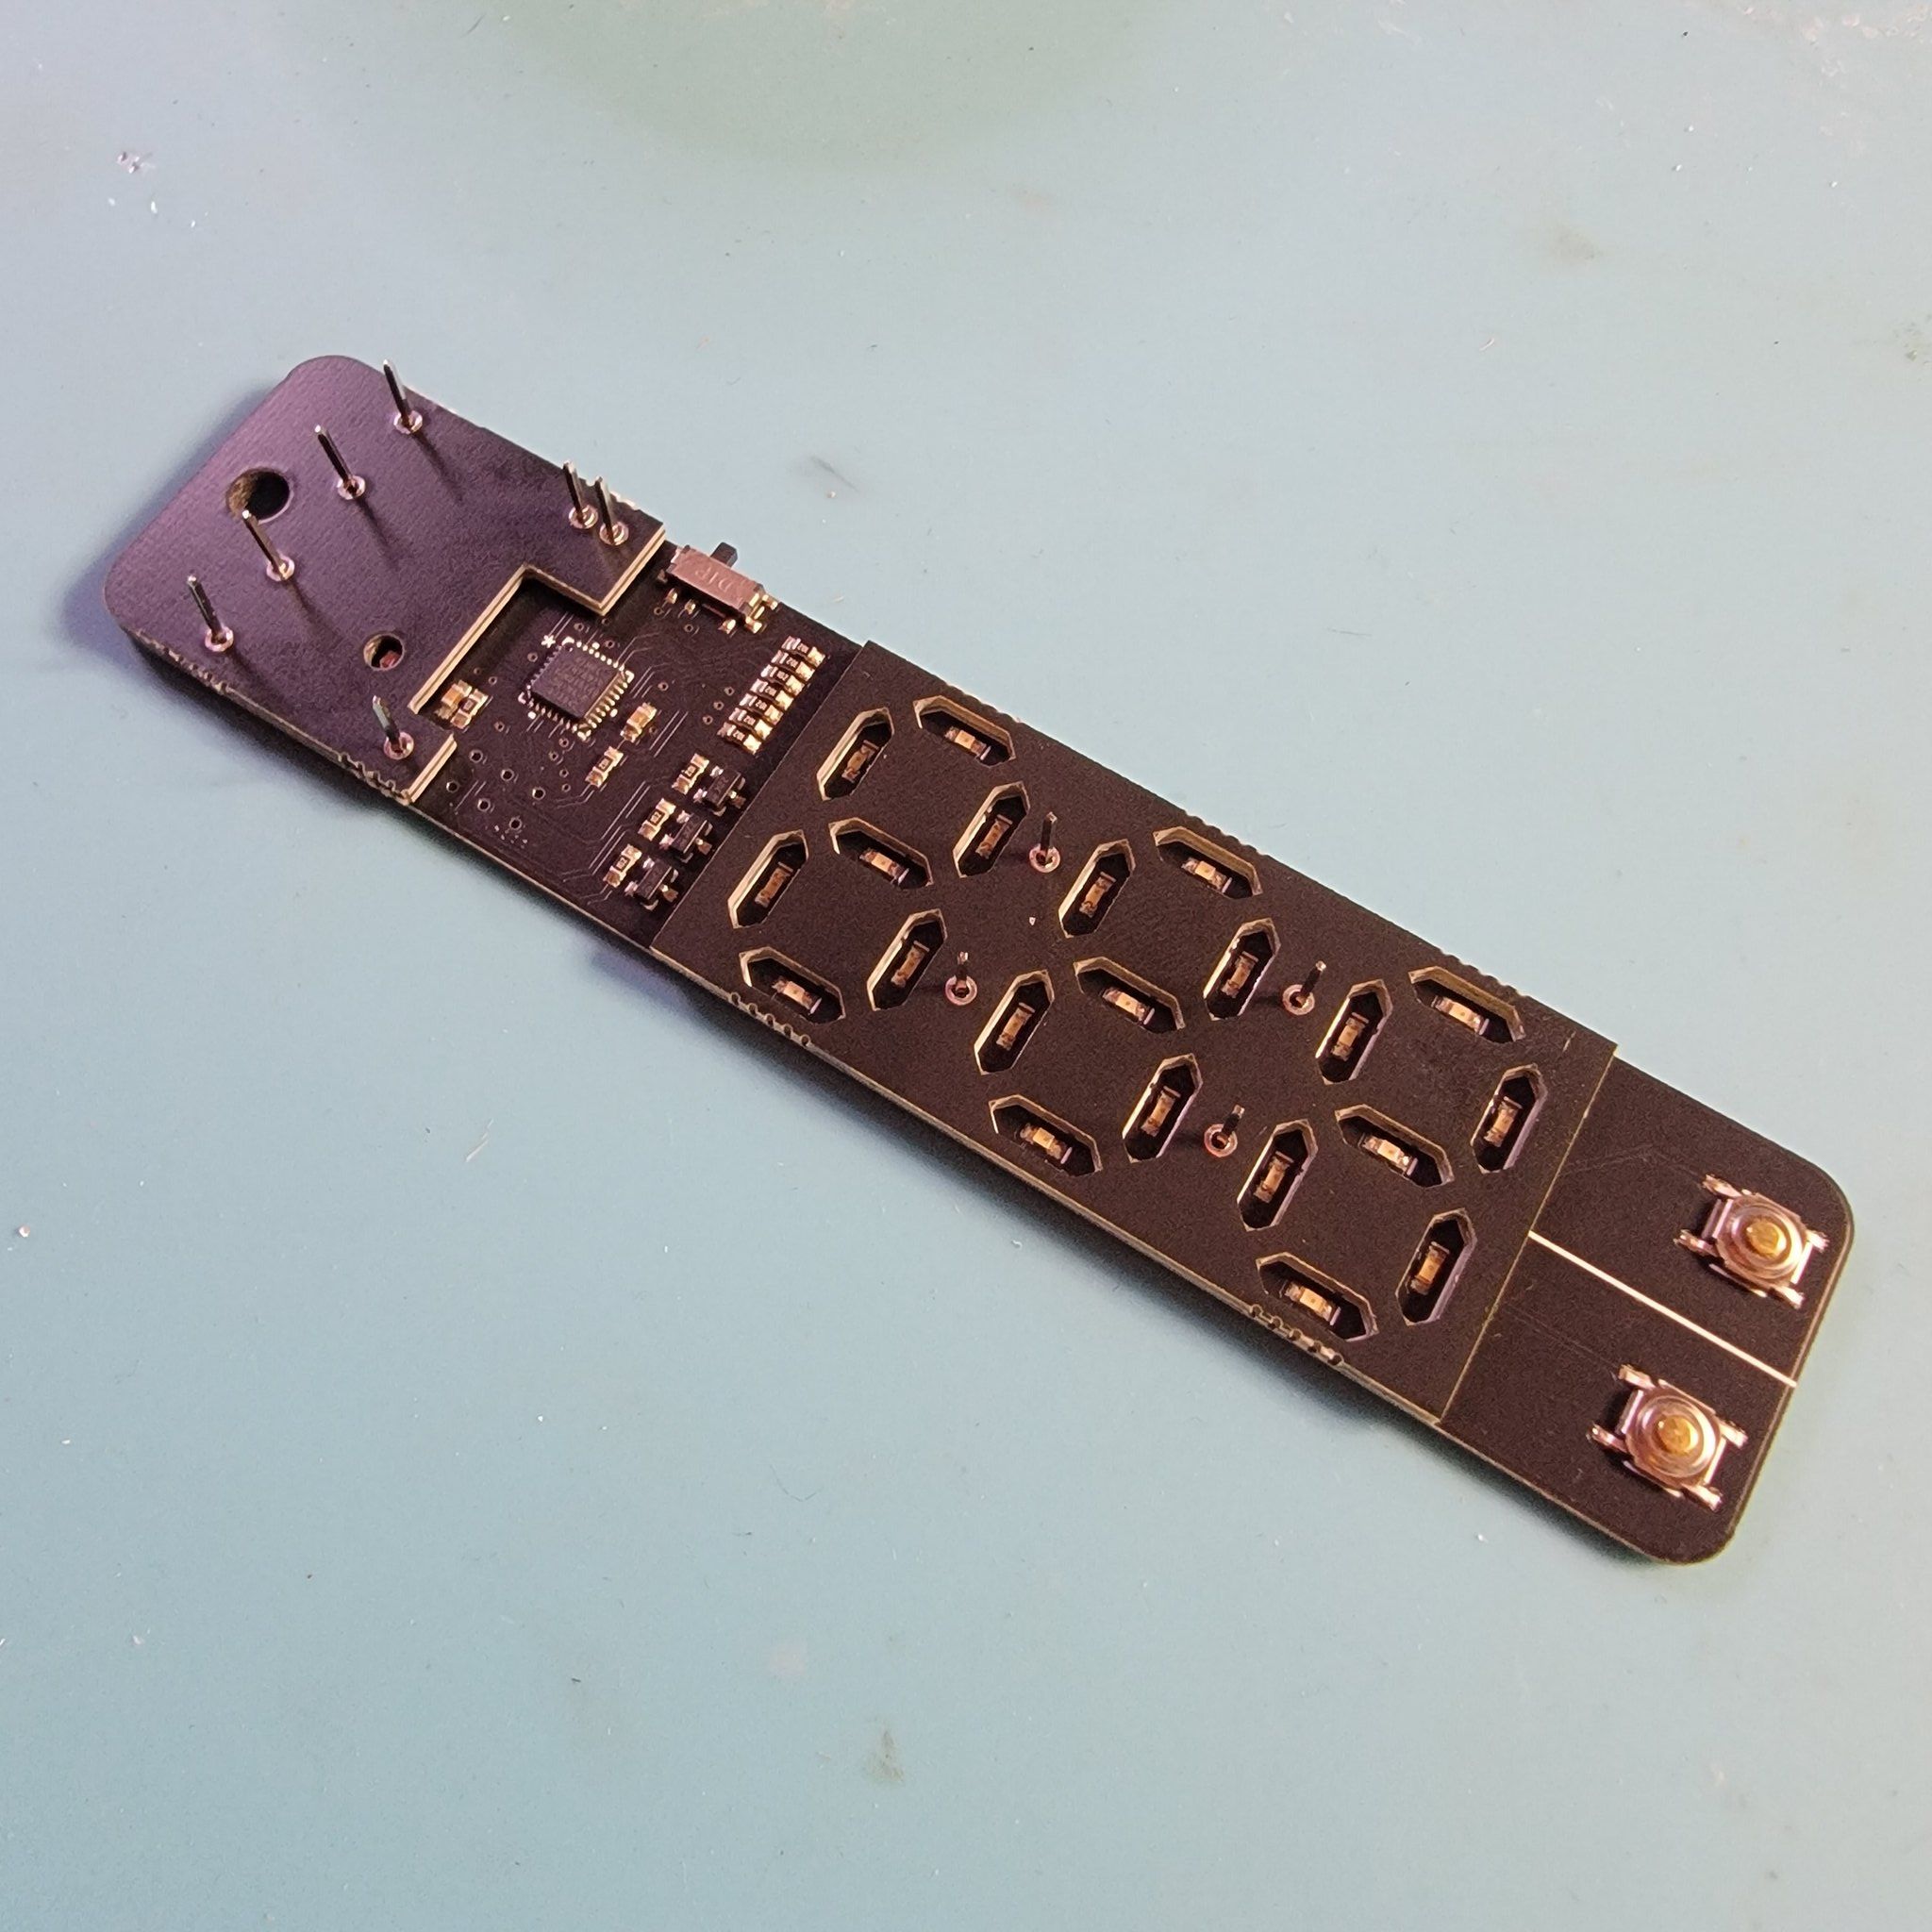
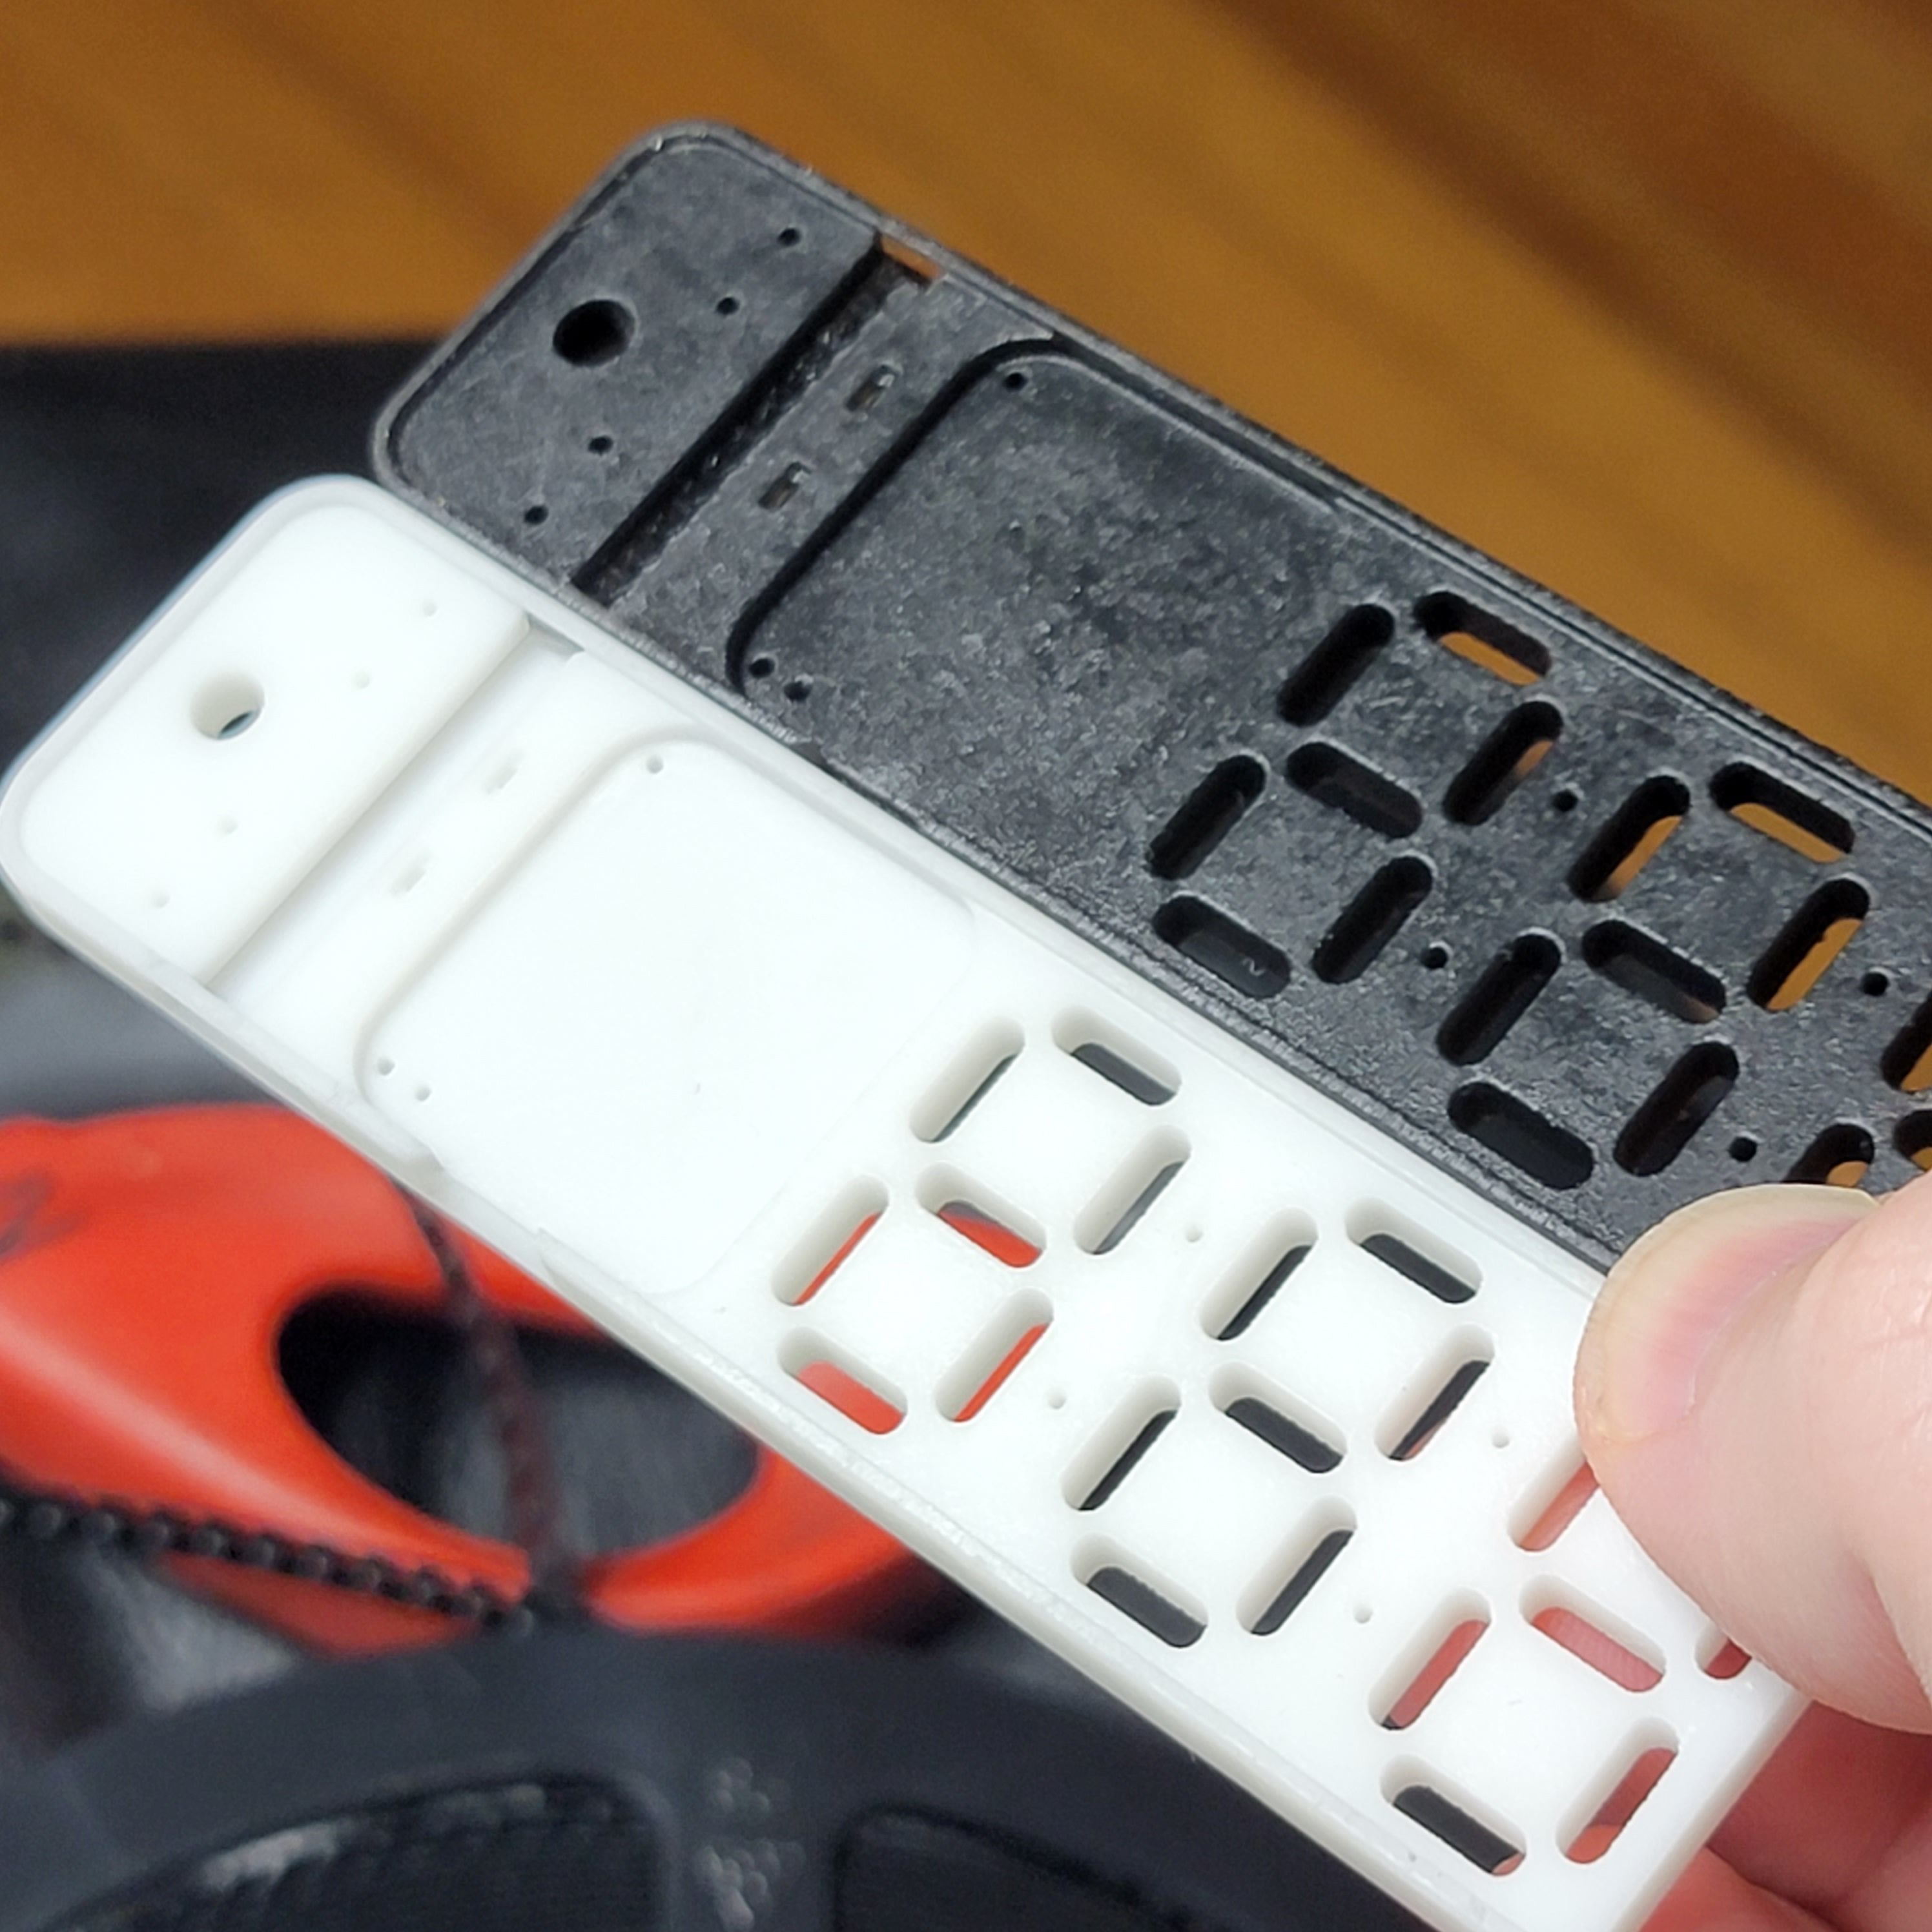
I whipped up a quick sketch in Fusion 360 to explore replacing the inner layers of PCB on BeanCounter with one big resin print. By combining the top-most PCBs, I could get down to a simple sandwich design: two PCBs with a resin chassis in the middle. The first print was a good proof-of-concept, but the choice of white resin made the display contrast pretty poor. Light from adjacent segments would bleed through the resin and wash out the numerals. The second set of prints were mechanically identical to the first but printed in black resin, which fixed the display contrast but still represented the minimum viable design. It was quite thin in several places, and the end with the buttons was fragile enough to break if the unit was dropped or handled roughly. And speaking of the buttons, the height between the PCBs now called for a tactile switch with an unusually tall plunger. It’s possible to source such a switch, but it was telling that, in my prototypes, I was simple gluing spacers onto the underside of the top PCB.
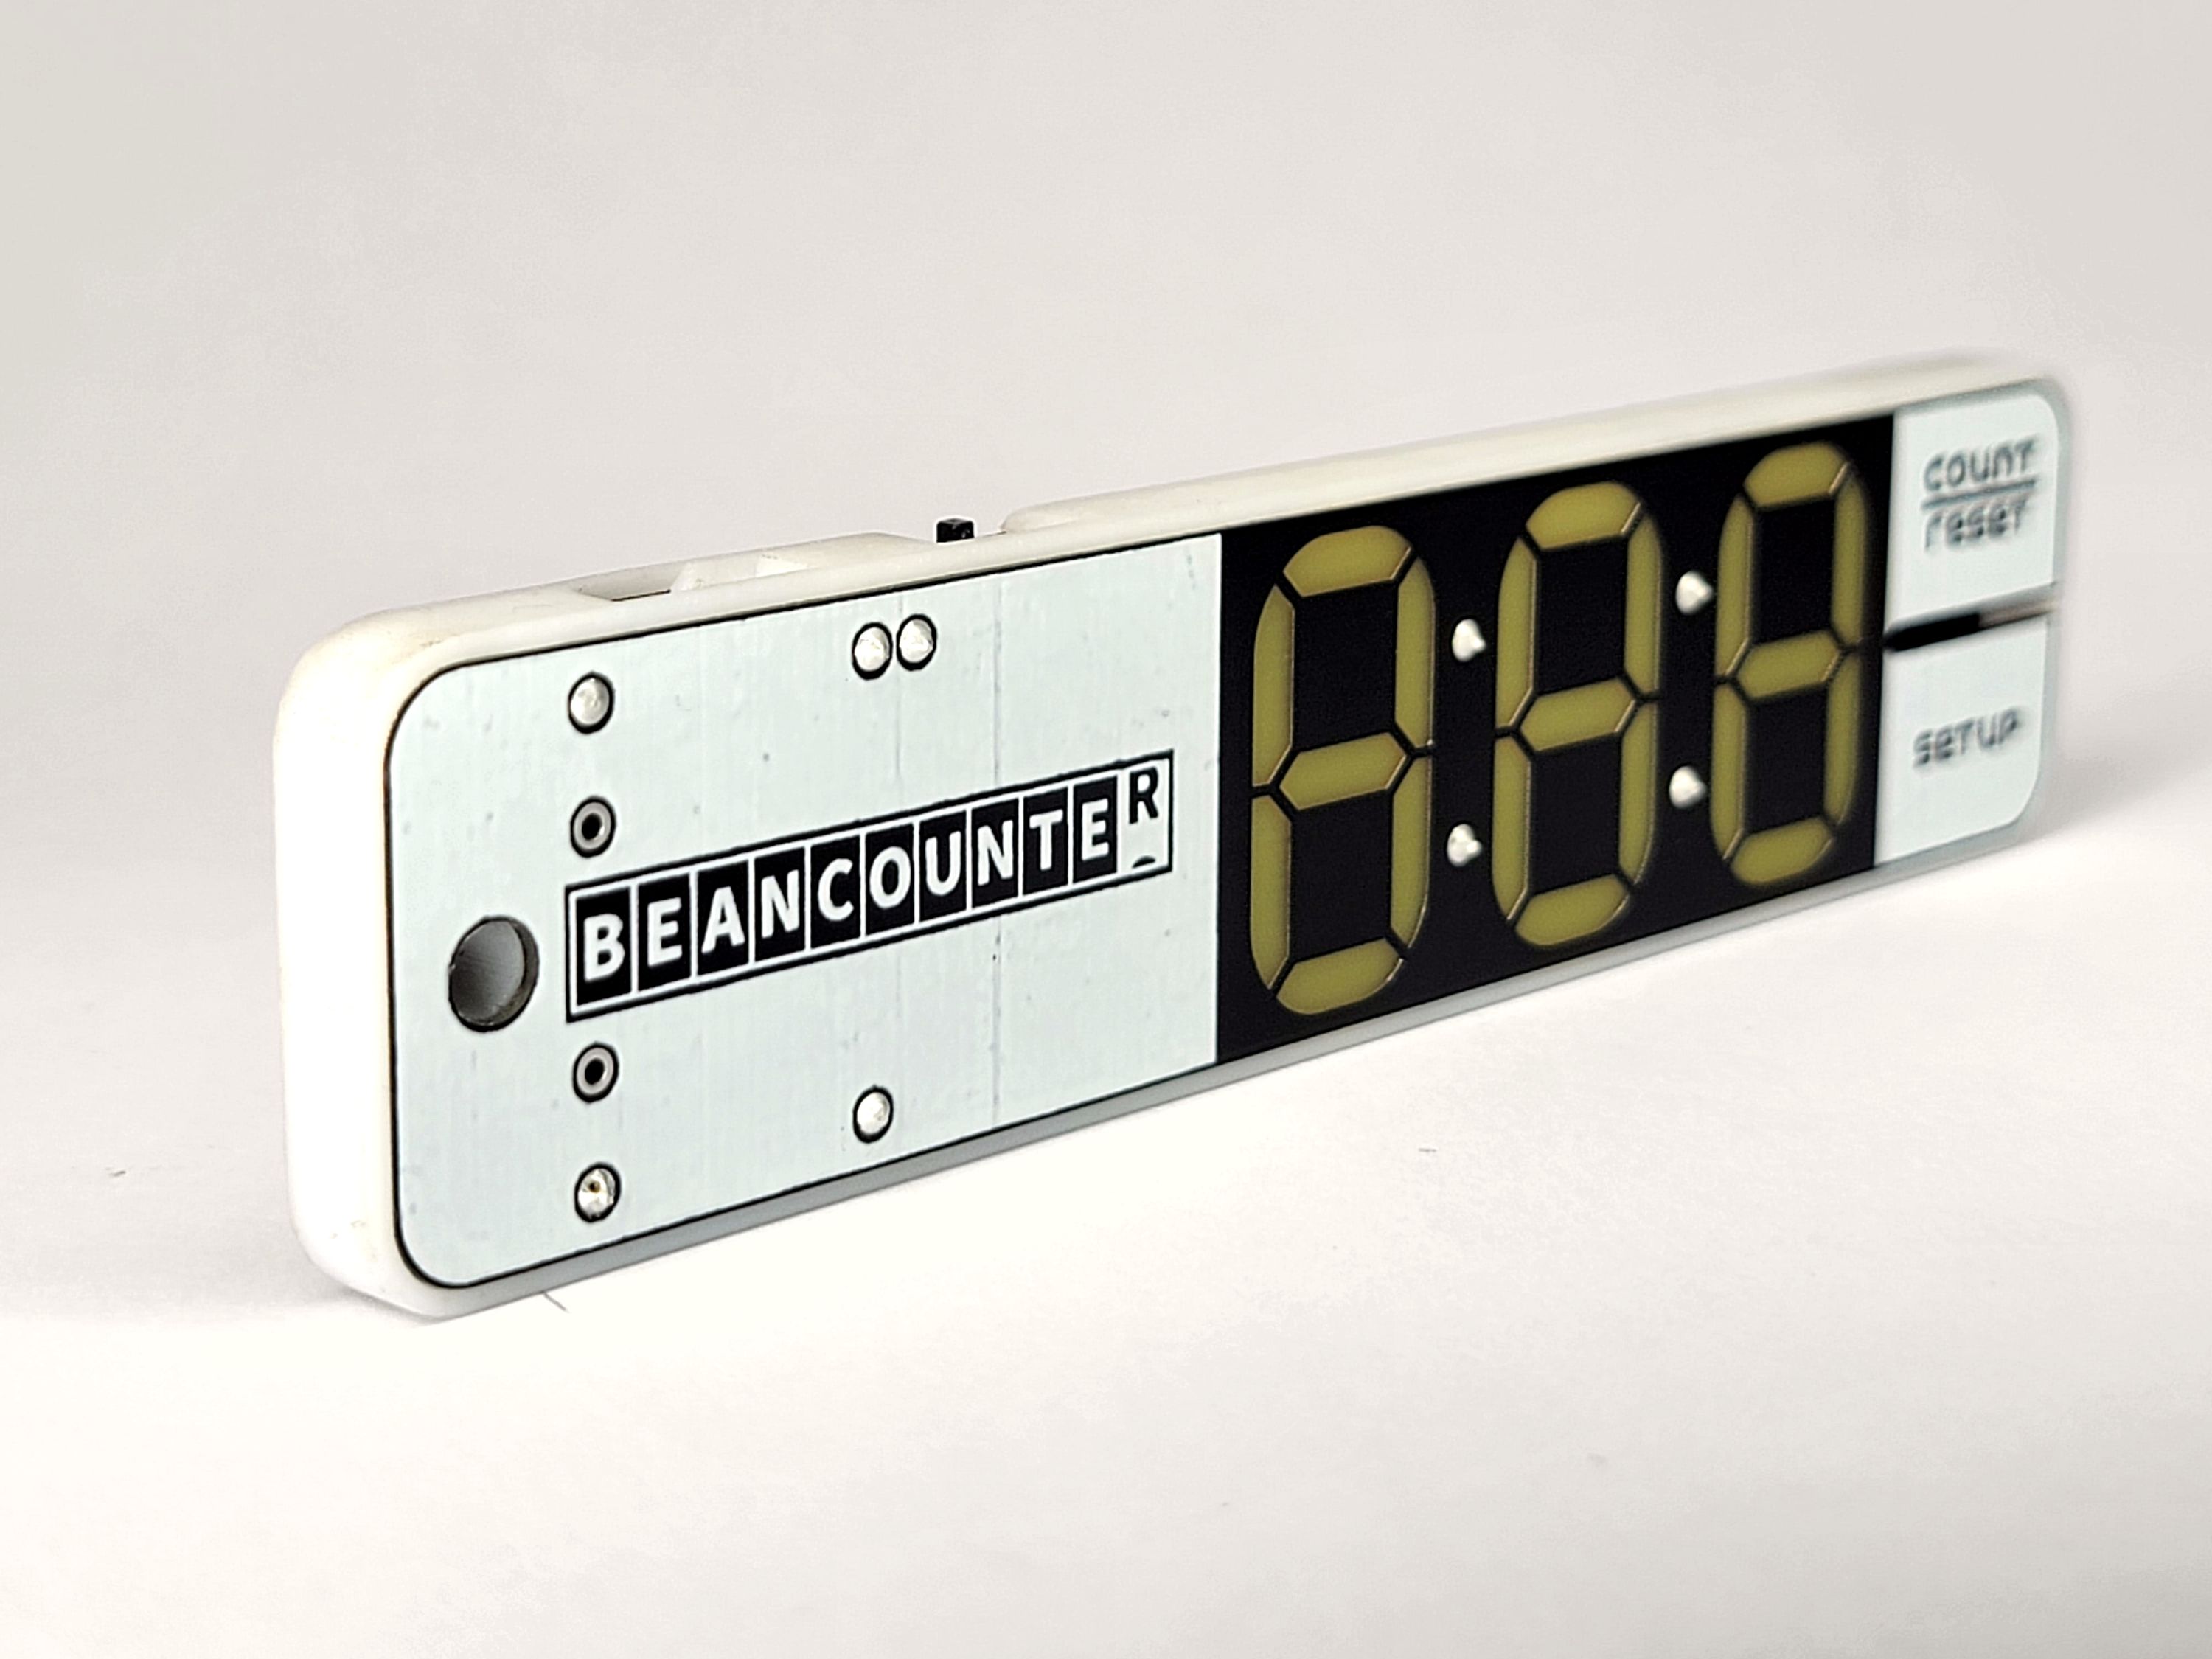
Production Ready: Final Adjustments
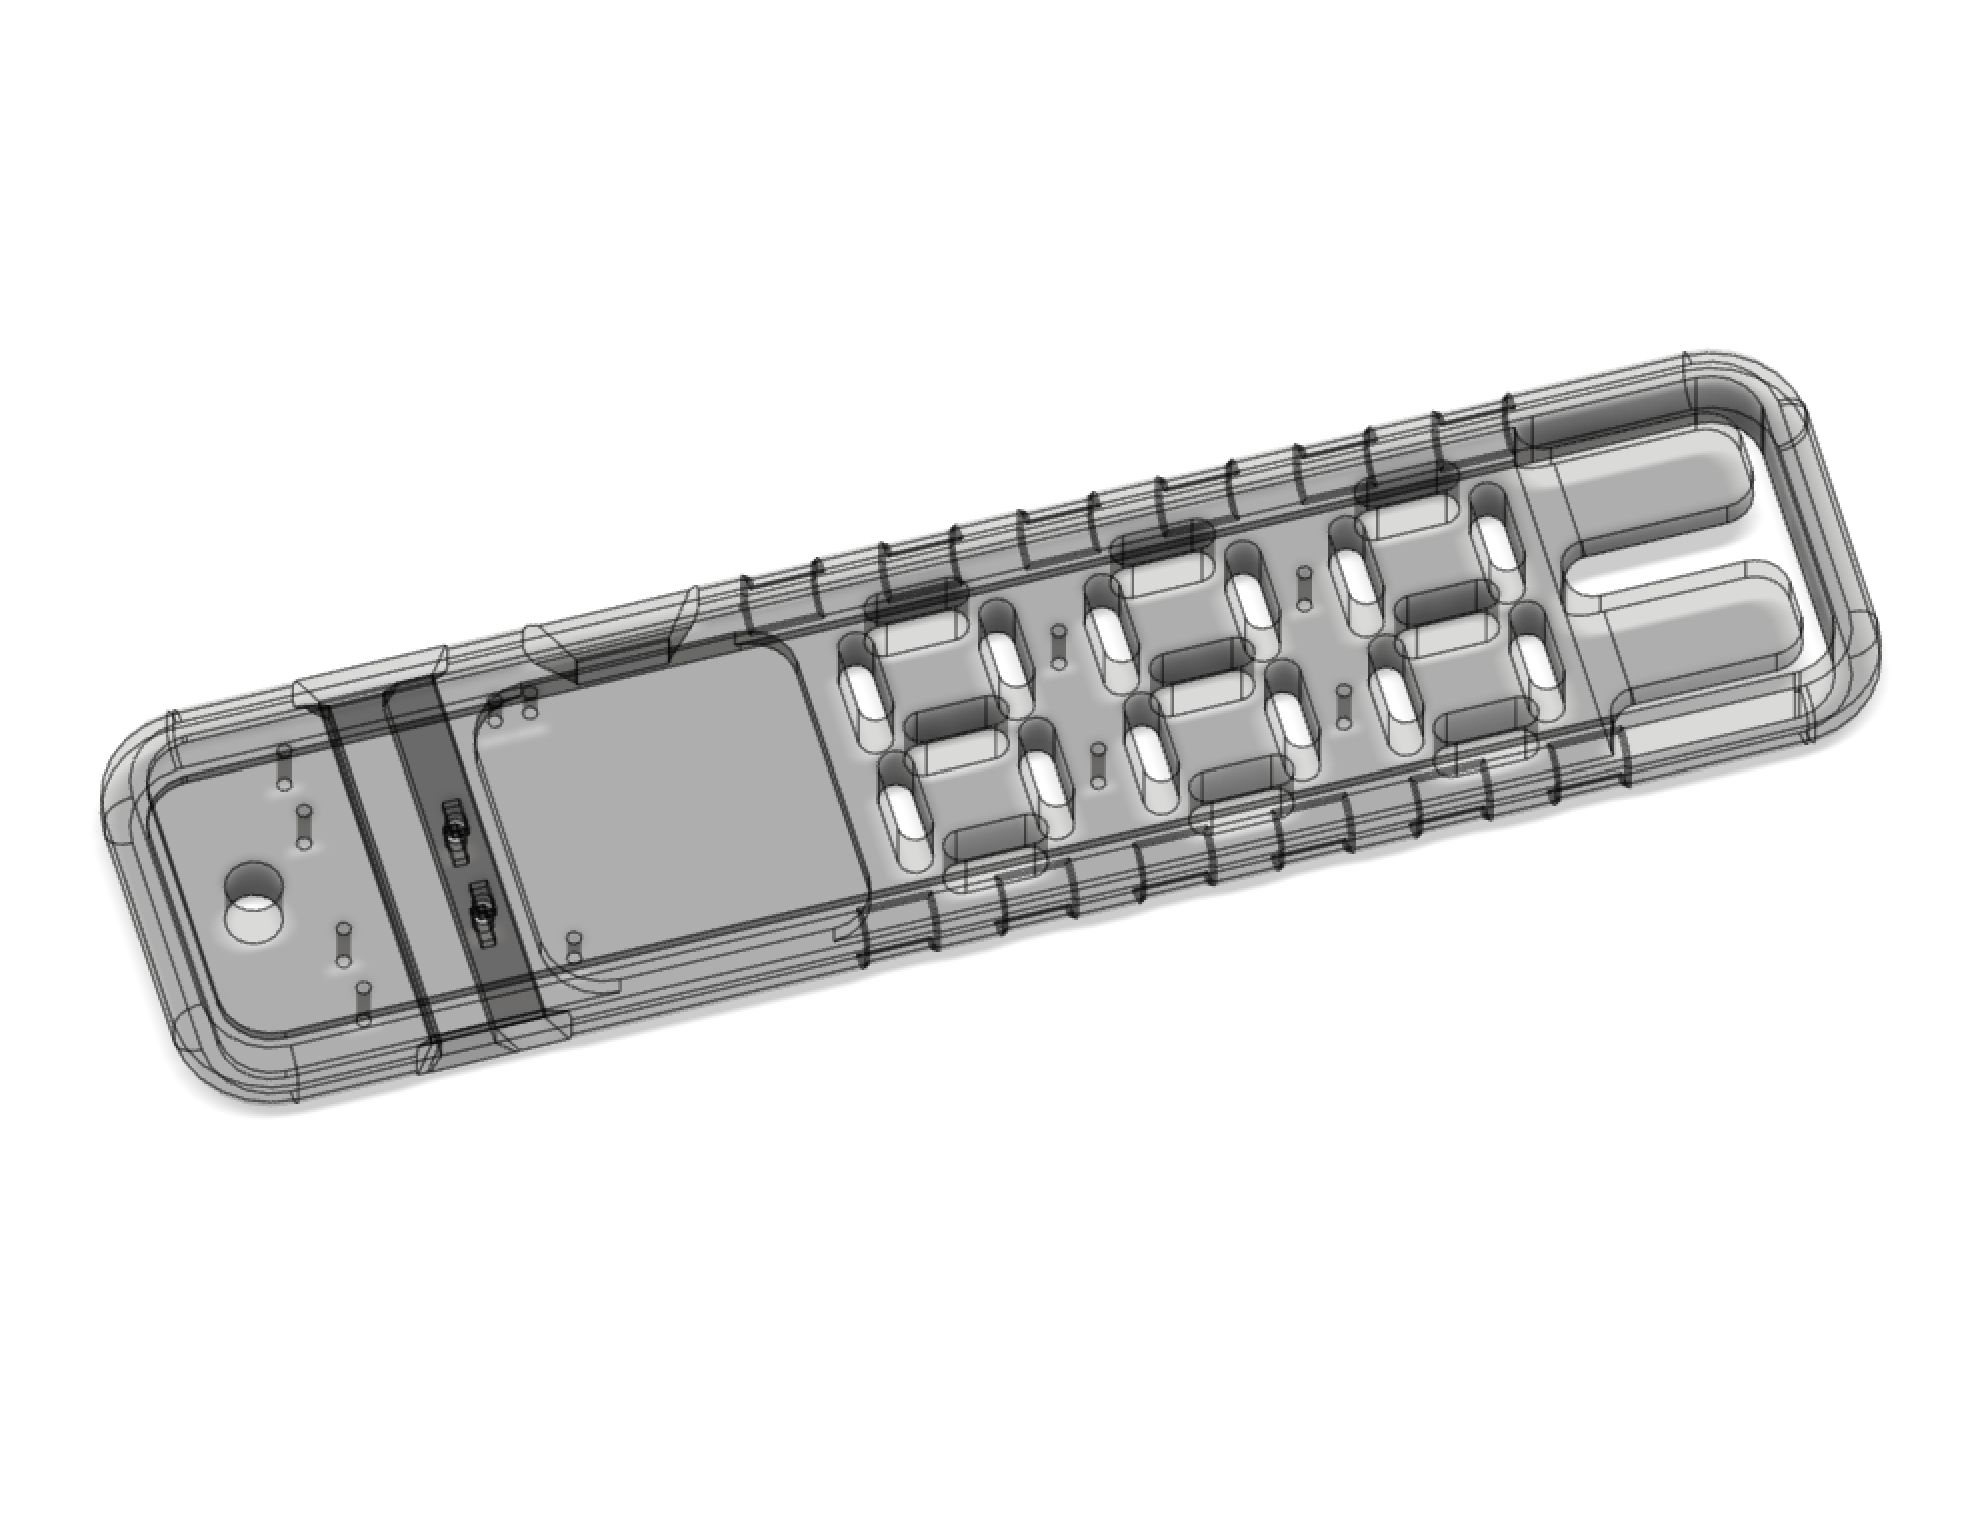
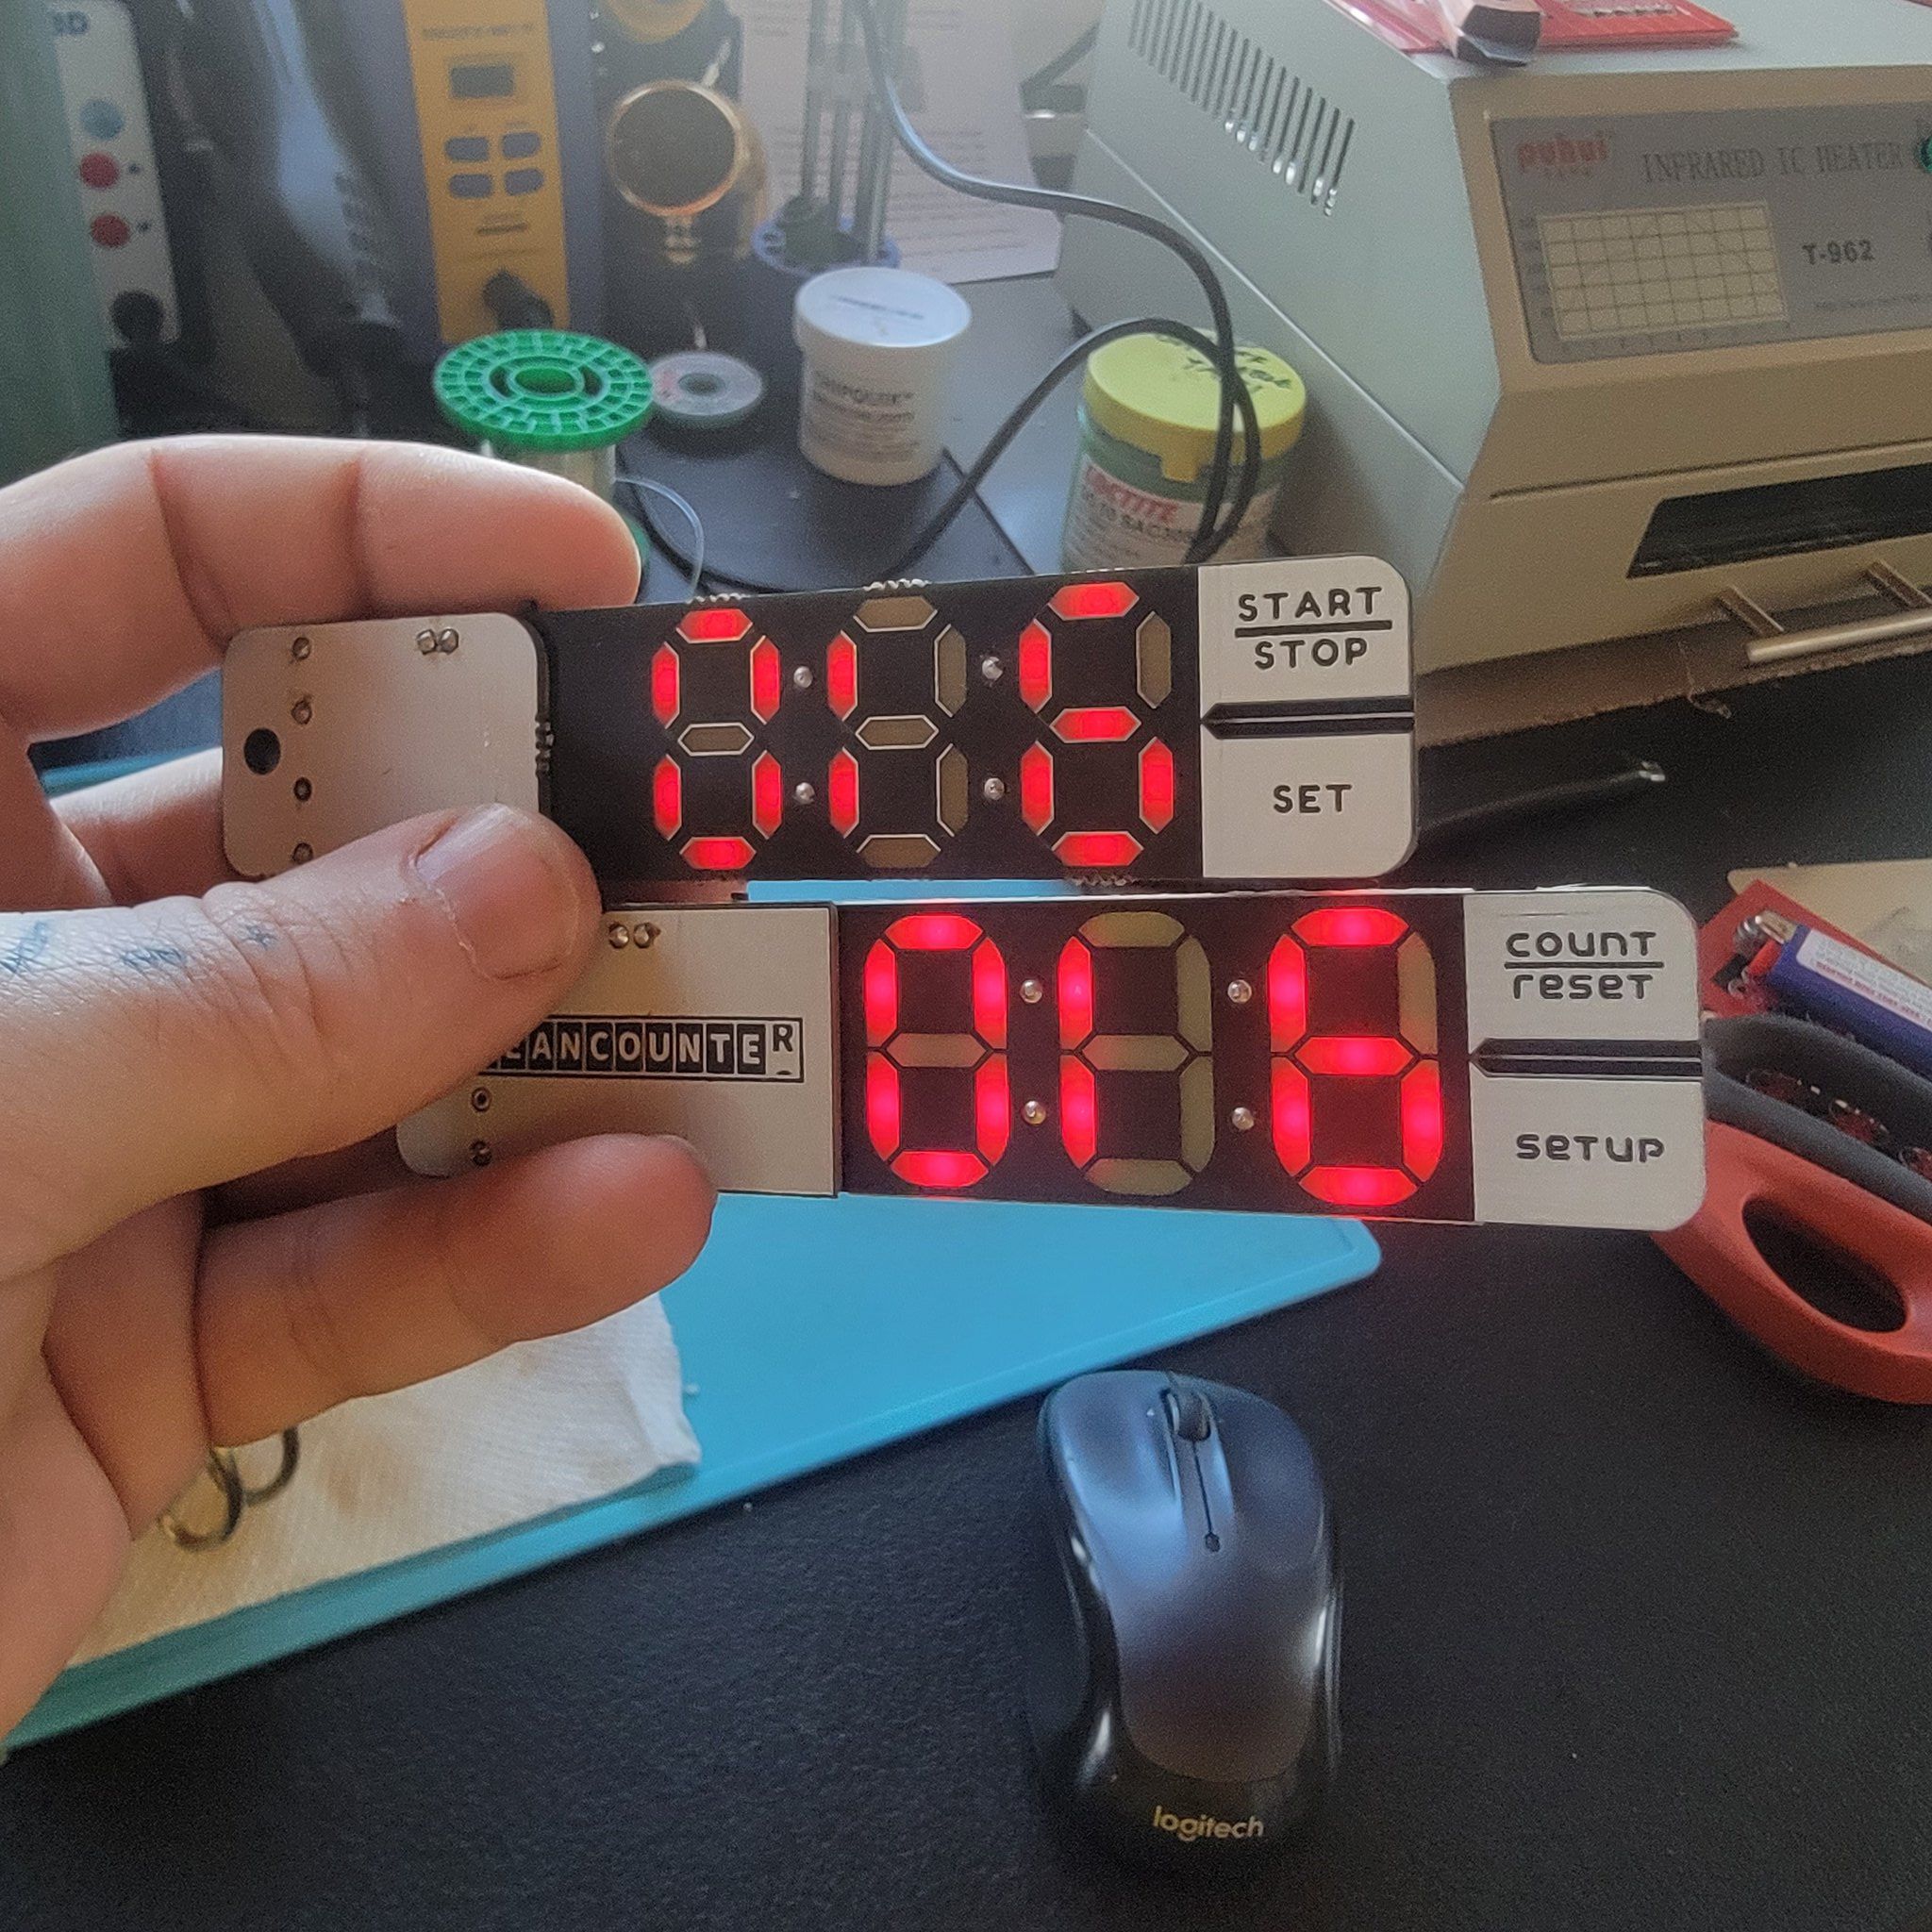
The final design uses the resin chassis to address a few previous issues. Firstly, the entire outside border of the part was thickened. Not only does this addresses the problem of the previous version being fragile, but the thickness itself is calculated to put the edge of the device at a known distance to the sensor to improve user experience in Dispense Mode. And now that there’s plenty of plastic around the border of the device, it’s possible to add texture for improved grip. Finally, to avoid having to source special tactile switches for the "count" and "setup" buttons, plastic tabs were incorporated to press down on the standard 5mm switches.
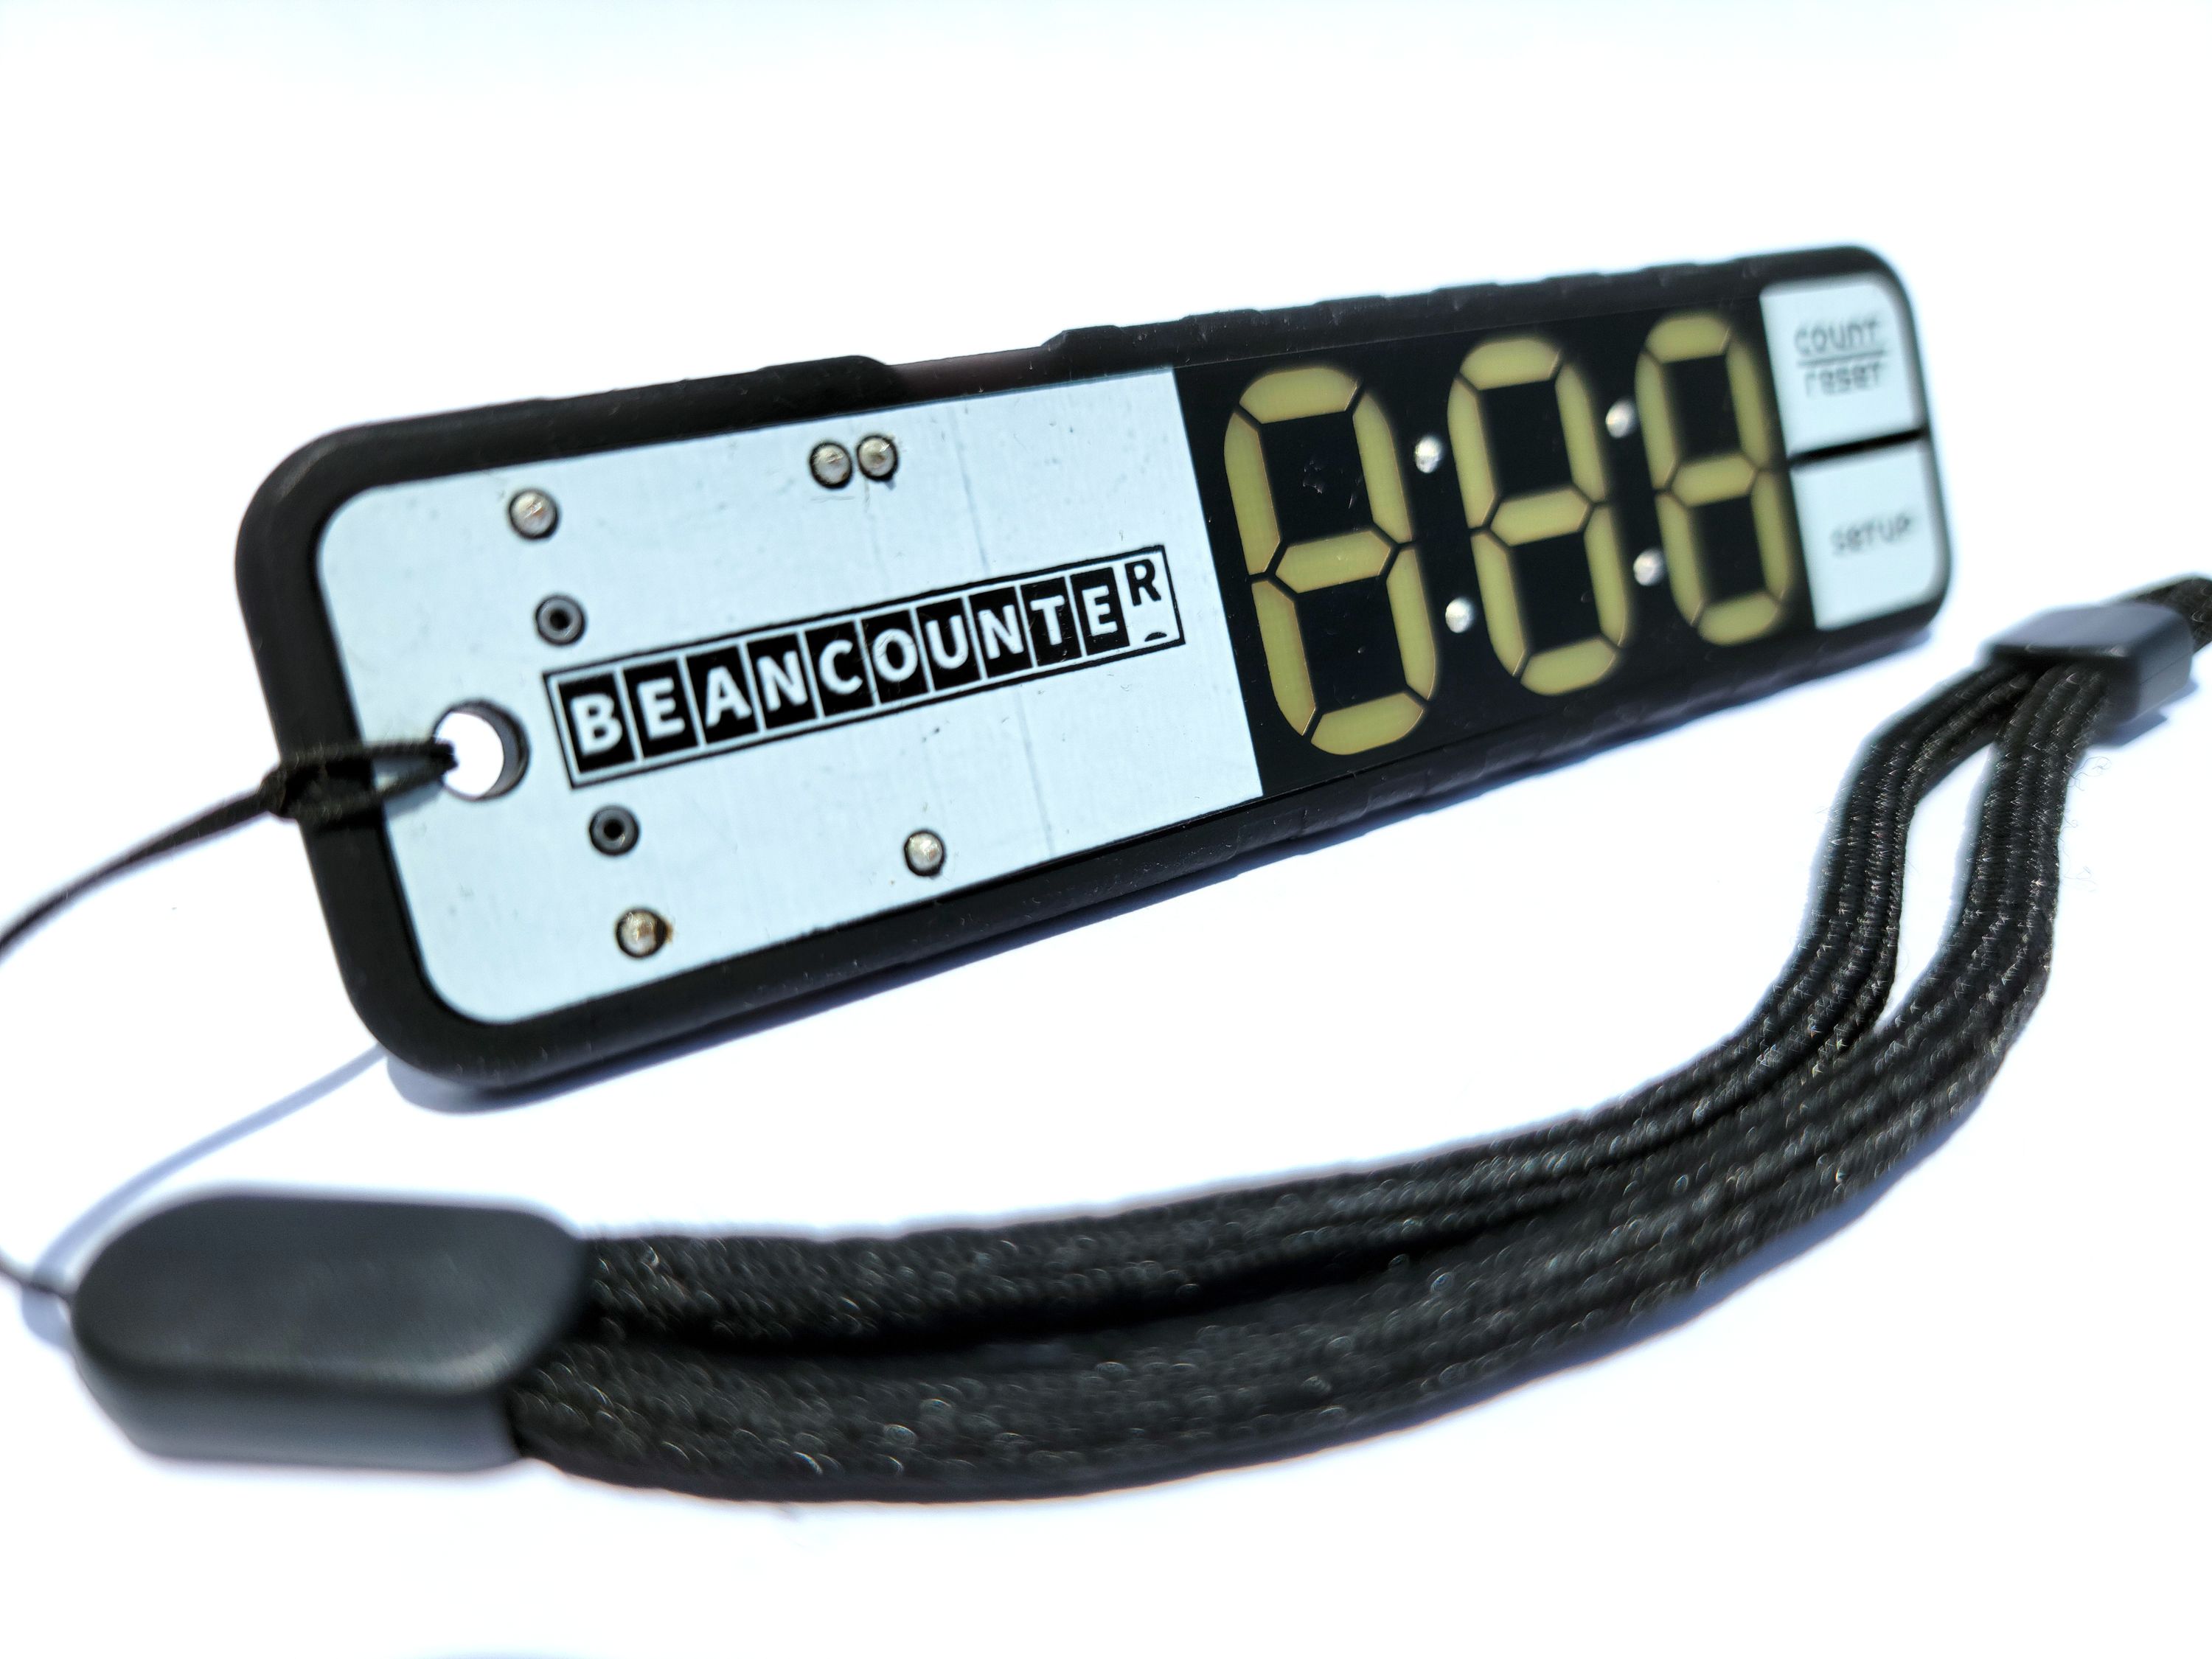
No doubt there are still aspects of the design that could be optimized, but I’m proud of the version we’re shipping. It’s important to know when a project is finished. That said, there have been a ton of great ideas for added features and design tweaks that could make it into a future product, and I can’t wait to hear from all of you once you’ve put BeanCounter through its paces.