Project update 4 of 15
Week Three: Coding a New Watch Face & Another Bike Ride
by Joey CastilloThe plan for this week’s post was to walk through creating a useful watch face for Movement from scratch, just to show off how the process works. The problem I had was I didn’t have a great idea for a watch face.
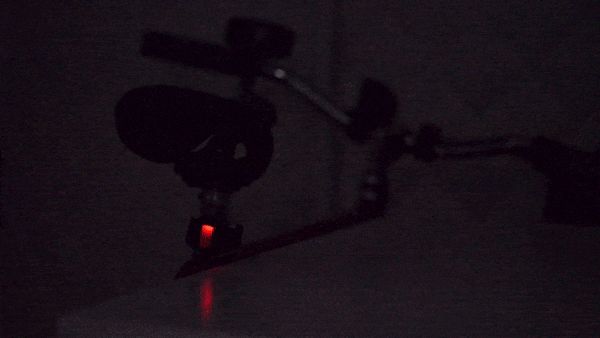
Then I went to bike home, and the battery in my flashing red taillight was dead.
So, I know Sensor Watch is a watch, and I love that it’s designed to do watchy things. But it’s also a fully programmable microcontroller on your wrist — and if there’s one thing microcontrollers are great at, it’s flashing an LED! The idea of a watch face that just blinks a light has always appealed to me. By design, the LEDs in Sensor Watch aren’t the brightest. Still, in the pitch dark of night, I figured maybe they might give off enough light to be of some use.
We should get this out of the way first: it turns out Sensor Watch makes for a pretty terrible bike light. Still, if I squint hard enough, I can see uses for this blinking watch face in a pinch. I imagine falling down a ravine at night, and using the yellow LED as an emergency beacon to help rescuers find me. Or when camping with a dog in the forest: one might attach Sensor Watch to their collar to keep track of the pup as a green dot darting around the inky blackness.
Question: are there better tools for these jobs? Answer: yes, absolutely. But, a follow-up: are you already wearing them on your wrist?
I didn’t think so.
Getting to Blinky
So let’s build our blinking light, and let’s use it as an opportunity to talk about how Sensor Watch software is designed. We’re going to build a single watch face for Movement, the community firmware for Sensor Watch. Movement is an application that manages a list of watch faces, which the wearer can move through by pressing the Mode button. A watch face has near total control over the Sensor Watch hardware while it’s active, and once it resigns — usually in response to the wearer pressing the Mode button — it relinquishes control to the next watch face in the list. This gives the wearer a familiar experience when interacting with Sensor Watch: they can simply press the Mode button to move from one watch face to the next.
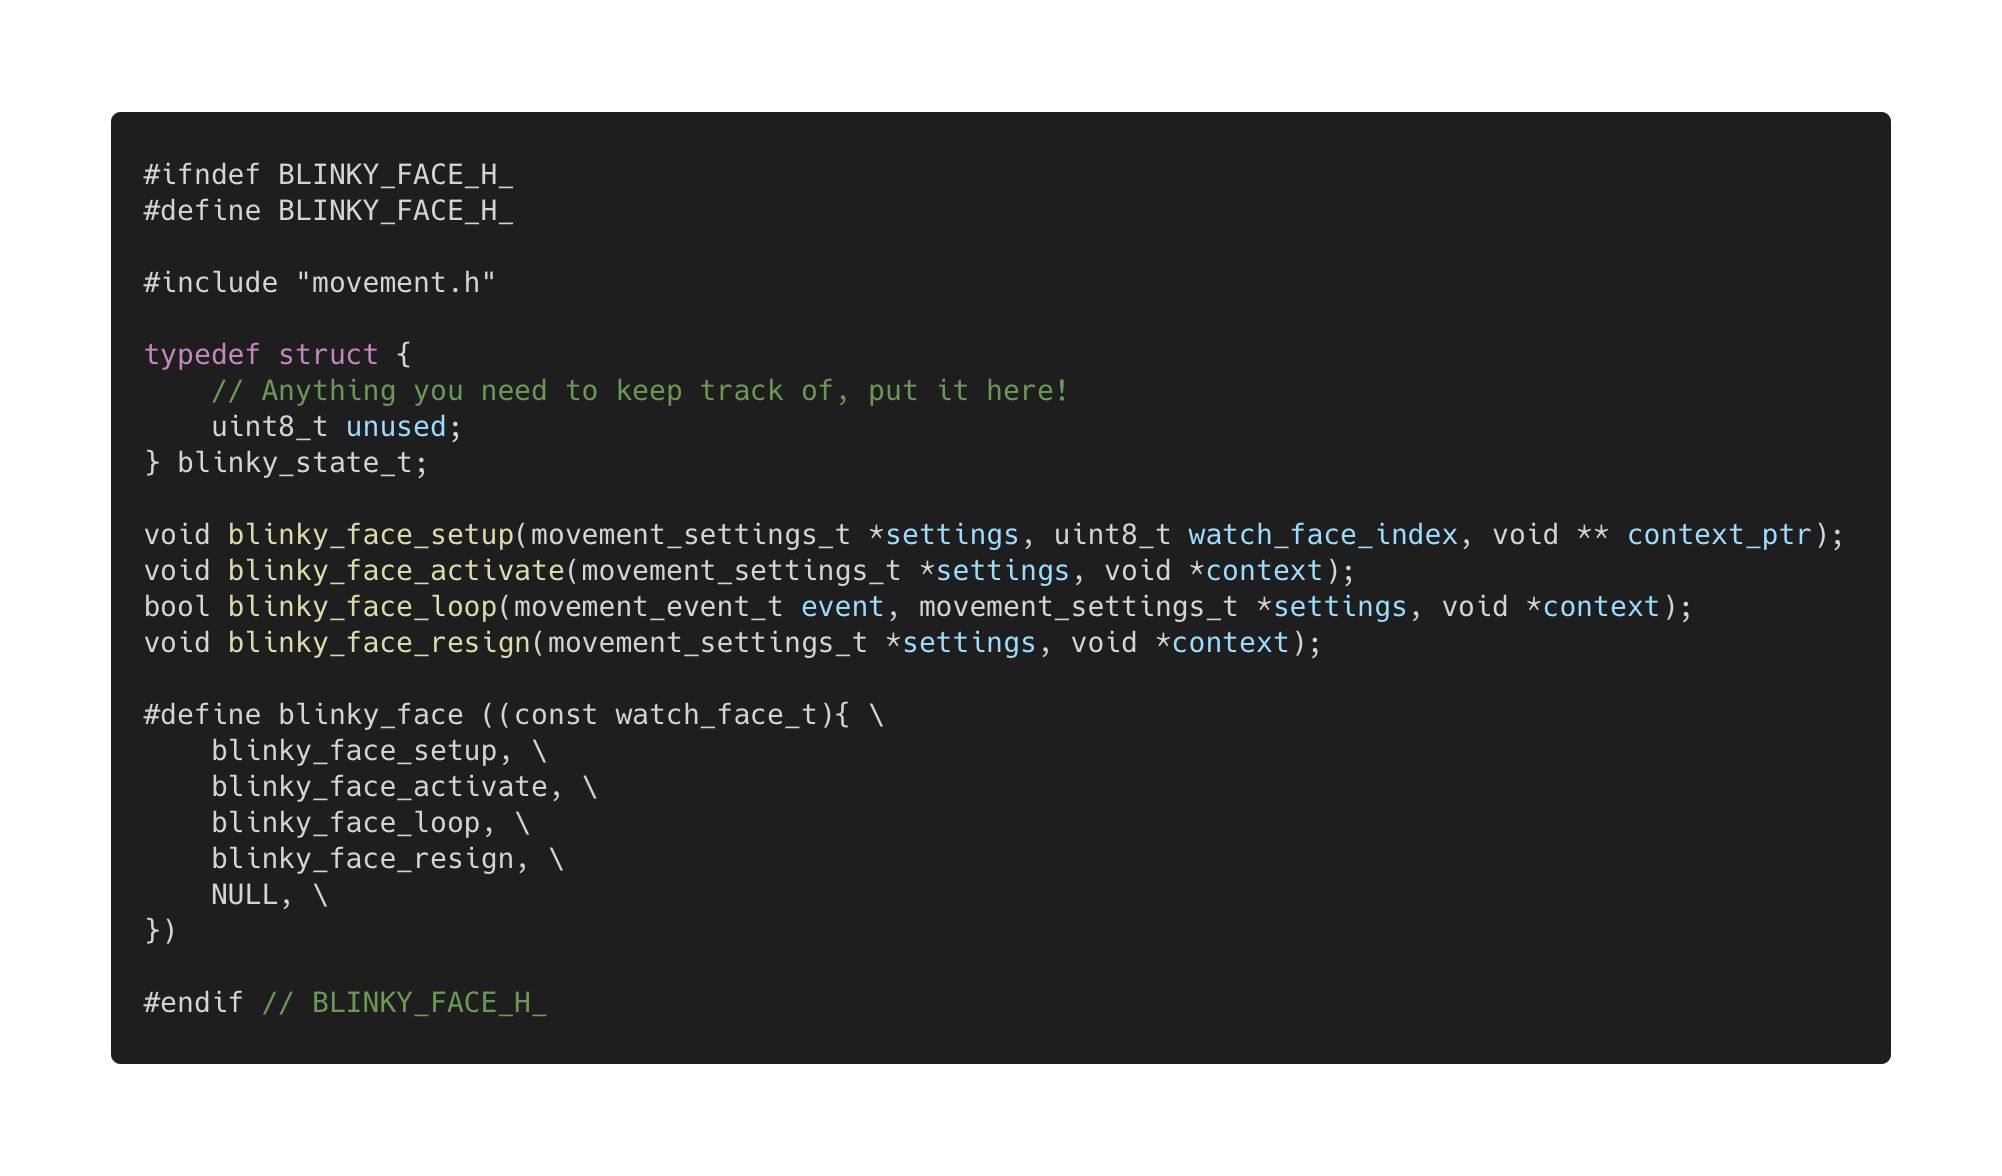
We’ll start by generating a header and an implementation for our blinky watch face. Thanks to a new script by backer David Keck — merged in literally last night! — we can simply run the command python3 watch_face.py complication blink in a terminal window. That generates two files in the watch-faces/complication folder, called blinky_face.h and blinky_face.c.
Watch faces in Movement are just plain old C, and we’ll implement our blinky watch face in the four functions that script has generated for us:
blinky_face_setupis called when the watch boots, and when waking from deep sleep.blinky_face_activateis called just before our watch face comes on screen.blinky_face_loopis called every time the watch ticks, which is normally once a second, but watch faces can request something faster.- And
blinky_face_resignis called just before our watch face goes off screen.
The script also generates a structure to hold the state of our watch face. We’ll want to add some stuff: a boolean to keep track of whether the LED should be actively blinking — an on/off switch, if you will — as well as the speed and the color. It looks something like this:
typedef struct {
    bool active;
    bool fast;
    uint8_t color;
} blinky_state_t;
Next, we’ll look to our implementation file, blinky_face.c, and implement those four functions. Our setup function is simple: when the watch boots, Movement will call this function with a spot for us to stash a pointer to our watch face state. We’ll just allocate some memory for that purpose, and zero it out:
void blinky_face_setup(movement_settings_t *settings, uint8_t watch_face_index, void ** context_ptr) {
    if (*context_ptr == NULL) {
        *context_ptr = malloc(sizeof(blinky_state_t));
        memset(*context_ptr, 0, sizeof(blinky_state_t));
    }
}
Next, we’ll implement our activate function. When the wearer activates our watch face, we’ll want to preserve the speed and color that they may have set previously, but we also don’t want to start flashing the light until they tell us to. So we make sure to set the active property of our state to false. (Note that we get a void pointer here, which we cast to our blinky_state_t type. This "context" pointer may look confusing, but it’s just Movement giving us back the same pointer that we malloc‘ed in setup above.)
void blinky_face_activate(movement_settings_t *settings, void *context) {
    blinky_state_t *state = (blinky_state_t *)context;
    state->active = false;
}
Before we declare our loop function, I’m going to add a little helper function to update the LCD. This just takes the state of our watch face, and translates it to letters on the LCD:
static void _blinky_face_update_lcd(blinky_state_t *state) {
    char buf[11];
    const char colors[][7] = {" red  ", " Green", " Yello"};
    sprintf(buf, "BL %c%s", state->fast ? 'F' : 'S', colors[state->color]);
    watch_display_string(buf, 0);
}
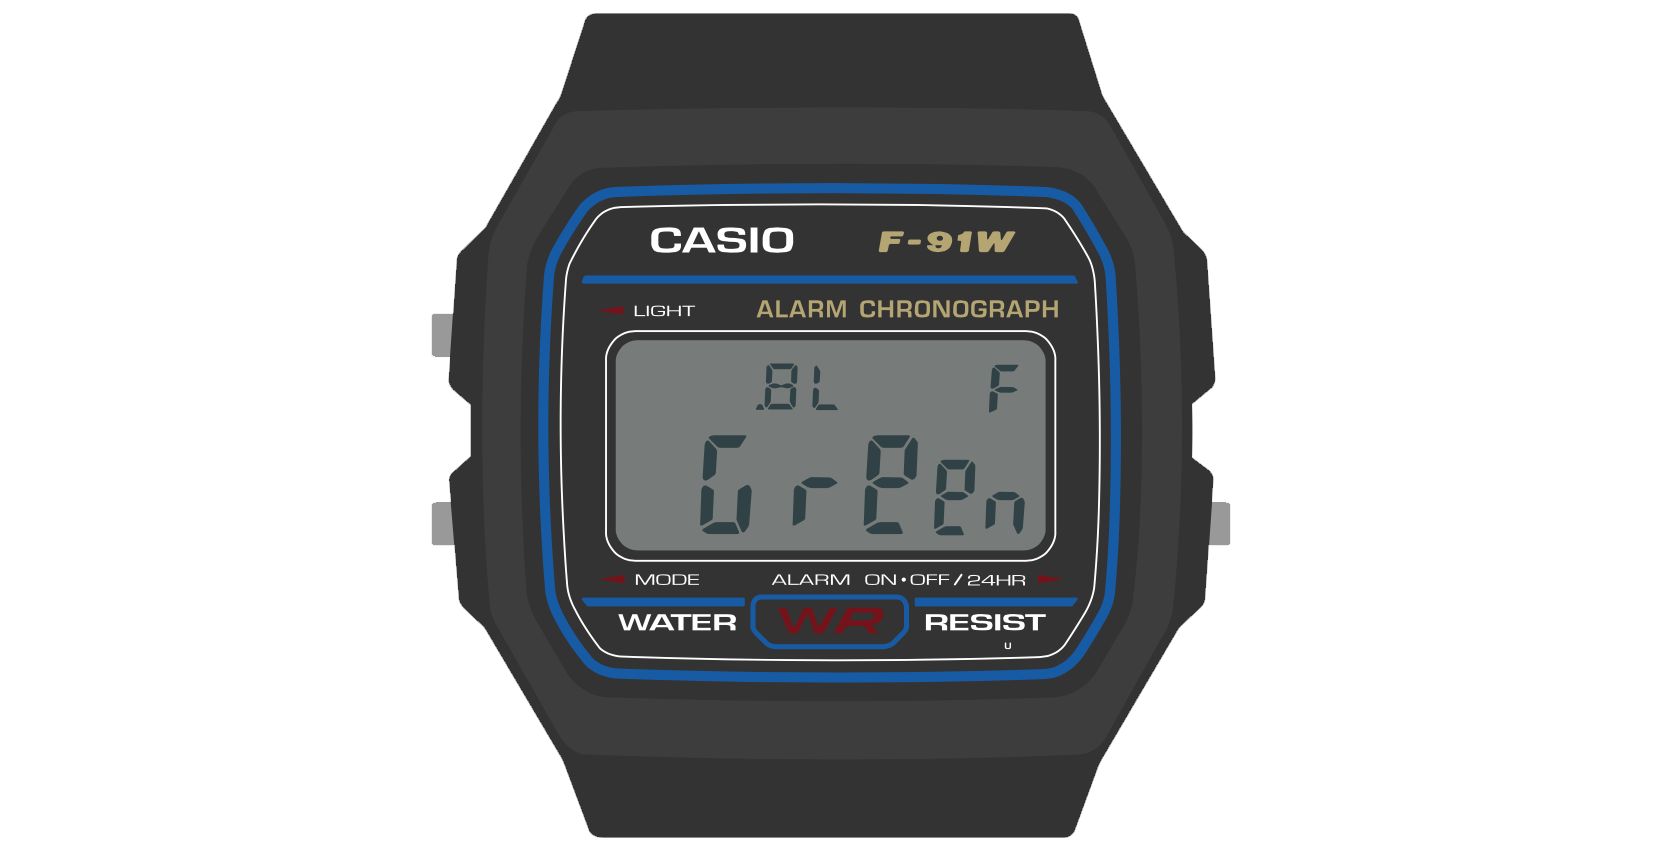
This function formats a ten-character string that looks something like this: "BL F Green". The wearer can read that as "Blinky watch face, fast blink, green LED". The watch_display_string function then displays it in the ten positions available on the watch:
Almost there! Next, we write our loop. This is where the action happens!
bool blinky_face_loop(movement_event_t event, movement_settings_t *settings, void *context) {
    blinky_state_t *state = (blinky_state_t *)context;

    switch (event.event_type) {
        // TODO: handle events!
    }

    return true;
}
The core of this function is just a big switch statement that handles events. Movement abstracts away all of the button and timer interrupts, and instead gives our watch simple events that correspond to things like button presses or ticks. All we have to do is implement the cases. For example, we get an event when the watch face is first activated. We can use that to update the LCD for the first time:
case EVENT_ACTIVATE:
    _blinky_face_update_lcd(state);
    break;
Next, let’s respond to a button press. When the wearer presses the Mode button, we’ll want to move to the next watch face:
case EVENT_MODE_BUTTON_UP:
    movement_move_to_next_face();
    break;
Simple enough! Now we need a way to change the color. We’ll assign that function to the Light button: when the wearer presses that button, assuming the LED isn’t already blinking, we’ll move to the next color and update the display:
case EVENT_LIGHT_BUTTON_UP:
    if (!state->active) {
        state->color = (state->color + 1) % 3;
        _blinky_face_update_lcd(state);
    }
    break;
We’ll also need a way to start and stop the blinking. We’ll use the Alarm button for that. When the wearer presses that button, we want to do one of two things. If the blinking isn’t active, we set it to active, clear the display, and request a frequency to match the selected speed. If on the other hand the blinking is active, we’ll stop it and go back to displaying our state.
case EVENT_ALARM_BUTTON_UP:
    if (!state->active) {
        state->active = true;
        watch_clear_display();
        movement_request_tick_frequency(state->fast ? 8 : 2);
    } else {
        state->active = false;
        watch_set_led_off();
        _blinky_face_update_lcd(state);
    }
    break;
Of course, we also need to give the wearer a way to select the speed. But we’re out of buttons! Not to worry, there’s another event for that. Movement can detect a "long press" of a button, which is when the wearer holds the button for more than a half second. We’ll make a long press on the Alarm button change the speed (again, assuming the LED isn’t blinking):
case EVENT_ALARM_LONG_PRESS:
    if (!state->active) {
        state->fast = !state->fast;
        _blinky_face_update_lcd(state);
    }
    break;
Finally, we need to blink the light! We’ll use the tick event for that. Movement issues this event every time the clock ticks. Normally that’s once a second, but watch faces can request a faster tick, like we did above when setting the blinking state to active. We’ll use this tick function to toggle the LED off on even numbered ticks, and on on odd numbered ticks:
case EVENT_TICK:
    if (state->active) {
        if (event.subsecond % 2 == 0) watch_set_led_off();
        else if (state->color == 0) watch_set_led_red();
        else if (state->color == 1) watch_set_led_green();
        else watch_set_led_yellow();
    }
    break;
That’s it for our loop! There’s only one function left, and it’s a short one. Our resign function is responsible for any last-minute cleanup before relinquishing control to the next watch face. In our case, it’s possible the wearer might press "Mode" while the LED was on, so we need to make sure to turn it off here, just in case:
void blinky_face_resign(movement_settings_t *settings, void *context) {
    watch_set_led_off();
}
With that, we’ve implemented a whole watch face in just a few dozen lines of code! All that’s left is opening up movement_config.h and adding it to the list of selected watch faces:
const watch_face_t watch_faces[] = {
    simple_clock_face,
    blinky_face, // that's us!
    voltage_face,
    preferences_face,
    set_time_face,
};
Once it’s in there, it’s just another watch face that you can compile into the firmware that runs on your wrist, your bike or your dog’s collar.
Other News of the Watch
In case you missed it, on Friday I had a chance to chat with the wonderful Helen Leigh during a Crowd Supply Teardown Session! We did some live demos of new watch functionality and answered lots of great audience questions, but the big reveal was this: the Sensor Watch Emulator, by backer Alex Akers!
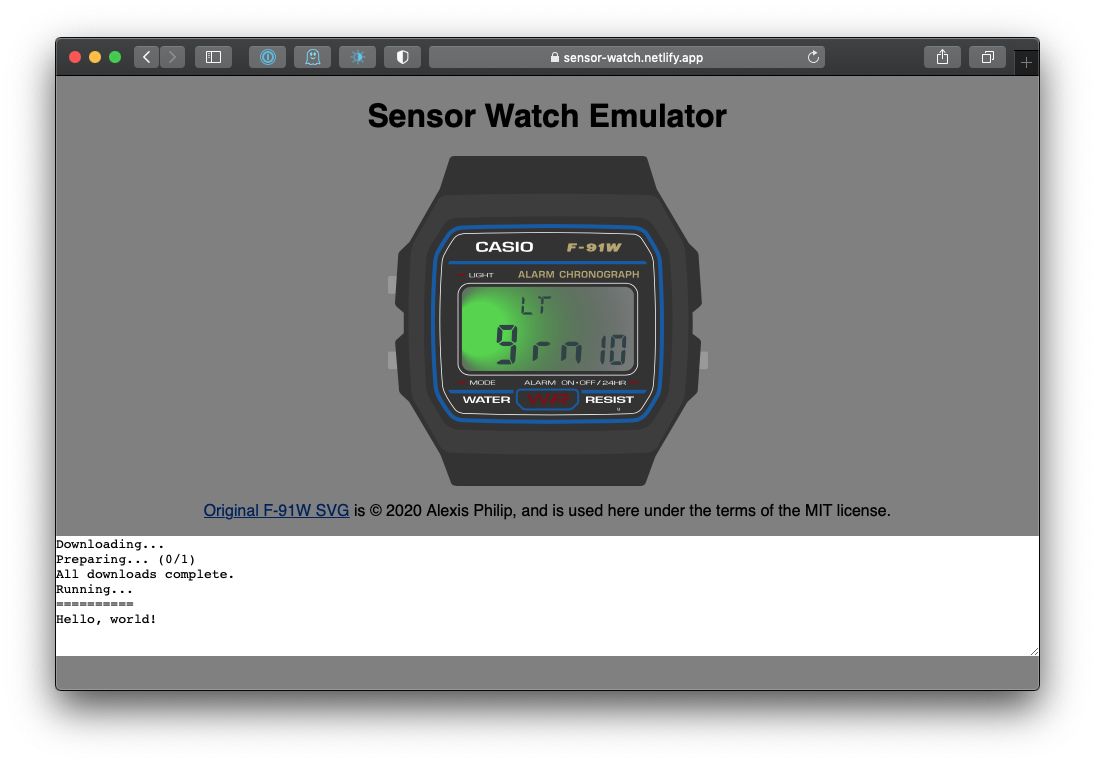
To explain what’s going on here: that’s the Sensor Watch firmware running in a web browser, and you can interact with it by clicking on the buttons. The firmware Alex currently has running contains the Simple Clock, Settings, Time Set and TOTP watch faces, but you can also clone the Sensor Watch codebase and preview any collection of watch faces by running the emulator locally! Just cd movement/make and run emmake make && python3 -m http.server --directory build. This will give you a local emulator on localhost:8000 that you can play with in your browser.
If you’re interested in coding a watch face for Sensor Watch, but you simply can’t wait for the hardware, this is a way to get started right now. I’m so grateful to Alex for his contribution, and I can’t wait to see what kinds of interesting watch faces folks come up with for Sensor Watch.
That’s about it for this update. We’re going to try to keep these coming every Thursday during the campaign, which feels like a lot, but there’s also a lot to talk about! Next week, it’ll be a deep dive into the Sensor Watch BOM, or Bill of Materials. We’ll take a look at every single part on the board to gain a better understanding of what each one does, and how each one contributes to the workings of the watch.
Until then, thanks again for your support! Stoked to share more next week.
- Joey