Project update 5 of 11
Electrooculography (EOG) Walkthrough
by Deepak KhatriElectrooculography (EOG) Walkthrough
Electrooculography (EOG) is a technique for measuring the corneo-retinal standing potential that exists between the front and the back of the human eye. The resulting signal is called the electrooculogram.
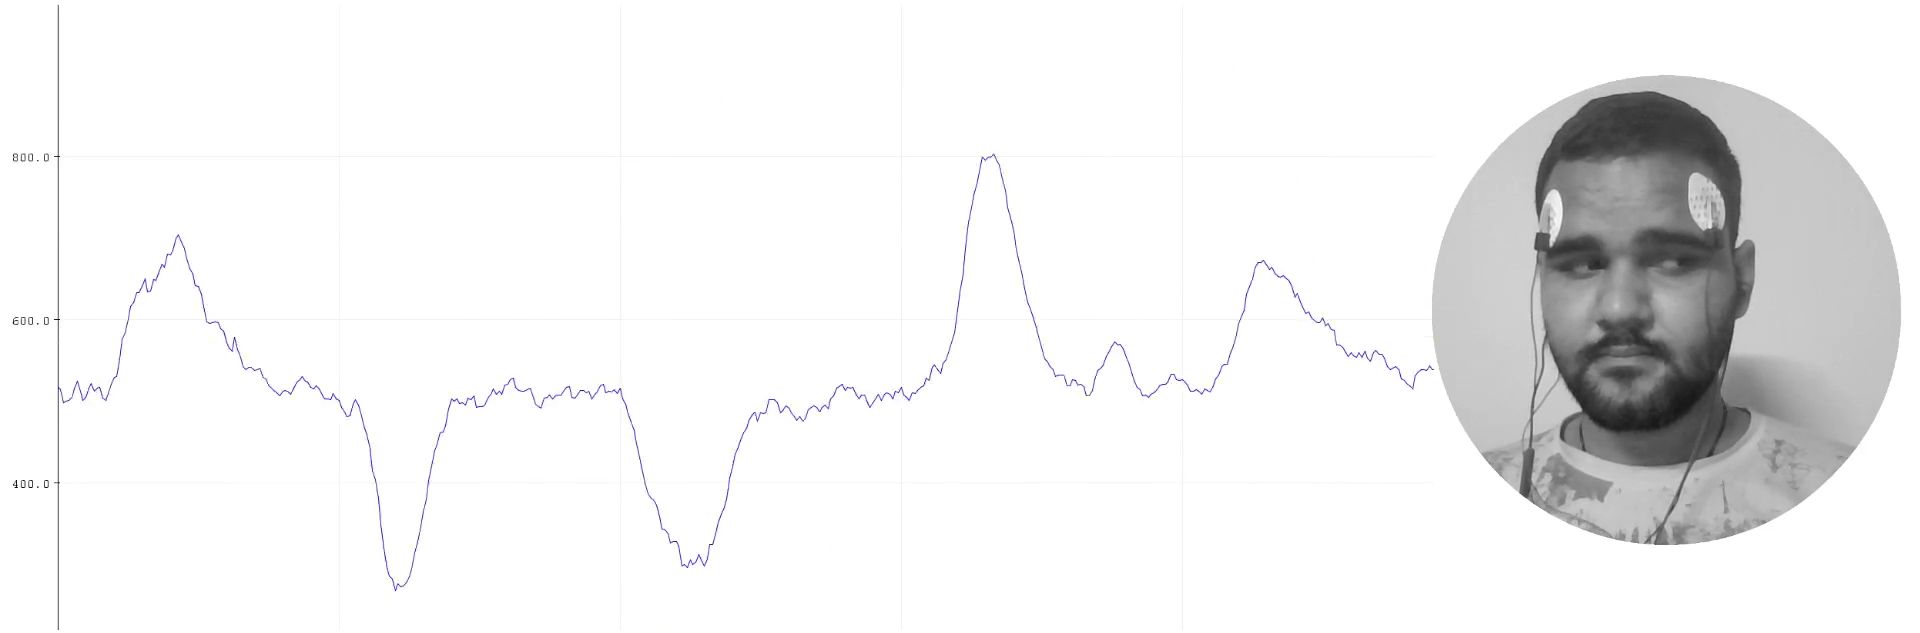
To measure eye movement, pairs of electrodes are typically placed either above and below the eye or to the left and right of the eye. If the eye moves from center position toward one of the two electrodes, this electrode "sees" the positive side of the retina and the opposite electrode "sees" the negative side of the retina. Consequently, a potential difference occurs between the electrodes. Assuming the resting potential is constant, the recorded potential is a measure of the eye’s position.
How to Create an Electrooculograph With BioAmp EXG Pill
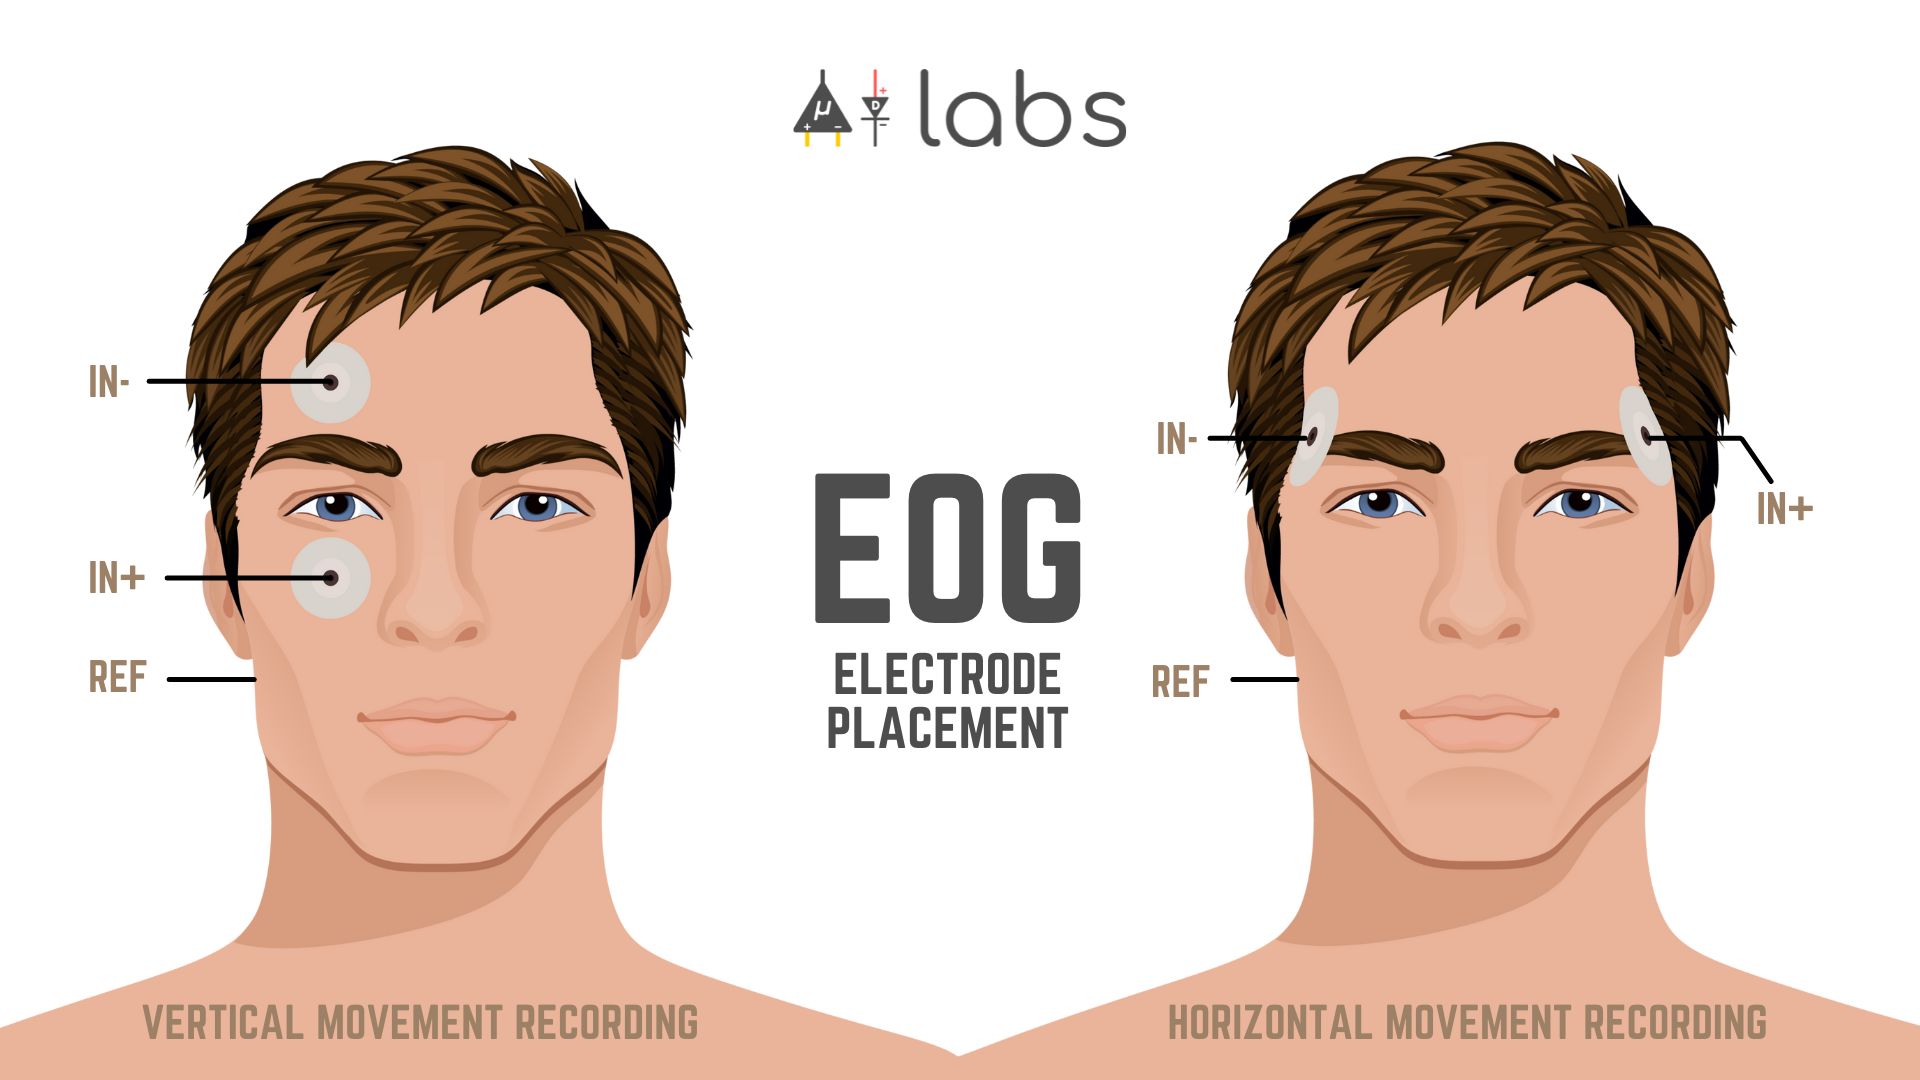
EOG is performed using an instrument called an electrooculograph to produce a record called an electrooculogram. Common electrode placement for recording good EOG signal for eye movement (vertical and horizontal) is shown in the diagram below.
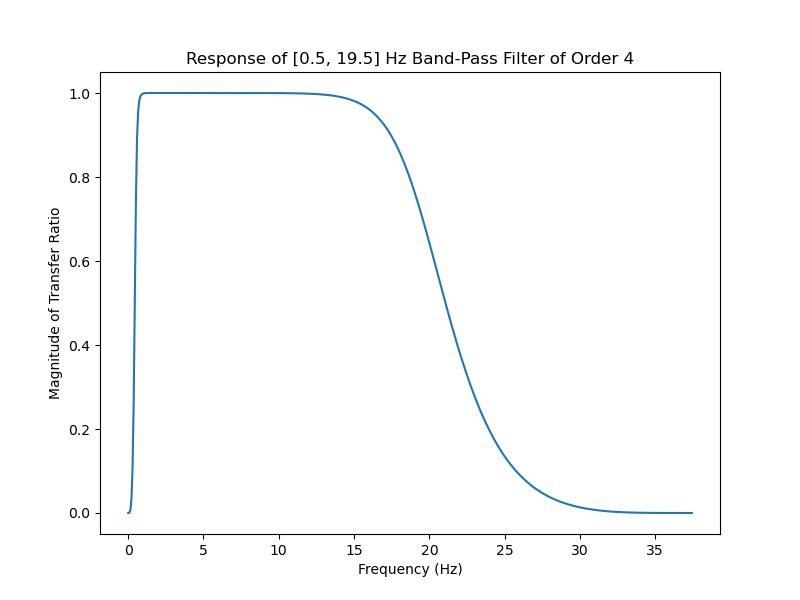
To record nice clean EOG signals with BioAmp EXG Pill, all you need is the Analog Serial Out Arduino example sketch. If you want some more control we also have a Fixed Sampling example sketch for recording EOG and other biopotential signals at a specific sampling rate. You can also use the EOG Filter example sketch for recording EOG at a sampling rate of 75.0 Hz and a frequency of 0.5 - 19.5 Hz. The image below shows the fourth-order Butterworth IIR digital bandpass filter used in the EOG Filter example sketch.
Note: BioAmp EXG Pill is not a certified medical device and should not be treated like one.
Recording Horizontal Eye Movement
To record horizontal eye movement, place the electrodes near your left and right eyes, just like in the image shown below. Then you just have to flash the EOG filter program onto your MCU, complete the wiring, and connect the electrodes like this:
IN-near right eyeIN+near left eyeREFbehind ear

Recording Vertical Eye Movement
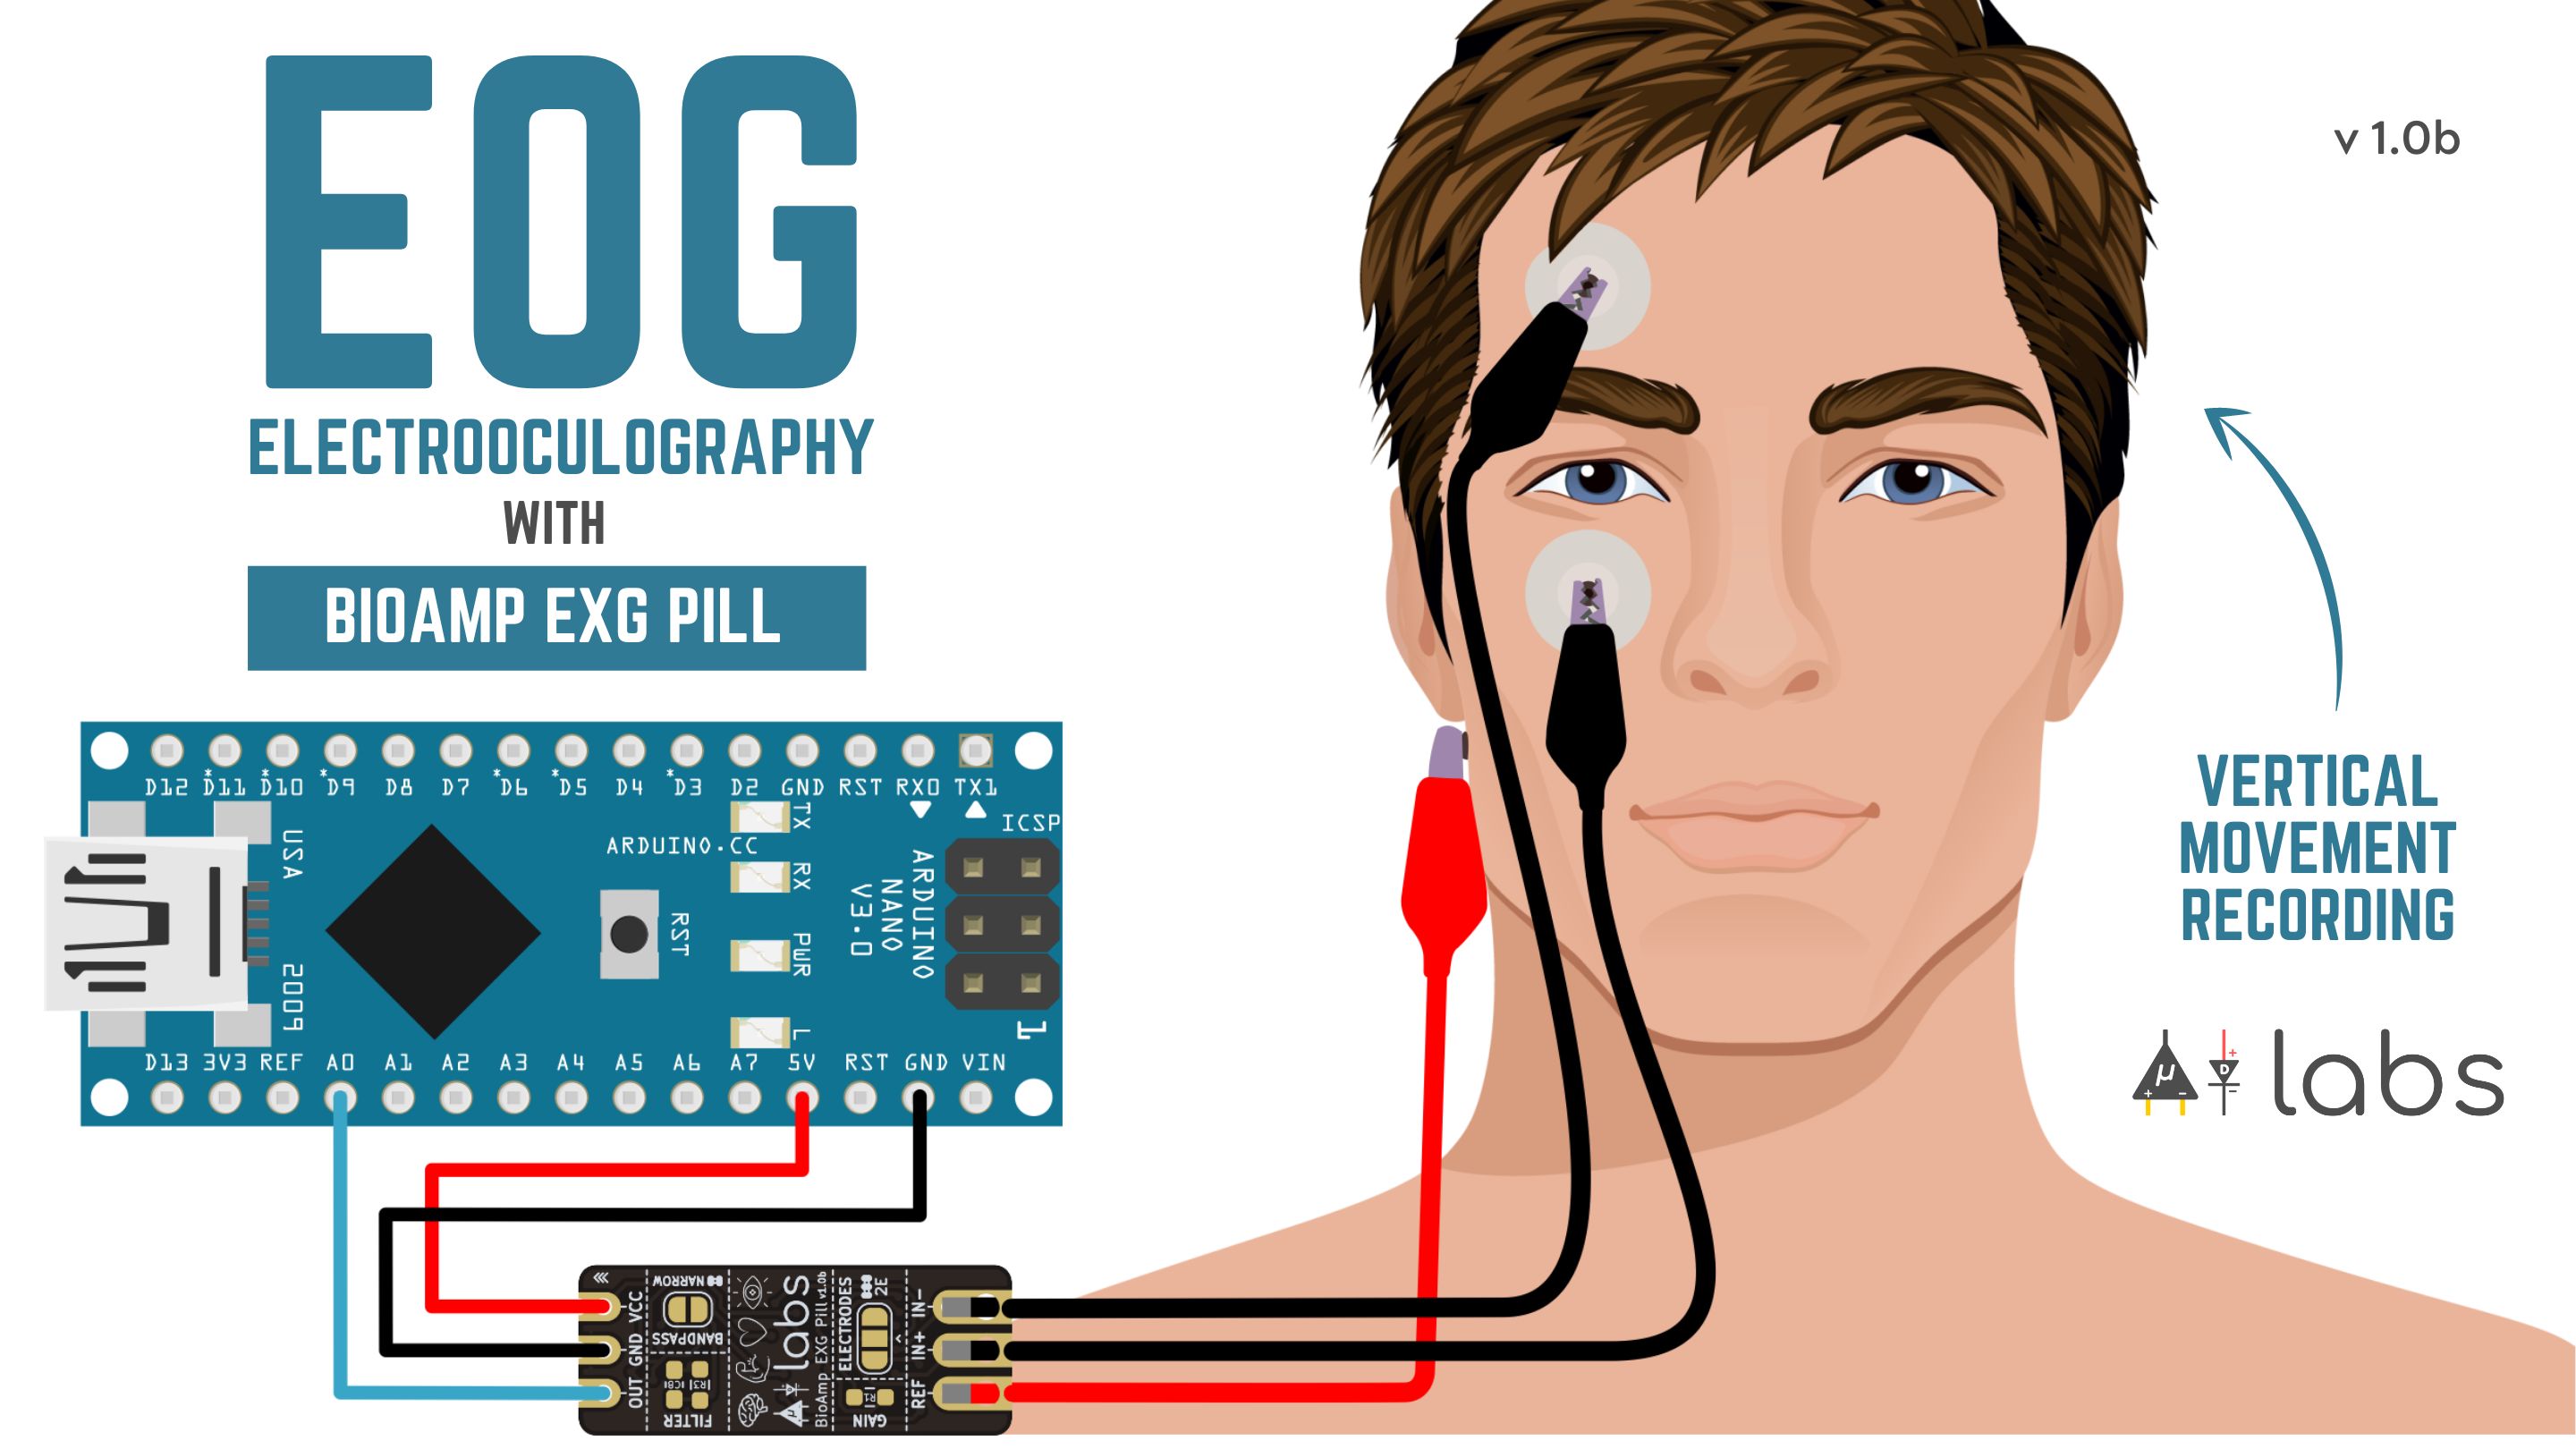
To record vertical eye movement, place the electrodes above and below your left or right eye, just like in the image shown below. Then, just like before, flash the EOG filter program onto your MCU, complete the wiring, and connect the electrodes like this:
IN-above eyeIN+below eyeREFbehind ear
Eye-Blink Detection
Eye blinks can also be recorded with the same electrode placement. Although we used an Arduino Nano for our testing, you can flash the Arduino eye-blink detection sketch onto any Arduino-compatible board and use it to detect eye blinks. The video below shows a working demo:
What People Have Made With BioAmp EXG Pill
Chinmay Lonkar from SRA VJTI created Mario EMG, which is a three-DOF robotic arm controlled using BioAmp EXG Pill. For more detailed information on how it works, see the YouTube video below:
BioAmp EXG Pill v1.0b PCB Update
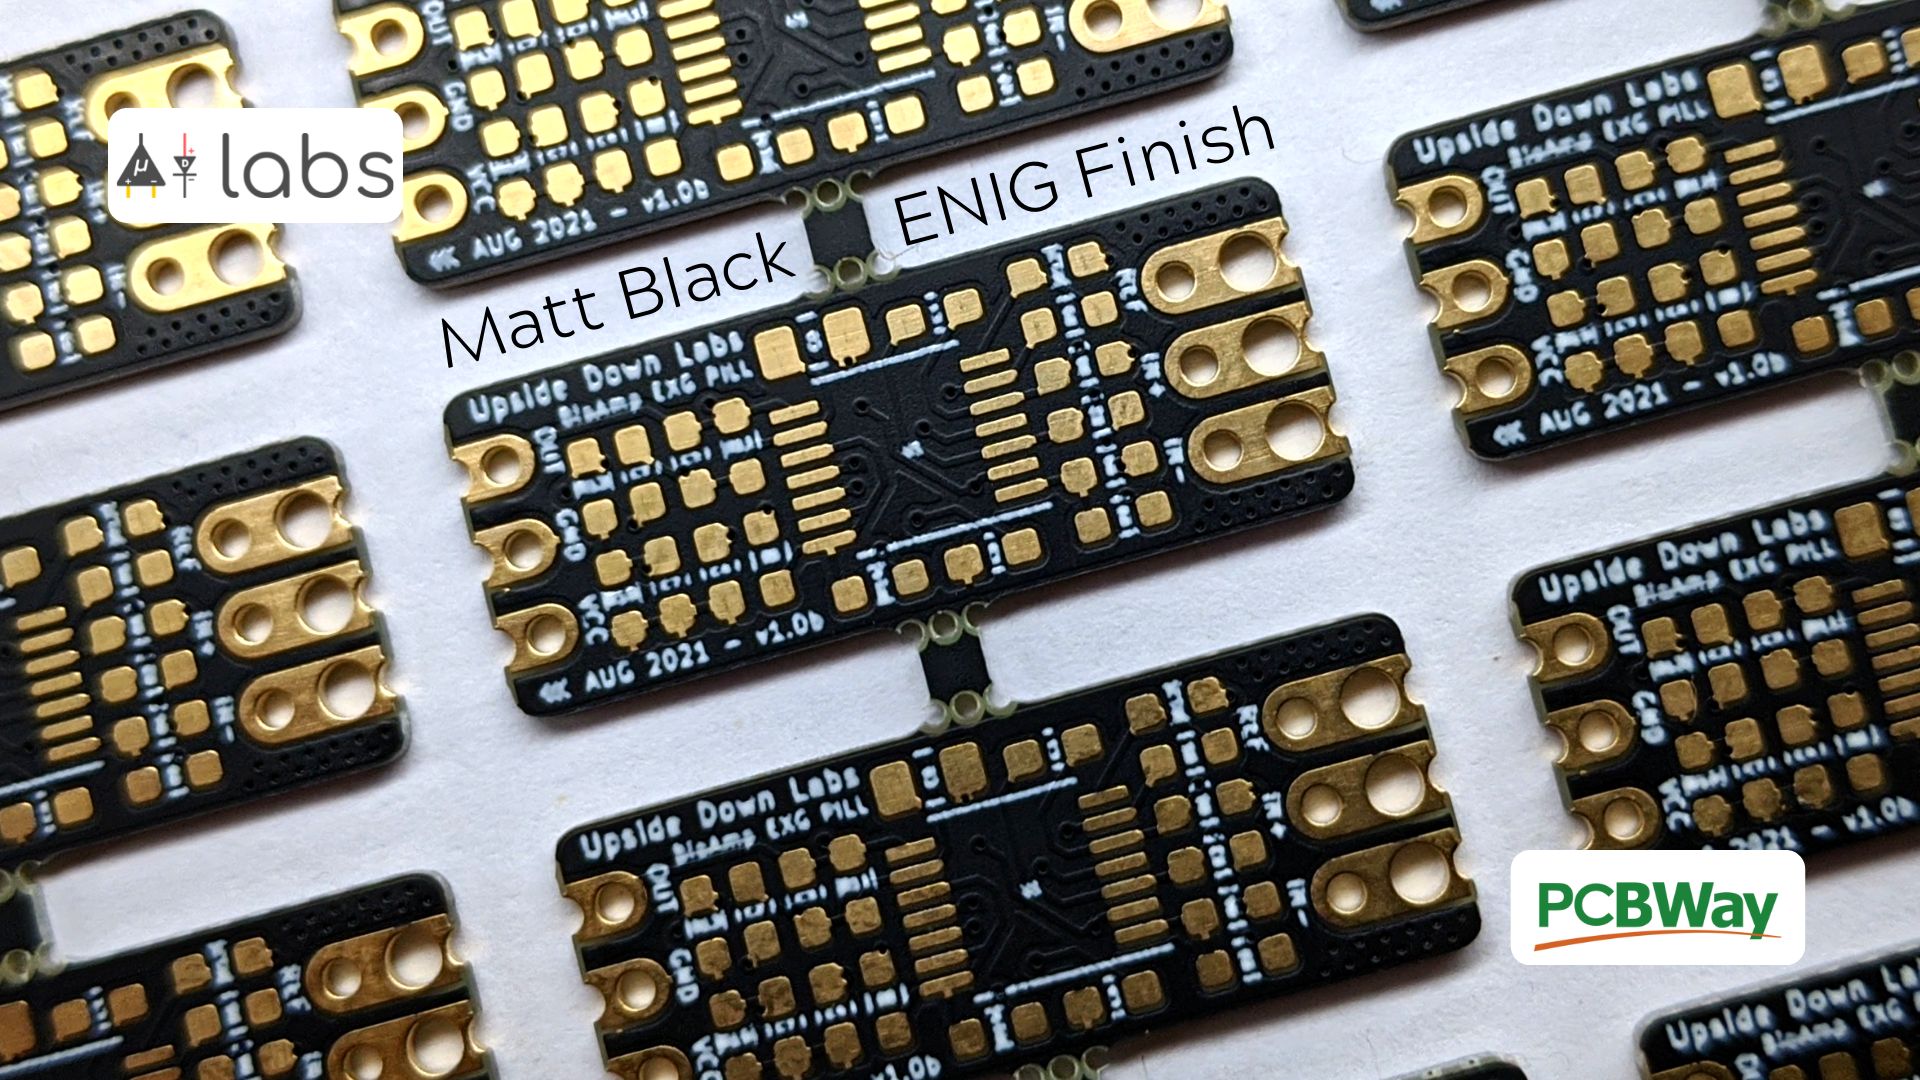
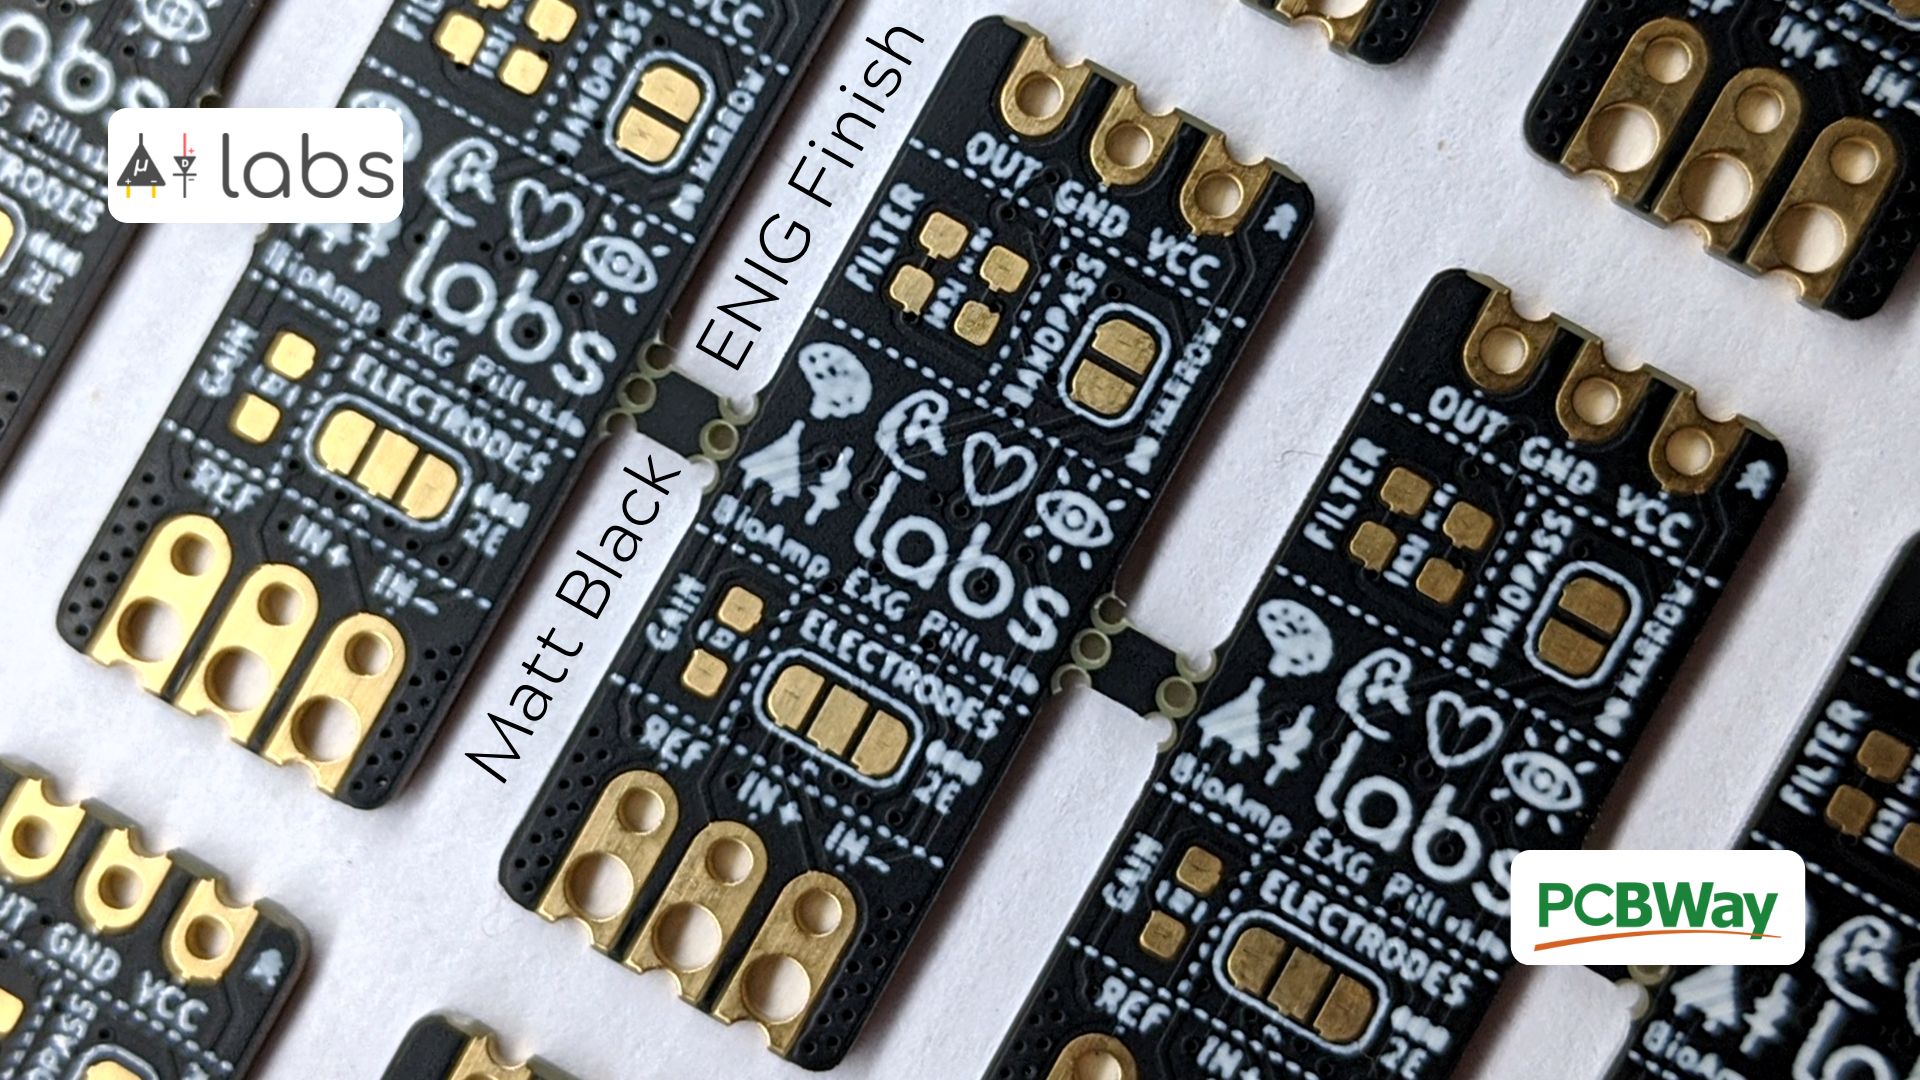
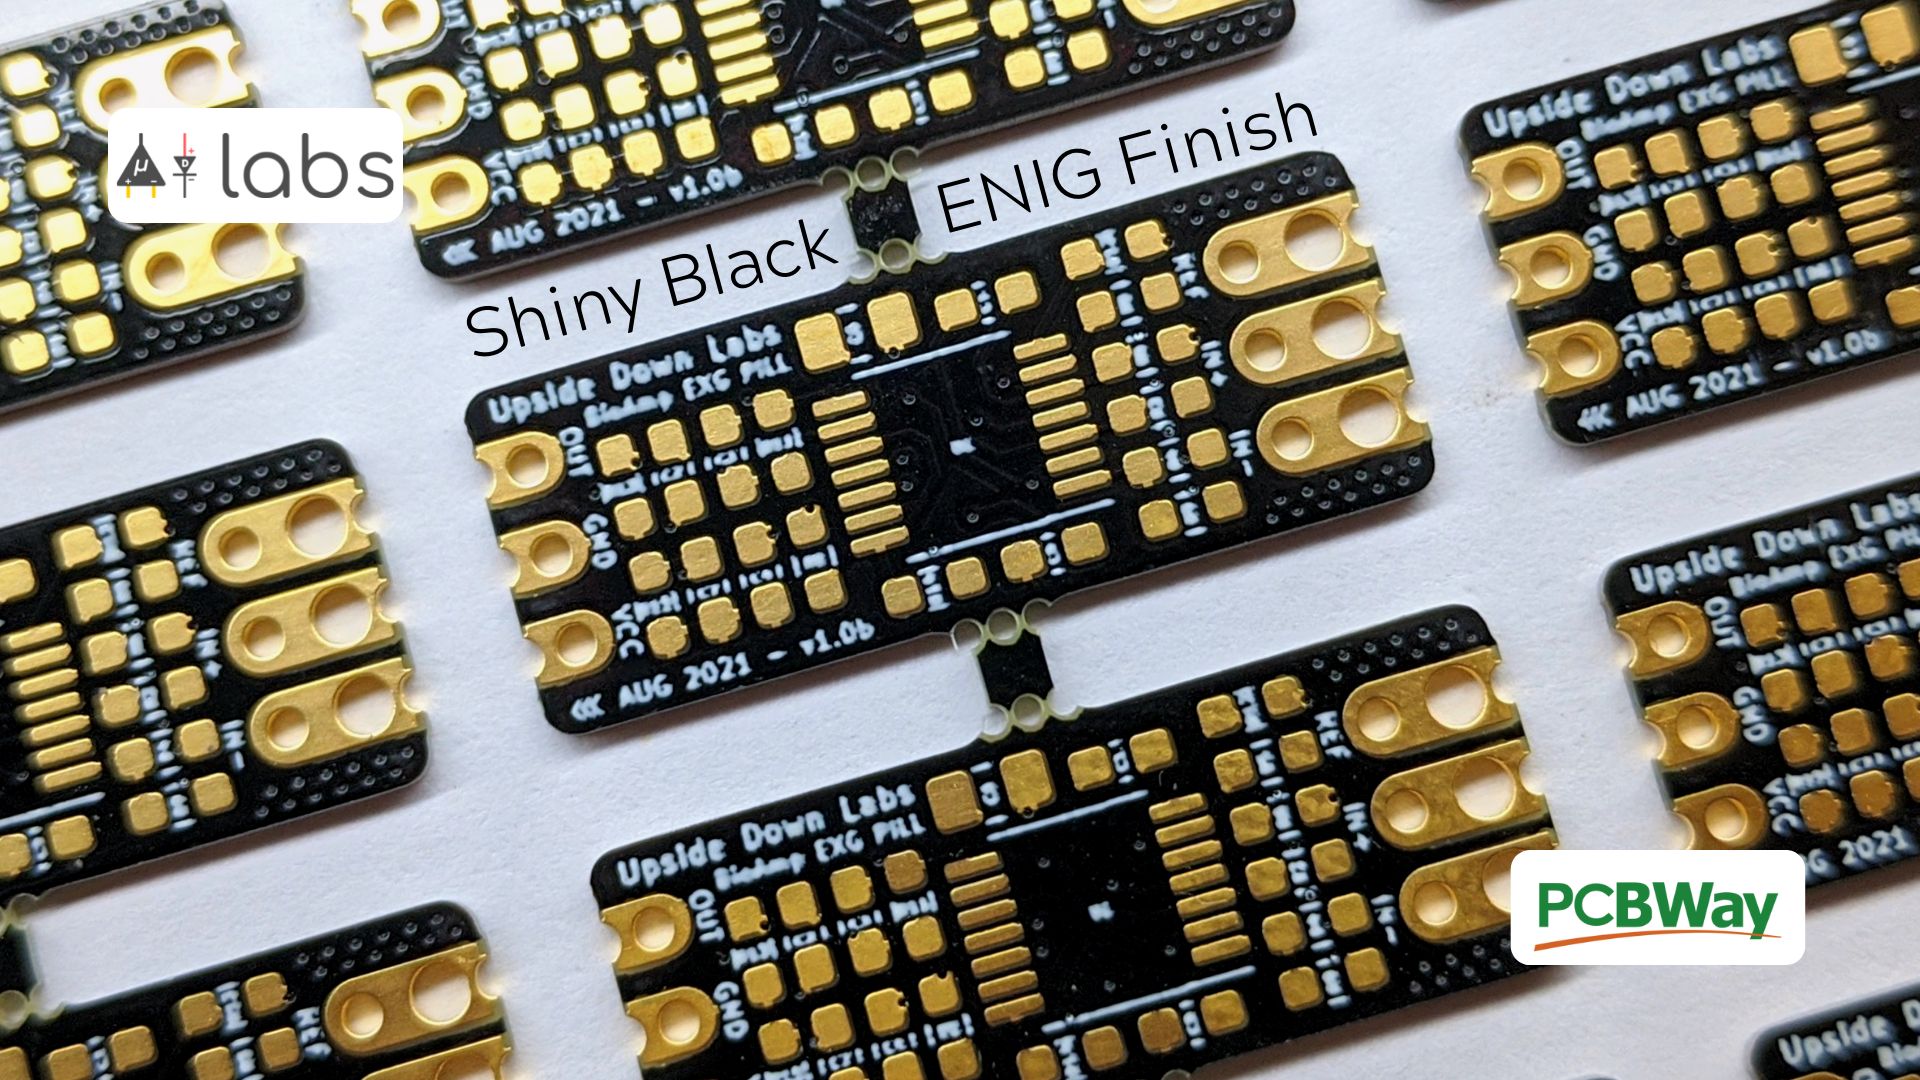
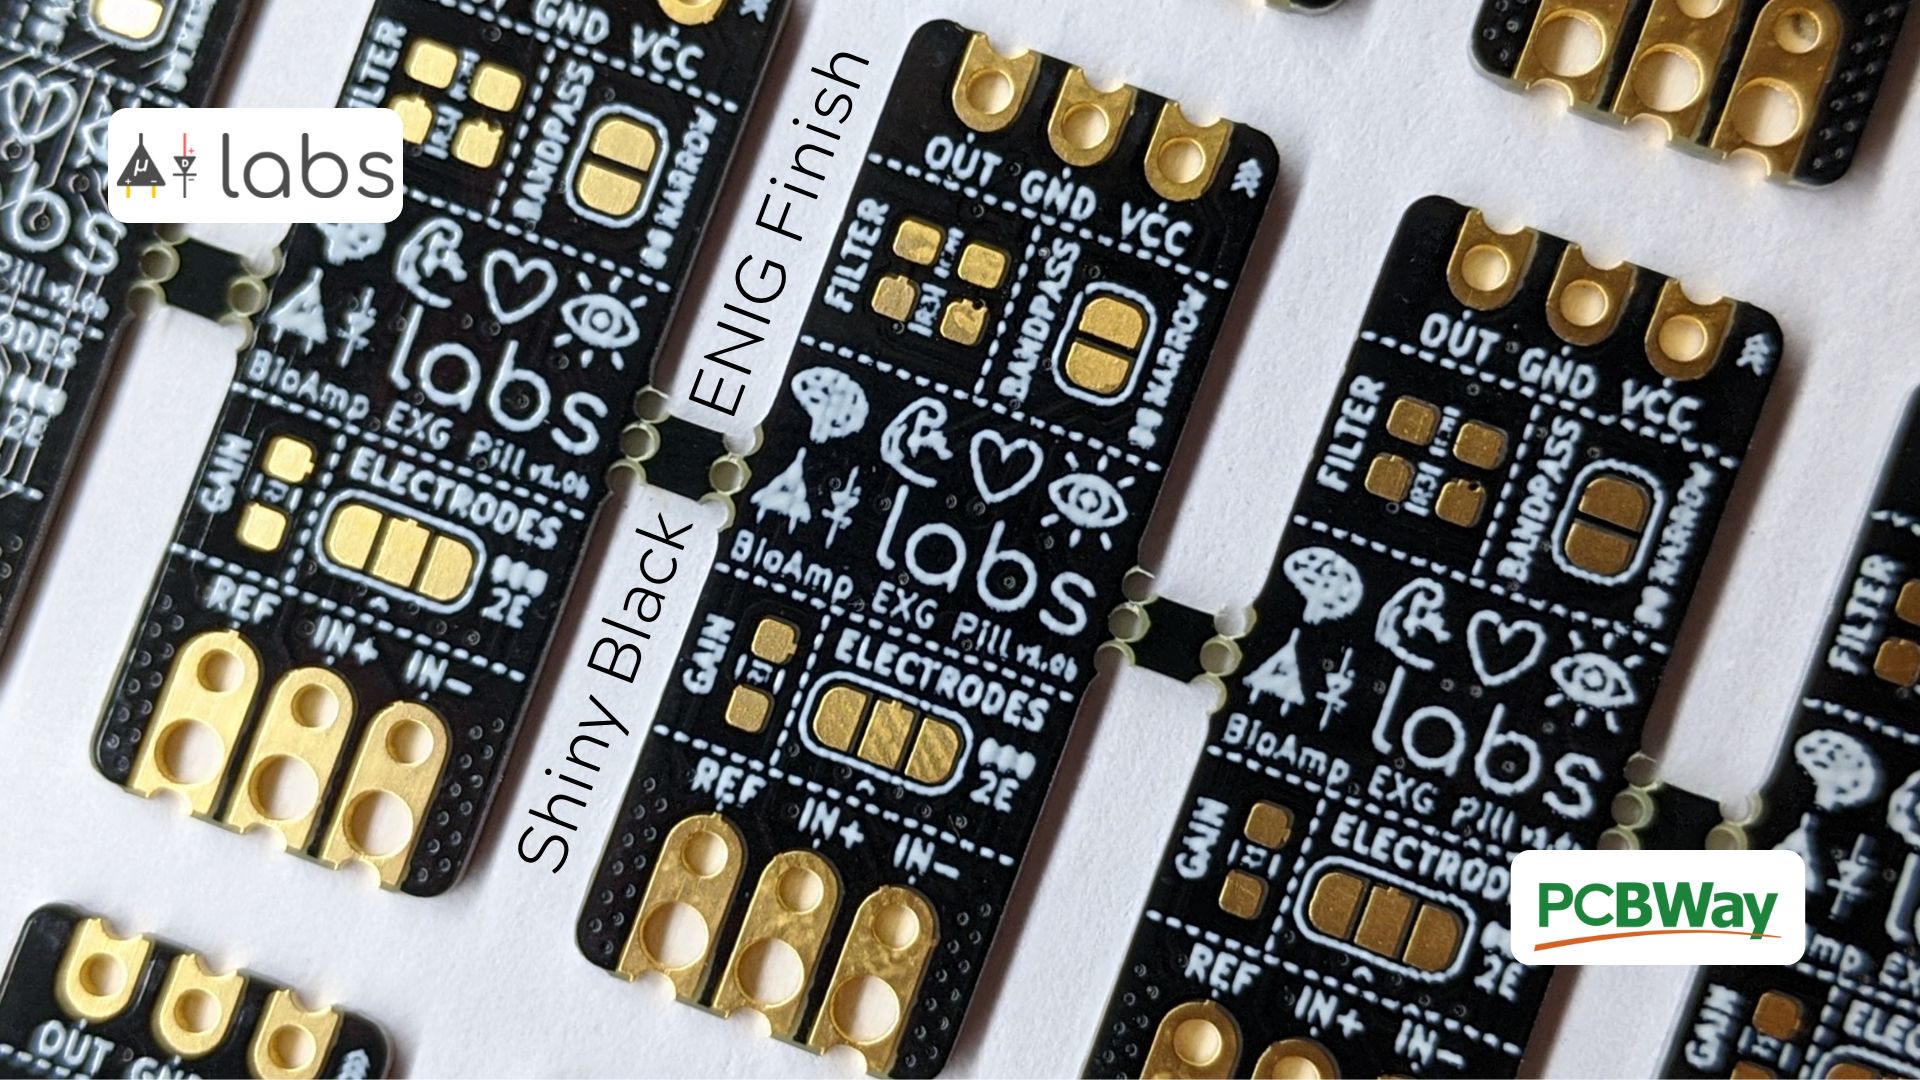
We received the BioAmp EXG Pill v1.0b PCBs from PCBWay. Images of both shiny black and matte-black PCBs with ENIG finish are shown below:
Matte black (front)
Matte black (back)
Glossy black (front)
Glossy black (back)
References
- https://en.wikipedia.org/wiki/Electrooculography
- https://github.com/ChinmayLonkar/MarioEMG
- https://github.com/upsidedownlabs/BioAmp-EXG-Pill