Project update 10 of 16
[VIDEO] Connecting ANAVI Gas Detector to Your Wi-Fi
In the previous update we have covered the exact steps to assemble a kit with ANAVI Gas Detector. The next step is to connect it to your Wi-Fi network.
ANAVI Gas Detector is powered by ESP8266 microcontroller with Wi-Fi. All units are shipped with the default open source Arduino sketch which is available at GitHub. Out of the box, ANAVI Gas Detector doesn’t know your Wi-Fi network credentials and requires configuration. Don’t worry - the process is straight-forward and takes less than a couple of minutes. Our YouTube video covers all steps in detail.
Step 1
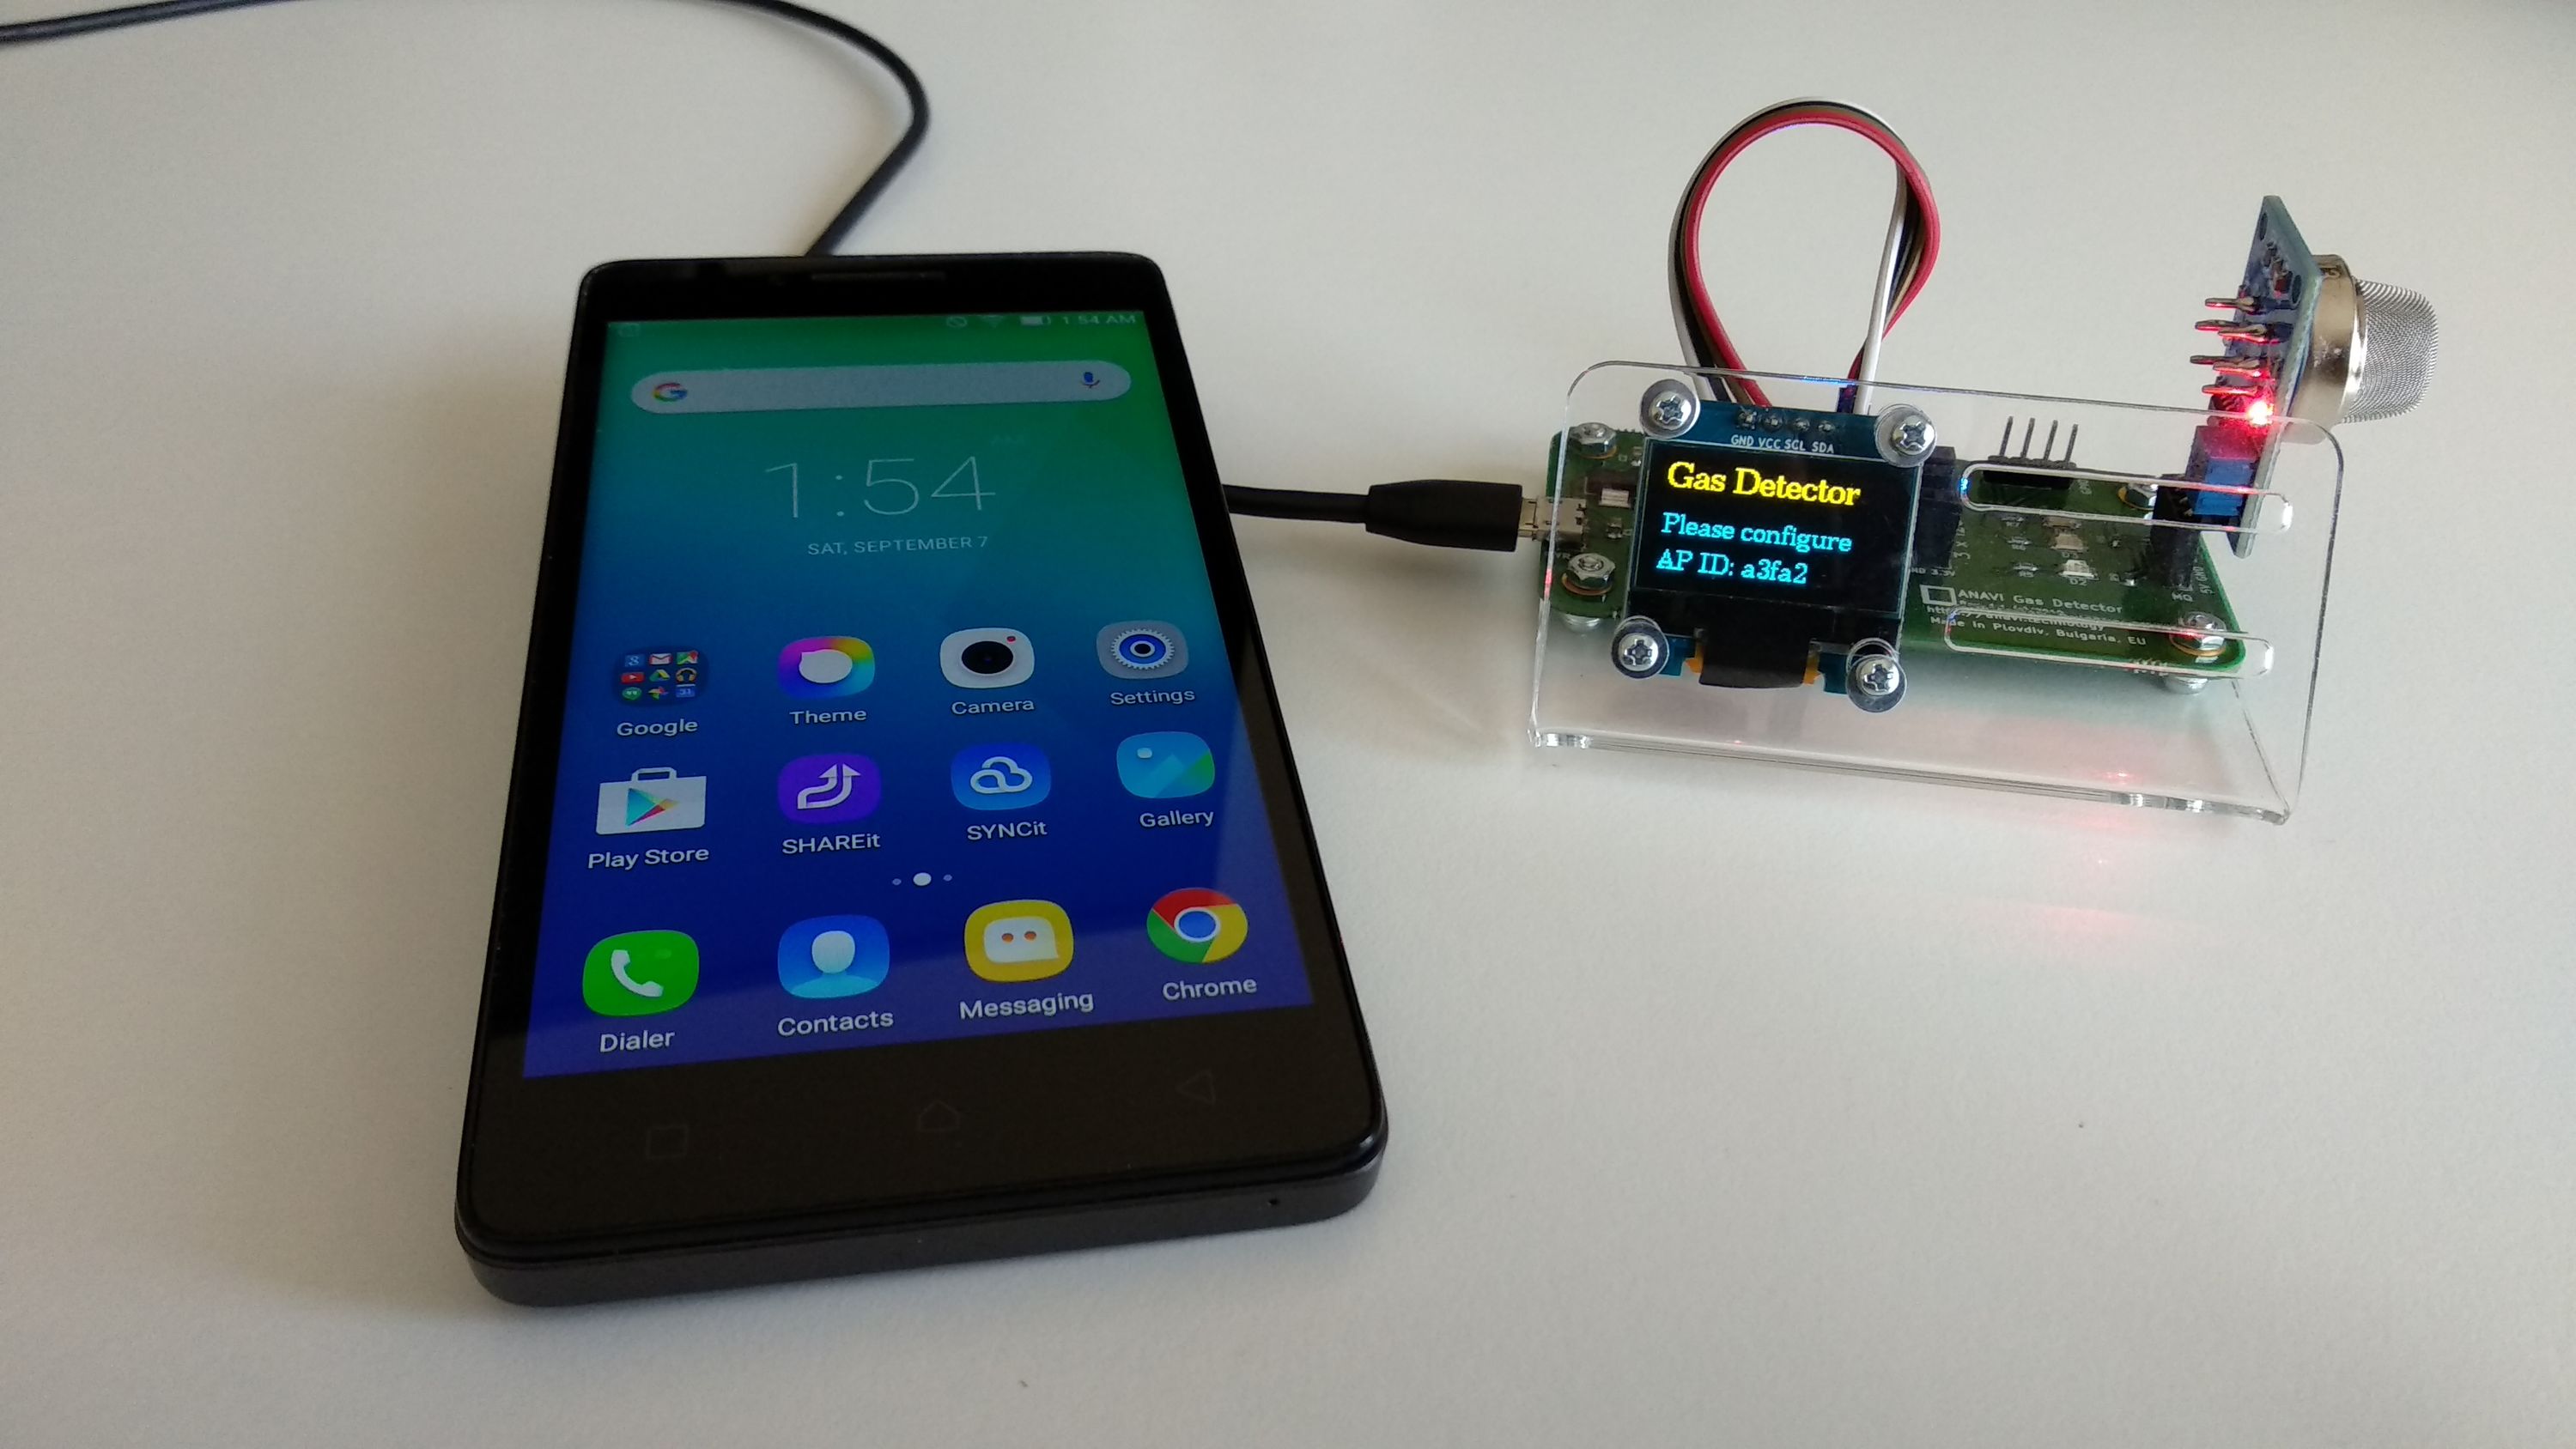
When you turn on ANAVI Gas Detector for the first time, it will create its own Wi-Fi Access Point with the name ANAVI Gas Detector followed by a unique five character ID. For tech savvy users interested in details, these are the last five characters of MD5 hash generated from the unique chip ID of the ESP8266 module. To avoid confusion, the same five characters are showed on the mini OLED display included in all kits of ANAVI Gas Detector.
Connect to the Wi-Fi access point created by ANAVI Gas Detector from your smartphone, tablet or personal computer.
Step 2
Once you have connected to the Wi-Fi access point created by ANAVI Gas Detector, a captive portal will pop-up and guide you to the next steps. Click Configure WiFi as shown in the video.
Step 3
Select your local Wi-Fi network, enter a password (if it is not open), type in MQTT broker address, port, username and password.
By default, just for demo purposes, ANAVI Gas Detector connects to iot.eclipse.org with port 1883 and no username/password. This is a public MQTT broker just for demonstrations. It is highly recommended to install open source MQTT broker locally and connect ANAVI Gas Detector to it.
Optionally, you can also select a temperature scale. ANAVI Gas Detector is made in my hometown Plovdiv, Bulgaria, Europe. Honestly, due to entirely selfish reasons by default it is set to Celsius ;) Of course, Fahrenheit is also supported. To switch just type in fahrenheit.
Finally, when ready, just click Save. ANAVI Gas Detector will reboot and try to connect first to your Wi-Fi network and after that to the configured MQTT broker. If it experience problems connecting you will be asked to do the configuration again.
Please have a look at the short video for details.
One more thing… once ANAVI Gas Detector is up and running, if you need to change the configurations, just press and hold the RESET button on the board for 10 seconds. Keep the RESET button all the time until the D1 indication LED on the board is blinking. This way you will wipe out all configuration, reset ANAVI Gas Detector to factory default and you will be asked to connect it again to your Wi-Fi.
Thank you for supporting this entirely open source project. In the next article we will talk more about Celsius vs Fahrenheit support in ANAVI Gas Detector. Stay tuned for more updates!
Thanks,
Leon