Project update 5 of 16
[VIDEO] Uploading Arduino Sketch to ANAVI Gas Detector
ANAVI Gas Detector is an entirely open source development board and it is easy to flash a custom firmware. In this video tutorial I will explain how to compile and upload an Arduino sketch to it through Arduino IDE. The process is the same as for my other open source project ANAVI Thermometer.
You will need ANAVI Gas Detector, MQ-135 or another compatible gas sensor, USB to UART debug cable, USB power supply and a personal computer. In the video I uploaded the default firmware which is available as an Arduino sketch in GitHub.
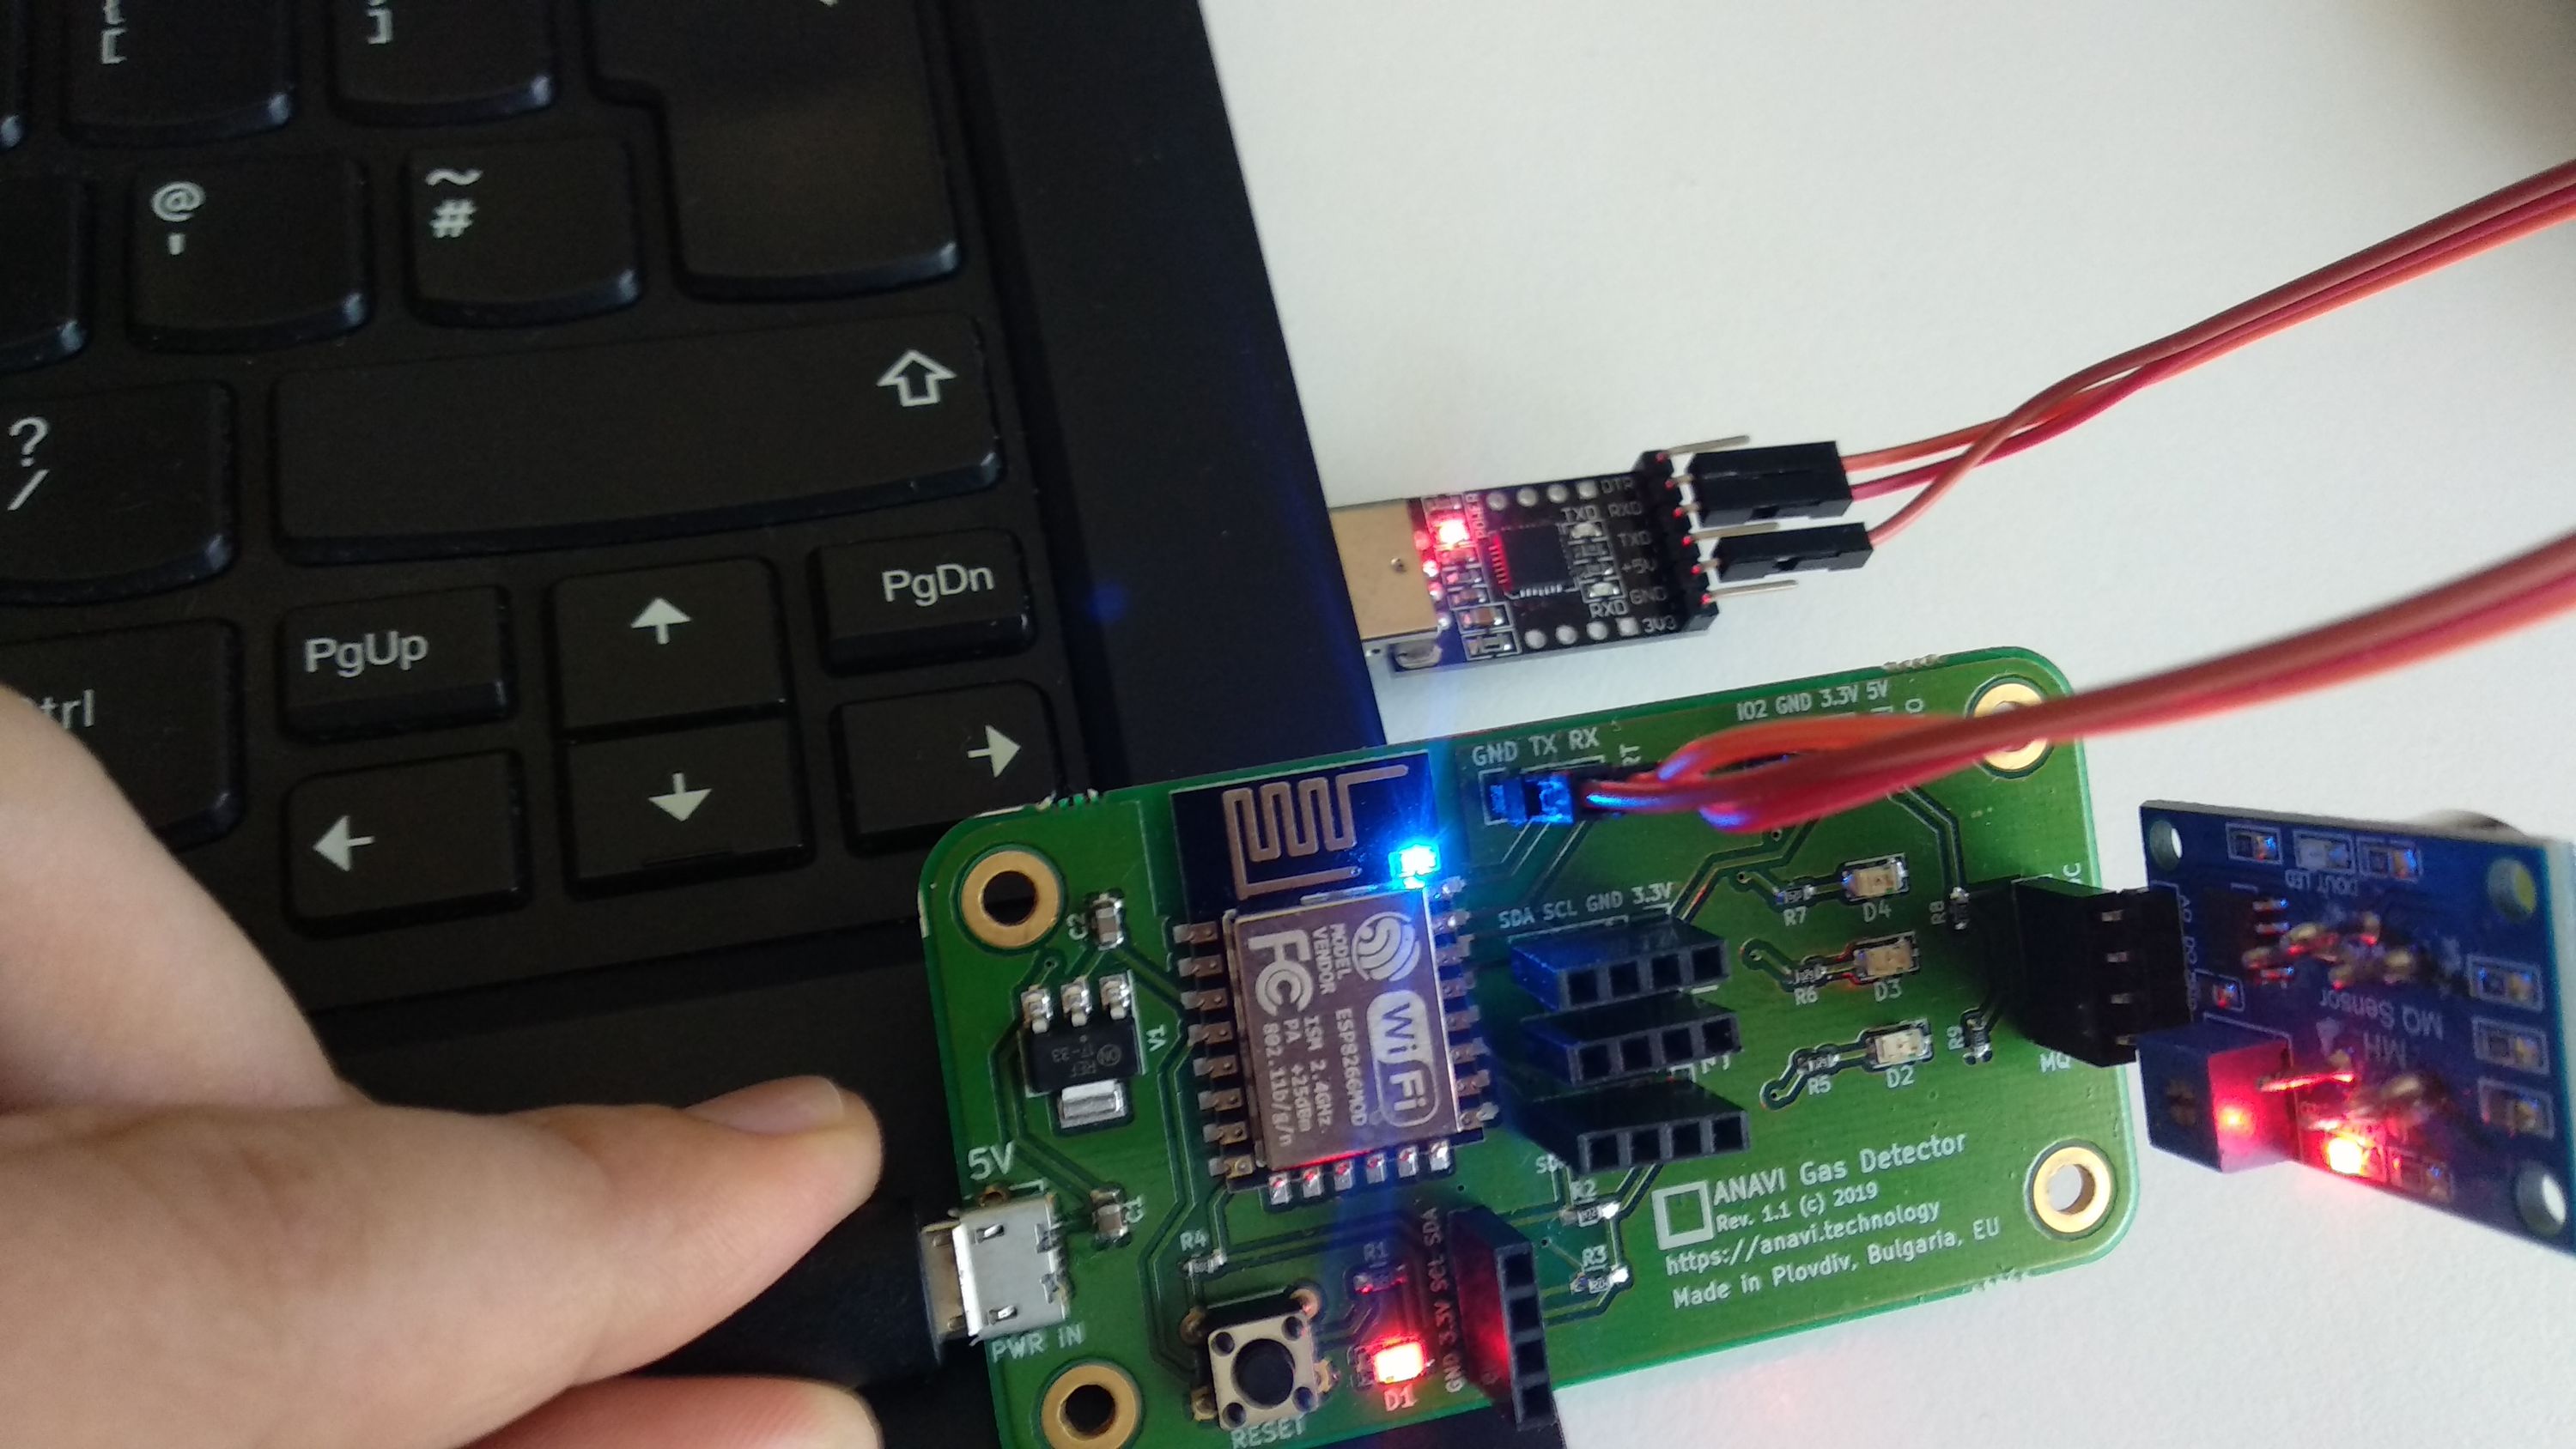
Each ANAVI Gas Detector kit includes a USB to UART debug cable with CP2102. Depending on the operating system on your personal computer you might need to install additional drives. It should work out of the box on GNU/Linux distributions. Plug the USB in your computer and connect the wires as follows:
| ANAVI Gas Detector | USB to UART debug cable |
|---|---|
| GND | GND |
| TX | RX |
| RX | TX |
Download and install Arduino IDE on your personal computer. It is free and open source software available for MS Windows, Mac OS and GNU/Linux distributions. Launch Arduino IDE and load an Arduino sketch compatible with ANAVI Gas Detector.
ANAVI Gas Detector is powered by ESP8266 and there are a few configurations that have to be applied in Arduino IDE. Go to File > Preferences. Select Settings and in the field "Additional Boards Manager URLs" add: http://arduino.esp8266.com/stable/package_esp8266com_index.json
From Arduino IDE select Tools > Board: Generic ESP8266 Module. Set the flash size to 4M (1M SPIFFS). The upload speed is 115200. Adjust the exact port of USB to serial debug cable connected to your computer.
Select Tools > Manage Libraries. The Arduino library manager will appear. Install all required libraries and their exact versions. Over the time, with the development of the default firmware, new libraries might be added. Please refer to the README file to get the up to date list of all libraries that must be installed for the default firmware.
In Arduino IDE click Verify/Compile. If there are any errors, please double check that you have installed all required libraries and their exact versions. If the source code compiles successfully, please proceed to to the next step for flashing the firmware.
In Arduino IDE click Upload. Press and hold the RESET button on ANAVI Gas Detector. Without releasing the RESET button, plug the 5V power supply in the microUSB connector of ANAVI Gas Detector. Please do not release the RESET button until the upload has been done. I repeat, please do not release the RESET button until you see in Arduino IDE that the upload is 100% done.
After that you can launch the serial monitor in Arduino IDE and verify that the firmware is successfully running. You can use the same approach for uploading your custom firmware to ANAVI Gas Detector.
More details are available at video and the user’s manual.
Community is always the most important ingredient for any successful open source project. Thank you for your support and for being part of the community around ANAVI Gas Detector!
Best regards,
Leon