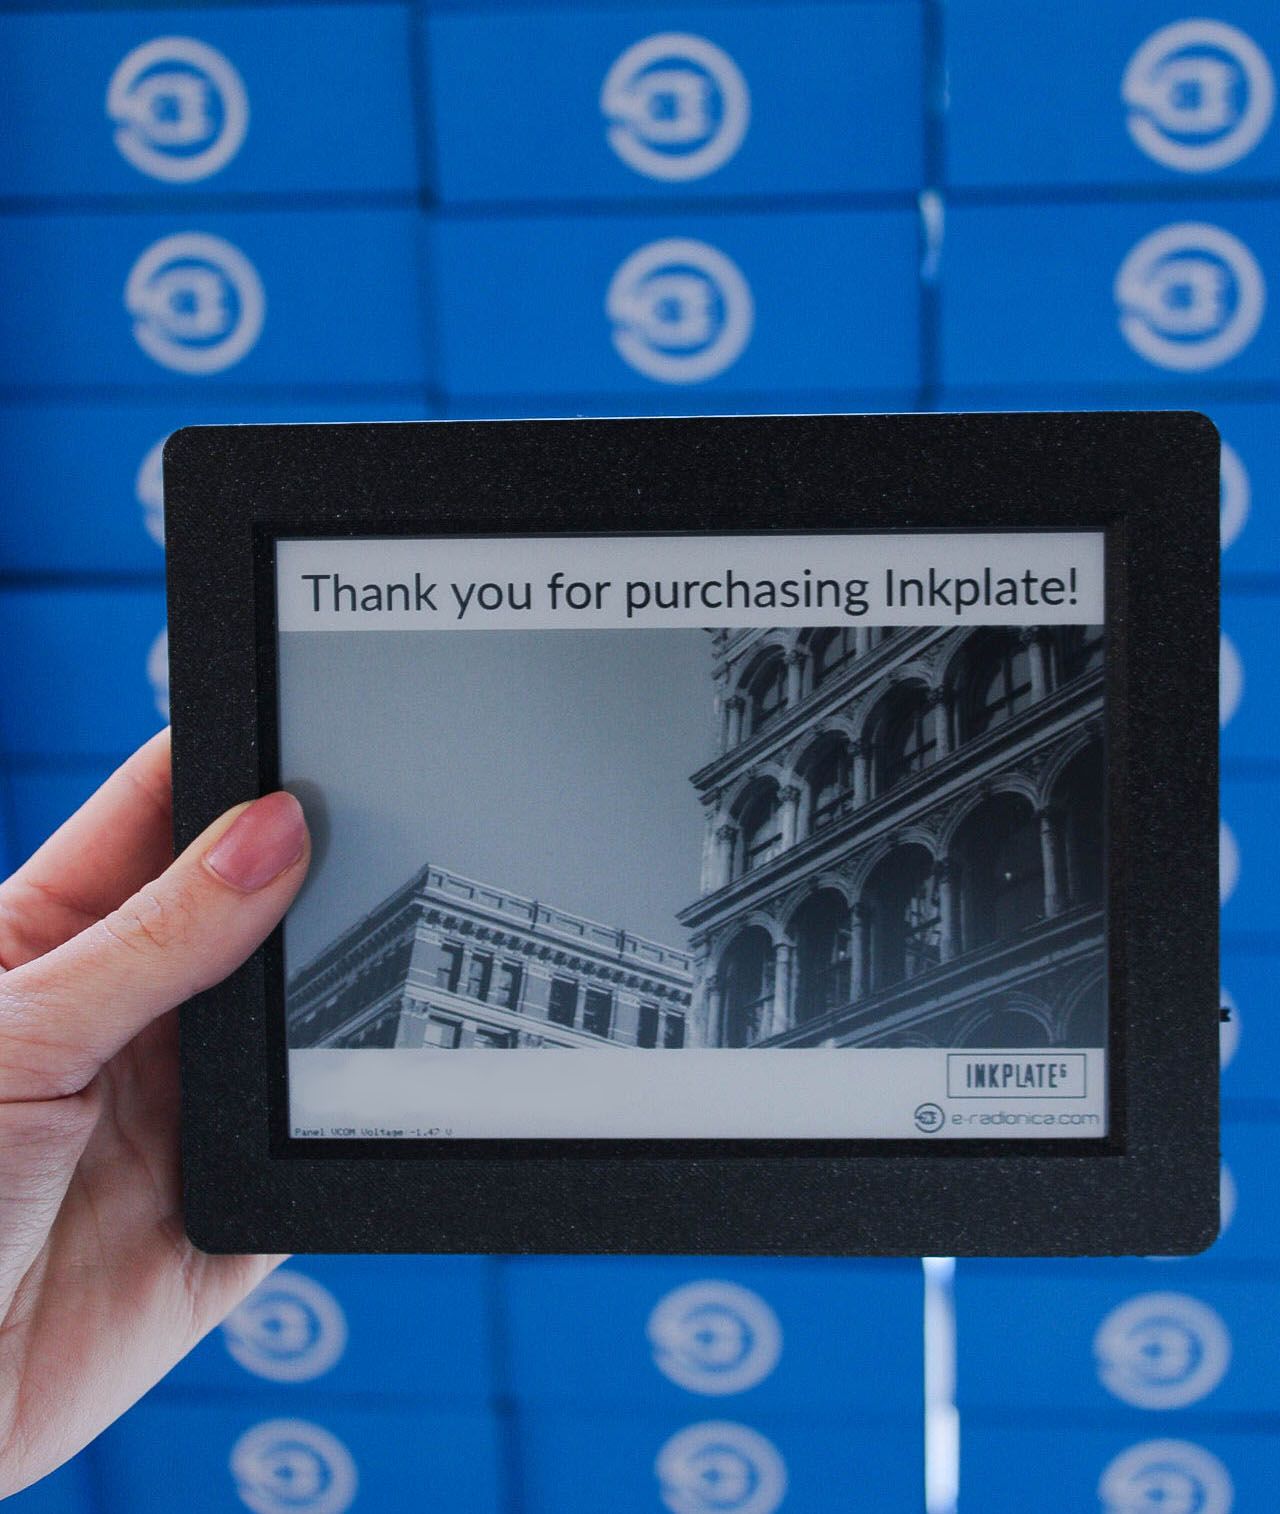
The time has come. Inkplate 6 has begun shipping, and many of you have already received yours, which makes this a good time for us to provide some guidance on how to set up your Inkplate 6 and get started working with it. We made everything is as simple as we could, so the setup process itself shouldn’t take more than five minutes.
Setting up Inkplate 6 Using the Arduino IDE
In order to get started with Inkplate 6, follow the steps below:
- Install the Inkplate 6 board definition to add Inkplate 6 as a board in Arduino IDE
- Install the CH340 drivers (if you don't have them already)
- Install the Inkplate 6 Arduino library from our GitHub repository (if you're not sure how, take a look at our tutorial)
- Your Inkplate 6 is now ready to go! Just select Tools -> Board -> Inkplate 6, choose the correct COM port, and upload your code!
Optional: if you are planning to use the SD card reader, install this custom SdFat library to your Arduino IDE.
Examples
We have put together a library of examples that demonstrate many of Inkplate’s capabilities:
1. Basic Inkplate 6 Functionality
- 1.1. Basic Monochrome - use the screen in monochrome mode (graphics & text)
- 1.2. Basic Grayscale - use the screen in grayscale mode (graphics & text)
- 1.3. Basic Partial Update - do a partial update of the screen
- 1.4. Basic Custom Fonts - add custom fonts and use them to write text on the screen
2. Advanced Inkplate 6 Functionality
- 2.1. Wi-Fi HTTP Request - make an HTTP requests while connected to Wi-Fi
- 2.2. Low Power - put Inkplate 6 to sleep in order to save power
- 2.3. Battery Voltage and Temperature - measure the battery voltage and temperature of the board
- 2.4. Touchpads - get readings from the onboard touch pads
- 2.5. SD BMP Pictures - display .bmp images stored on an SD card
- 2.6. SD TXT File - read a .txt file from the SD card and display it on the screen
- 2.7. easyC - use the easyC (I²C) ecosystem to read a sensor value
- 2.8. MCP23017 Expander - use the onboard MCP23017 expander for your own external devices
- 2.9. Web Server - turn Inkplate 6 into a web server
3. Others
- 3.1. Peripheral Mode - allows you to control the screen from an external device using UART. (Existing software and documentation both refer to Peripheral Mode as "Slave Mode." In line with OSHWA guidance regarding SPI SIGNALS, we are in the process of changing that.)
- 3.2. Screen Cleaning - clean the screen to recover from "image burn-in"
Using Inkplate 6 With Another Microcontroller
As promised in an early update, you can modify the contents of the Inkplate 6 screen using a third-party controller such as a Raspberry Pi. It is "Peripheral Mode" that allows this functionality, and all new Inkplates come pre-programmed with Peripheral Mode active. (Again, existing software and documentation currently refer to Peripheral Mode as "Slave Mode." We are in the process of rewriting that language.)
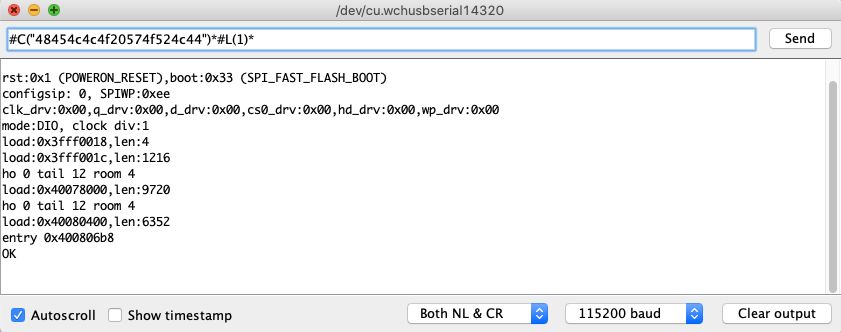
To use Peripheral Mode, connect your Inkplate 6 to the "Controller" board with a USB cable or via the ESP32 RX and TX pins. Using standard UART at 115200 baud, you can send commands to change the screen contents. For example, send #H(000,000,"/img.bmp") to display an img.bmp image file stored on the SD card. We have basic documentation for Peripheral Mode in our GitHub repository.
Battery Power
You can power your Inkplate 6 in one of two ways. The first method is obvious: just plug a MicroUSB cable into the port on the side, and you’re good to go. The second method is to use a battery.
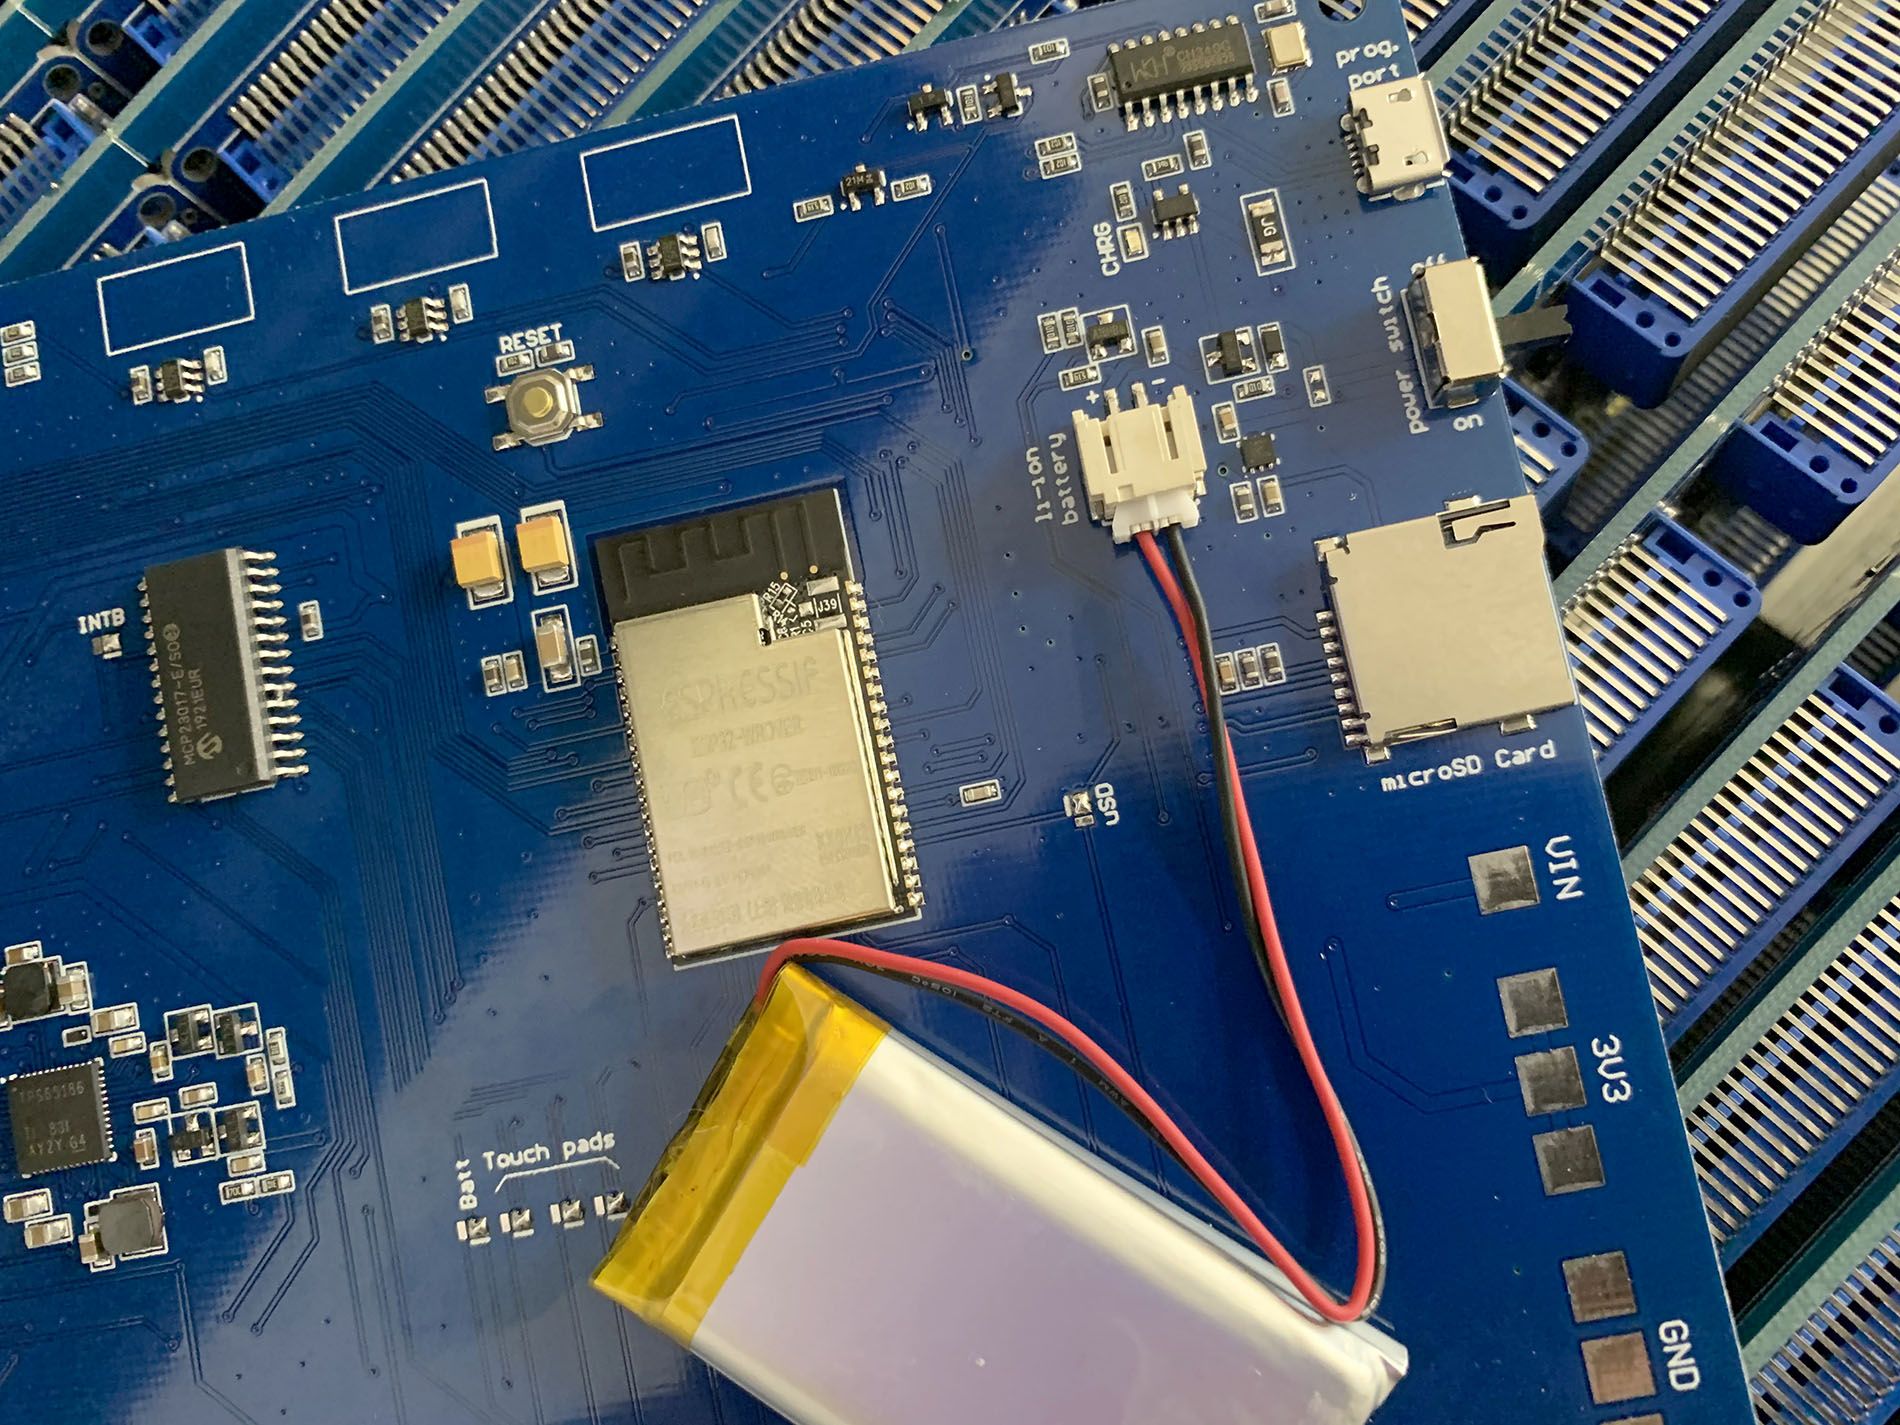
Inkplate 6 supports standard Li-Ion/Li-Poly batteries with 3.7 V nominal voltage. The battery connector is a standard, 2 mm pitch JST connector. The onboard charger will charge the battery with 500 mA when the Inkplate 6 is plugged in to USB power. If you are using our enclosure, the battery should not exceed 90 x 50 mm (3.5 x 1.95 inches) or 5.5 mm (0.2 inch) in height. If you are not trying to fit everything inside an enclosure, you can use a battery of any size or capacity.
Micropython
If you’re looking for micropython support, it remains a work in progress. Sorry. We’re new to this part! :) When it’s ready, we’ll let you know in a project update.
Open Source
We are proud of the fact that Inkplate 6 is open source. Now that it has shipped, we have published the source files for every part of the device.
If you are looking for hardware design files, check out our Hardware repository. You will find a 3D-printable enclosure design there, as well as detailed technical drawings.
If you’re looking for software, our Arduino library includes the code that drives Inkplate’s ED060SC7 e-paper display.
Support
For questions and issues, you can reach us at this temporary email address. (Once our forum is up and running, we will discontinue e-mail support.) If you would like to discuss collaboration opportunities or bulk sales, please reach out to us at here instead.
Good luck with your projects, and thanks again for supporting Inkplate 6!
- David & the e-radionica.com Team