Project update 12 of 14
Writing BLE Firmware - the Easy Way
by HoanThe previous update showed you how to install Eclipse and all the libraries required to write Bluetooth firmware. In this update we’ll explore how easy it is to write Bluetooth firmware with it IOsonata library.
Writing BLE firmware using the Nordic nRF52 SDK is not an easy task. The learning curve is quite steep for a beginner. The IOsonata library encapsulates all that difficulty and provides a simple way to write BLE application firmware. See the previous update for how to setup the complete development environment.
BLE Basics
Let’s start with some basic information about Bluetooth LE devices. We are not going into all of the details of BLE specs here, but we need to know a few in order to decide the right path for the application.
There are 2 main categories of BLE devices. Peripherals act as BLE servers. These are usually sensors, watches, trackers, locks, etc. The other type of devices are Central. These connect to the Peripherals to get data. The Central devices are mostly computers, smart phones, and tablets.
Nordic provides the BLE stack for their nRF52 series SoC in the form of binary called Softdevice. Softdevice supports both Peripheral and Central mode. It has to be flashed with the firmware app in order to use BLE.
BLE Peripheral Firmware
The BLE Peripheral device always starts by advertising its presence so the Central device can see and connect to it or not. The Peripheral device can be set to be advertised-only, not allowing Central device to connect to it. This mode is often called connectionless or beacon mode. It is the simplest form of BLE Peripheral device. Here is how we can write the firmware for this type of device.
Device Configuration
IOsonata makes things simple and flexible so we can use any device in an embedded system. Only two steps are required prior to implementing the device. First, declare the device configuration by filling a data structure of that device. This data structure usually contains configuration for all operating mode of a device. Lets see how to define the device configuration structure for a BLE advertiser peripheral device.
#include "istddef.h"
#include "ble_app.h"

#define DEVICE_NAME						"Advertiser"
#define APP_ADV_INTERVAL    			MSEC_TO_UNITS(100, UNIT_0_625_MS)

const BLEAPP_CFG s_BleAppCfg = {
    { // Clock config nrf_clock_lf_cfg_t
    	NRF_CLOCK_LF_SRC_XTAL,	// Source 32KHz XTAL
    	0, 0, NRF_CLOCK_LF_ACCURACY_20_PPM
    },
    0,						// Number of central link
    1,						// Number of peripheral link
    BLEAPP_MODE_NOCONNECT,	// Connectionless beacon type
    DEVICE_NAME,			// Device name
    ISYST_BLUETOOTH_ID,		// PnP Bluetooth/USB vendor id
    1,                      // PnP Product ID
    0,						// Pnp prod version
    false,					// Enable device information service (DIS)
    NULL,					// Pointer device info descriptor
    NULL,   				// Manufacture specific data to advertise
    0,      				// Length of manufacture specific data
    NULL,
    0,
    BLEAPP_SECTYPE_NONE,    // Secure connection type
    BLEAPP_SECEXCHG_NONE,   // Security key exchange
    NULL,      				// Service uuids to advertise
    0, 						// Total number of uuids
    APP_ADV_INTERVAL,       	// Advertising interval in msec
    APP_ADV_TIMEOUT_IN_SECONDS,	// Advertising timeout in sec
    0,							// Slow advertising interval, if > 0, fallback to
    							// slow interval on adv timeout and advertise until connected
    0,		// Min. connection interval
    0,		// Max. connection interval
    -1,		// Led port number
    -1,		// Led pin number
    0,
};
Running the Code
Now that the BLE Peripheral device type has been defined, let’s bring it to life with the main code. All that is needed is to call 2 functions.
int main()
{
    BleAppInit((const BLEAPP_CFG *)&s_BleAppCfg, true);
    BleAppRun();

    // We will never reach here
    return 0;
}
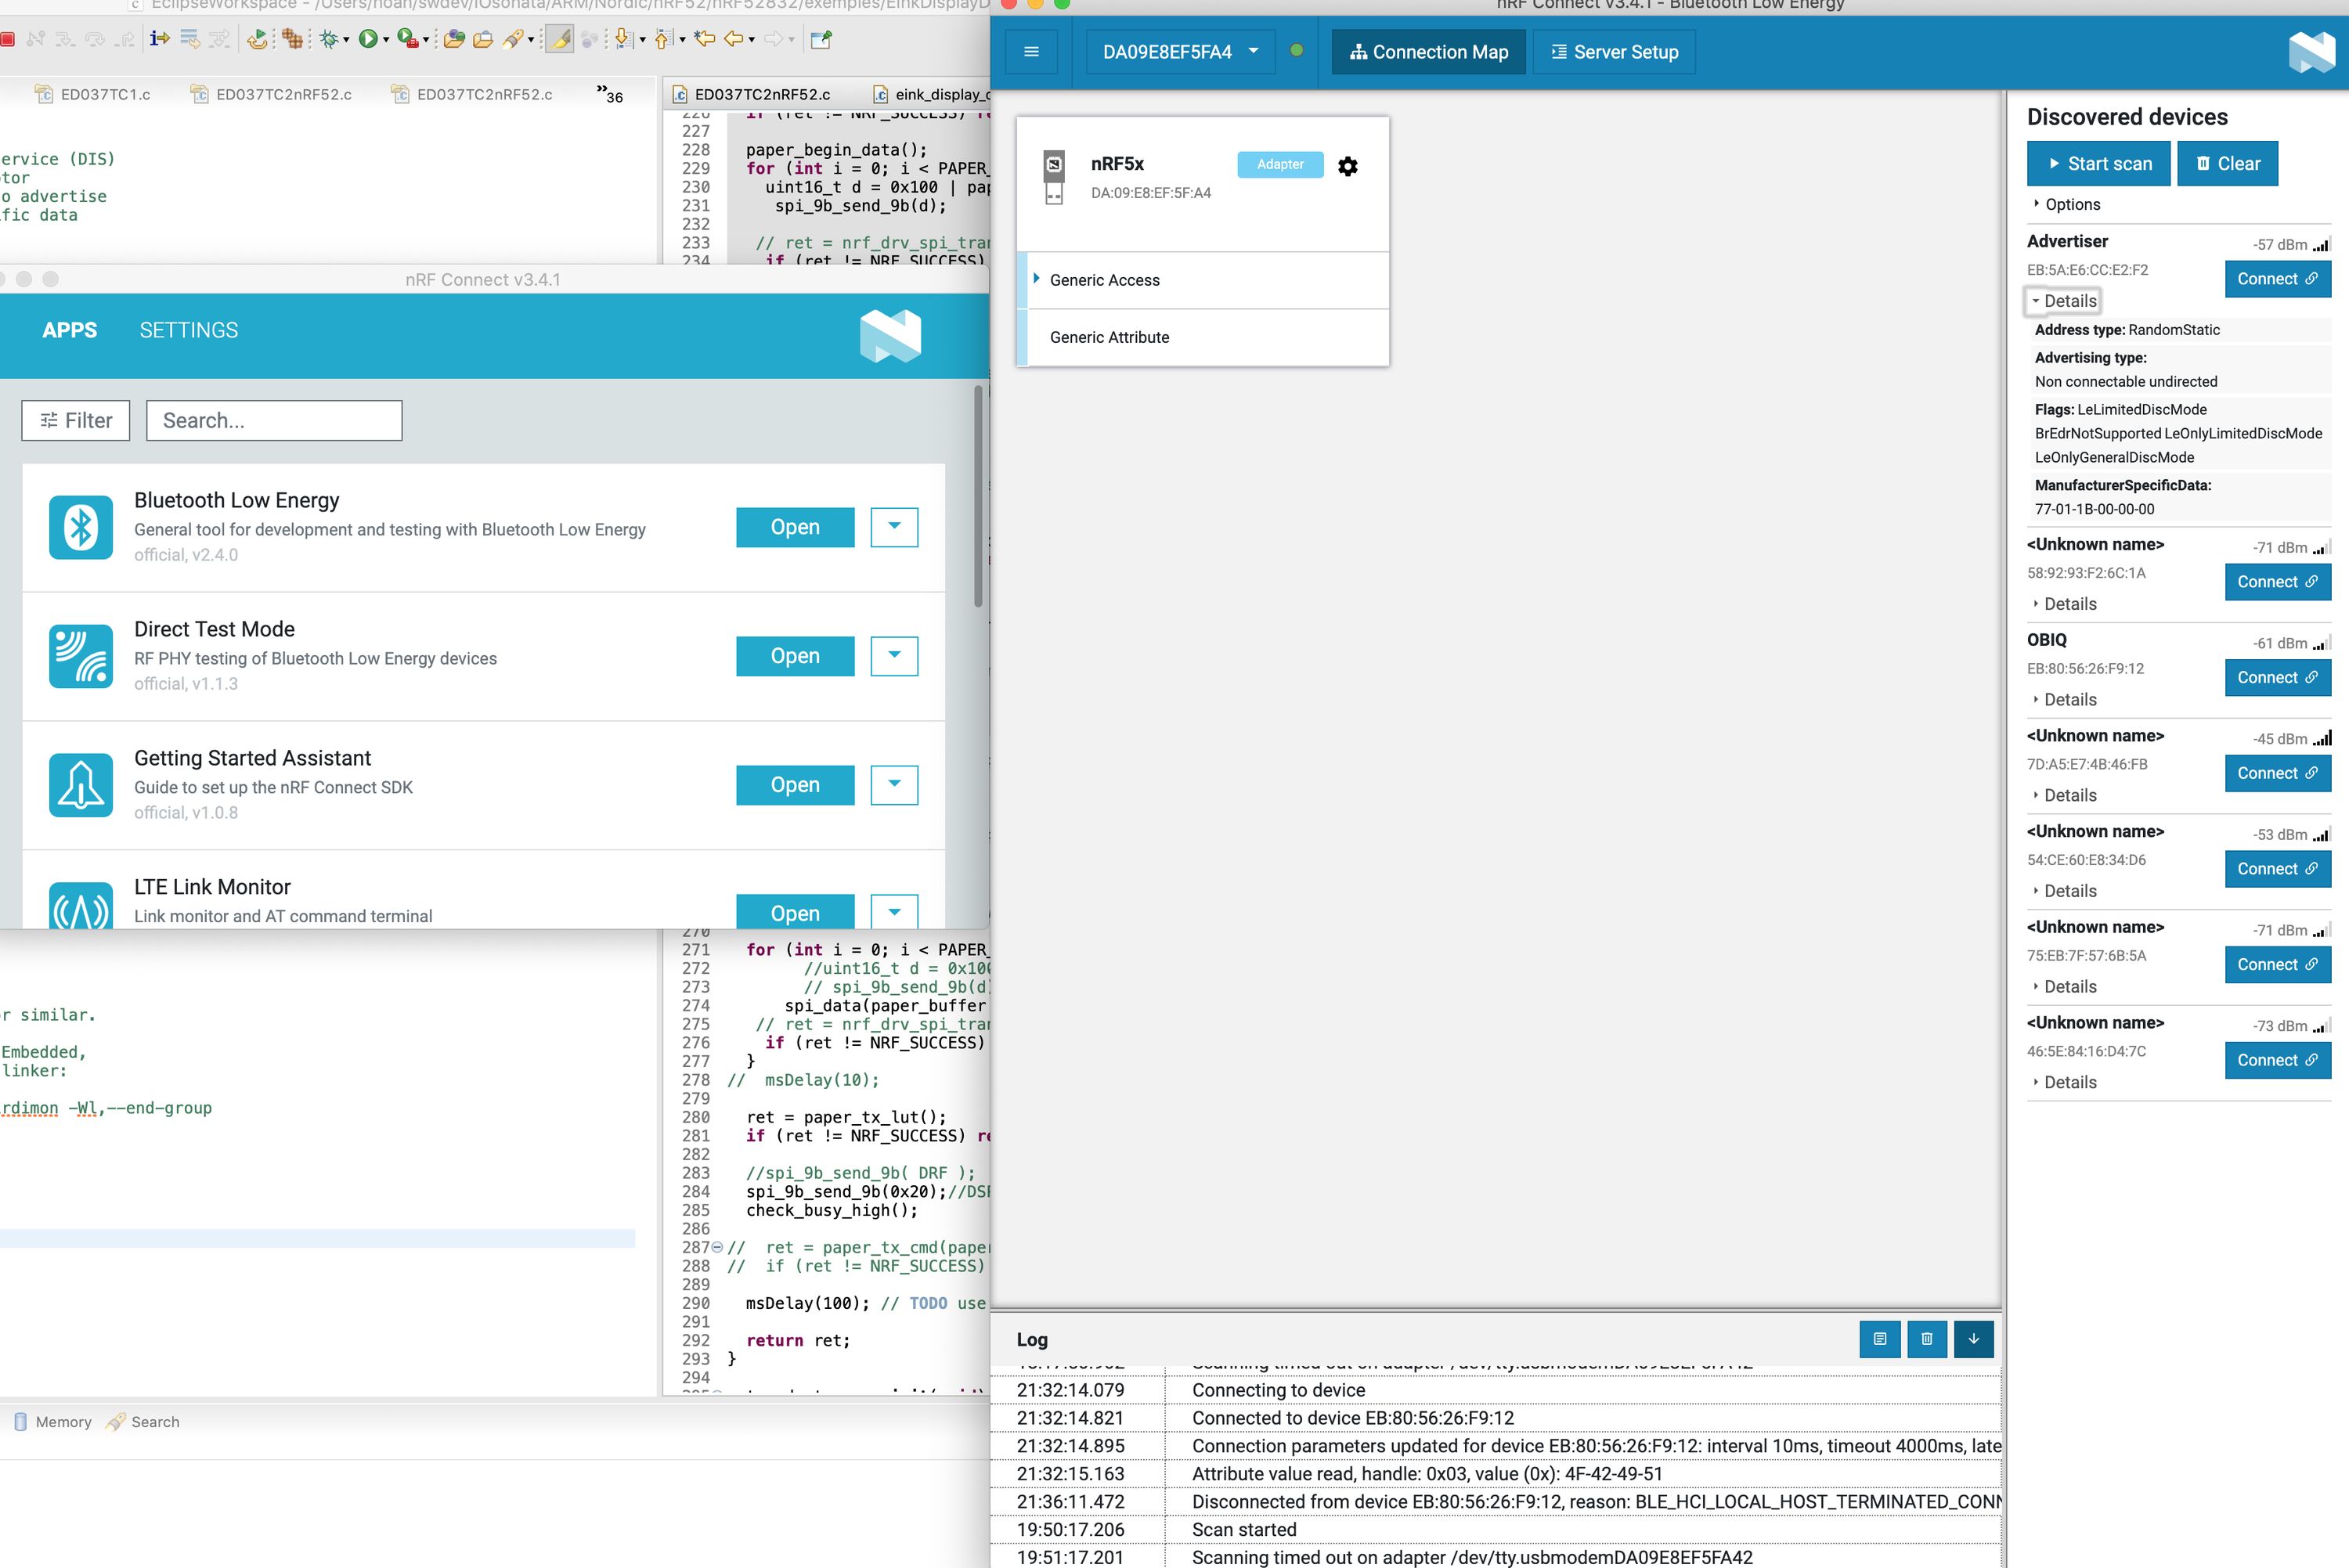
That is all the code you need to create BLE advertising-only firmware. Nordic NRF Connect App can be used to see the advertisement. Plug the BLYST840 dongle into your PC. Start nRF Connect Desktop and open Bluetooth Low Energy. Select the COM port of the BLYST840 dongle, then click "Start Scan" button on the right. You will see the advertiser device listed.
Sending Data in Advertisement Packets
We can see our device shows up on the scan. That’s about it. What is of interest is that in the advertisement packet there is a little private data section that we can use to send some data. Lets try to send a 32-bit counter with the advertisement packet to make our Advertise more interesting. The counter will count every time the advertisement times out.
In order to send the count, we need to add it to the config so that the library would know.
#include "istddef.h"
#include "ble_app.h"

#define DEVICE_NAME						"Advertiser"
#define APP_ADV_INTERVAL    			MSEC_TO_UNITS(100, UNIT_0_625_MS)
#define APP_ADV_TIMEOUT_IN_SECONDS      MSEC_TO_UNITS(1000, UNIT_10_MS)

uint32_t g_AdvCnt = 0;

const BLEAPP_CFG s_BleAppCfg = {
    { // Clock config nrf_clock_lf_cfg_t
    	NRF_CLOCK_LF_SRC_XTAL,	// Source 32KHz XTAL
    	0, 0, NRF_CLOCK_LF_ACCURACY_20_PPM
    },
    0,						// Number of central link
    1,						// Number of peripheral link
    BLEAPP_MODE_NOCONNECT,	// Connectionless beacon type
    DEVICE_NAME,			// Device name
    ISYST_BLUETOOTH_ID,		// PnP Bluetooth/USB vendor id
    1,                      // PnP Product ID
    0,						// Pnp prod version
    false,					// Enable device information service (DIS)
    NULL,					// Pointer device info descriptor
    (uint8_t*)&g_AdvCnt,   	// Manufacture specific data to advertise
    sizeof(g_AdvCnt),      	// Length of manufacture specific data
    NULL,
    0,
    BLEAPP_SECTYPE_NONE,    // Secure connection type
    BLEAPP_SECEXCHG_NONE,   // Security key exchange
    NULL,      				// Service uuids to advertise
    0, 						// Total number of uuids
    APP_ADV_INTERVAL,       	// Advertising interval in msec
    APP_ADV_TIMEOUT_IN_SECONDS,	// Advertising timeout in sec
    0,							// Slow advertising interval, if > 0, fallback to
    							// slow interval on adv timeout and advertise until connected
    0,		// Min. connection interval
    0,		// Max. connection interval
    -1,		// Led port number
    -1,		// Led pin number
    0,
};
In addition to the config, we need to catch the advertisement timeout to update the counter. This is accomplished by overloading the function:
void BlePeriphEvtUserHandler(ble_evt_t * p_ble_evt)
{
    if (p_ble_evt->header.evt_id == BLE_GAP_EVT_TIMEOUT)
    {
       // Update counter and advertisement data
       g_AdvCnt++;

       // Update the new value in the advertisement data
       BleAppAdvManDataSet((uint8_t*)&g_AdvCnt, sizeof(g_AdvCnt));
    }
}
That is all that we need to modify from the original example to make it advertise with an incrementing counter every second. Easy, isn’t it?
The complete Eclipse=based project is on GitHub. This same code works for both the nRF51 & nRF52 series, including nRF52840. See the previous update for how to setup the complete development environment.