Project update 11 of 17
What a Month (and a Half)
So quite some time has passed and we have been too busy to update you, so here is what happened:
Sourcing
One thing we learned is that sourcing and logistics in large scale (and during July-August) have about 4346534 ways to go wrong (and they will). After some hicups we are now on track with at least some of all the parts arrived and only some parts missing as we had to break orders into smaller to avoid delays. To be more specific, 12 of the 15 parts are 100% received and the other three are about 60-80% here with the rest arriving in 1-2 weeks.
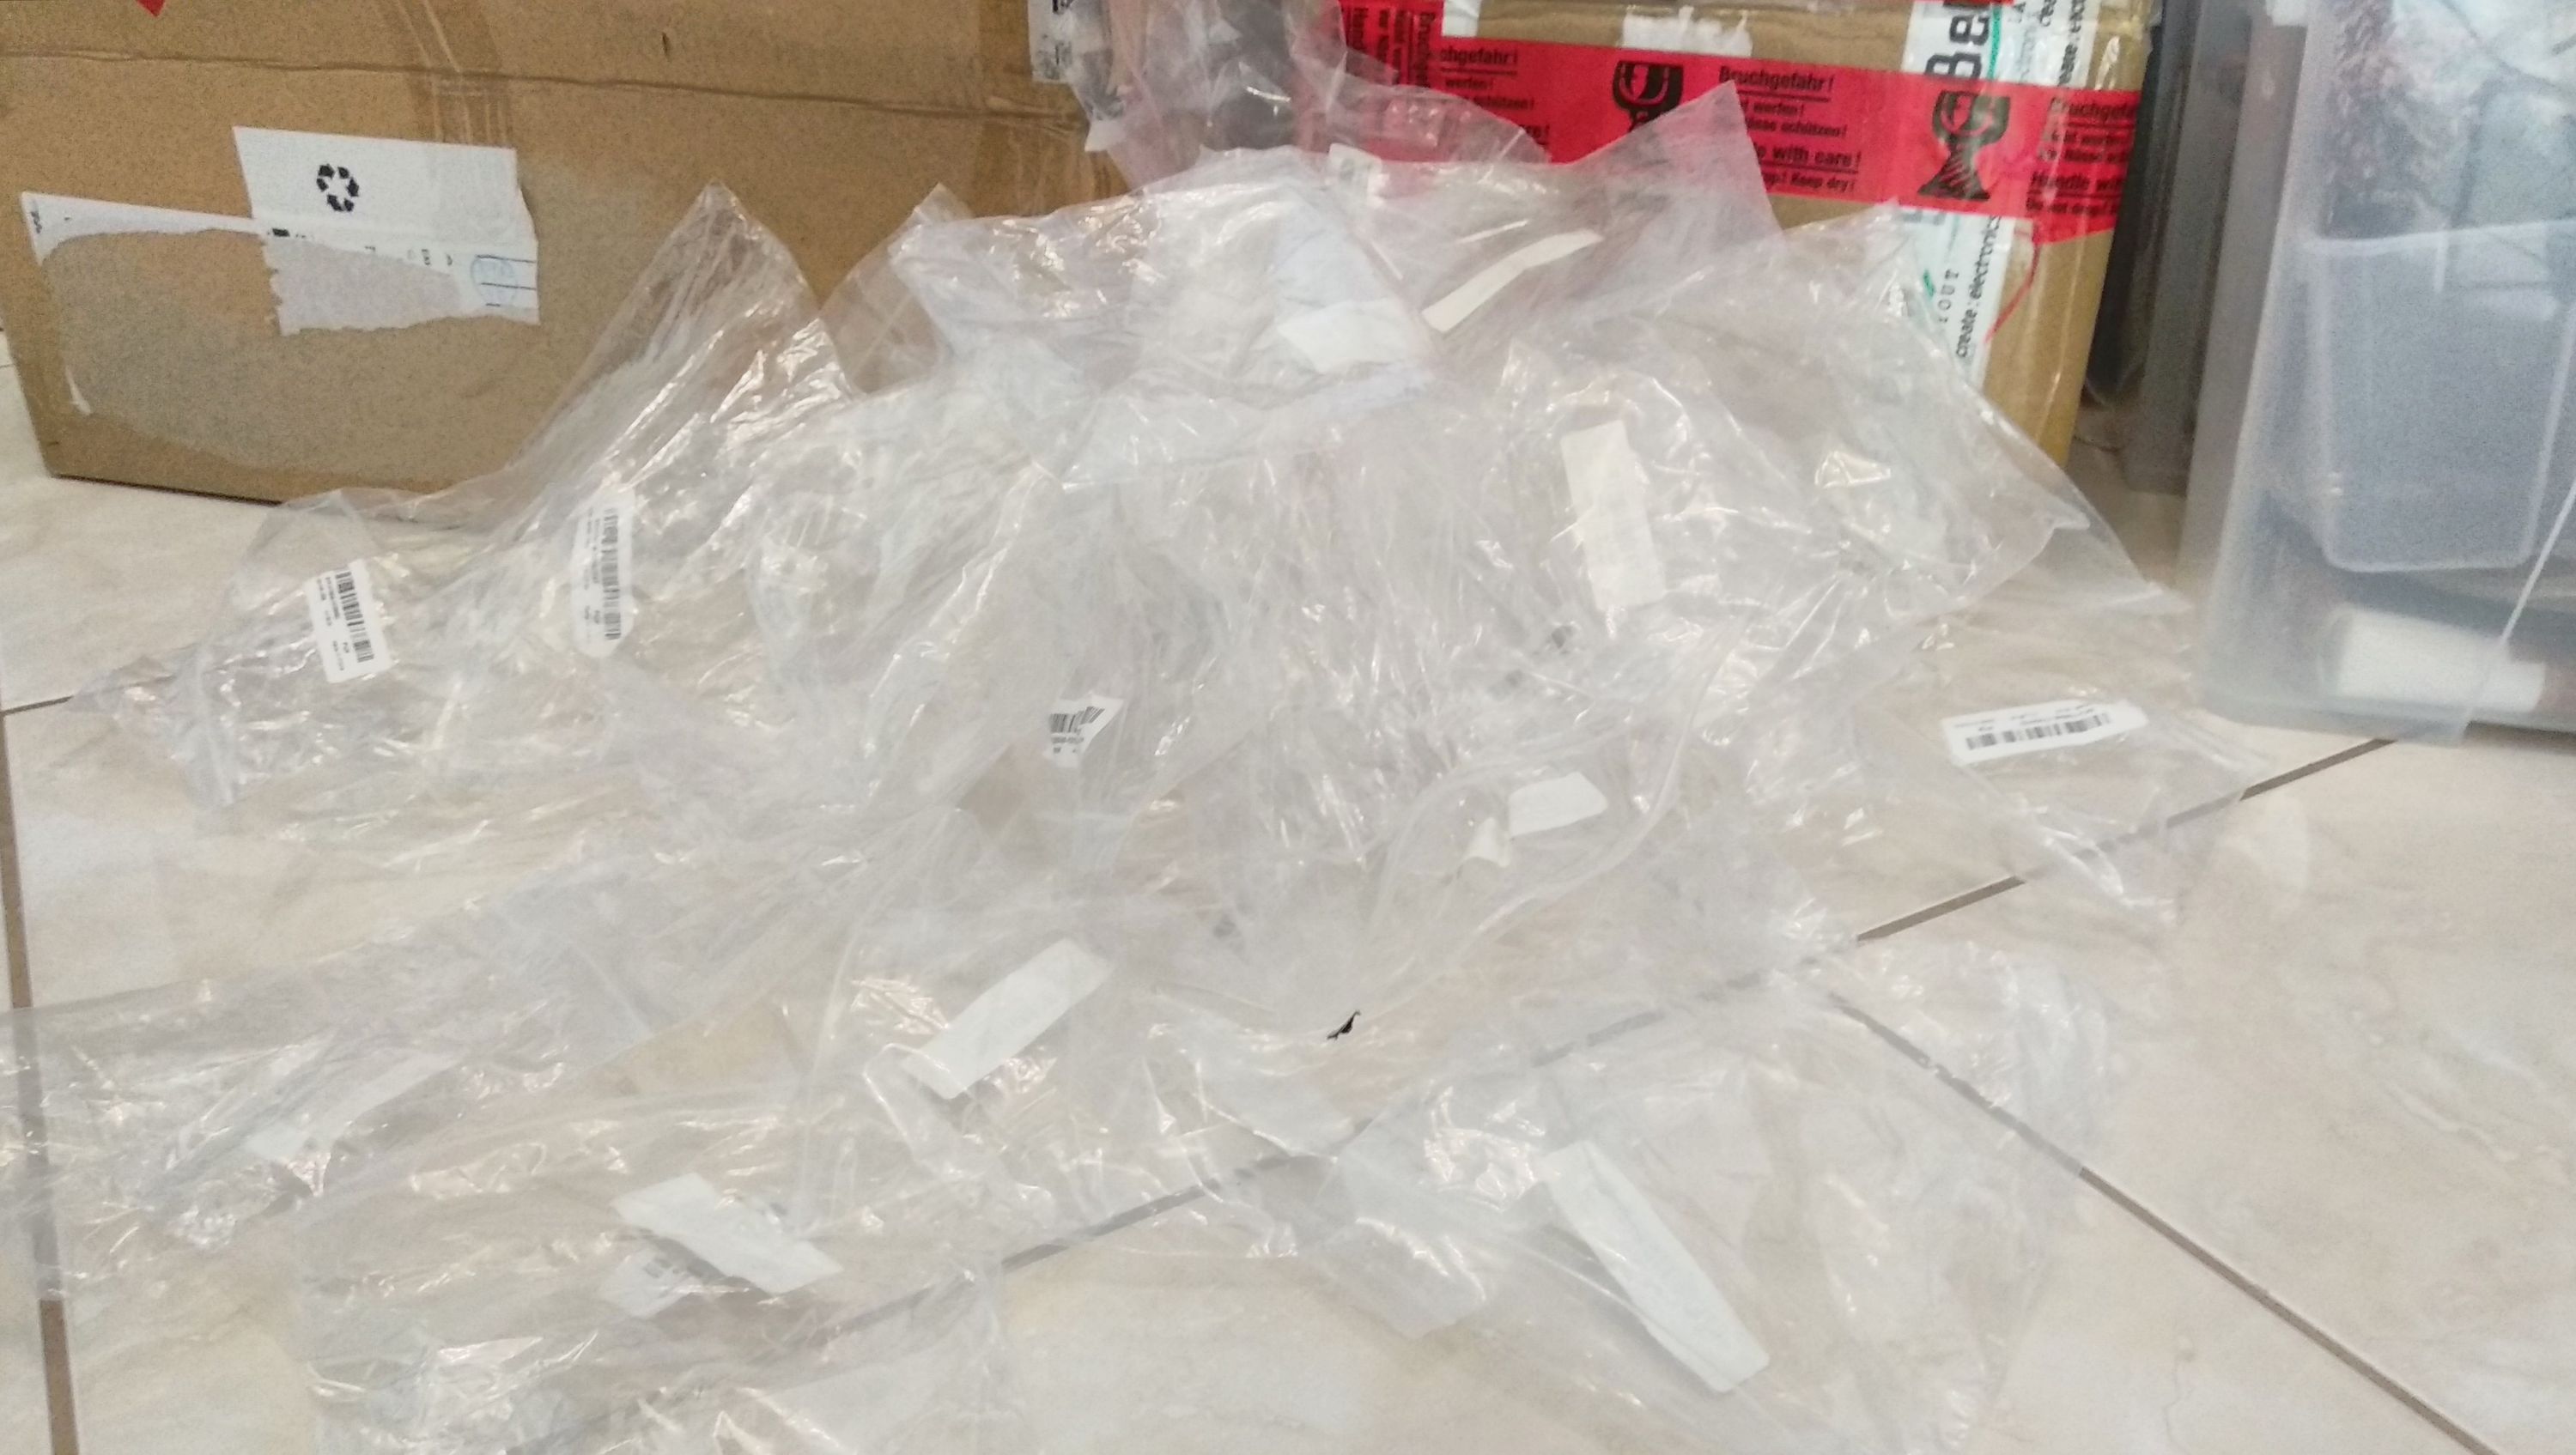
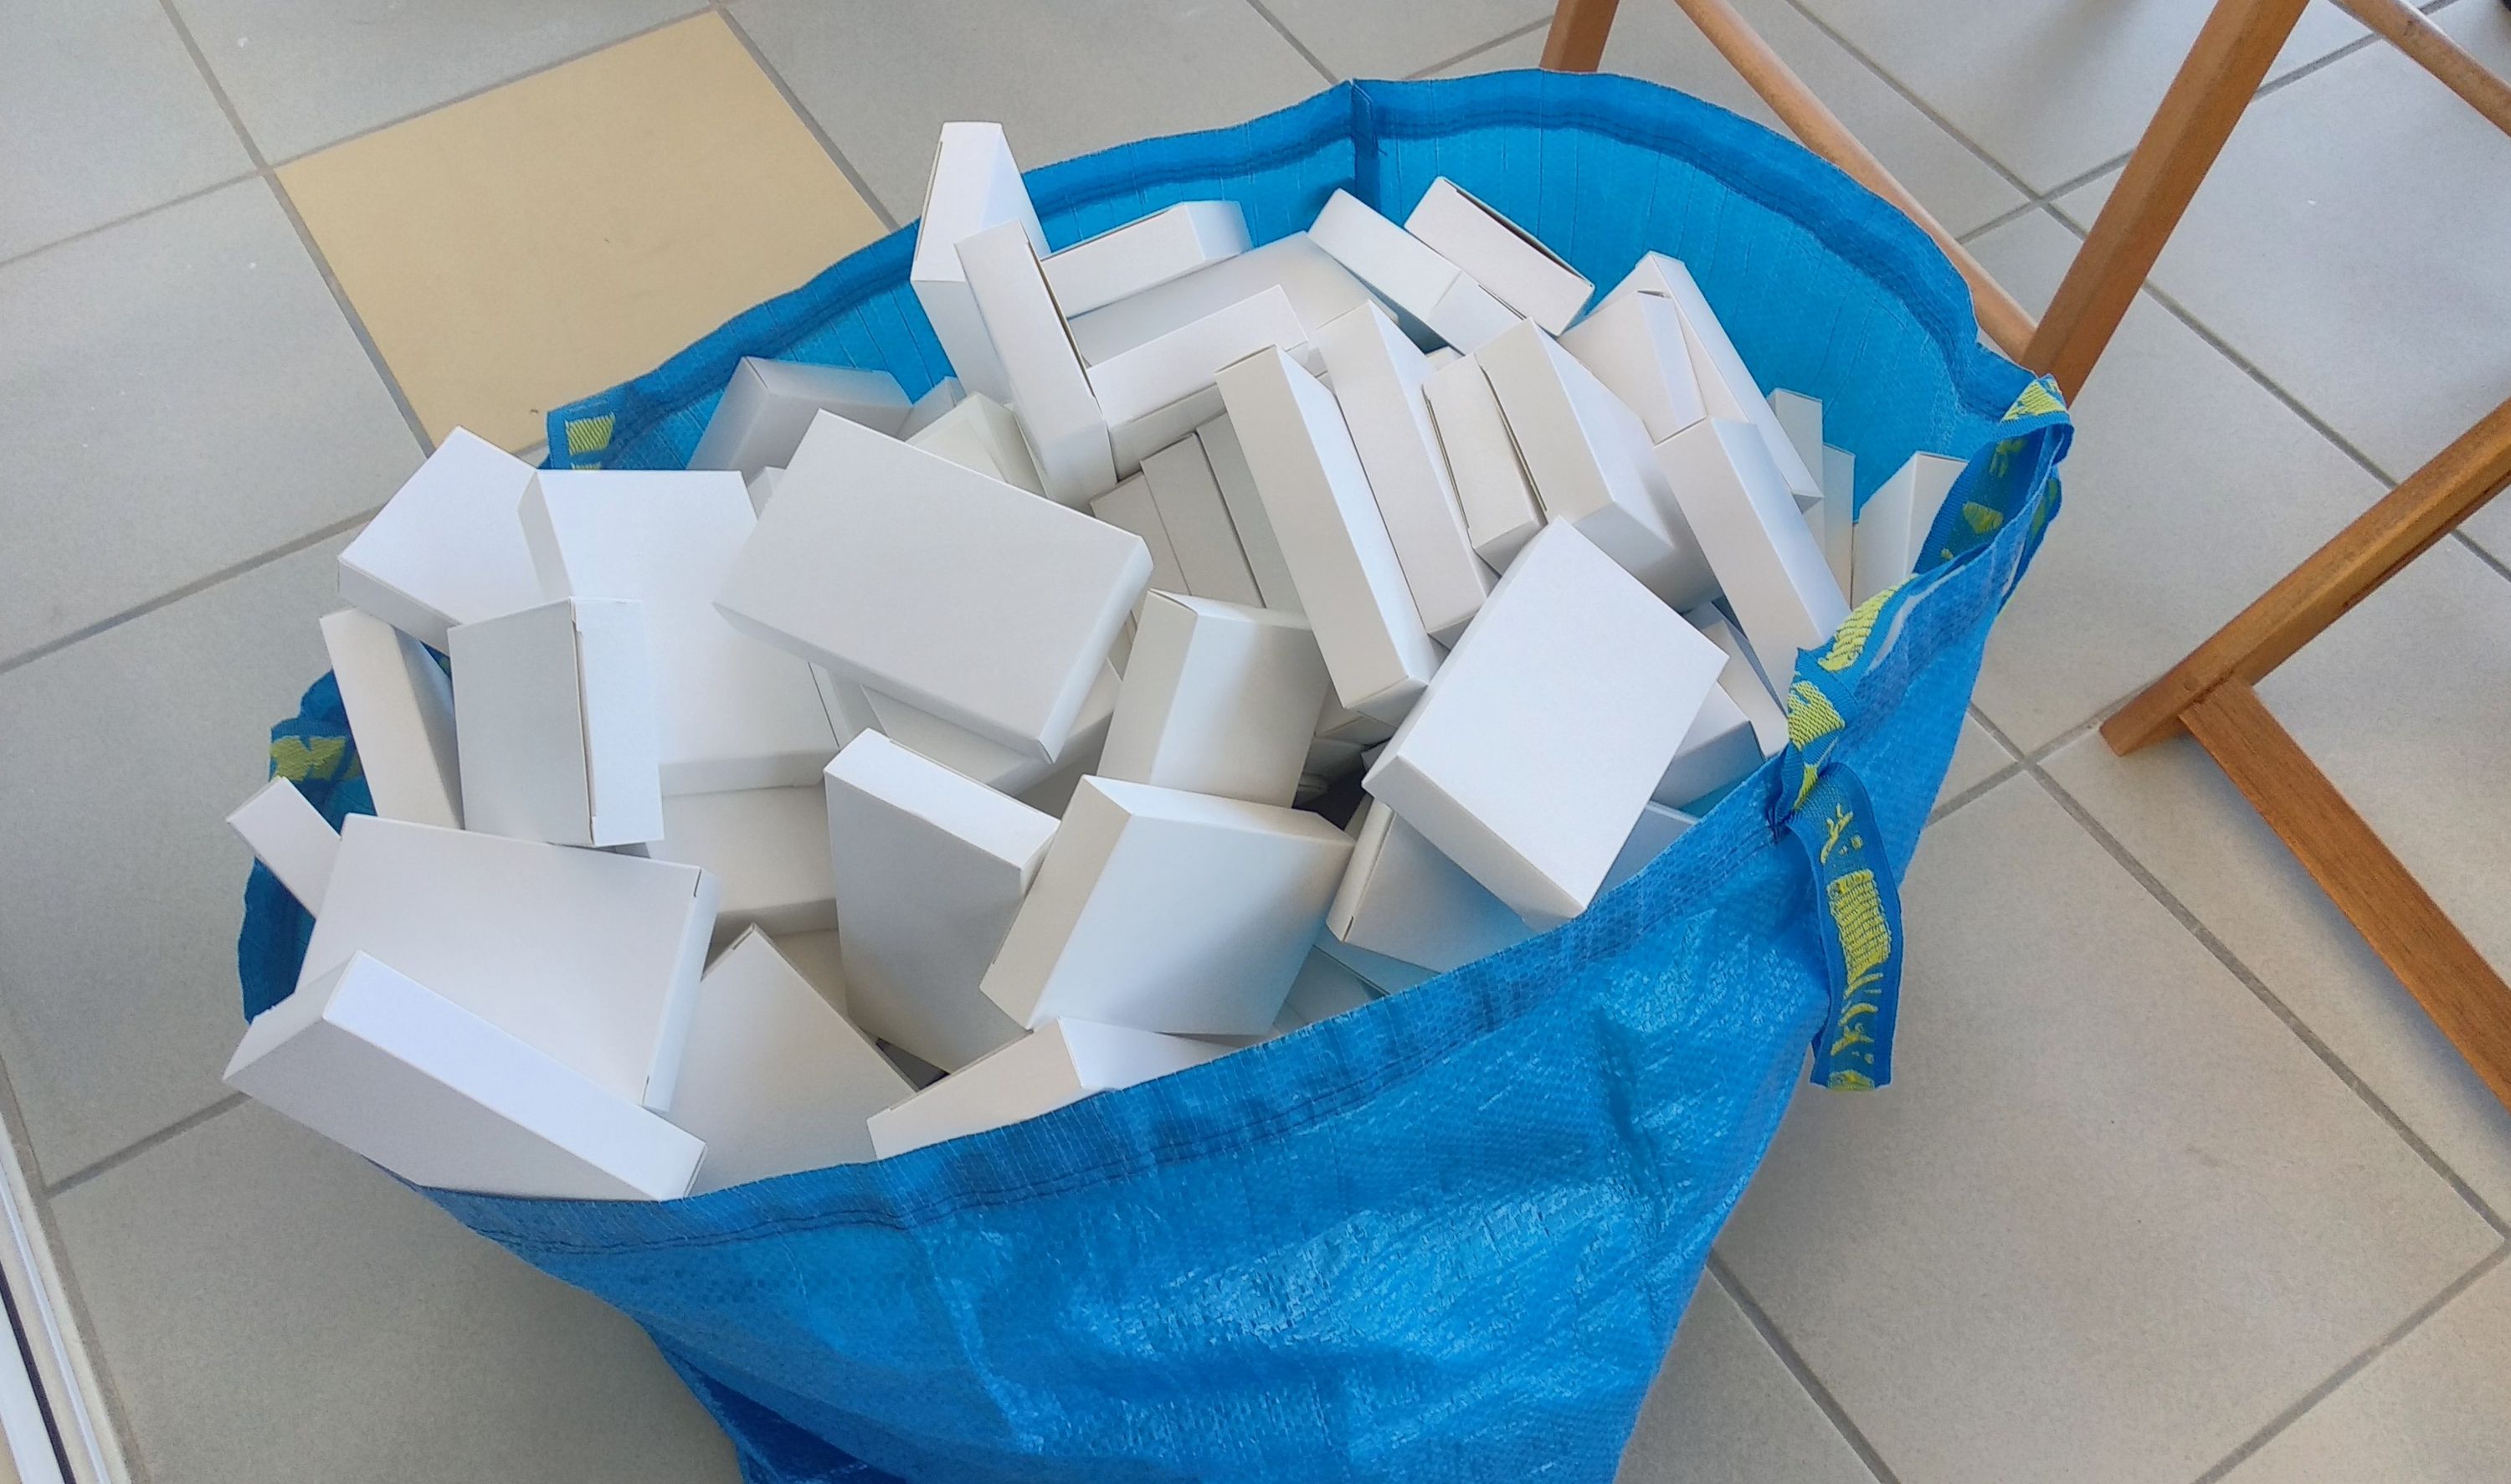
Unpackaging is a thing
When you produce batches of 20-40 you don’t consider unpackaging as one of the steps you need to include in your timeplan. But when you reach 250 units, unpackaging is a thing. Here are just two of the pictures taken from the material left after unpackaging two of our parts (sensor cable and Pi). So much time and so much more waste (to the recycling bin). All parts are now placed in containers and ready for the next step.
Unit testing
Testing each part is a very important step in our quality assurance procedure. Testing before soldering or assembling saves a lot of time too, because if something is faulty we just throw it out. But if testing takes more than 5-10 seconds then it crosses the threshold of time optimisation and will need to be tested at a later stage with other components together. This is the case with the Pi, the LCD and the SD, all of which are tested before and after assembly. The combined failure rate is 0.8 out of 50 so we can afford to test them later. To optimise unit testing, a few testing jigs were designed and 3D-printed to make our life much easier and a lot faster. A seperate update on these to follow.
Assembly line setup
With all (testable) parts tested and placed in a seperate bucket, we are ready to setup our production line. We realised we will need a bigger place, so we moved to a new location where space is not an issue. After installing lights, workbench and moving tools and test equipment we are ready to hit [start].
First test run
Placing all 13 components together for soldering is not an easy task, so another jig was made: the soldering jig (seperate update to follow too). After 5 design revisions the final version was ready and it would hold everything on the PCB for hands-free soldering! Simplifying something that you would be doing 250 times… priceless!
Testing
After running a short batch of 10 all the way thorough, a test was run on all of them. The test steps included (in this order) connecting power (update to follow), sensor, LCD and SD, and hitting the reset button.
Guess how many failed to boot? 10 out of 10!
That couldn’t be right. After a bit of troubleshooting we realised one little mistake. The reset button PCB track was not soldered on the Pi end so a reset was never registered. We adjusted the soldering steps, ran another batch of 10, and we got 10 out of 10 right. Repaired the first 10 and we moved on to the batch of 50 that we are currently on…
We will keep you posted with more photos from now on.