Modos Flow is a ready-to-use portable monitor for everyday work. However, we’ve also designed it to be totally hackable. This is a guide on how you can start to hack the Flow once you receive it.
Taking It Apart
Once you receive the Flow, you’ll notice something that’s becoming increasingly rare in today’s consumer electronics: screws. We designed it so users can take their device apart and put it back together. Note that the screen module itself was never meant to be designed into a device that’d ever be taken apart, so we had to work around its existing flexible printed circuit cable design. This ended up making the assembly and disassembly work a bit awkward. At the end of the day, you’re also dealing with a very thin device that’s mostly covered with glass, so exercise caution when handling the device.
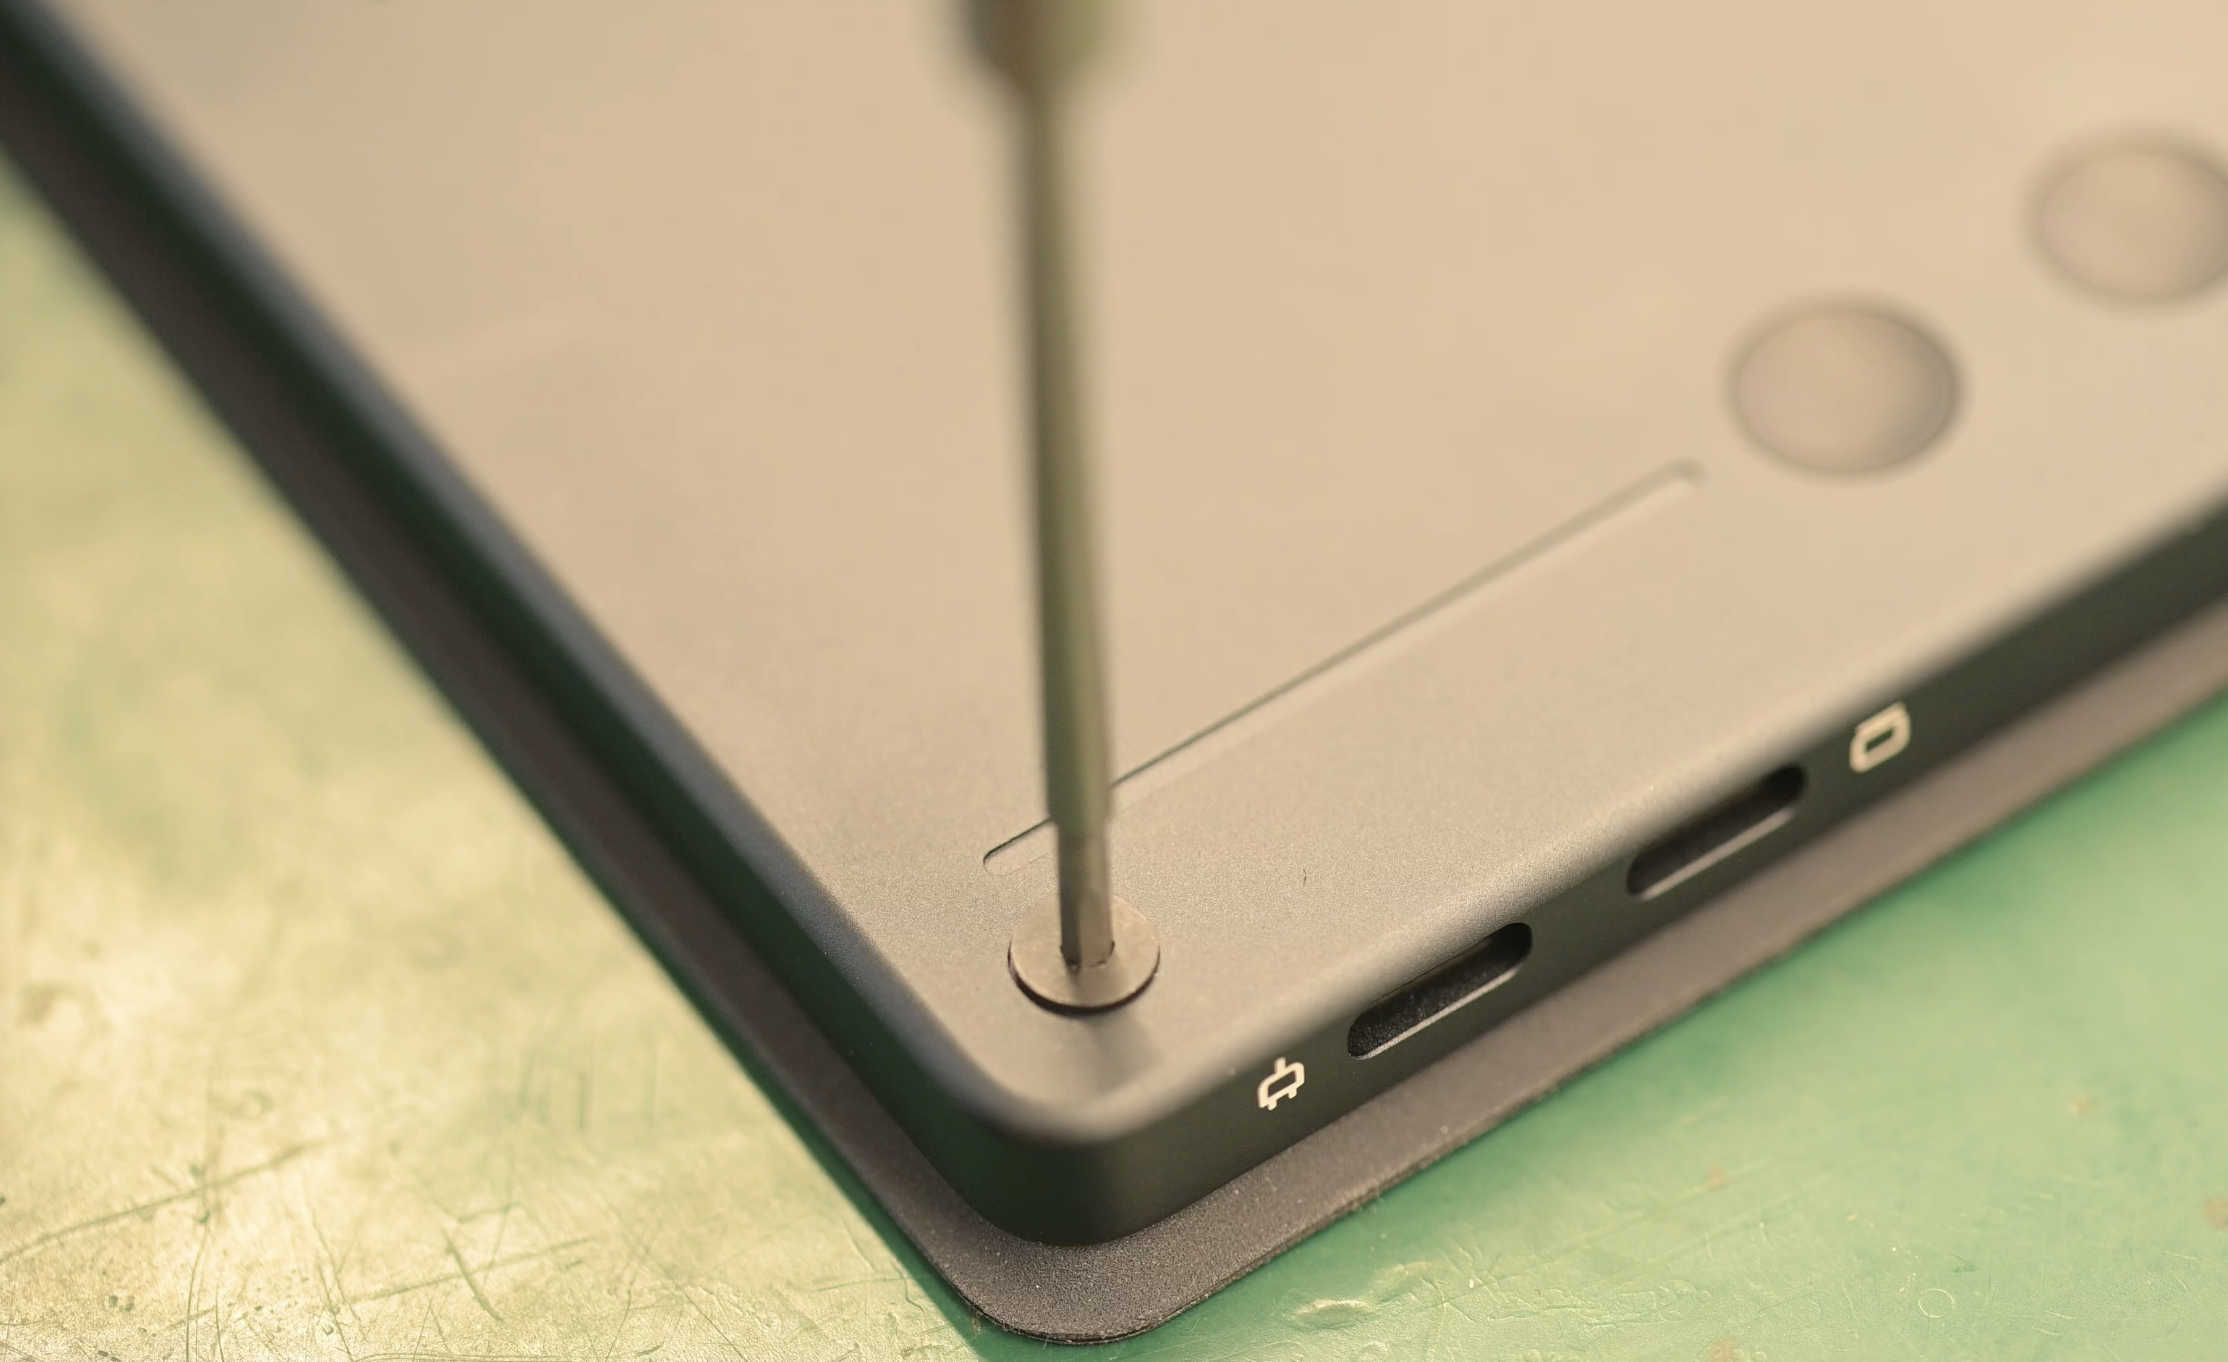
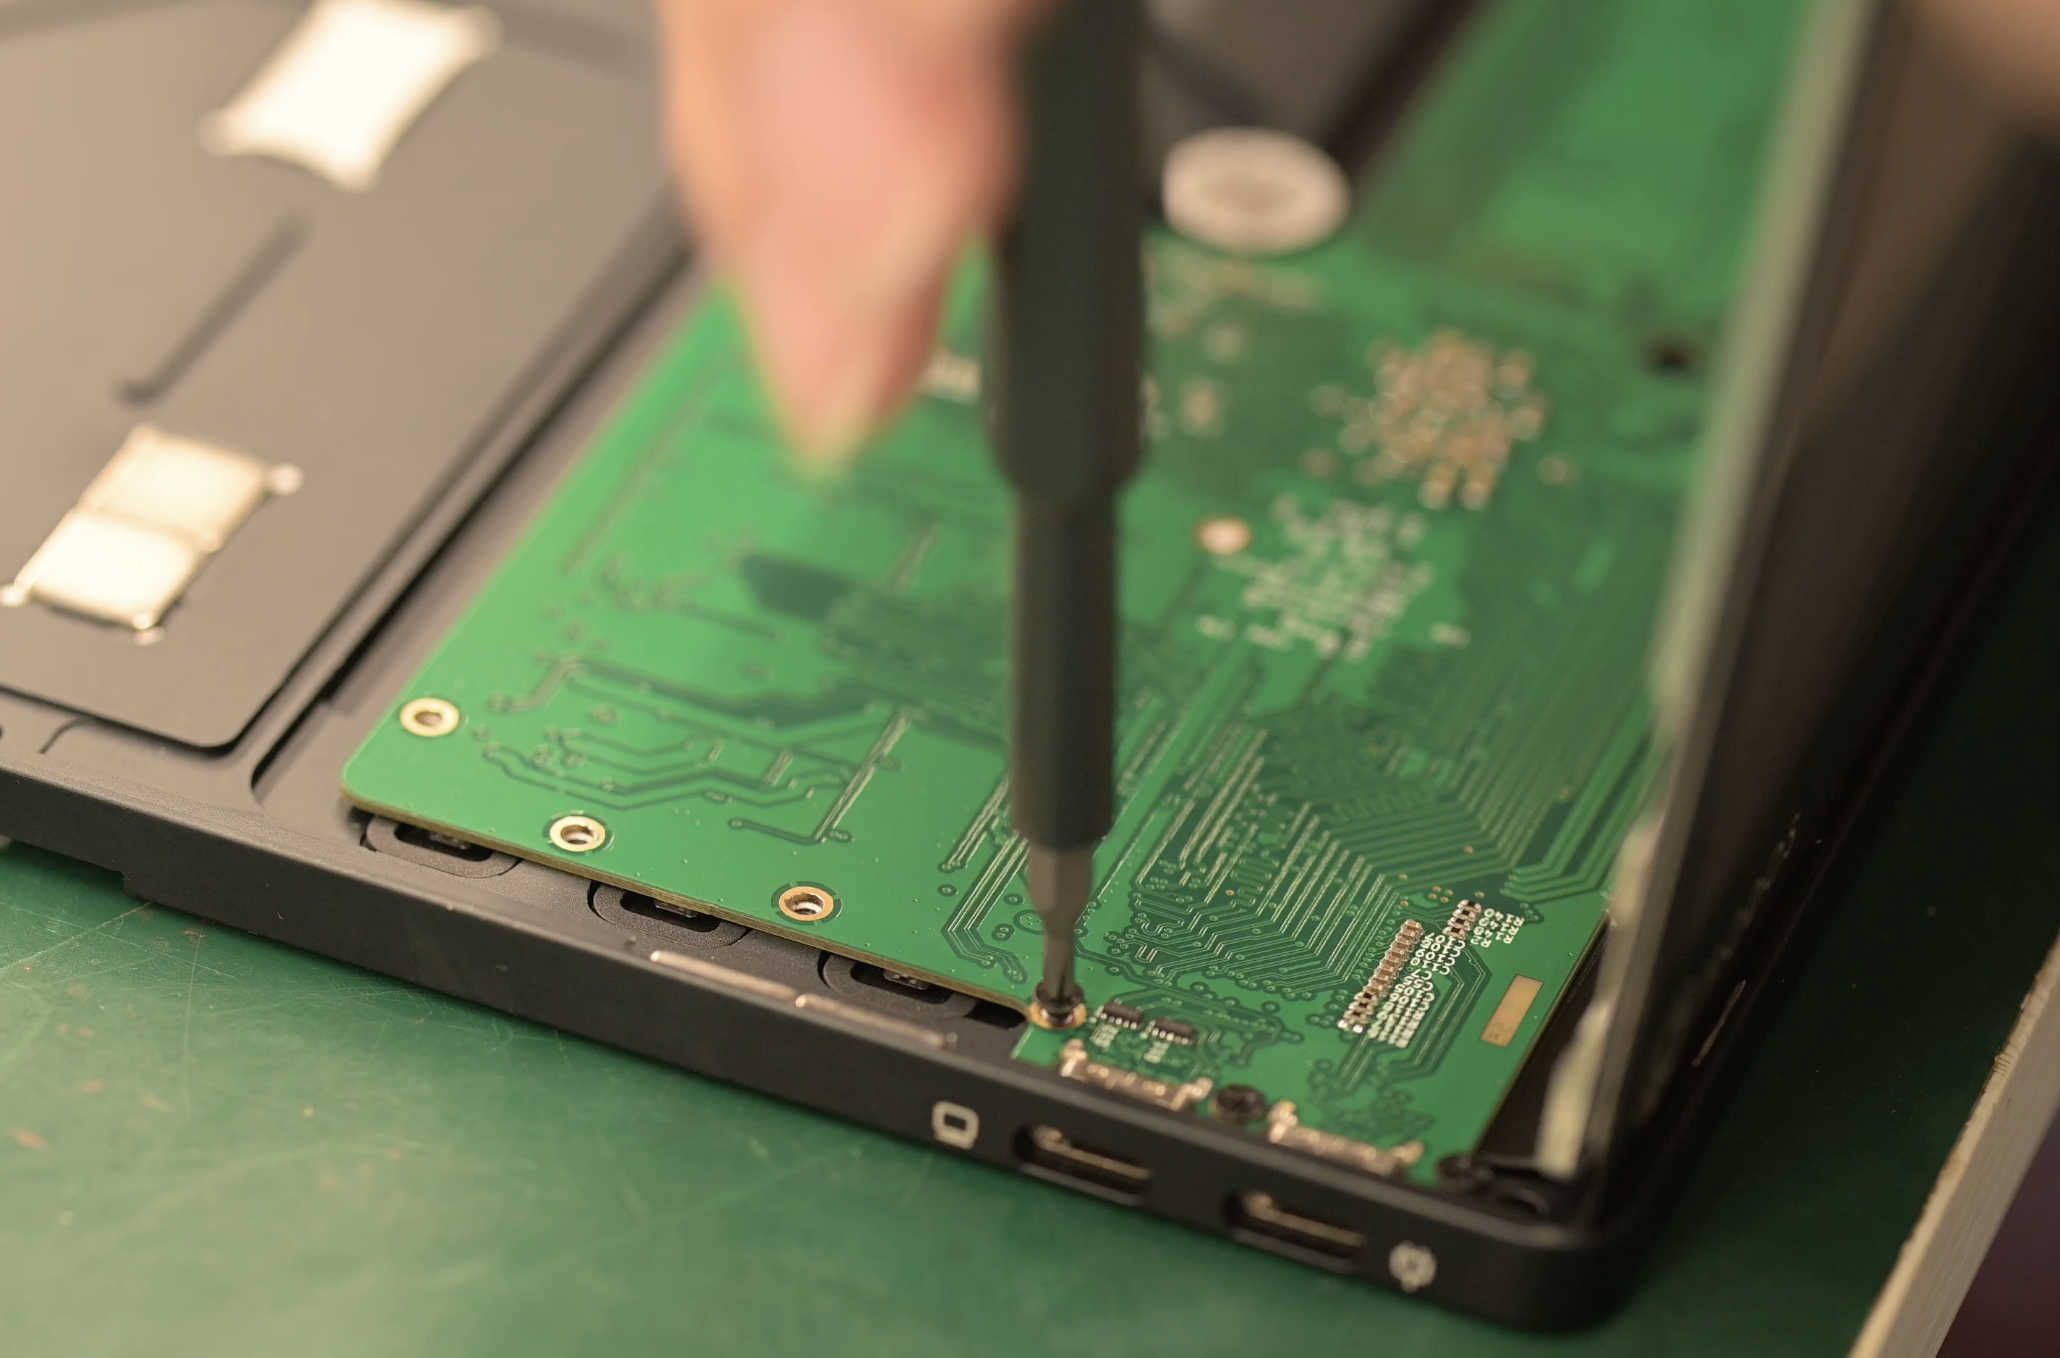
Once the screws are removed, you should be able to lift up the screen panel. This is the part where it gets a bit tricky. Due to the design of the screen flex cable itself, and the limited options we have for screen connectors, we had to put the screen connector on the opposite side of the board. So you’ll need to hold the screen perpendicular to the device while removing the screws holding the mainboard. Once the mainboard screws are removed, you should be able to carefully remove the mainboard and screen from the rest of the chassis.
The Mainboard
Before jumping right into the code, it’s helpful to understand the main components of the device. Here is a labeled photo of the mainboard:
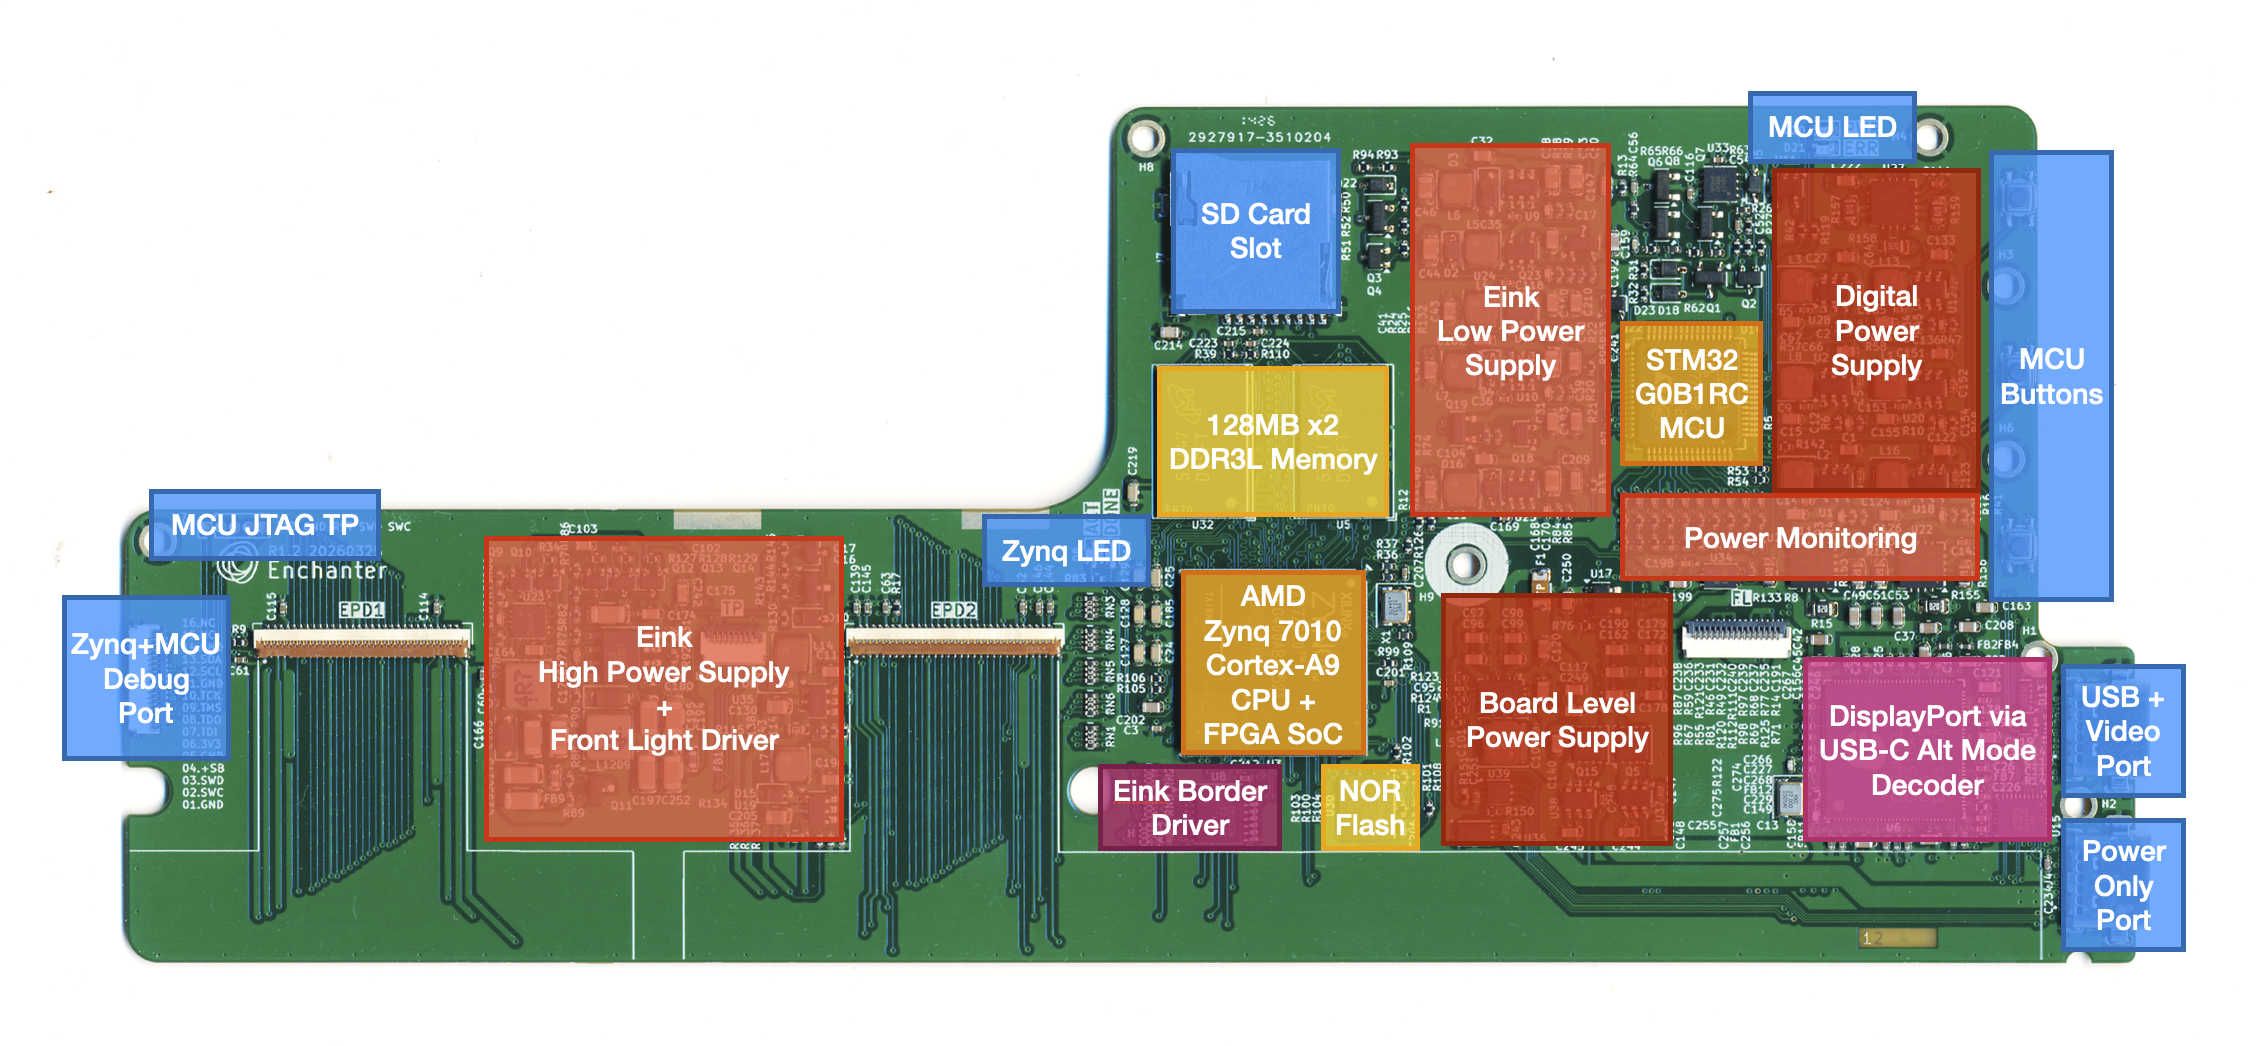
It’s controlled by two main components: a Zynq 7010 ARM + FPGA SoC and an STM32G0B1RC microcontroller. The STM32 is always on and handles USB communication. The Zynq runs the E Ink controller on the FPGA, while the ARM core handles other UI/UX functionality, like the OSD, auto-clearing, touchscreen driver, etc.
The two processors are connected using an I2C bus, with the Zynq as the master in the official firmware, and a UART interface. All normal communication happens on the I2C bus, with a sideband GPIO for resetting the communication when, for whatever reason, it becomes unresponsive. The UART is there solely for debugging purposes; its contents are forwarded to the USB ACM tty port available on the main USB port.
In terms of debugger access, there is a 16-pin FFC connector on the edge of the board, breaking out the JTAG of both the Zynq and the STM32, alongside the I2C bus shared by both. So it’s possible to add more devices onto the bus, or simply connect it to a logic analyzer to facilitate debugging. Both the Zynq and the STM32 have two LEDs connected to them, which can also come in helpful when debugging.
There is also an SD card slot unused by the official firmware, in case you want to add more local storage to it.
Building the Firmware
At the moment, the official firmware is compiled using Vivado 2022.2 and STM32CubeIDE 2.0.0 on Linux. macOS and Windows aren’t supported. We’ve set up a build script that works right away after cloning the repo. GUI-based building is also supported, but it requires some setup work. It’s recommended to use the scripted flow at least once to make sure all auto-generated files are in place before attempting to use the GUI.
The BUILD.md in the repo provides a good summary of what to do, but tl;dr:
- Clone the repo.
- Source env.sh to export the tool path. This may require changes.
- Call release.sh to build everything.
What’s Already There
Of course, again, this isn’t a device sold as a dev kit; it’s something plug-and-play and ready to be used. The stock firmware, as of today, is already quite feature-complete:
- 4 predefined "update modes" (Browsing, Watching, Writing, Reading)
- 3 underlying refreshing strategies (mono-only, 4-level direct-driving grayscale, and 16-level LUT-based grayscale)
- 2 dithering methods (Bayer dithering and blue-noise dithering)
- 2 configurable auto-clearing modes (constant interval and adaptive based on damage counter)
- Lightness, contrast, and saturation control (something arguably not that useful on most monitors, but quite important on an E Ink monitor due to the limited dynamic range of the screen)
- Brightness and color temperature control
- Fully customizable button action assignment
- Global framerate limiter without lowering the input framerate (less motion blur, lower latency compared to just reducing the input framerate)
- Motion compensation, making the mouse cursor visible during movement
- Allows disabling the capacitive touchscreen but not the stylus (for drawing)
- Normal power and low-power mode (reduced driving voltage, lower refresh rate, slower clocks all around)
- Auto-sleep (sleep when there is no signal or when the host enters sleep; wakes up when the host wakes or the incoming signal becomes active)
- Basic power monitoring and emergency shutdown

So at least we have a good baseline, I would say.
Hacking Ideas
Here are some initial ideas I have in mind that could be implemented on the Flow.
Improving the Existing Firmware
Surely, we’ll continue improving the functionality and stability of the firmware before and after fulfillment. We’re also working on porting some of these features to the Glider; the goal is for both to share the same codebase. But in the meantime, here are things that would be interesting to implement, but probably won’t be in the official firmware for a while:
- Non-flashing grayscale (direct transition between different grayscale levels)
- Advanced auto-clear (instead of doing full-screen flashing, it just automatically clears ghosting on dirty areas)
- REGAL?
- Low-pass filter to deal with devices with FRC, instead of asking users to turn FRC off (not always possible)
- Burn-in prevention, stopping refreshing on fast-changing items after timeout (like some animated icons on the screen)
- More elaborate dithering algorithms
Turning It Into Something Else
This device is designed to be a monitor. But the hardware is slightly more capable than that. Notably, the Zynq has a dual-core Cortex-A9 running up to 667MHz. With the stock firmware, one core is completely disabled, and the only running core is down-clocked to only 67MHz (1/10). Because… the FPGA is doing all the heavy lifting, there’s just not much for the ARM core to do. But with this headroom, it’s possible to:
- Run DOOM (feels like this has to be done)
- Turn it into standalone digital signage (though you'll need to be a bit creative about the data source)
- Turn it into a digital picture frame (probably easiest, the SD card slot would come in handy)
- Run Linux on it (SD card might be essential here)
- Integrate it into something else, like maybe a laptop or a cyberdeck? (Glider is the best fit, but Flow could work if you accept the constraints)
Bottom Line
At the end of the day, this is a device with openly available documents and a user-repairable design.
You own the device. Happy hacking!