In this update, we’ll detail some of the new features for glitching with ChipWhisperer-Husky. Before that, we’ve got to say thanks to everyone who has already backed us, the ChipWhisperer-Husky looks to be well on the way to existing! And if you’ll be in Leuven next week for CHES, be sure to stop by and say hello to us.
In our previous update, we mentioned that we strived to keep the Python API the same, so any attack scripts or notebooks you have developed for ChipWhisperer-Lite should "just work" on Husky. One exception to this is how the clock or voltage glitch shaping parameters are specified.
The old way of specifying the glitch shape involved specifying a combination of "coarse" and "fine" settings; this was due to limitations of the Spartan 6 DCMs used to generate glitches. On the Husky FPGA, those limitations are gone: separate coarse/fine settings are no longer needed. While this requires an API change that’s not backwards compatible, it makes it much easier to sweep glitch widths and offsets; we hope you’ll agree the change is worthwhile.
We didn’t stop there: whereas before, with ChipWhisperer-Lite/Pro, you could request a programmable number of glitches to occur a programmable number of clock cycles after a trigger event, you can now repeat this up to 32 times. For example, you can have X glitches generated Y cycles after the trigger event, followed by Z glitches W cycles later, and so on…
When it came time to validate all these new glitch features, it struck us we could automate validation if we built a small logic analyzer inside the FPGA. This basic logic analyzer can capture the key internal signals involved in generating the glitches, along with the glitch output. This allows a fully automated test which sweeps the glitch parameters and verifies the glitch output is what it should be at each setting. Test_husky.py does just that. With this, we know that the double-glitch bug is gone!
Besides validation, this logic analyzer is a useful learning tool for visualizing glitches. Have a look at the husky_glitch.ipynb notebook to see for yourself. When you have a Husky in your hands, you’ll be able to run this notebook to visualize glitches for any glitch setting. For now, you can run the notebook with some saved real glitch data to see what it can do. Try it!
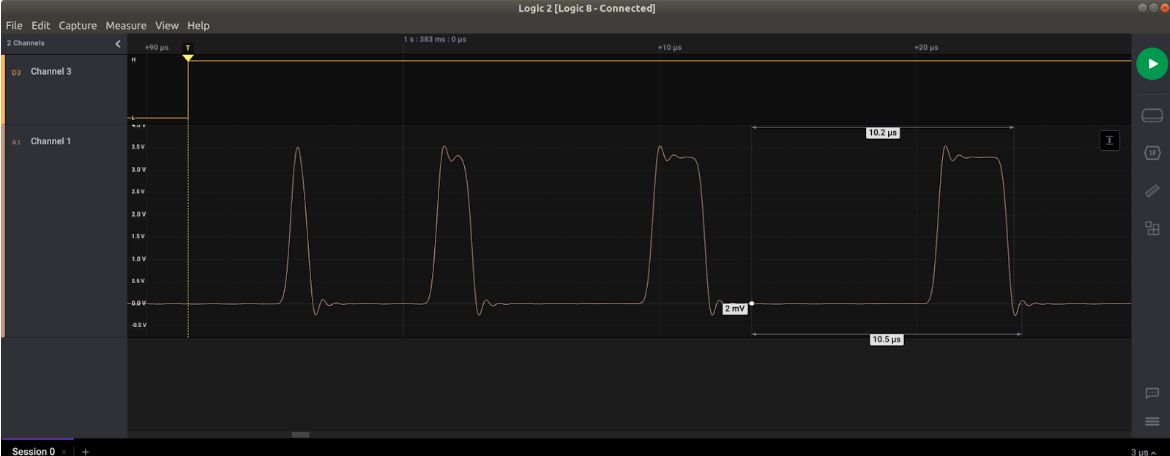
Finally, this small and basic logic analyzer can also be used to sample other signals — like the UART Tx and Rx lines, or the I/Os from the new front 20-pin user-defined header. It can sample nine signals at up to 300 MHz and store 16K samples per channel. It may never replace your Saleae, but we think you’ll find it useful.