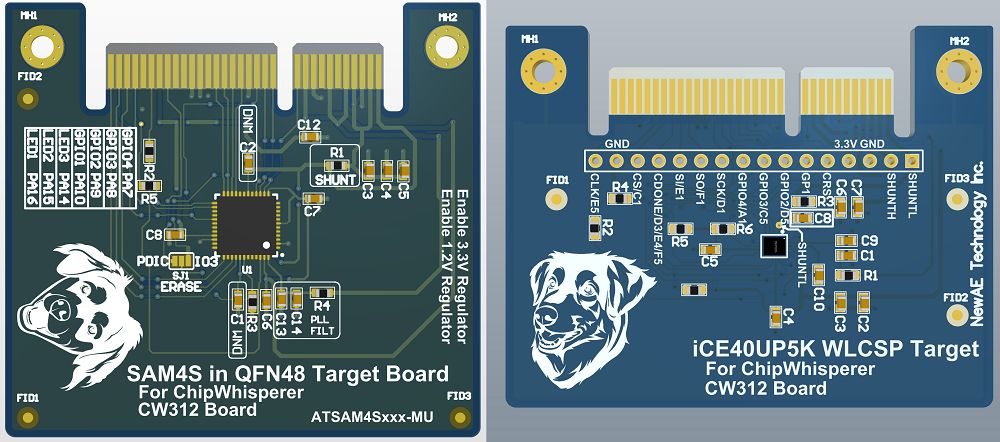
While our Crowd Supply campaign is almost up, we wanted to update you on our timelines and production plans, including the testing that will be done on your unit. Since we’ve already gotten the chips for our production runs, we’ve submitted orders for the two target boards (ATSAM4S & iCE40). Here’s a render of the final submitted target boards:
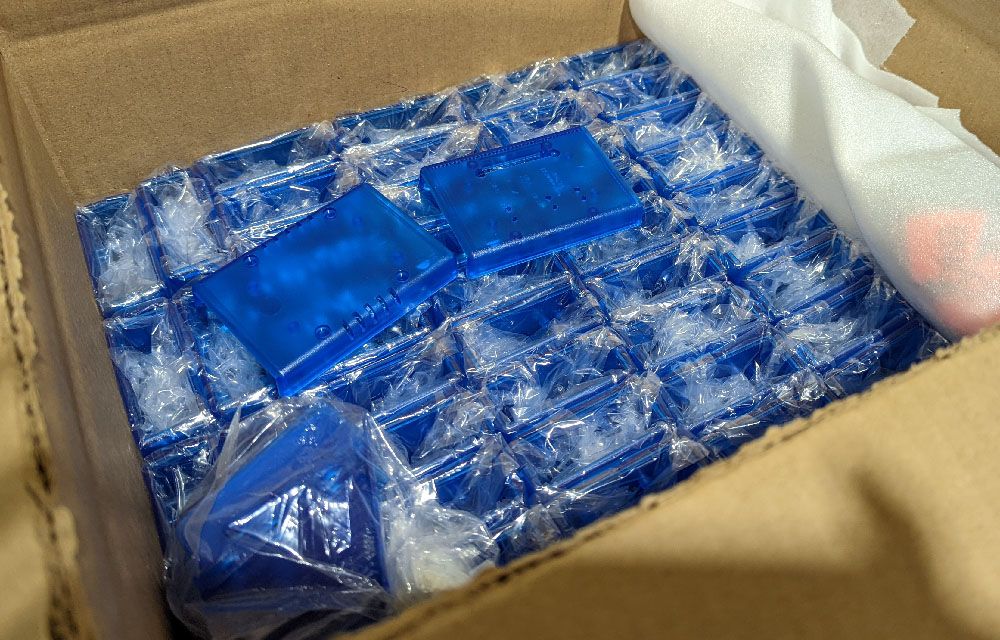
We’re about to submit the order for the main ChipWhisperer-Husky as well. The ChipWhisperer-Husky board is assembled by a contract manufacturer, but final assembly happens in our production facility. We’ve already done a small run of the custom enclosures and some boards for testing, so we’ll be able to quickly spin up the full order:
Each ChipWhisperer-husky goes through a full production test. This ensures there are no soldering issues or problems like failing components. We try to have multiple ways of testing everything. Our assembly partner does an automated optical inspection (AOI) which should catch solder joint issues and missing parts, but it’s not perfect. So we do an additional functional test that replicates tasks you’ll do on the board such as power analysis and fault injection.
The production tests check many of the same things as previous ChipWhisperer capture board tests. This includes testing ADC gain and frequency response, glitch waveforms, and the functionality of various IO pins. We’ve also added some new tests, such as checking JTAG/SWD programming and running a suite of tests on the FPGA, confirming that the Husky’s many features work when pushed to its frequency limits.
Our test procedure also includes the tutorials, firmware, and FPGA hardware design that run your ChipWhisperer-Husky. Tryinhg to run a tutorial that doesn’t work can be frustrating - did you mess up something, is the unit broken, or did someone commit broken code? With the huge number of tutorials available, and the interplay between all the various software and hardware, we try to eliminate this problem by automatically running the tutorials periodically.
Currently, we have a few different test setups for the Husky. The first, which runs every time a software/jupyter commit is pushed to the ChipWhisperer repo, focuses mostly on our SCA101 tutorials, with a few FAULT101 tutorials being run as well. Additionally, some hardware-specific tests are run, including the Husky FPGA test suite that’s run in the production test. Our second test setup is used when the Husky’s FPGA bitstream is changed. It runs a more complete version of the Husky FPGA test suite in addition to the other tests. Lastly, we have a period test setup that adds additional FAULT101 tests, as well as SCA201 tutorials.
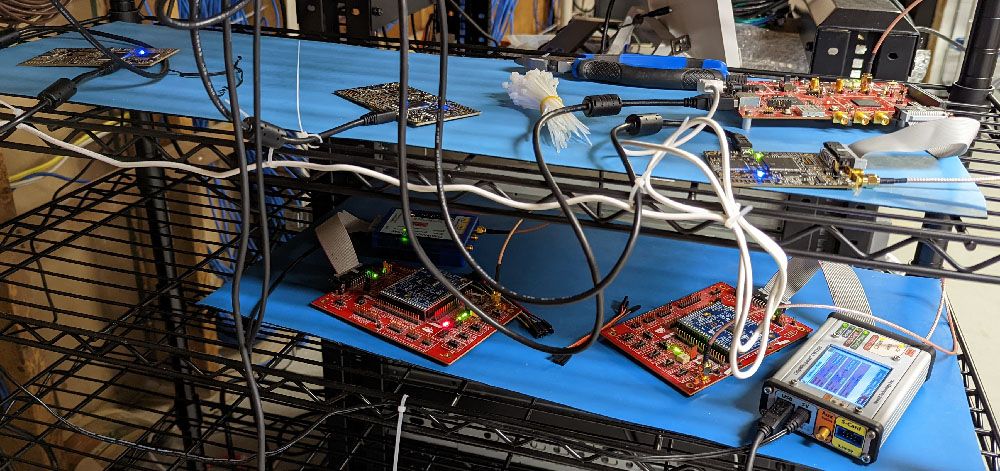
The status of the most recent test is available on our main github repo, with the completed tutorials available in both .html and .rst formats in the repo’s tutorials directory. These tests run on a bunch of different hardware platforms - you can see our testing rack here, with a ChipWhisperer-Husky tucked away in the back:
We give special consideration to the FPGA, since it is really the heart and soul of the ChipWhisperer-Husky. While the FPGA design is open-source, in practice it can be daunting to modify, since you might be afraid of subtly breaking the design. This can be difficult to debug since the FPGA controls almost everything. For this reason, there are several test platforms specific to our FPGA design.
First, we have a simulation-based test environment which covers most of ChipWhisperer-Husky’s functionality. This environment allows us to quickly validate updates to the FPGA Verilog source code.
Second, we have an extensive on-target test suite to verify the physical ChipWhisperer-Husky operates correctly. Running tests on the actual device is much faster than simulation; it also allows some things that aren’t feasible in simulation (e.g., verifying the shape of generated glitches). The only disadvantage of these tests is less visibility for debugging when things go wrong. This gives us a nice output showing all tests are passing:
Combining these two test methods allows us to be very confident that a given ChipWhisperer-Husky works as intended. It also makes it much easier to tweak or add features to ChipWhisperer-Husky without fear of breaking anything. Every time we touch ChipWhisperer-Husky’s code, these tests are run to ensure everything still works as it should.
To learn more about both test environments, see our GitHub repo.
You can see we’ve covered both production testing along with testing our code-base. We hope this gives you confidence that we’re delivering a reliable and complete product. And, more importantly, how the open-source test platforms are something you can use if you want to extend ChipWhisperer-Husky but keep the same reliability as our production-tested code.