Project update 23 of 76
Tooling is progressing
Yet another month has passed by, and so it’s time for our regular monthly update. Let’s see what’s been going on!
The tools are in the works
On the 21st of May, we made a trip to Serbia to visit our contractor who is responsible for designing and machining the cutting tools for the steel plates and the molds for the plastic case.
As soon as they welcomed us to their facility, we were having a thorough conversation about the tools to be made. At this point, the cutting tools were already being manufactured and we had discussed all the small details about the molds so that they can start to manufacture them, too.
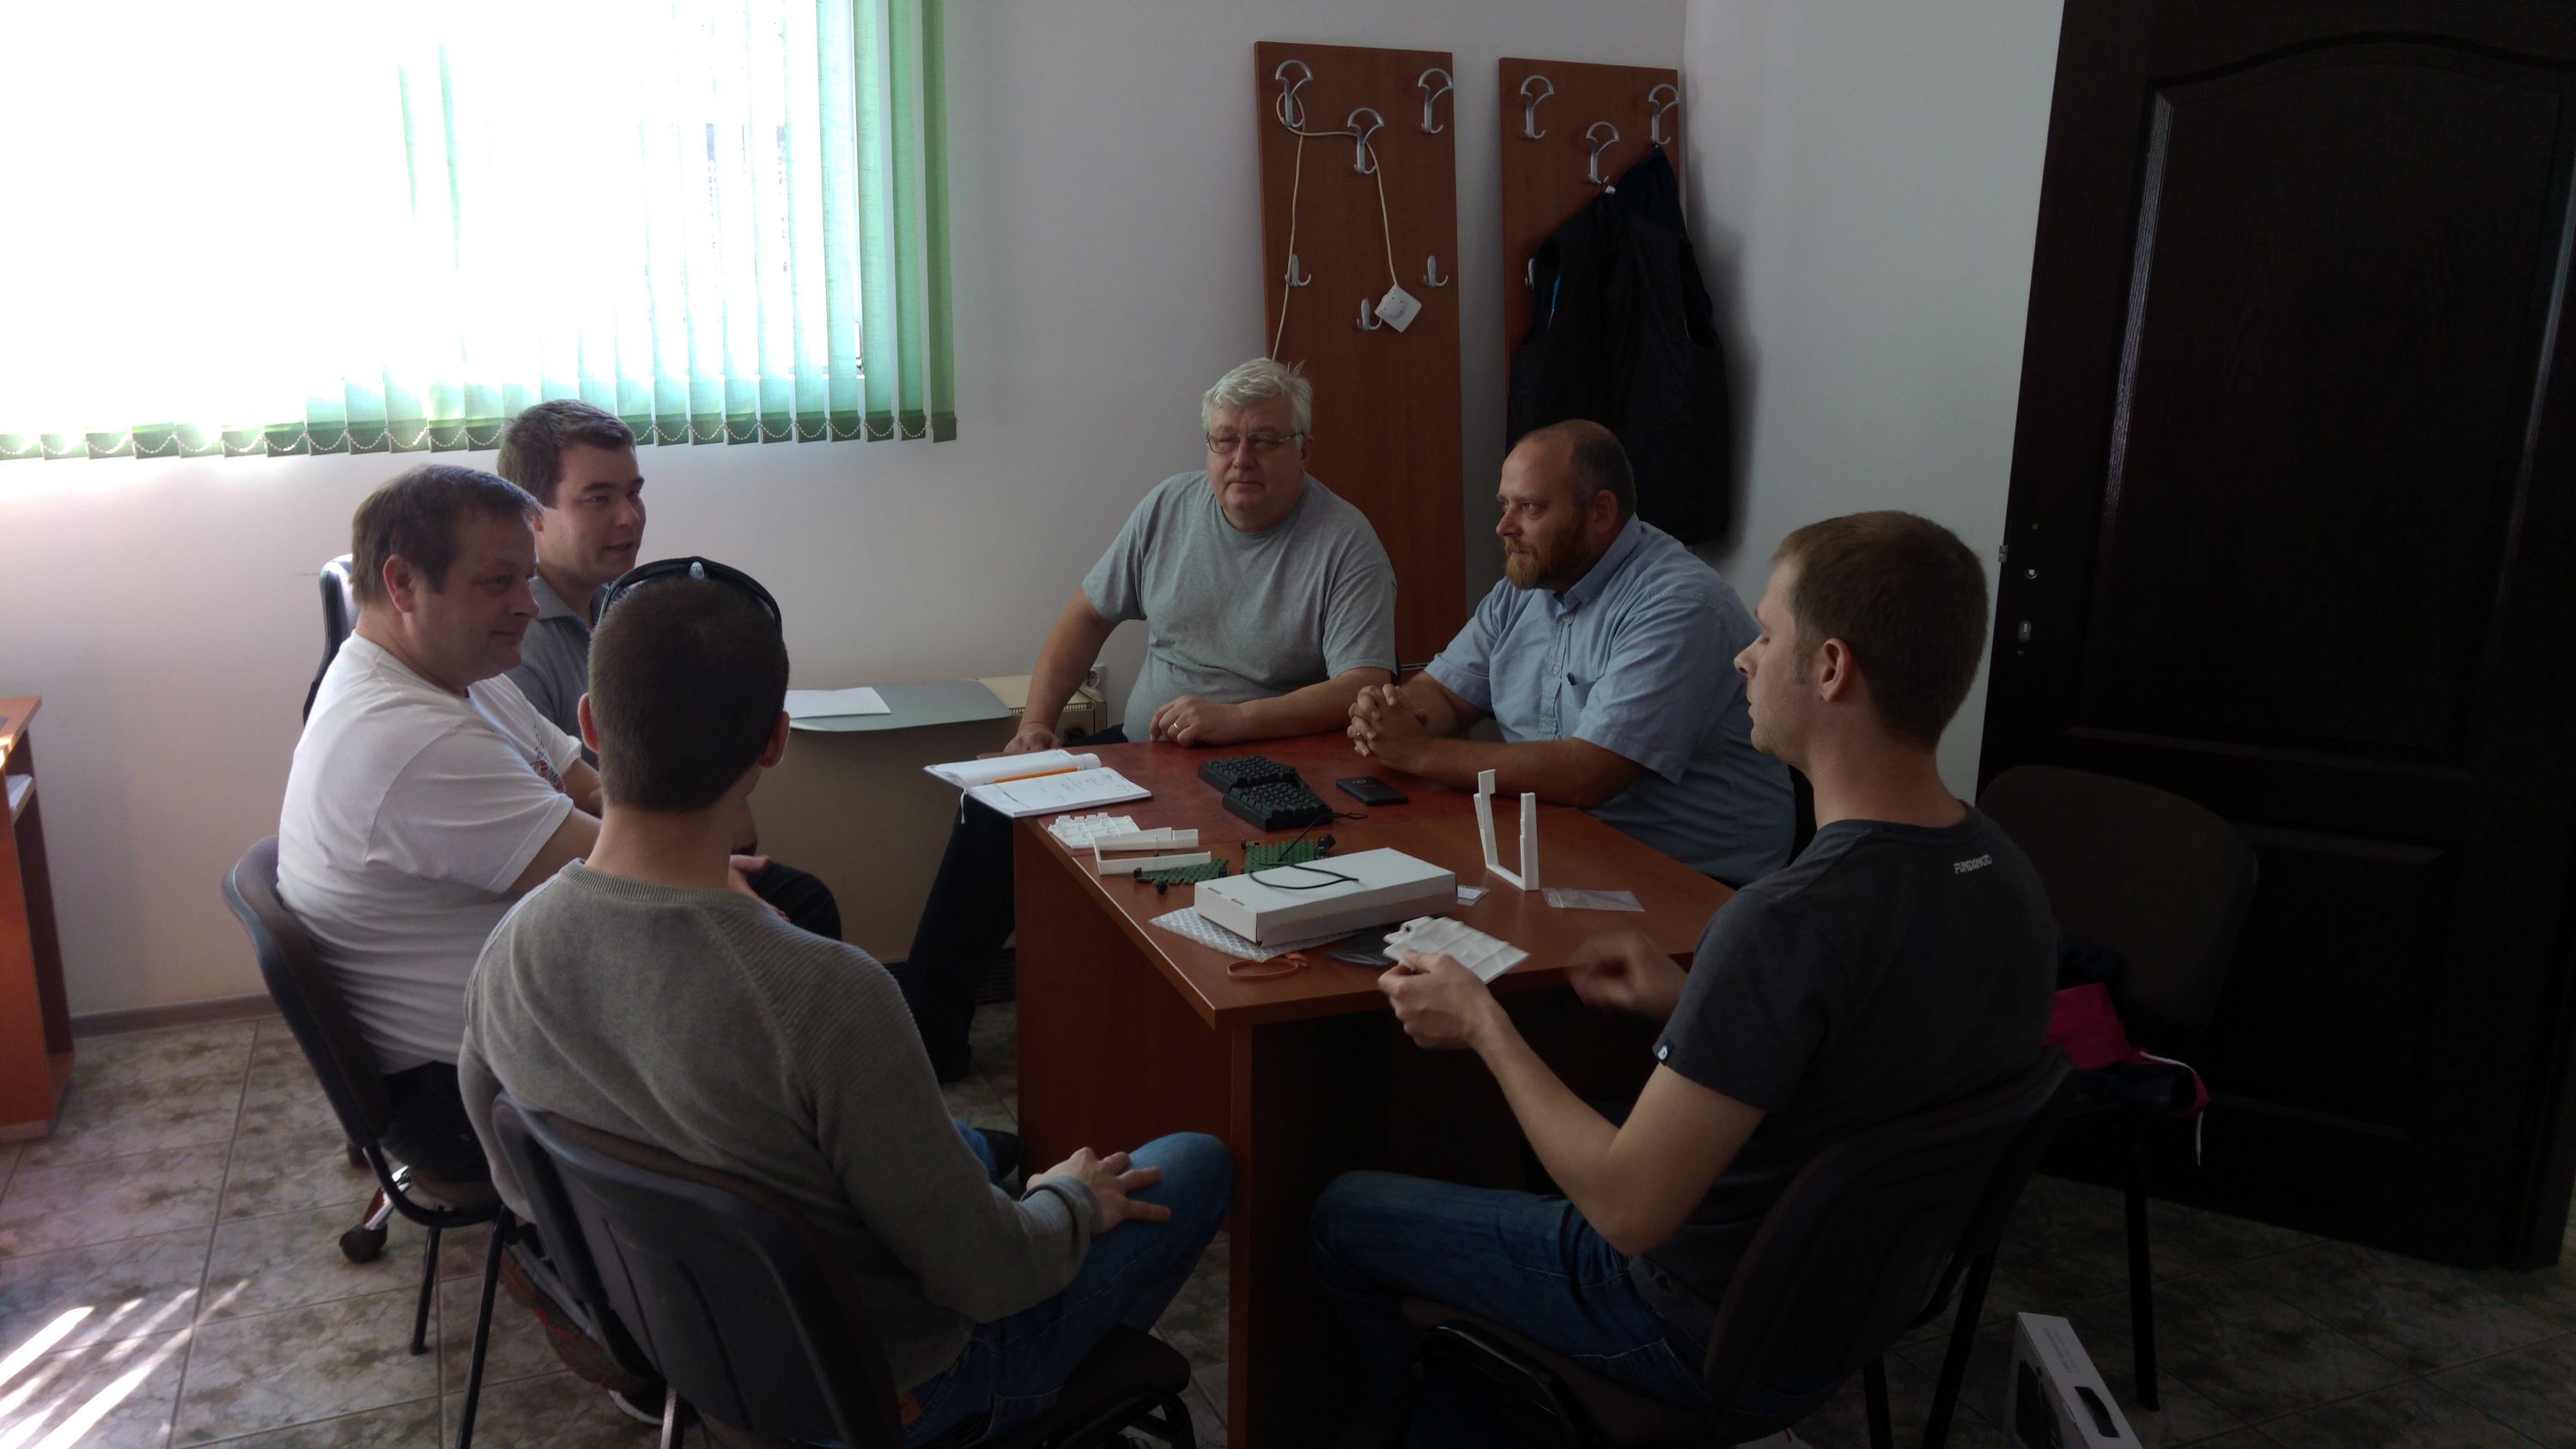
The participants of the conversation included the owner of the factory, his son, their chief mechanical engineer, our two consultants who have a vast amount of experience regarding plastic molds, András, and myself. Admittedly, I was the most clueless of the team given that I’m not a mechanical engineer. Still, what was said made sense to me even if I didn’t catch some details.
Then we hit their workshop to see the progress on the cutting tools for the metal plates in which the MX switches sit. I’m happy to report that they did not disappoint.
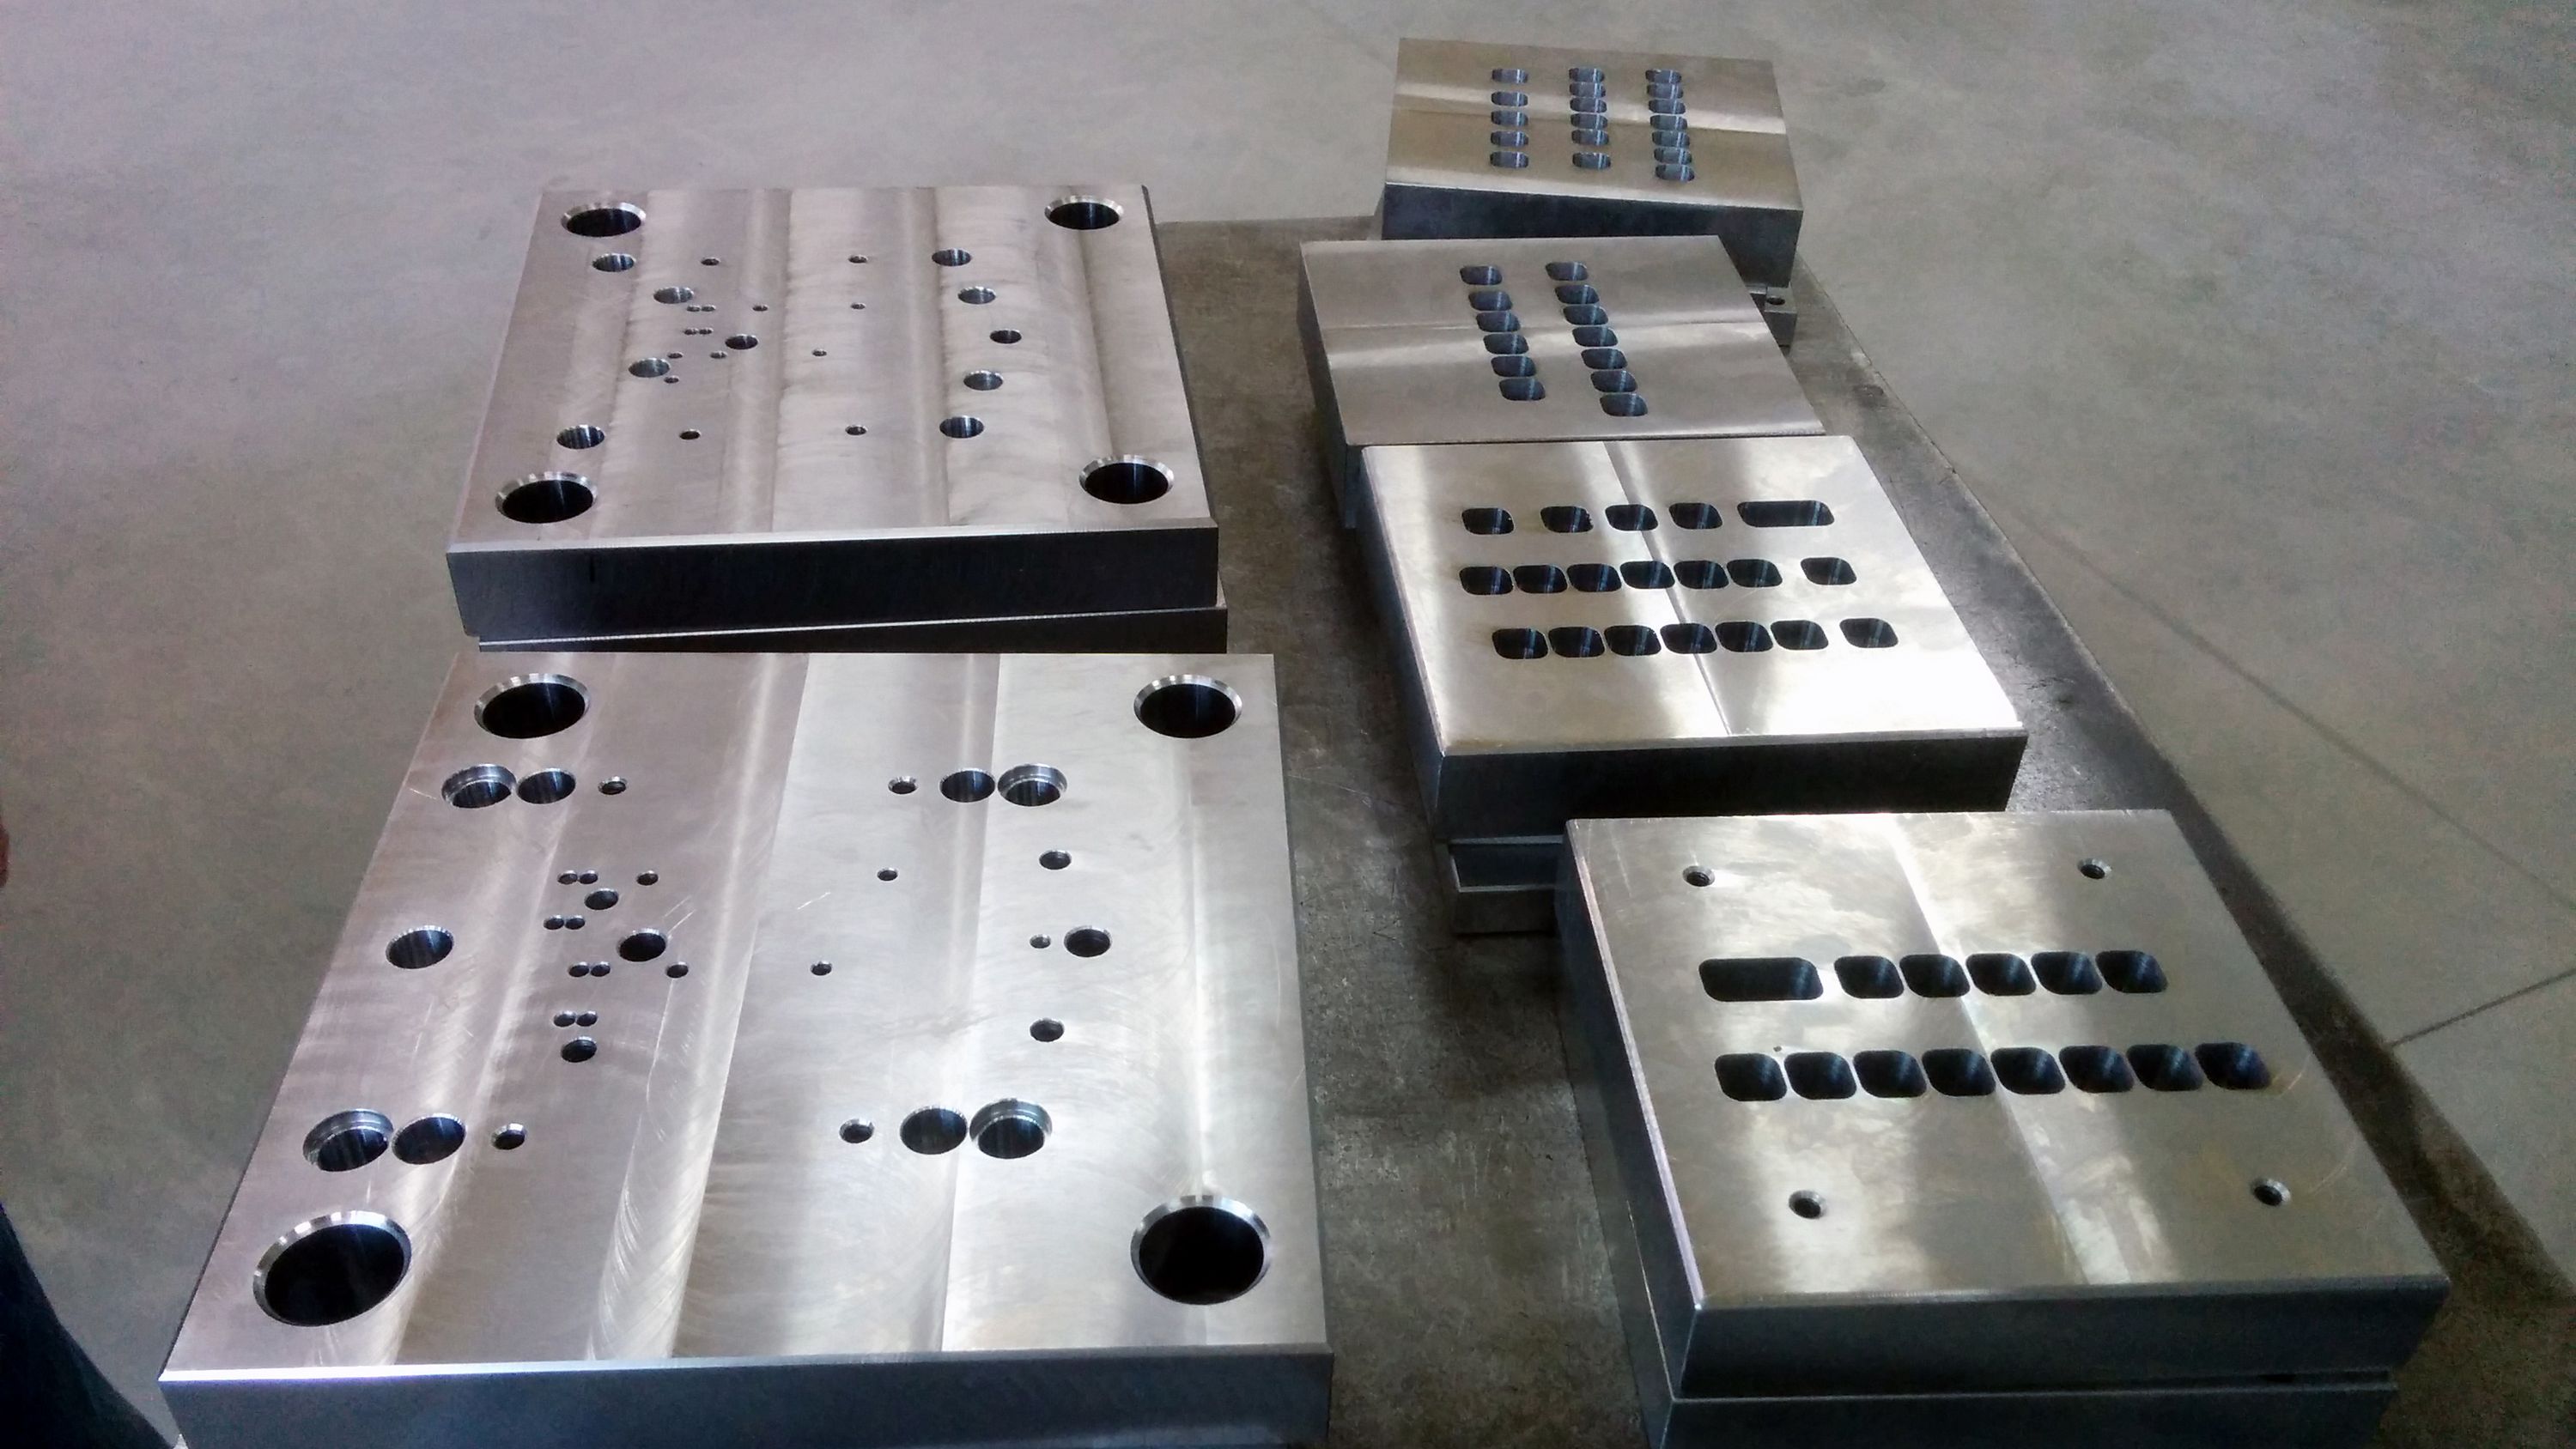
Our Serbian contractors have been making great progress. At this pace, they should finish with the cutting tools soon.
After touring their workshop and discussing everything there is to discuss, we hit the nearby pub and had a great conversation with the whole team. We discovered that they’re not only master craftsmen but great people. We are very pleased that everything’s on track, and it was very nice to get to know them personally.
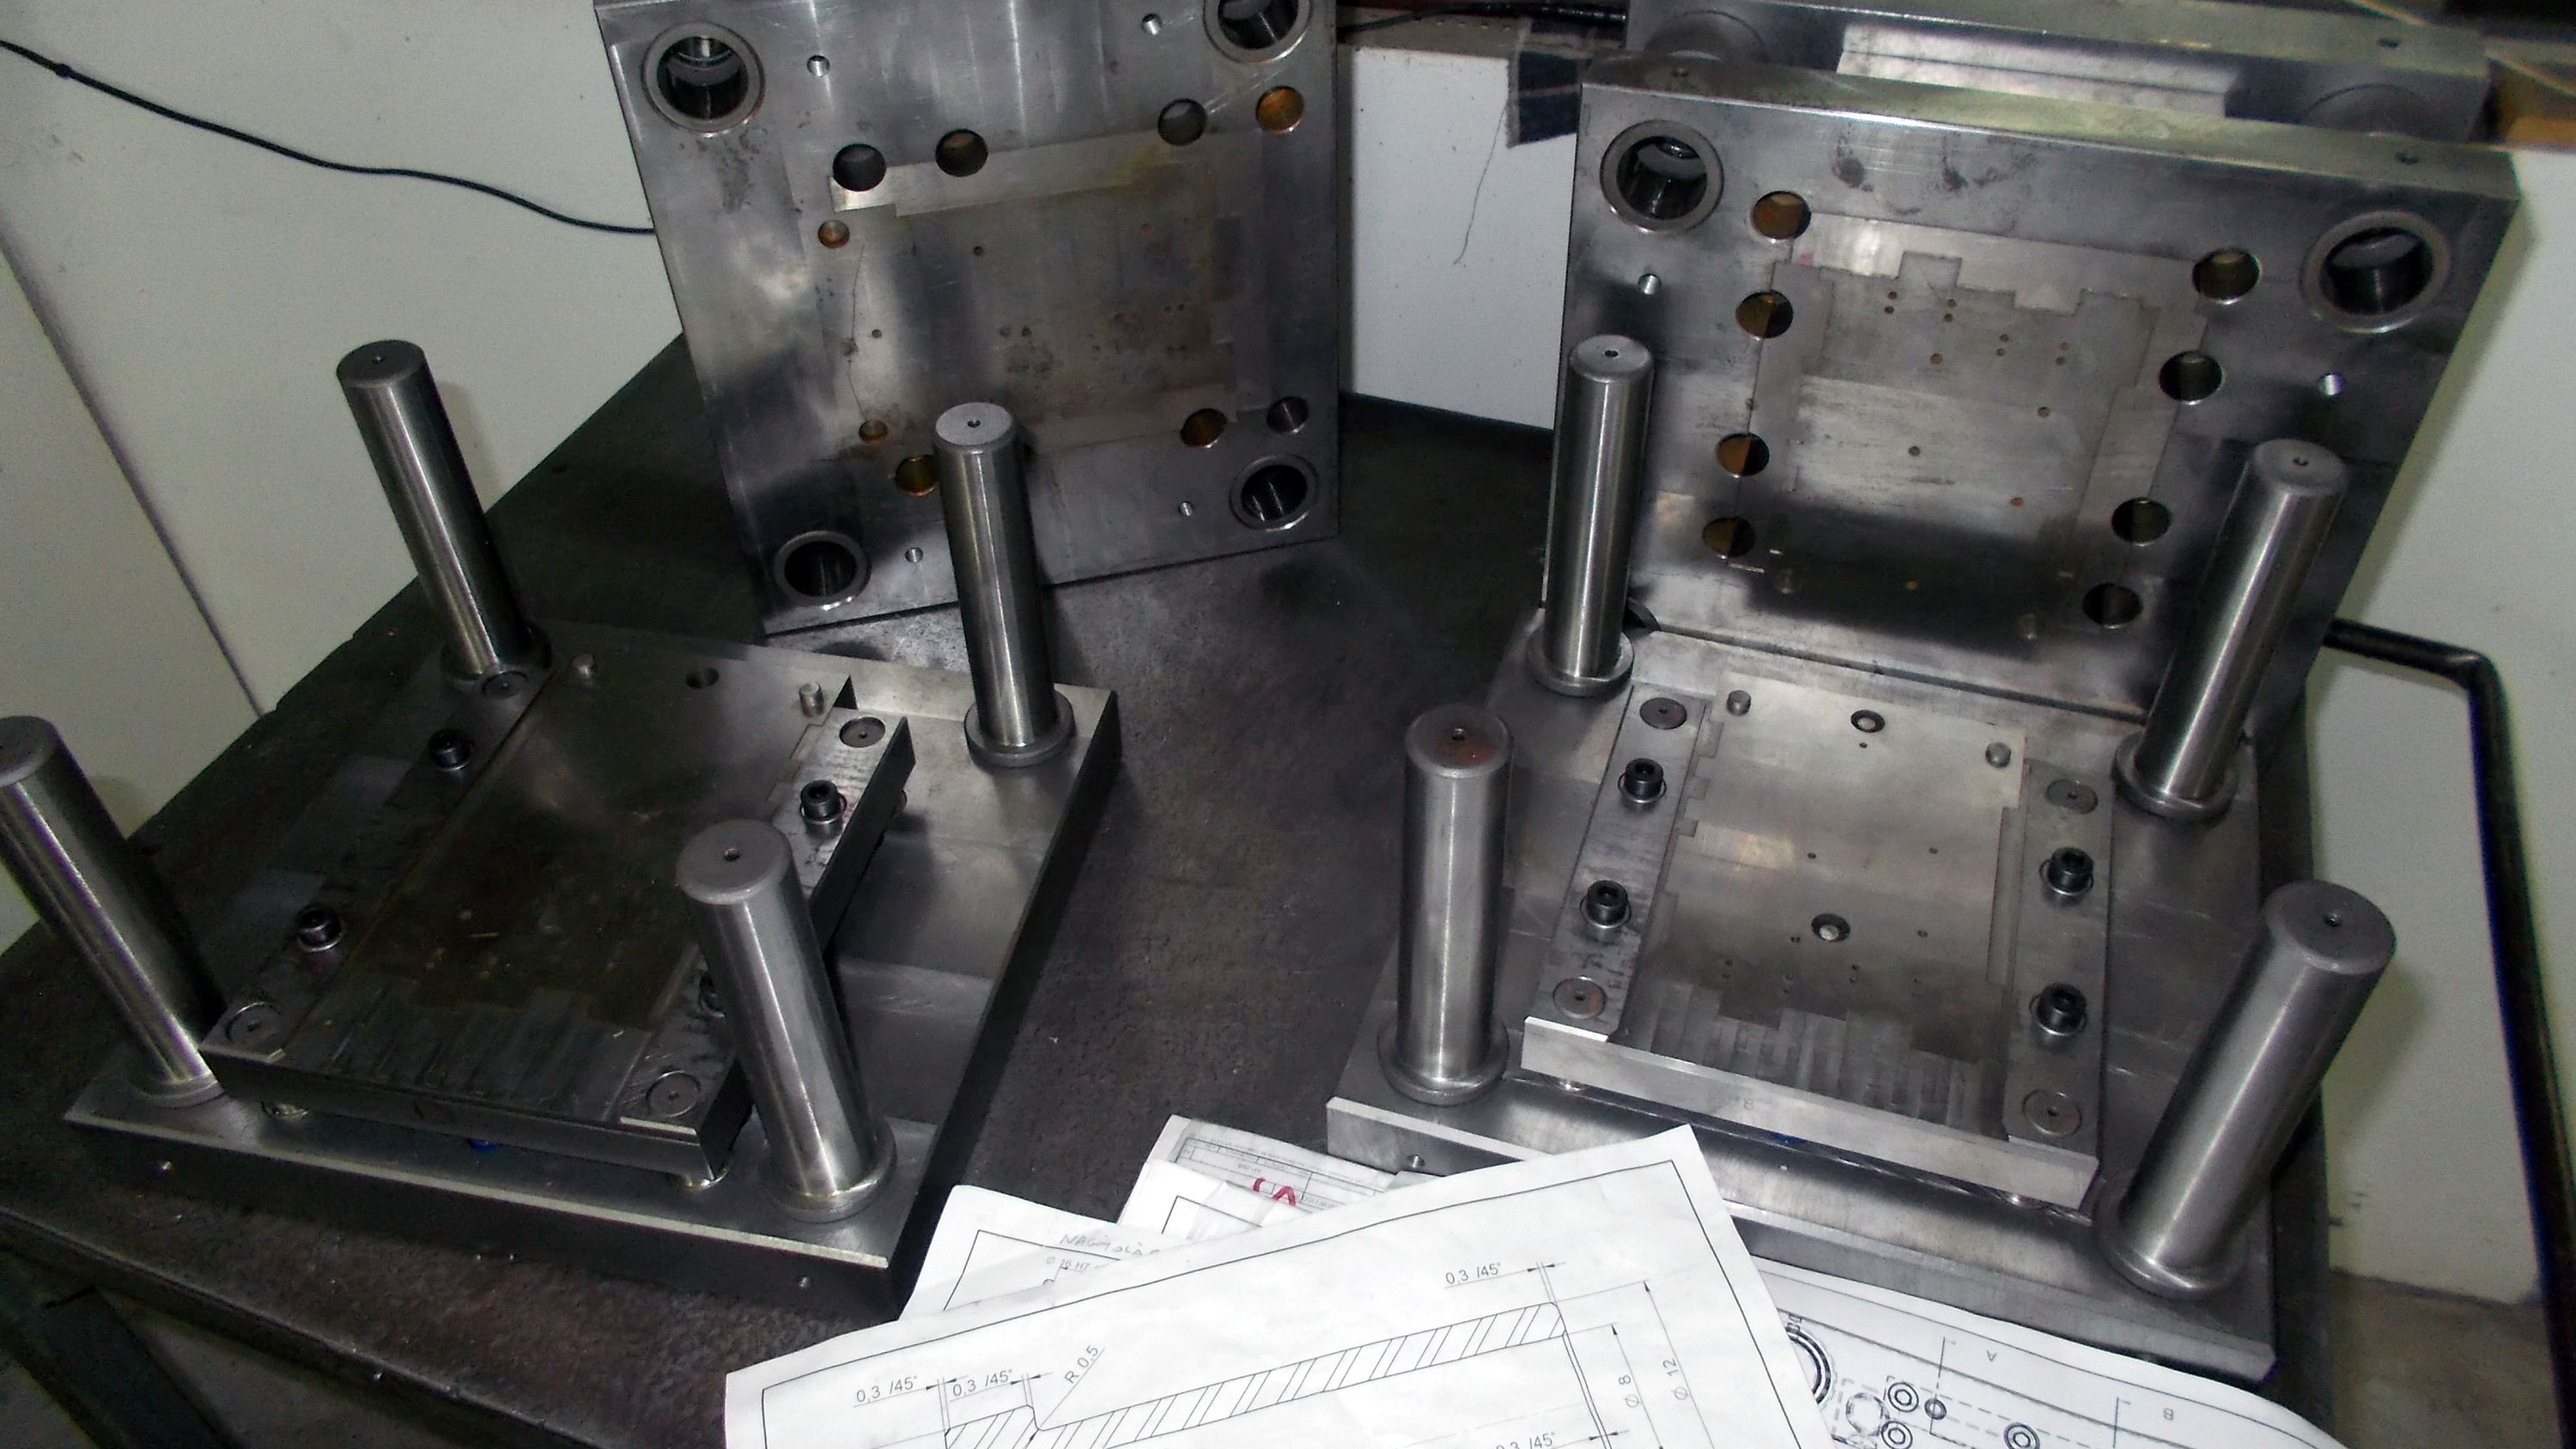
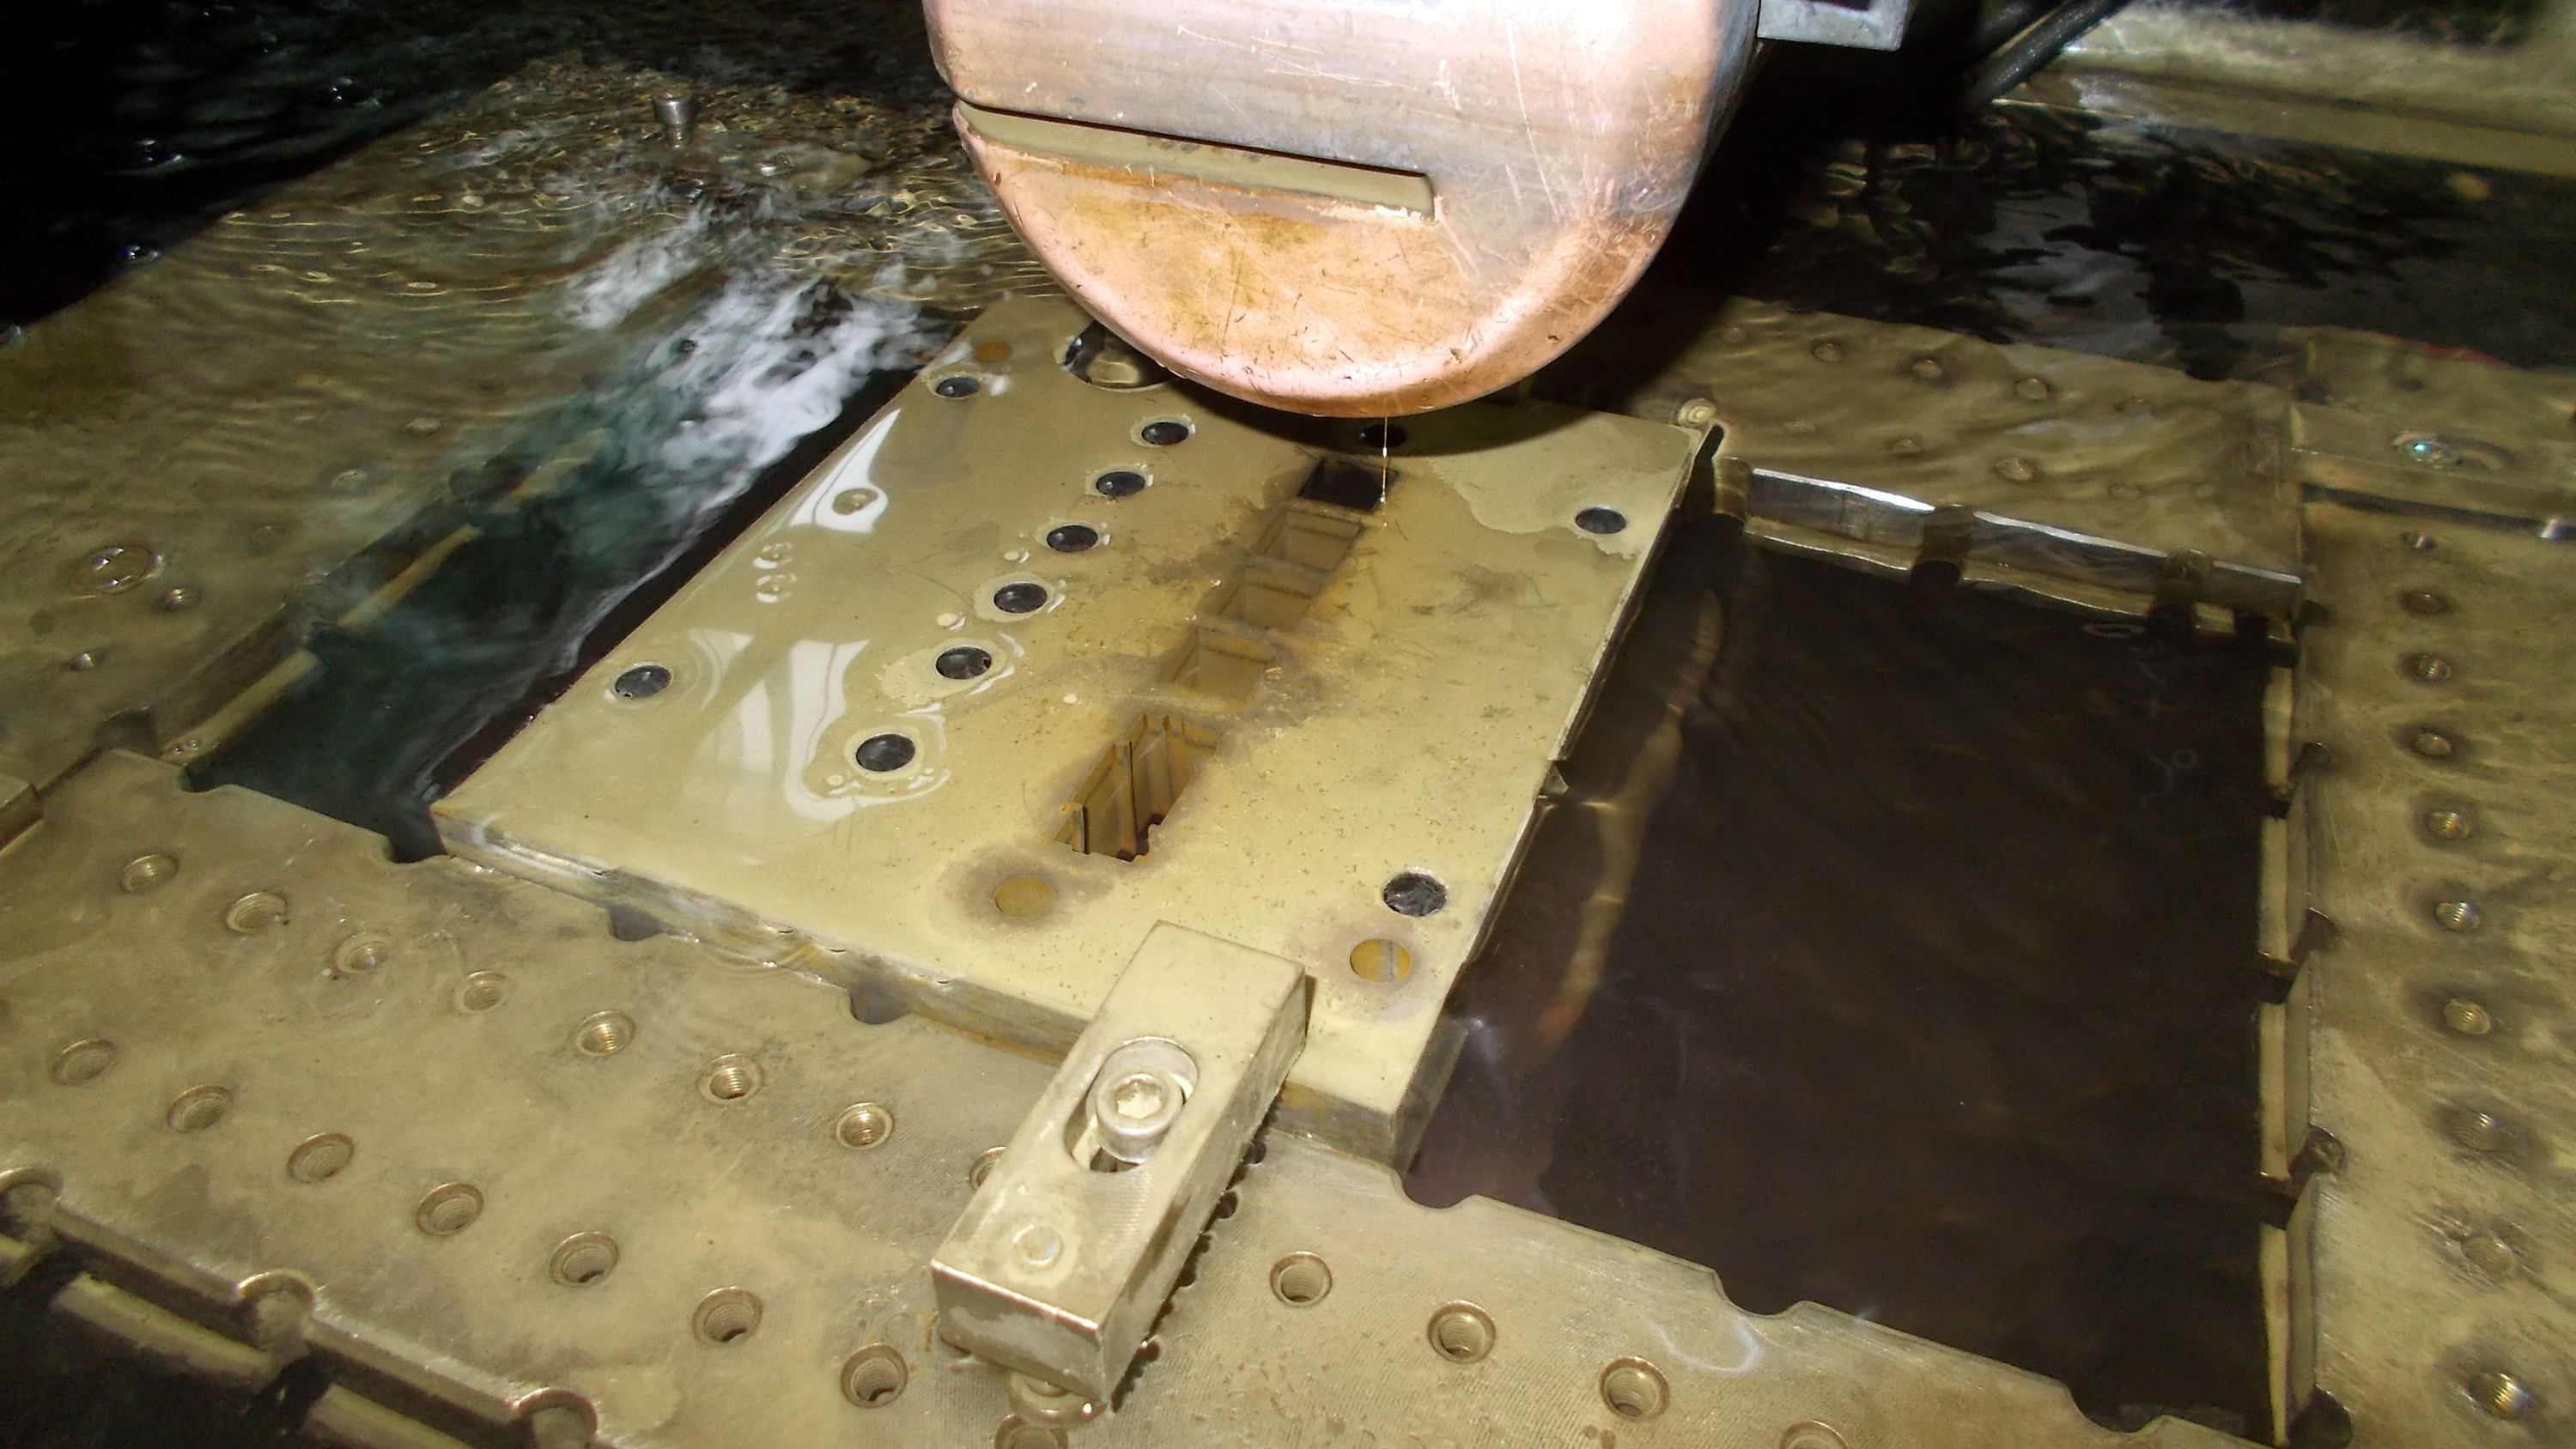
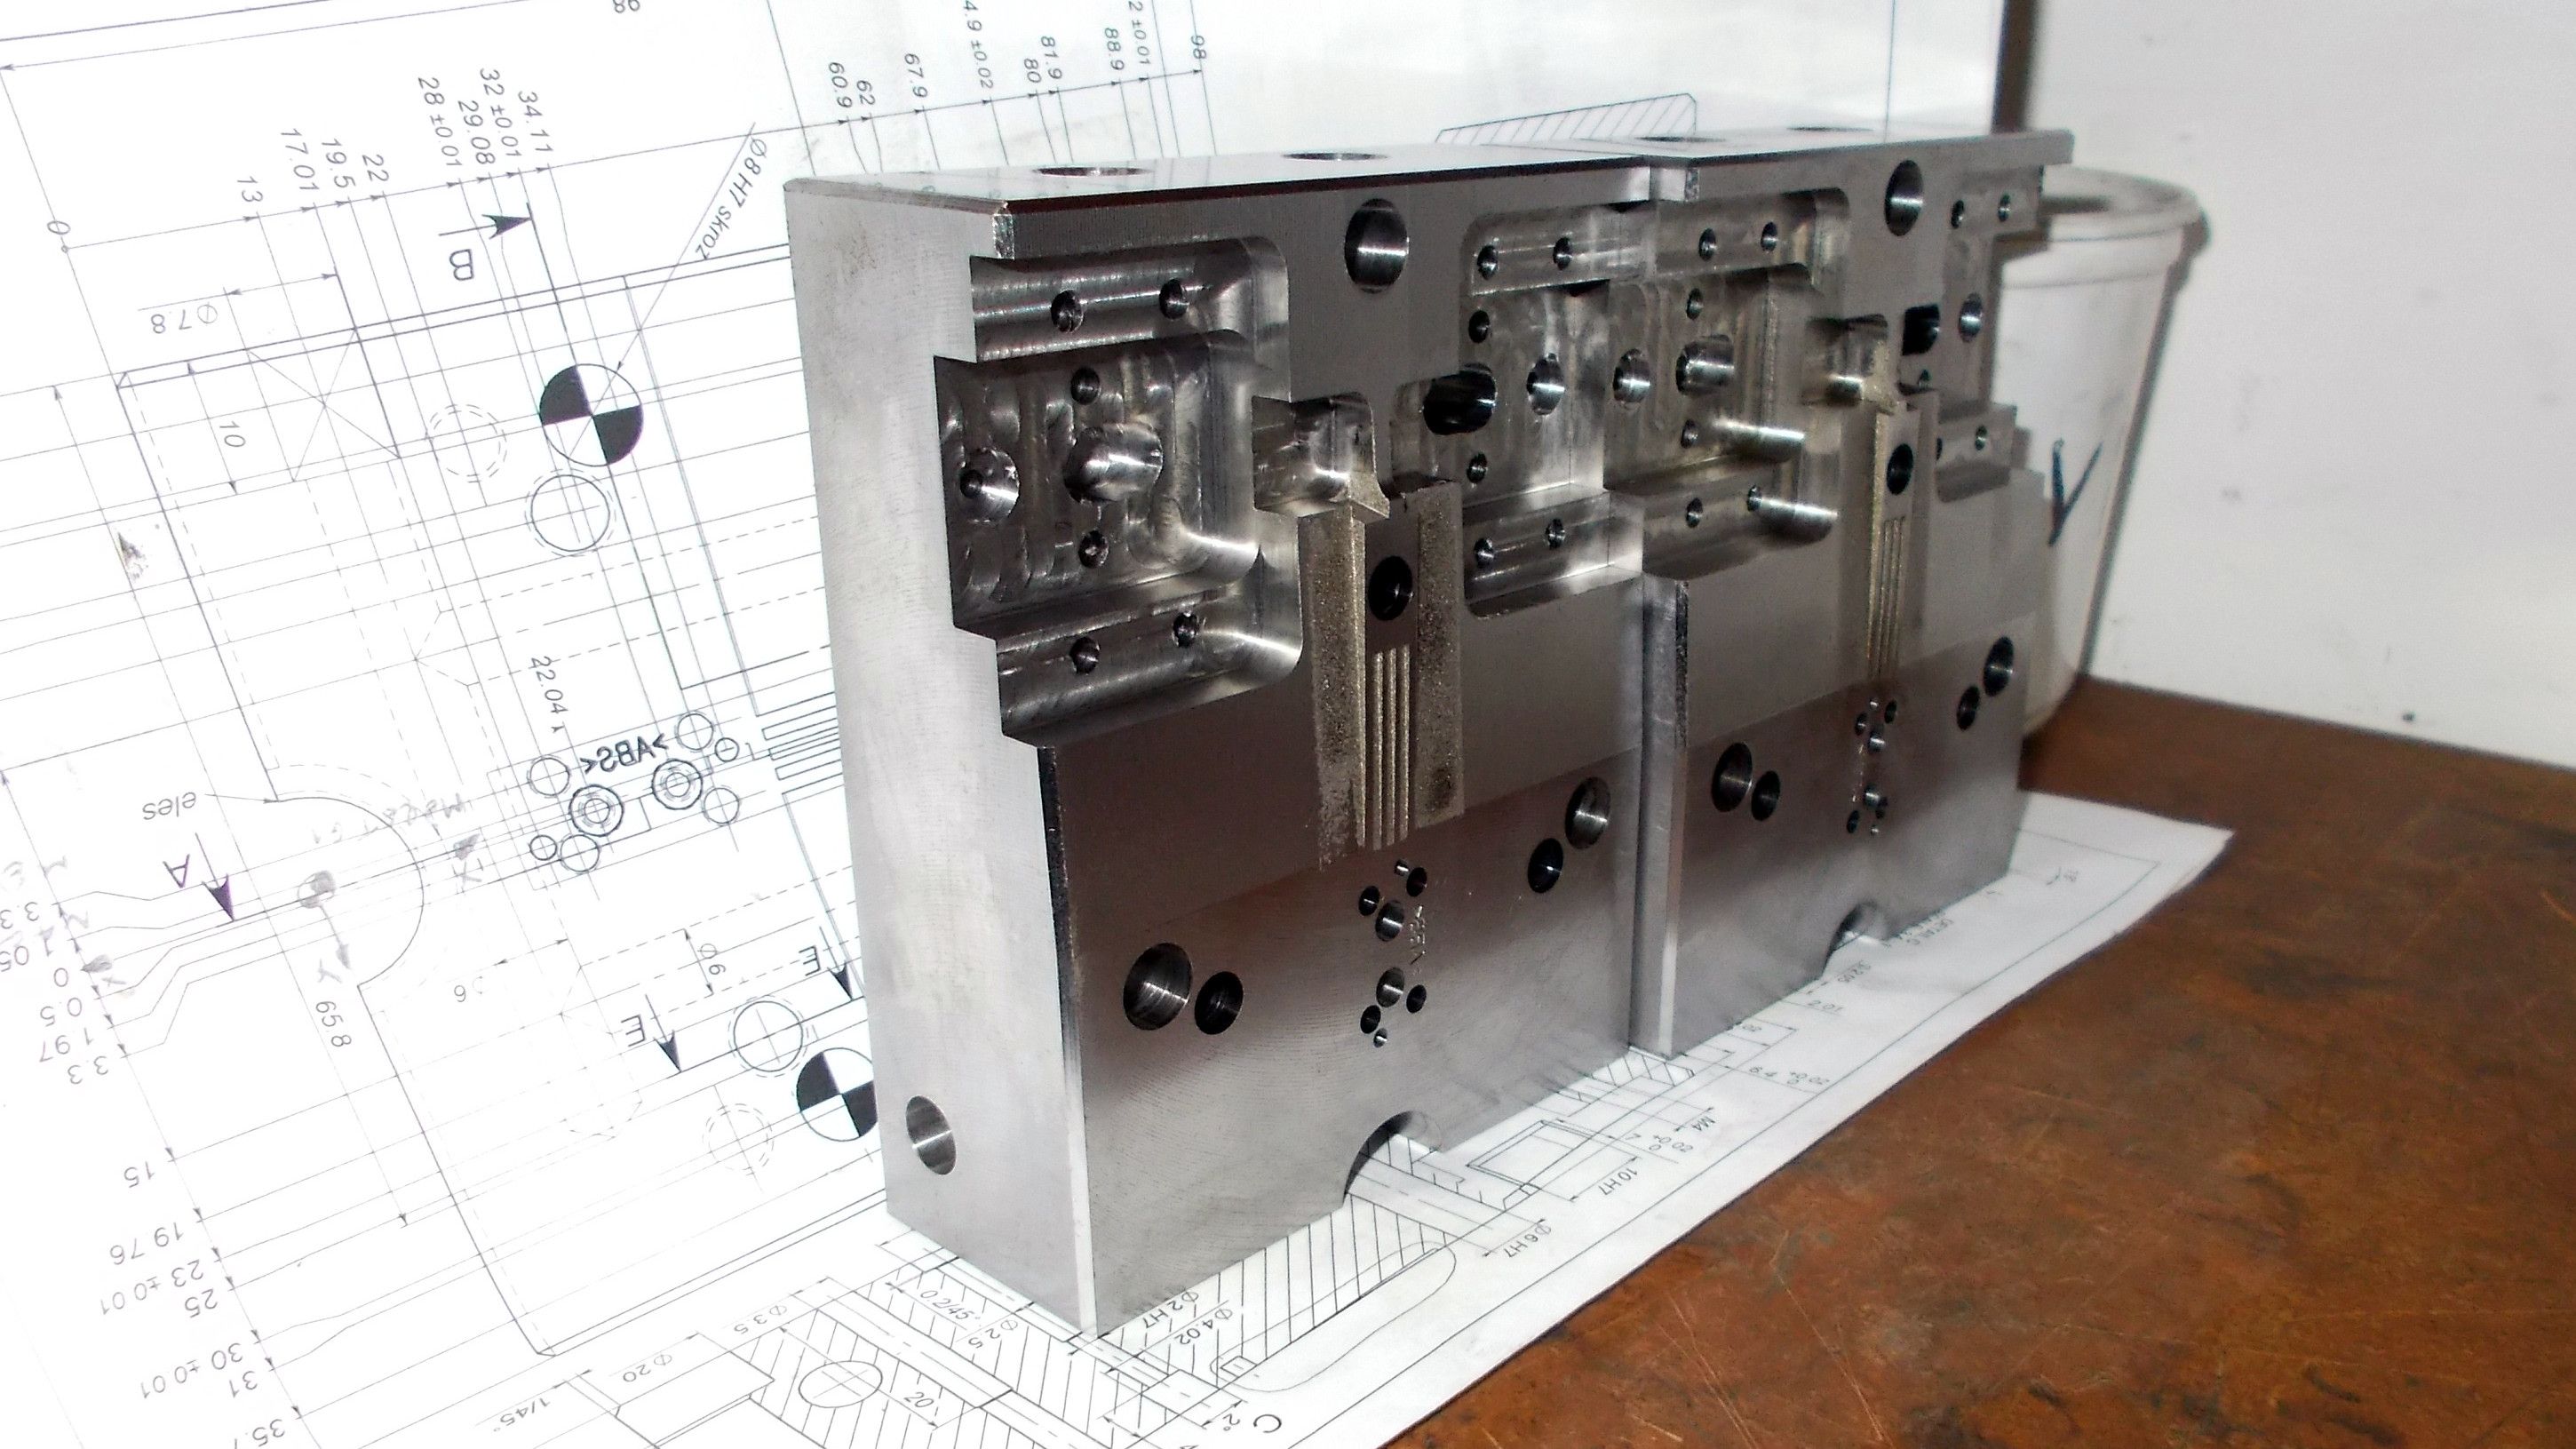
Since our visit, they’ve also been making crazy progress with the molds. Check out the following picture. This was a block of steel when we visited them and now it’s rapidly taking shape.
Testing the mechanical prototype
We’ve assembled the 6th generation mechanical prototype with both MX switches and Matias switches. Here’s the Matias version.
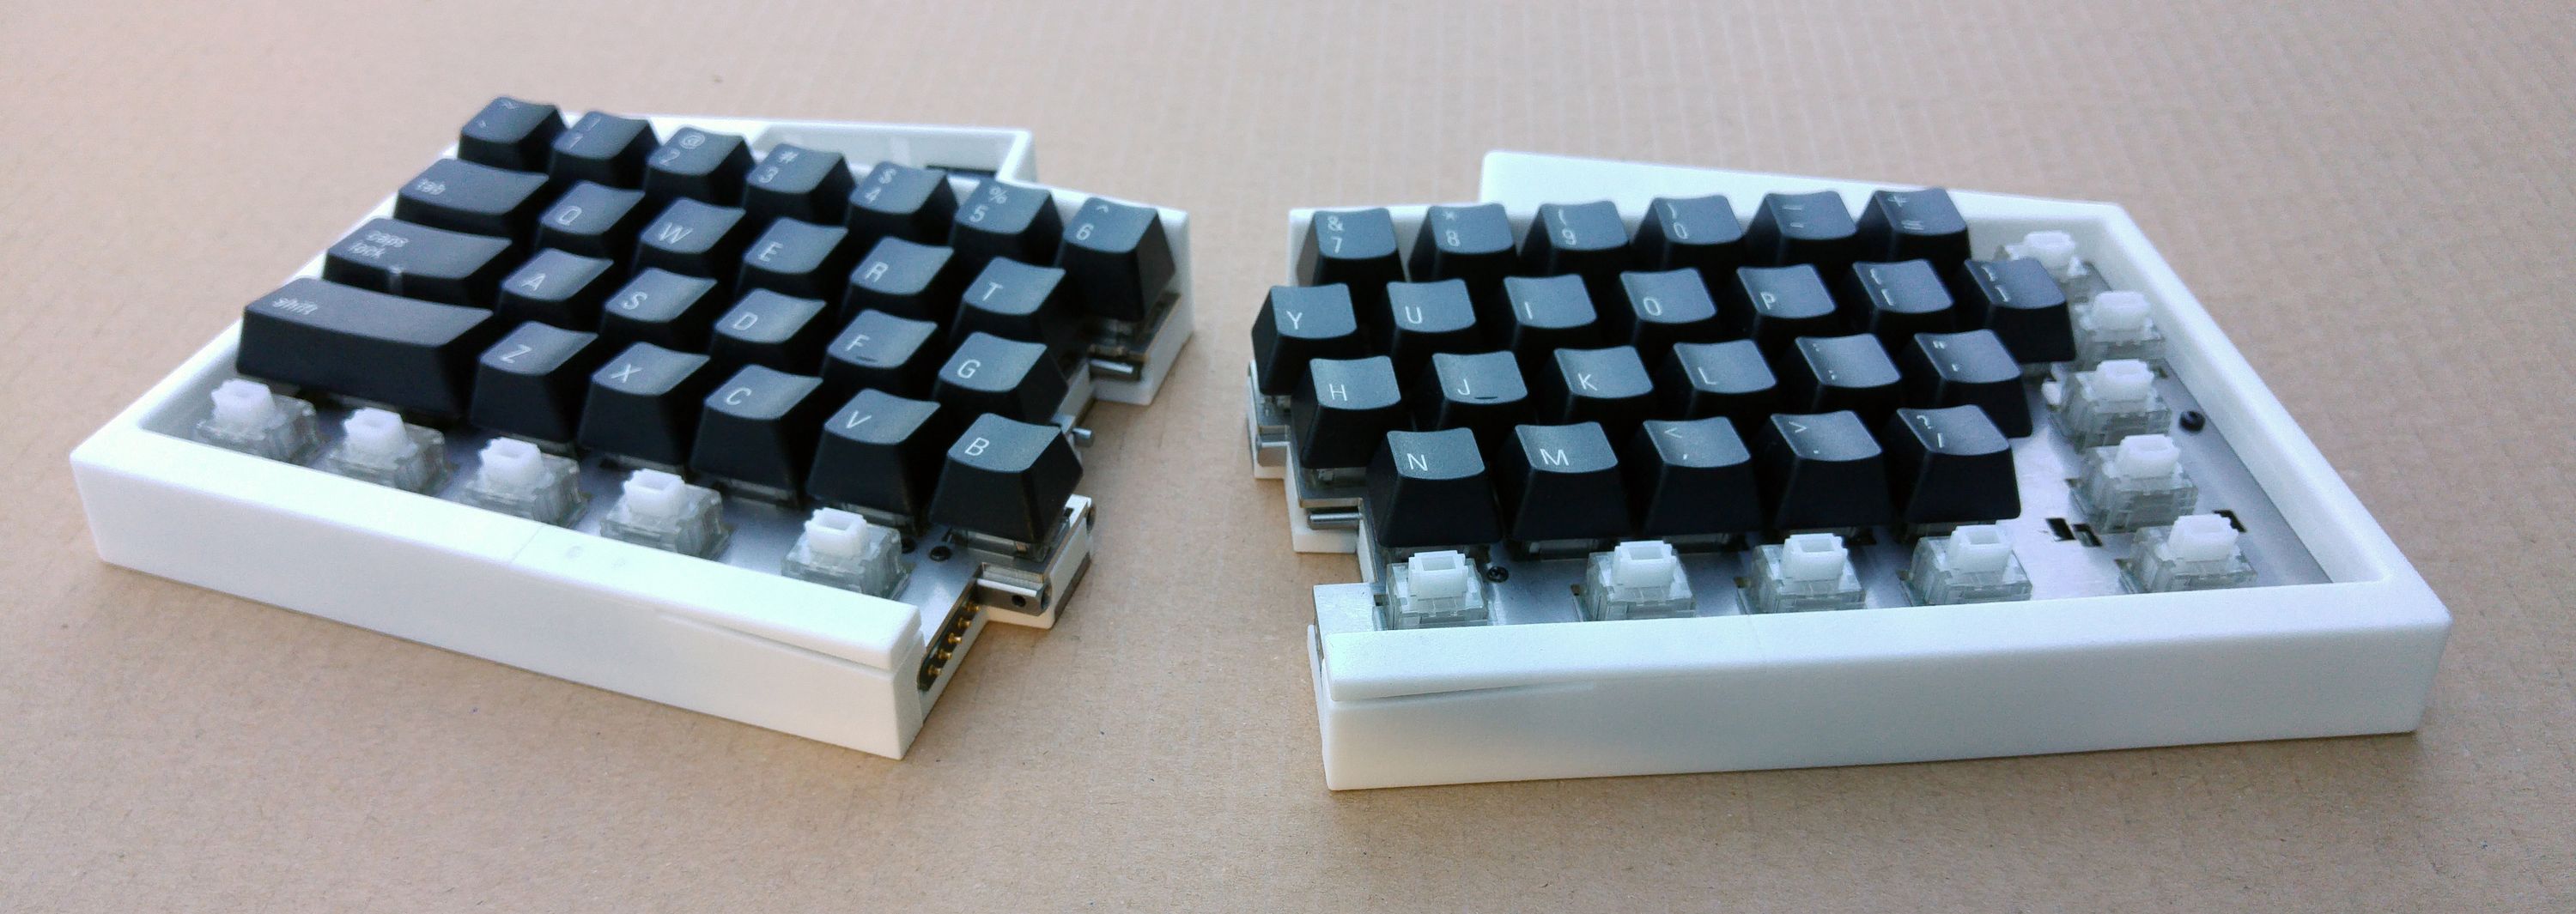
Just to avoid any misunderstanding, we won’t be able to provide a Matias version anytime soon because we can’t source Matias keycaps yet, and additional tooling will have to be made. But we plan to provide Matias switches in the future so we want to future-proof the design.
Assembling the mechanical prototype was necessary to ensure that there is no mechanical interference at all. We’re happy to report that everything fits together very nicely, even despite the inaccuracies of 3D printing. This test ensures that the molds will have no issues when they’ll be made.
Kinetis PCB redesign
The PCBs are getting redesigned as we move from AVR microcontrollers to the insanely powerful NXP Kinetis platform. But as you may imagine it all starts with the schematic and here’s how the schematic of the left keyboard half looks like right now:
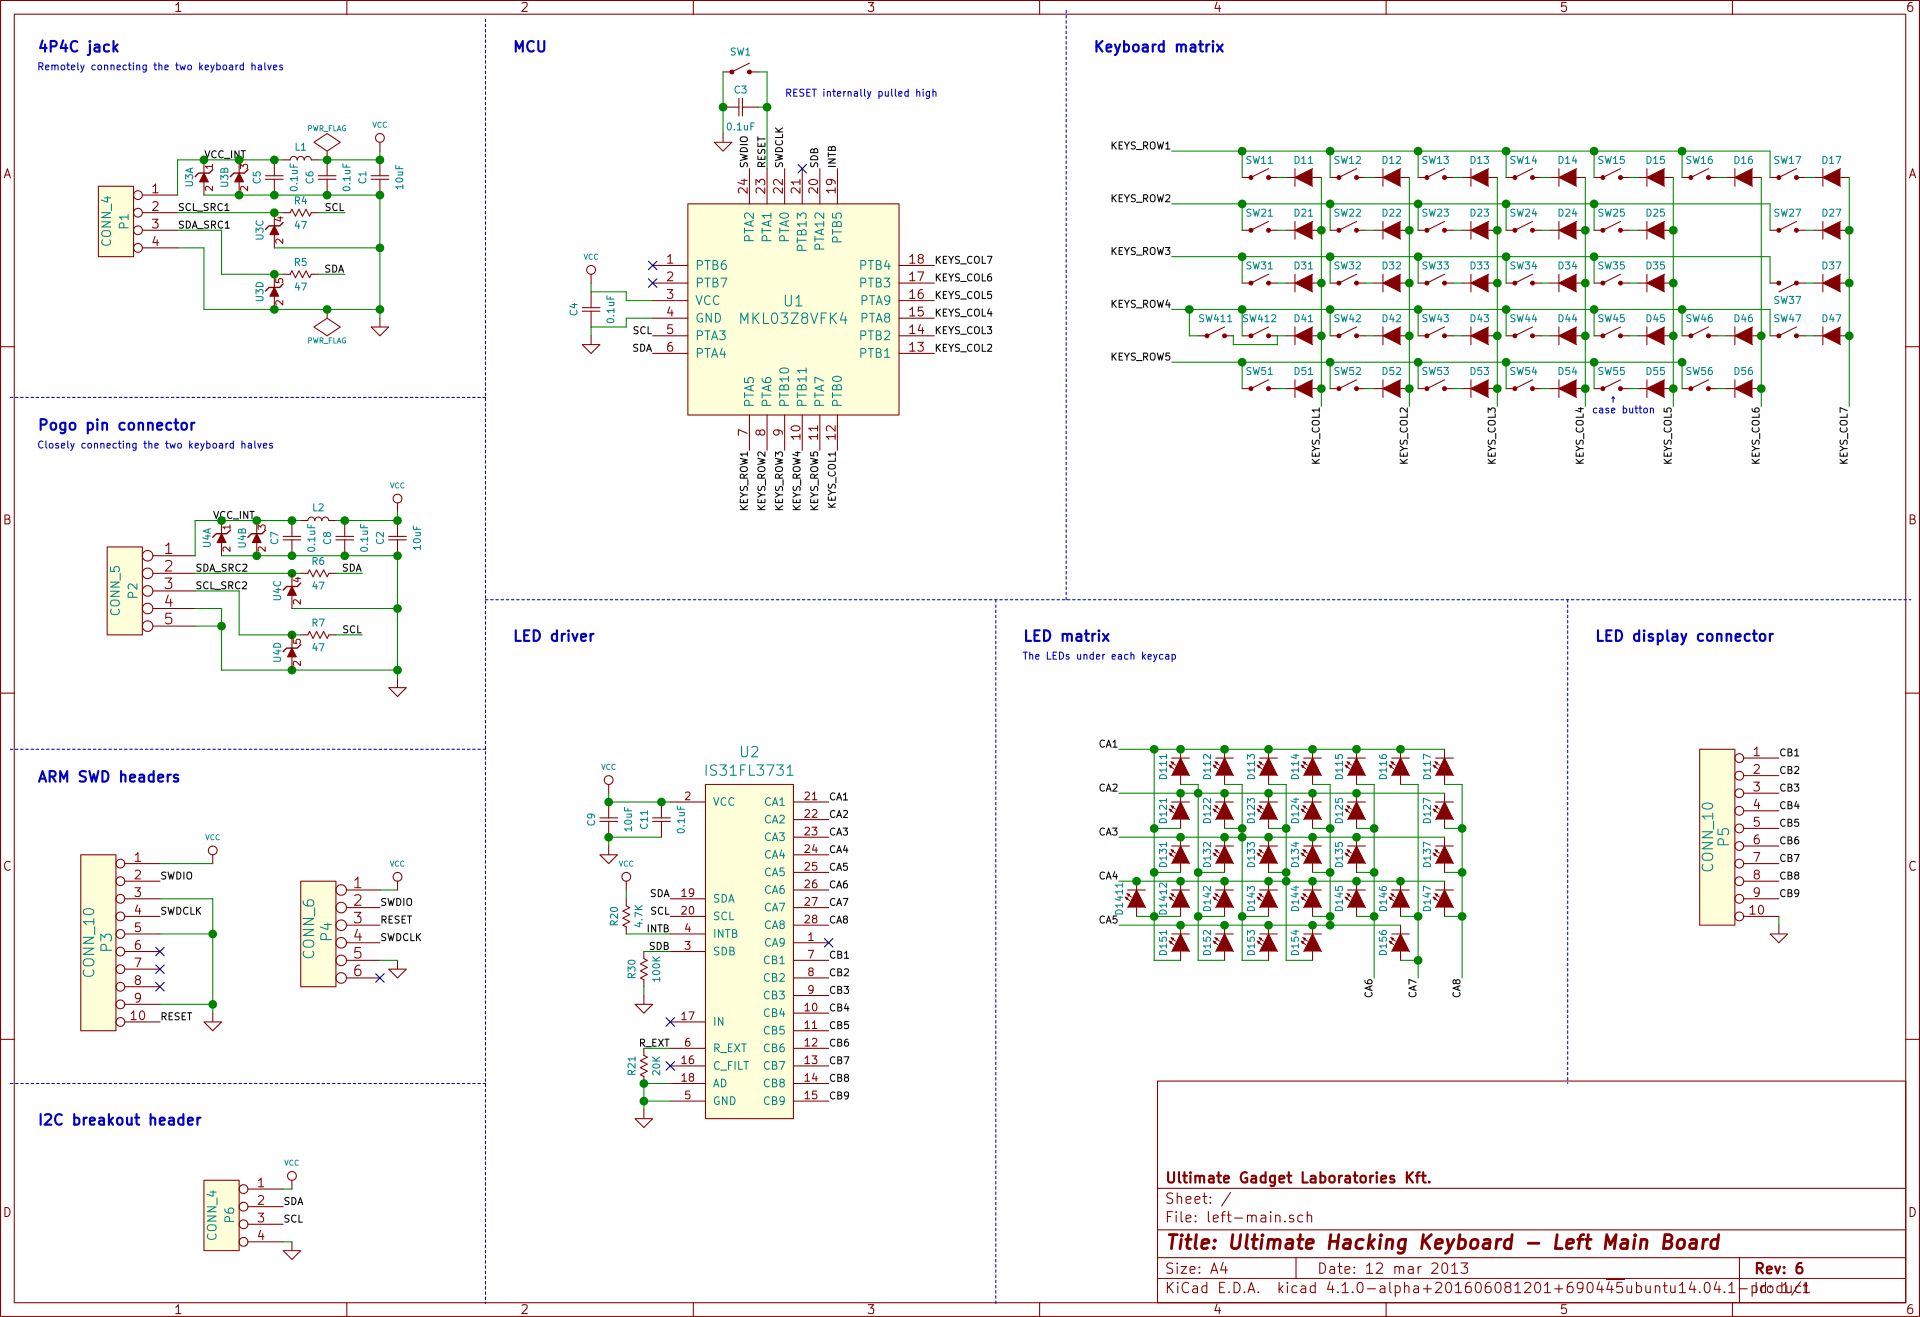
Mad props go to the always awesome Mr. Jan Rychter for reviewing the schematic, catching a couple of issues, and providing valuable suggestions. According to Jan, schematics review is even more important in the hardware world than code review in the software world. I can certainly endorse his viewpoint, as you can always update software but you can’t magically rearrange the atoms of hardware once it’s made.
This is the semi-routed left PCB:
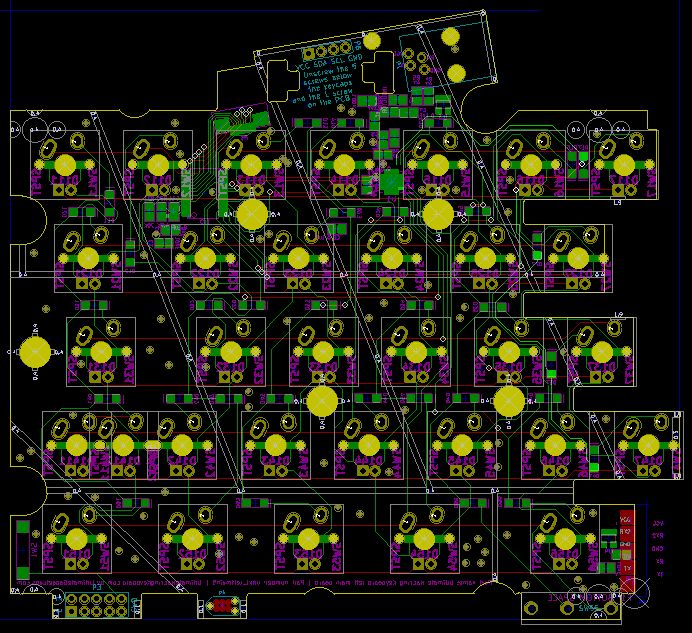
This redesign is a major overhaul which is certainly quite disruptive, but the end is near, and the end result will be worth it. The schematic is almost finalized and then there’s some routing left to be done. I expect a couple of fully functional PCBs pretty soon.
Recent progress of Agent
We had a day long get together with Árpi and Józsi recently, to work on Agent. Data-binding is finally working for some key actions. If you select the factory keymap under the Keymaps-ng2 main menu item, then click on a key, and select a Layer action, a Keymap action, or a None action, and finally click on the Remap Key button, then the relevant key gets rendered accordingly.
So far so good! The UI will be a tad smoother than the current version, and every key action will be implemented soon.
Our site has been redesigned
We weren’t quite satisfied with our website, so we redesigned it. Now the UHK is presented the way it deserves. You’re welcome to head over to UltimateHackingKeyboard.com to check it out, and let us know what you think.
Thanks and congratulations for making it to the end of the post! Talk to you on 2016-07-14.