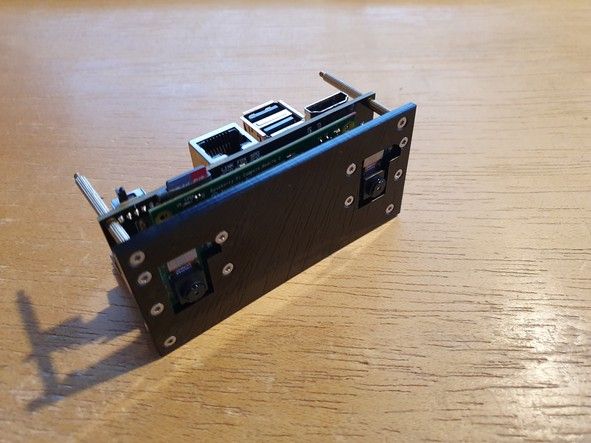
After my StereoPi was delivered, I needed a handy solution to get the cameras mounted and the StereoPi connected without fear of damaging the ribbon cables while experimenting. My first thought was to use a standard, generic case and add some high quality glass to get my 3D pictures and videos to an acceptable quality. However, on second thought, and not wanting to wait for a parts order to be delivered, I came up with an easier, cheaper, and faster solution: why not use the mounting plate that came with the StereoPi? Some 2 mm stand-offs, screws, four holes, and the short ribbon cables should do the trick. I couldn’t find any information about the positions of the holes on the PCB, so I measured them with a caliper: 85 x 35 mm. The next step was drilling four 2.1 mm holes in the corners and countersinking all holes. The reason for the latter was that I wanted to use 2 mm countersunk Torx screws, to keep the surface even. The mounting plate is slightly asymmetrical in order not to bend the ribbon cables, so the whole plate must be mounted accordingly:
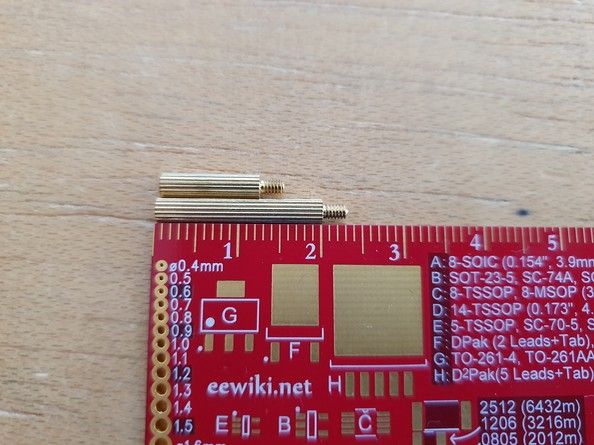
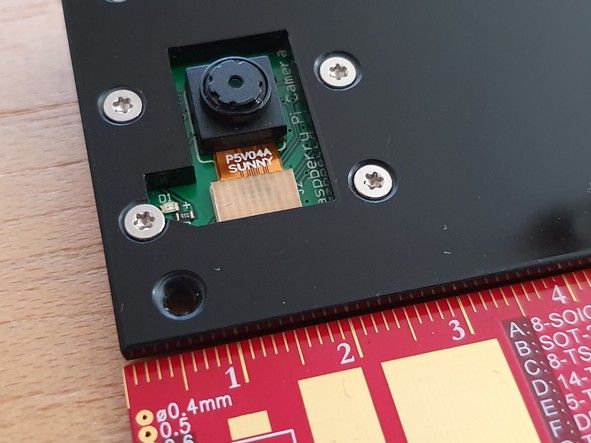

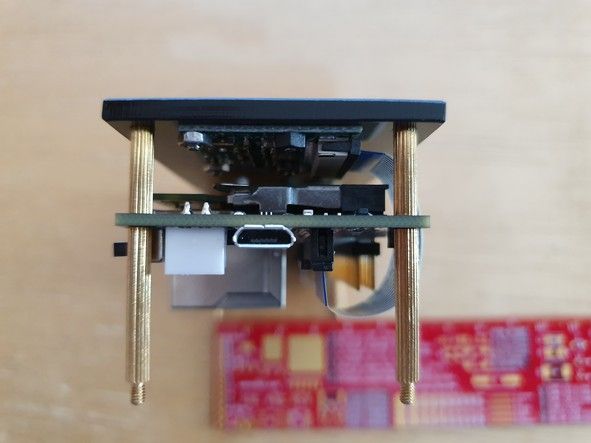
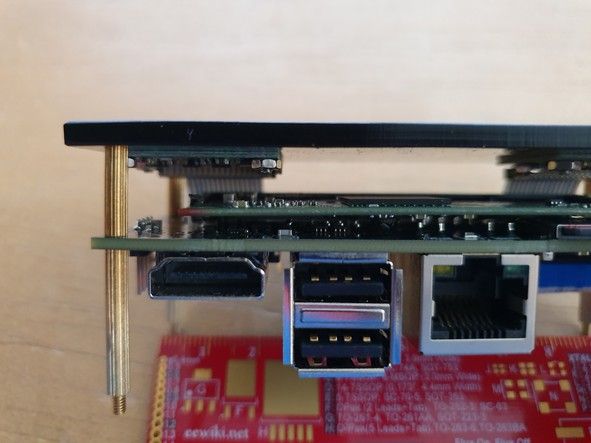
Then I added some hexagonal plastic stand-offs that I had in my workshop and gave it a try. Unfortunately, the camera cable next to the HDMI connector is in the way and it can’t be bent too much. After some quick research, I found some brass stand-offs that were smaller in diameter and round. So I was able to use these 12 mm and 20 mm long brass stand-offs with 8 mm long screws. To mount the cameras, I used 6 mm long screws, some washers and nuts, and that was that!