When people first see a Wyldcard set, they often suggest making a simple Tarot deck as a demo. I heartily agree! So today, I’m posting this tutorial on how to implement the code for a Tarot card reader on the Wyldcard devkit.
First things first, we need a set of images to use for our tarot cards. I’d like to use the Rider-Waite tarot deck, which is the "classic" deck for many people not-so-initiated in the arts such as myself. It’s also in the public domain, so we can use it without violating anyone’s rights.
Let’s take the first card of the major arcana, The Fool:

Now, we can’t use this image as-is on Wyldcard. Wyldcards only support images which are 128x296 pixels and they have to be four-color grayscale. I’ve got a handy ImageMagick command to convert images into this format.
convert orignal_file.png -alpha off -colorspace gray -depth 2 converted_file.png
Assuming the image is the right size, ImageMagick converts the colors and we get:

Oh dear, that really doesn’t look great. These color backgrounds are going to mess with us, and it appears the original scans had some digital artifacts in them. So what to do? I could scour the internet for free black-and-white tarot decks or just… make my own! Since I used an AI image creator to make the first demo Wyldcard pictures, I could boot that system up again and generate a tarot deck. This is going a bit extra, but while I’m at it, I could write a script which uses my AI image creator to generate entire tarot decks at will. What fun.
Let’s try this:
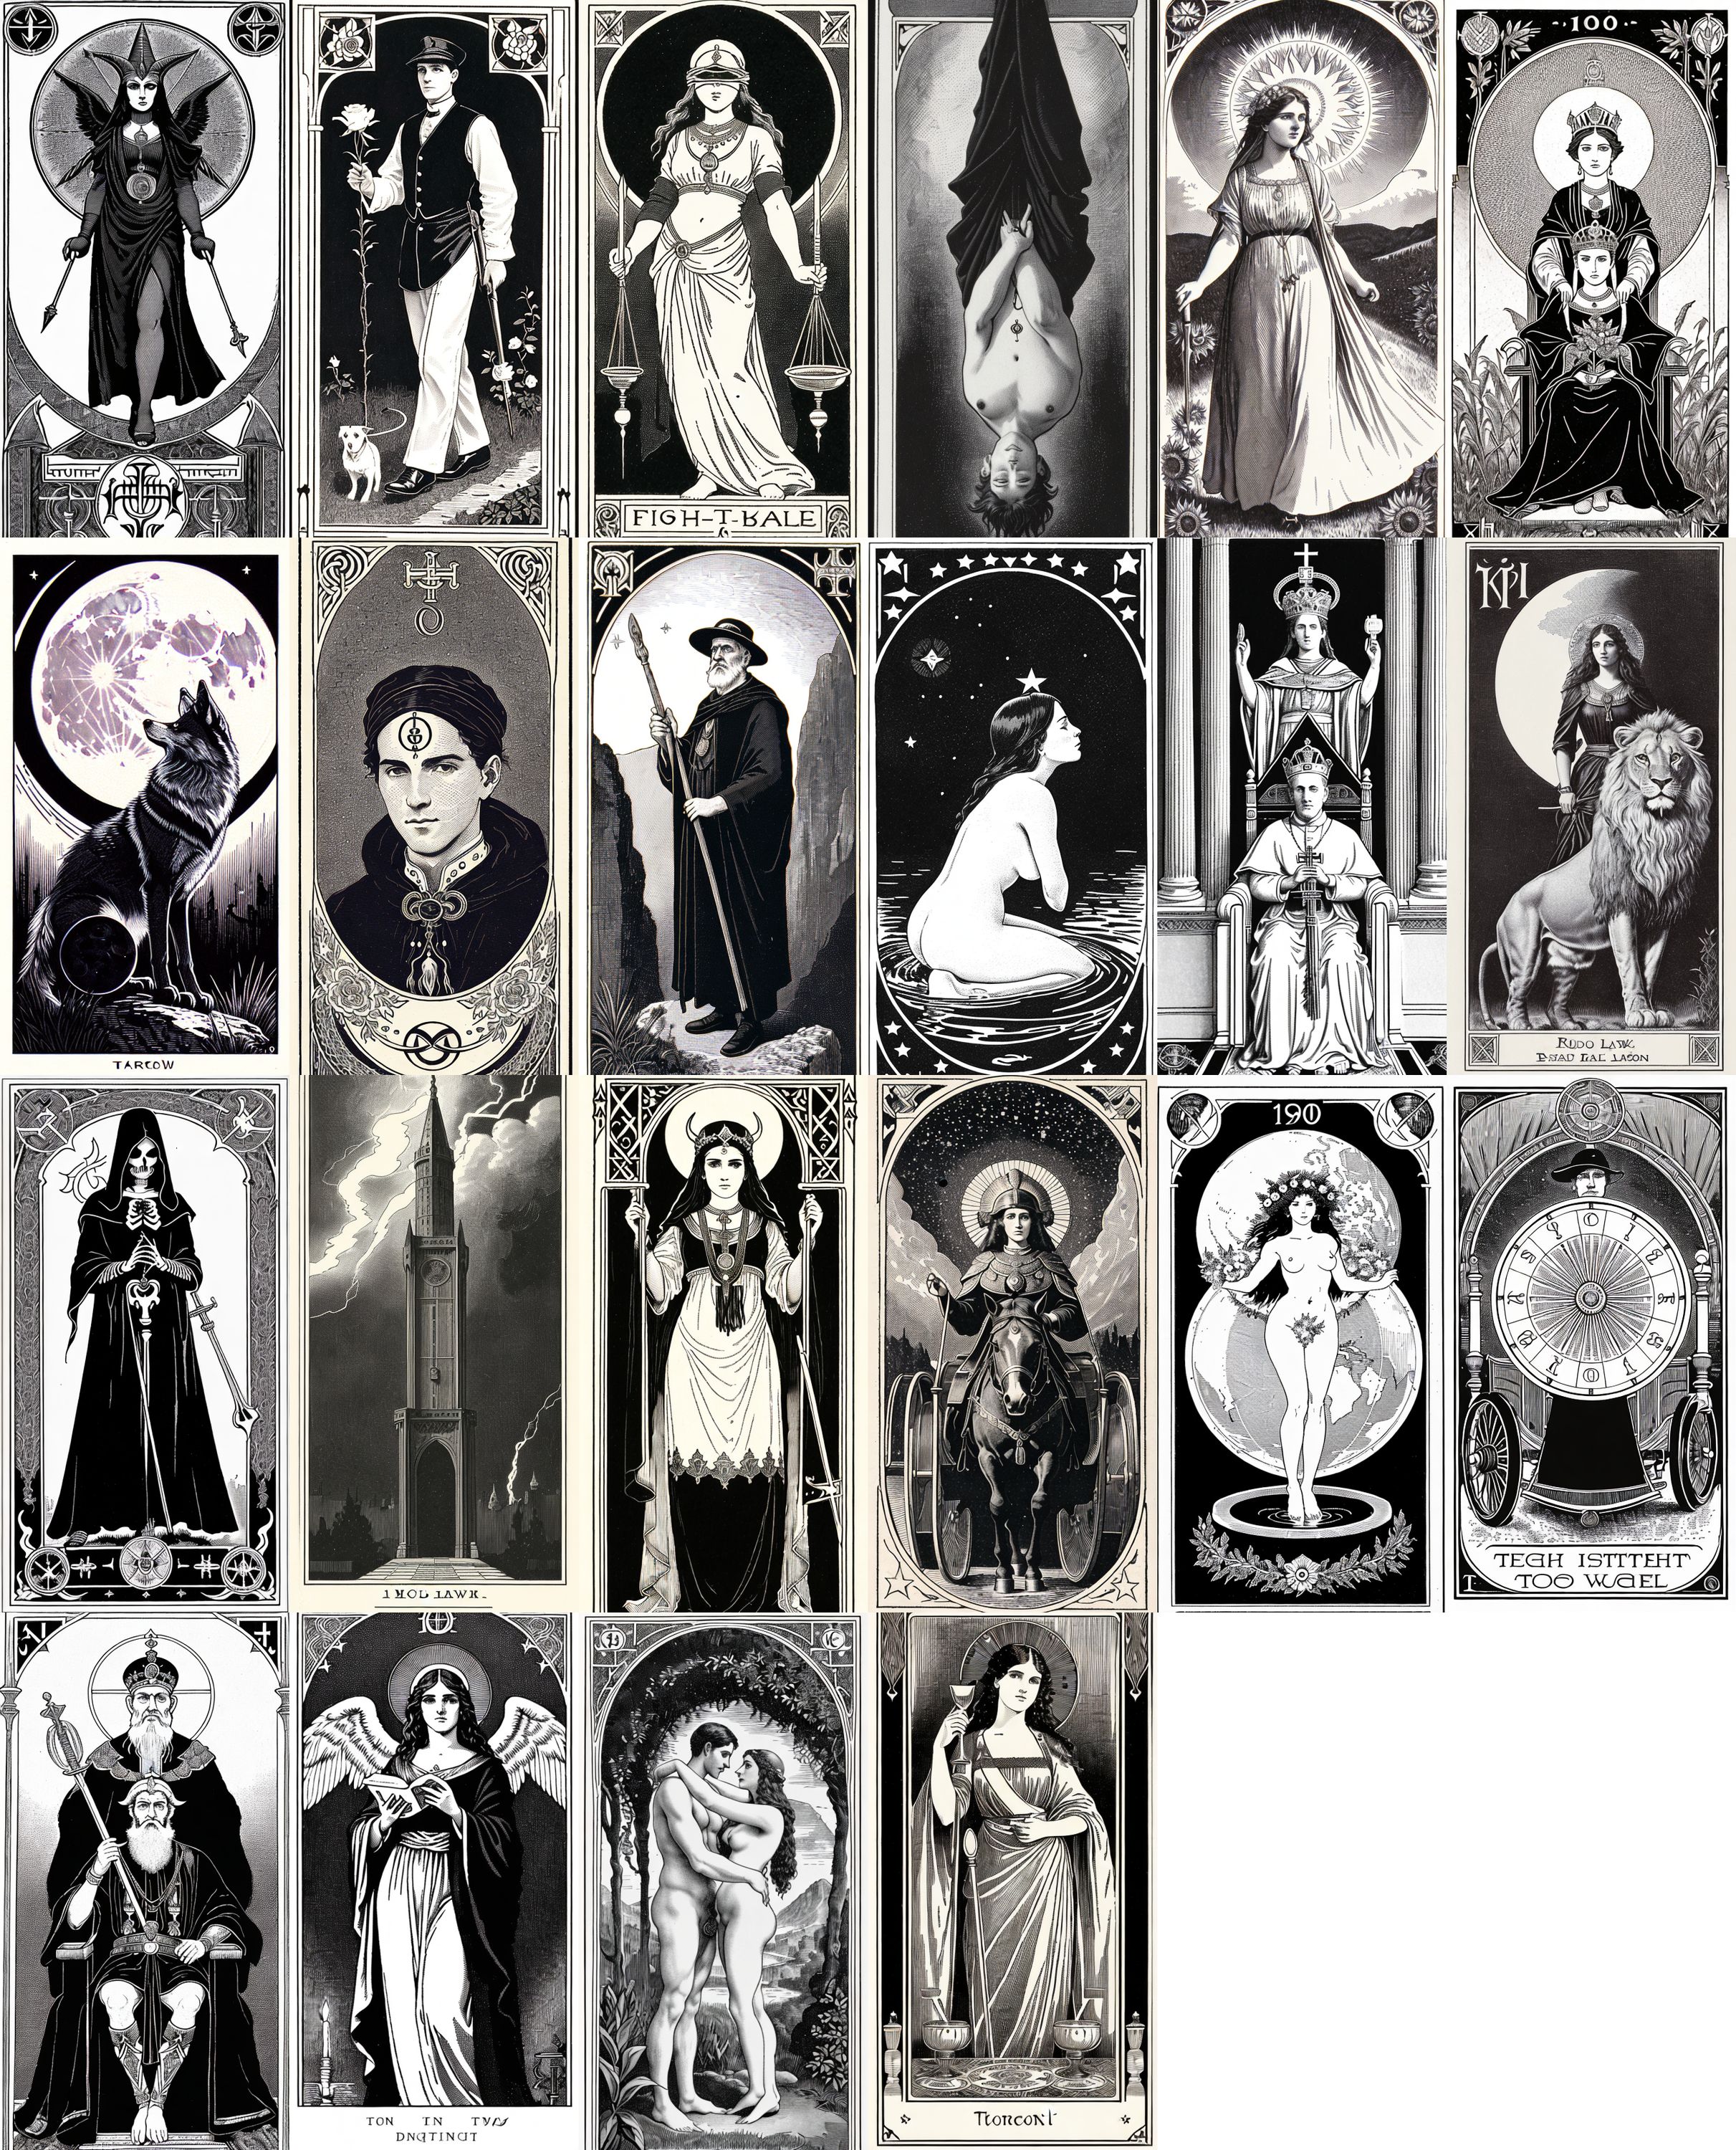
Well, they could be better, I did the best I could. After a few days of prompt engineering, my editor started to demand I wrap up this blog post.
These graphics came out okay when converted for Wyldcard. This time I used a more advanced script, which you can adapt to your purposes.

Ok, we have our deck! now what?
Well, let’s get them onto the Raspberry Pi in the Wyldcard plinth:
scp ./* pi@raspberrypi.local:/home/pi/Pictures/wyldcard/tarot-reliberate
I’m copying them into their own directory in /home/pi/Pictures/wyldcard.
Now, we need to write an application which uses these pictures and can talk to the Wyldcards placed on the plinth. All of the following uses documented code from the Wyldcard GitHub repo while the code we’re writing today can be found in the examples directory.
Let’s create a new directory on the Raspberry Pi to make a new Node.js project:
ssh pi@raspberrypi.local
mkdir ~/tarot
cd ~/tarot
npm init
Next we add the Wyldcard driver package: npm install --save @wyldcard/drivers
We’ll also add the lodash package, because I like using it: npm install --save lodash
Now we’re ready to begin building the app. In a new index.js file, the following code sets up the plinth object which represents the Wyldcard plinth, defines a function which sets a card to being ‘facedown’ (meaning the back of the card is displayed), and calls the function for each of the four card wells on the plinth:
let fs = require('fs/promises')
let path = require('path')

let { Plinth, imageUtilities } = require('@wyldcard/drivers')

async function main() {
  let plinth = new Plinth('devkit')

  let turnFacedown = async (well) => {
    let cardBackPath = path.resolve('/', 'home', 'pi', 'Pictures', 'wyldcard', 'tarot-reliberate', 'back.png')
    let cardBack = await imageUtilities.loadPng(cardBackPath)
    well.displayImage(cardBack)
  }

  // for all cards on plinth, show card back
  let dealFacedown = async () => {
    await turnFacedown(plinth.wells[0])
    await turnFacedown(plinth.wells[1])
    await turnFacedown(plinth.wells[2])
    await turnFacedown(plinth.wells[3])
  }

  await dealFacedown()
}

main()
Running this code (node index.js) results in the following on our Wyldcards:
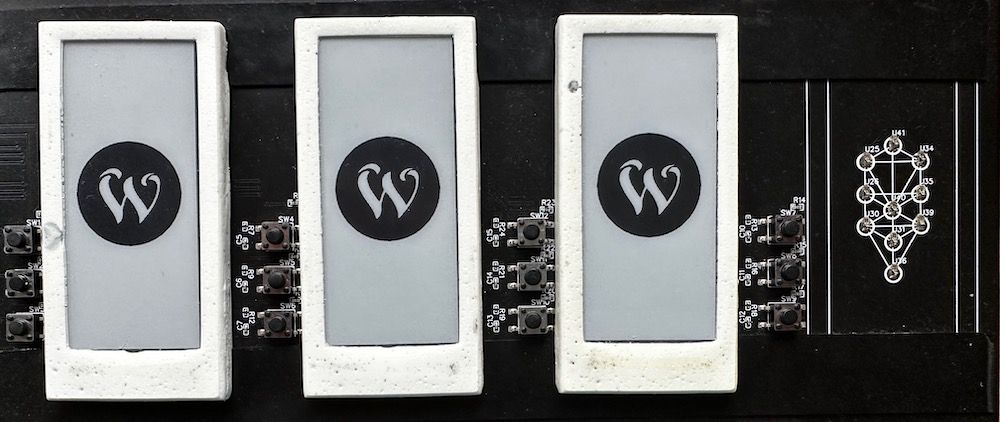
The main functions we’re using here are the Plinth constructor, the imageUtilities.loadPng() function to load png file data into the specific format required by Wyldcards, and the plinth.well.displayImage() function, which displays the given image data on a Wyldcard, if one is placed on the corresponding well.
Next, let’s create a function for turning a card faceup and bind that function to the buttons on the plinth. Turning a card faceup means displaying a random image from our deck, so let’s bind the function to all three buttons for each well.
let turnFaceup = async (well) => {
  let imagePath = await drawCard()

  let image = imageUtilities.loadPng(randomImagePath)

  well.displayImage(image)
}

plinth.wells.forEach((well) => {
  well.onAButtonPress(turnFaceup(well))
  well.onBButtonPress(turnFaceup(well))
  well.onCButtonPress(turnFaceup(well))
})
I’ve also added a function, drawCard(), for picking a random card from the directory where we sent all the tarot images. The entire file now looks like this:
let fs = require('fs/promises')
let path = require('path')

let { Plinth, imageUtilities } = require('@wyldcard/drivers')

async function main() {
  let plinth = new Plinth('devkit')

  let drawCard = async () => {
    let directory = path.resolve('/', 'home', 'pi', 'Pictures', 'wyldcard', 'tarot-reliberate')
    let imageNames = await fs.readdir(directory)
    let randomImageName = _.sample(imageNames)
    randomImageName = _.sample(imageNames)
    let randomImagePath = path.join(directory, randomImageName)
    return randomImagePath
  }

  let turnFacedown = async (well) => {
    let cardBackPath = path.resolve('/', 'home', 'pi', 'Pictures', 'wyldcard', 'tarot-reliberate', 'back.png')
    let cardBack = await imageUtilities.loadPng(cardBackPath)
    well.displayImage(cardBack)
  }

  let turnFaceup = async (well) => {
    let imagePath = await drawCard()

    let image = imageUtilities.loadPng(randomImagePath)

    well.displayImage(image)
  }

  // for all cards on plinth, show card back
  let dealFacedown = async () => {
    await turnFacedown(plinth.wells[0])
    await turnFacedown(plinth.wells[1])
    await turnFacedown(plinth.wells[2])
    await turnFacedown(plinth.wells[3])
  }

  await dealFacedown()

  plinth.wells.forEach((well) => {
    well.onAButtonPress(turnFaceup(well))
    well.onBButtonPress(turnFaceup(well))
    well.onCButtonPress(turnFaceup(well))
  })
}

main()
Now when we run the code and push a button, we display one of our tarot cards!

From now on, it’s just extra credit. How about we take advantage of the memory chips in the cards, while allowing the user to flip cards back over? This way we can draw more tarot cards than we have physical Wyldcards. We can also allow adding more Wyldcards than we have wells on the plinth. By putting a new card onto the plinth, we can have the first button-press put it facedown, and the second flip it up.
We can store the flipped state of the tarot card in memory like so:
well.storeData({ tarotCard: 'faceup' })
And we can get the state:
let memory = well.getData()
console.log(memory.tarotCard === 'faceup')
I’ve also added some code to prevent us from drawing cards we’ve already drawn, and the ability for cards to be drawn ‘reversed’.
Now the whole file looks like:
let fs = require('fs/promises')
let path = require('path')

let _ = require('lodash')
let gm = require('gm').subClass({ imageMagick: true })

let { Plinth, imageUtilities } = require('@wyldcard/drivers')

async function main() {
  let plinth = new Plinth('devkit')

  let alreadyDrawn = ['back.png'] // list of card image paths already drawn, to avoid duplicates

  let drawCard = async () => {
    let directory = path.resolve('/', 'home', 'pi', 'Pictures', 'wyldcard', 'tarot-reliberate')
    let imageNames = await fs.readdir(directory)
    let randomImageName = _.sample(imageNames)
    console.log('random image name', randomImageName, !alreadyDrawn.includes(randomImageName))
    while (alreadyDrawn.includes(randomImageName)) {
      randomImageName = _.sample(imageNames)
    }
    console.log('landed on image', randomImageName)
    alreadyDrawn.push(randomImageName)
    let randomImagePath = path.join(directory, randomImageName)
    return randomImagePath
  }

  let turnFacedown = async (well) => {
    well.storeData({ tarotCard: 'facedown' })

    let cardBackPath = path.resolve('/', 'home', 'pi', 'Pictures', 'wyldcard', 'tarot-reliberate', 'back.png')
    let cardBack = await imageUtilities.loadPng(cardBackPath)
    well.displayImage(cardBack)
  }

  let turnFaceup = async (well) => {
    well.storeData({ tarotCard: 'faceup' })

    let imagePath = await drawCard()

    let image = await imageUtilities.loadPng(imagePath)
    console.log('turning faceup, image:', imagePath)
    // reverse!
    if (_.random(1)) {
      let reverse = new Promise((resolve, reject) => {
        gm(imagePath).flip().write('/tmp/reversed.png', function (err) {
          if (err) return reject(err)
          return resolve()
        })
      })
      await reverse
      image = await imageUtilities.loadPng('/tmp/reversed.png')
    }

    well.displayImage(image)
  }

  // for all cards on plinth, show card back
  let dealFacedown = async () => {
    await turnFacedown(plinth.wells[0])
    await turnFacedown(plinth.wells[1])
    await turnFacedown(plinth.wells[2])
    await turnFacedown(plinth.wells[3])
  }

  // returns a button-press callback
  let flipCard = (well) => {
    return async () => {
      let memory;
      try {
        memory = well.getData()
      } catch (e) {
        console.log(`memory isn't formatted, turning card facedown`)
        return turnFacedown(well)
      }

      if (!memory.tarotCard) {
        console.log(`card wasn't set up as a tarot card, turning facedown`)
        return turnFacedown(well)
      }

      if (memory.tarotCard == 'faceup') {
        console.log('card was faceup, turning facedown')
        return turnFacedown(well)
      } else if (memory.tarotCard == 'facedown') {
        console.log('card was facedown, turning faceup')
        return turnFaceup(well)
      } else {
        console.log(`card wasn't facedown or faceup?? turn facedown`)
        return turnFacedown(well)
      }
    }
  }

  await dealFacedown()

  plinth.wells.forEach((well) => {
    well.onAButtonPress(flipCard(well))
    well.onBButtonPress(flipCard(well))
    well.onCButtonPress(flipCard(well))
  })
}

main()
One last thing, I’d like the user to be able to reset the system, in order to perform a new reading. How about, pressing all three buttons at once, for any well, resets the system and turns all cards facedown?
For this task, we can use well.on('chordedButtonPress', buttonPressHandler):
let handleButtonPress = async function(event) {
  let well = plinth.wells[event.well]
  if (event.buttons.length > 1) {
    reset()
  } else {
    flipCard(well)
  }
}

plinth.wells.forEach((well) => {
  well.on('chordedButtonPress', handleButtonPress)
})
Again, all the code for this tutorial, other examples, and documentation can be found in our GitHub repo.
Happy Hacking!