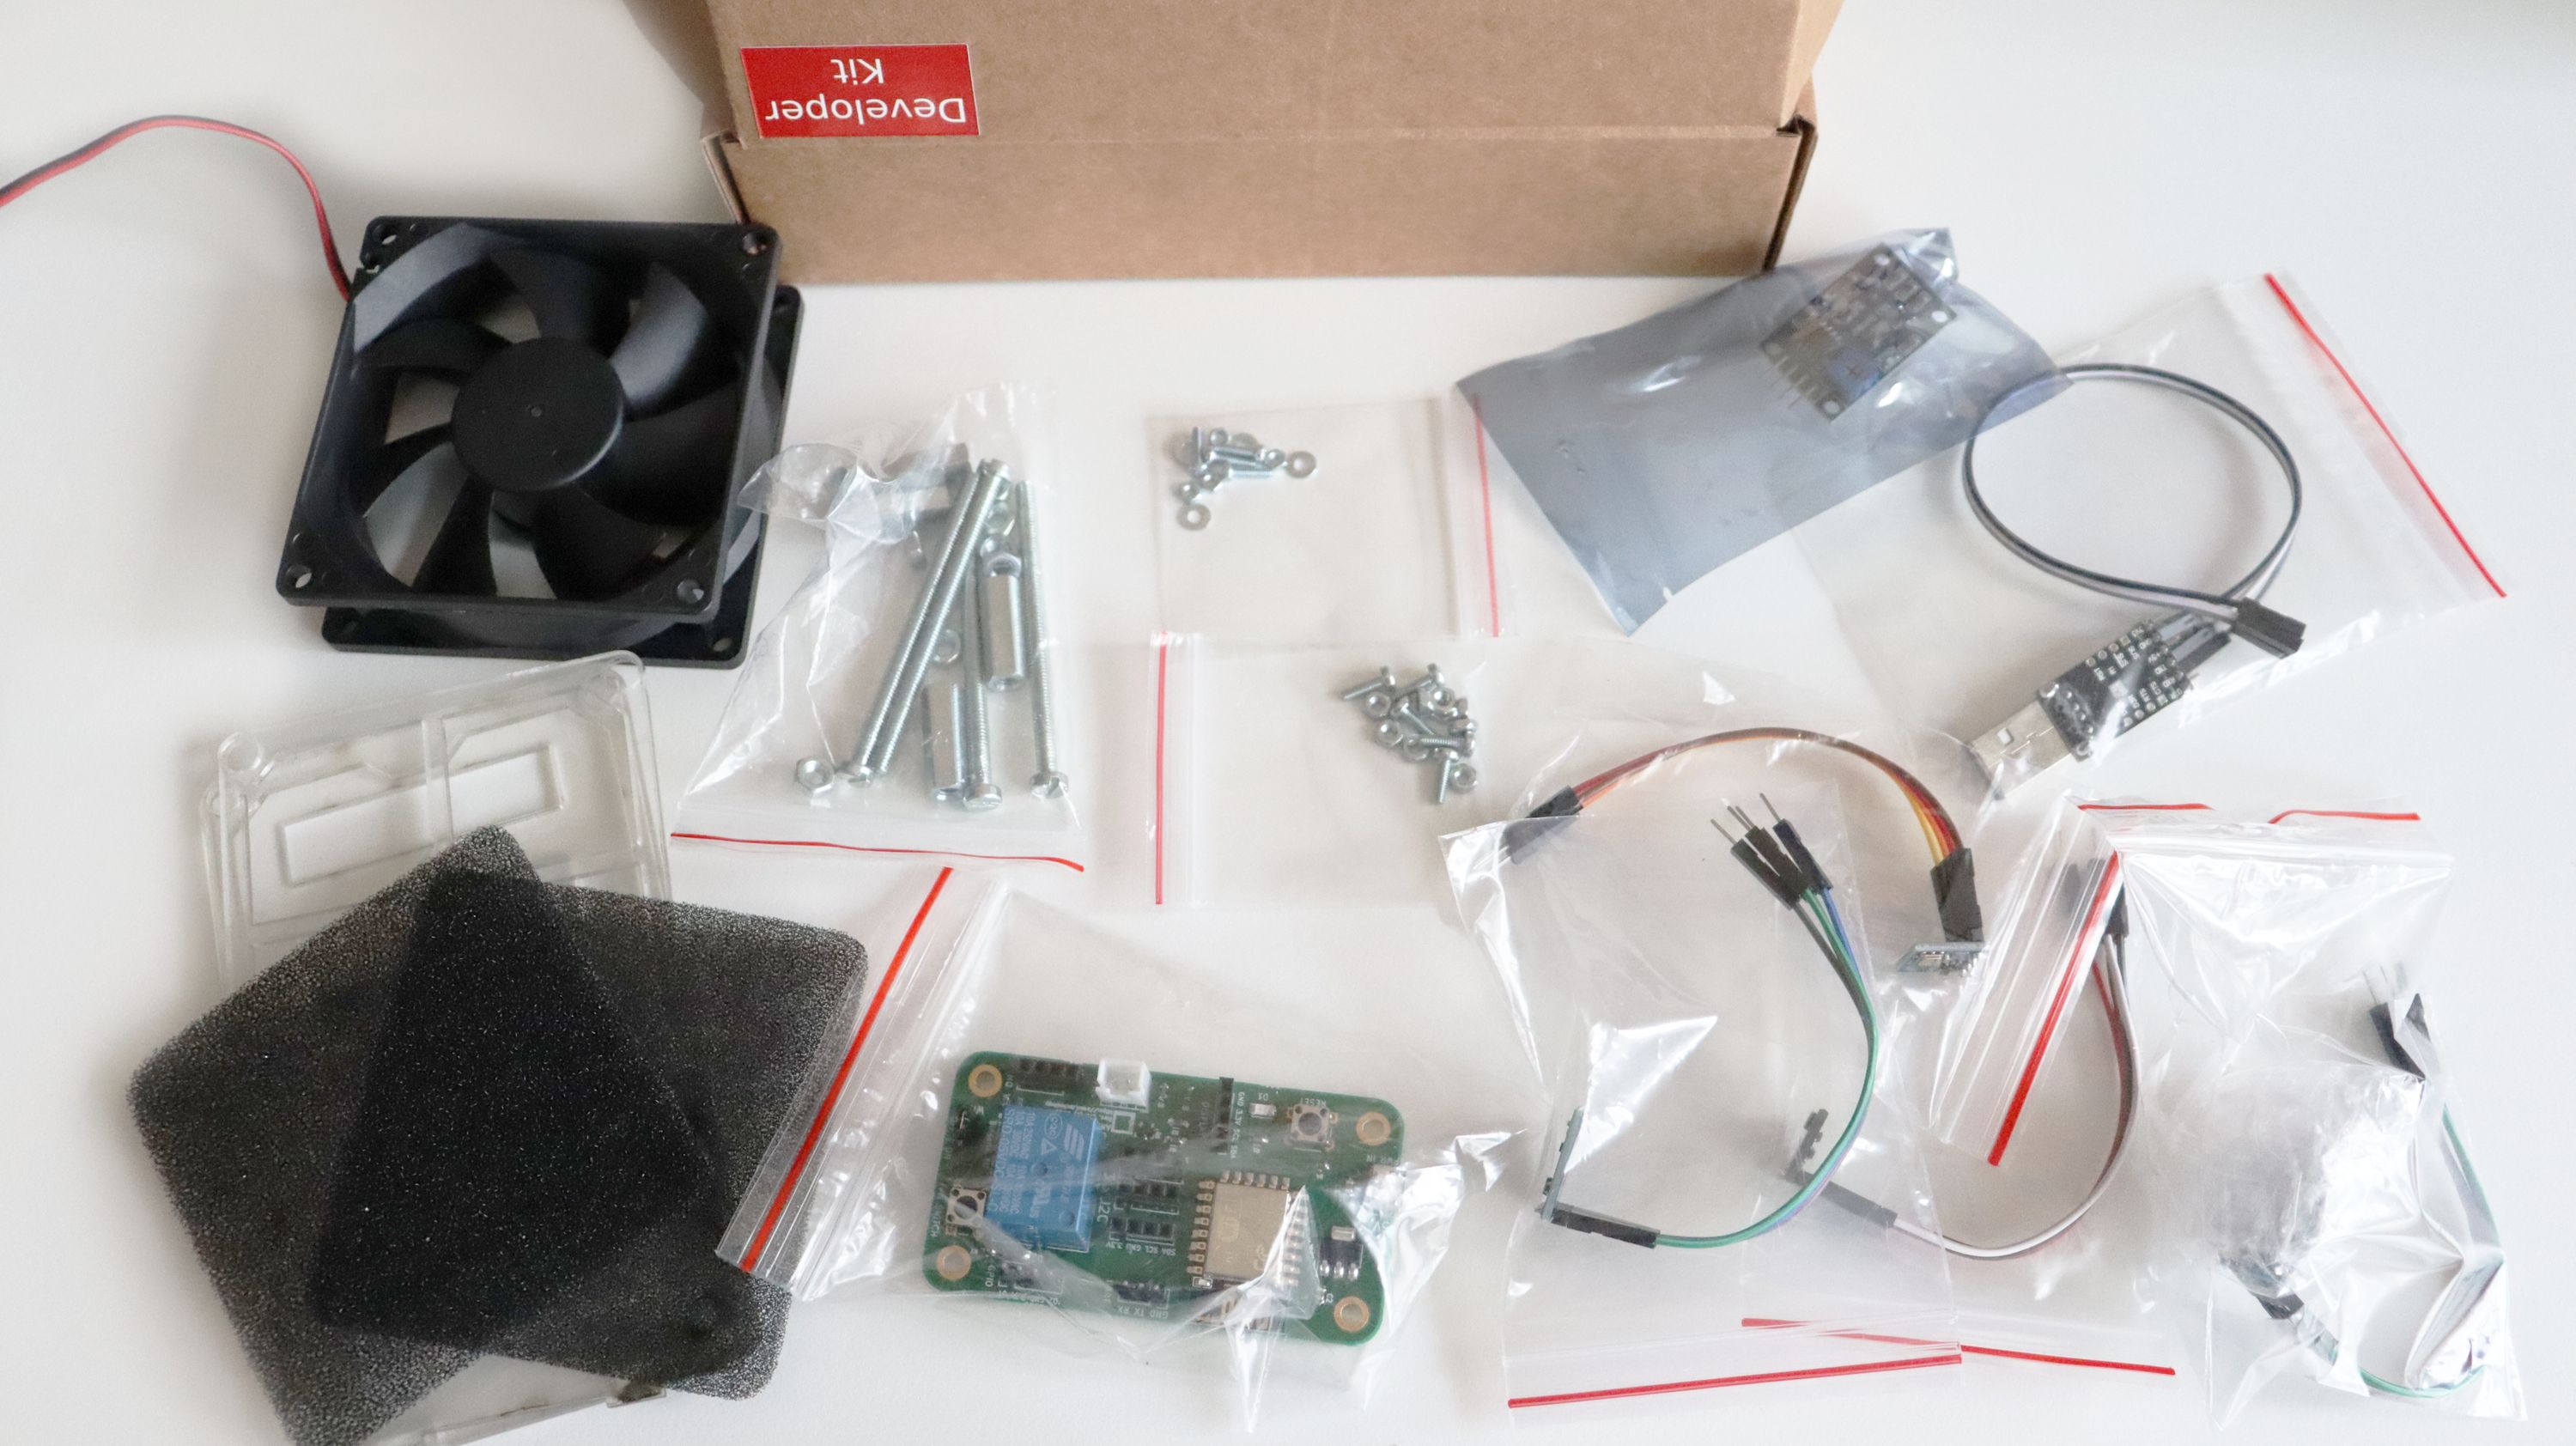
ANAVI Fume Extractor comes as a do-it-yourself kit. There are 3 types of kits: starter, advanced and developer. The difference is in the number of included sensor modules. The developer kit contains all supported peripherals.
This tutorial explains the exact steps of how to assemble the ANAVI Fume Extractor developer kit. The whole process can take up to 30-40min. A screwdriver is required. It is highly recommended to watch the video with the assembly guidelines before you start.
Step 1: Peel off the protective films
Each ANAVI Fume Extractor kit contains 4 acrylic enclosures. Peel off the protective films from both sides of all of them. The acrylic enclosure will be clear and transparent once the film is peeled off.
Step 2: PCB
Attach the ANAVI Fume Extractor printed circuit board to the bottom acrylic enclosure with 4 screws and 8 nuts. Add 4 nuts below and 4 nuts above the board.
Step 3: Mini OLED Display
The kit includes 4 M2 screws and nuts as well as appropriate washers. Remove the protective film from the mini I2C OLED display. Carefully attach the display to the front acrylic case as shown in the video. The display is fragile. Don’t fasten the screws too tight!
Step 4: Fan Filter
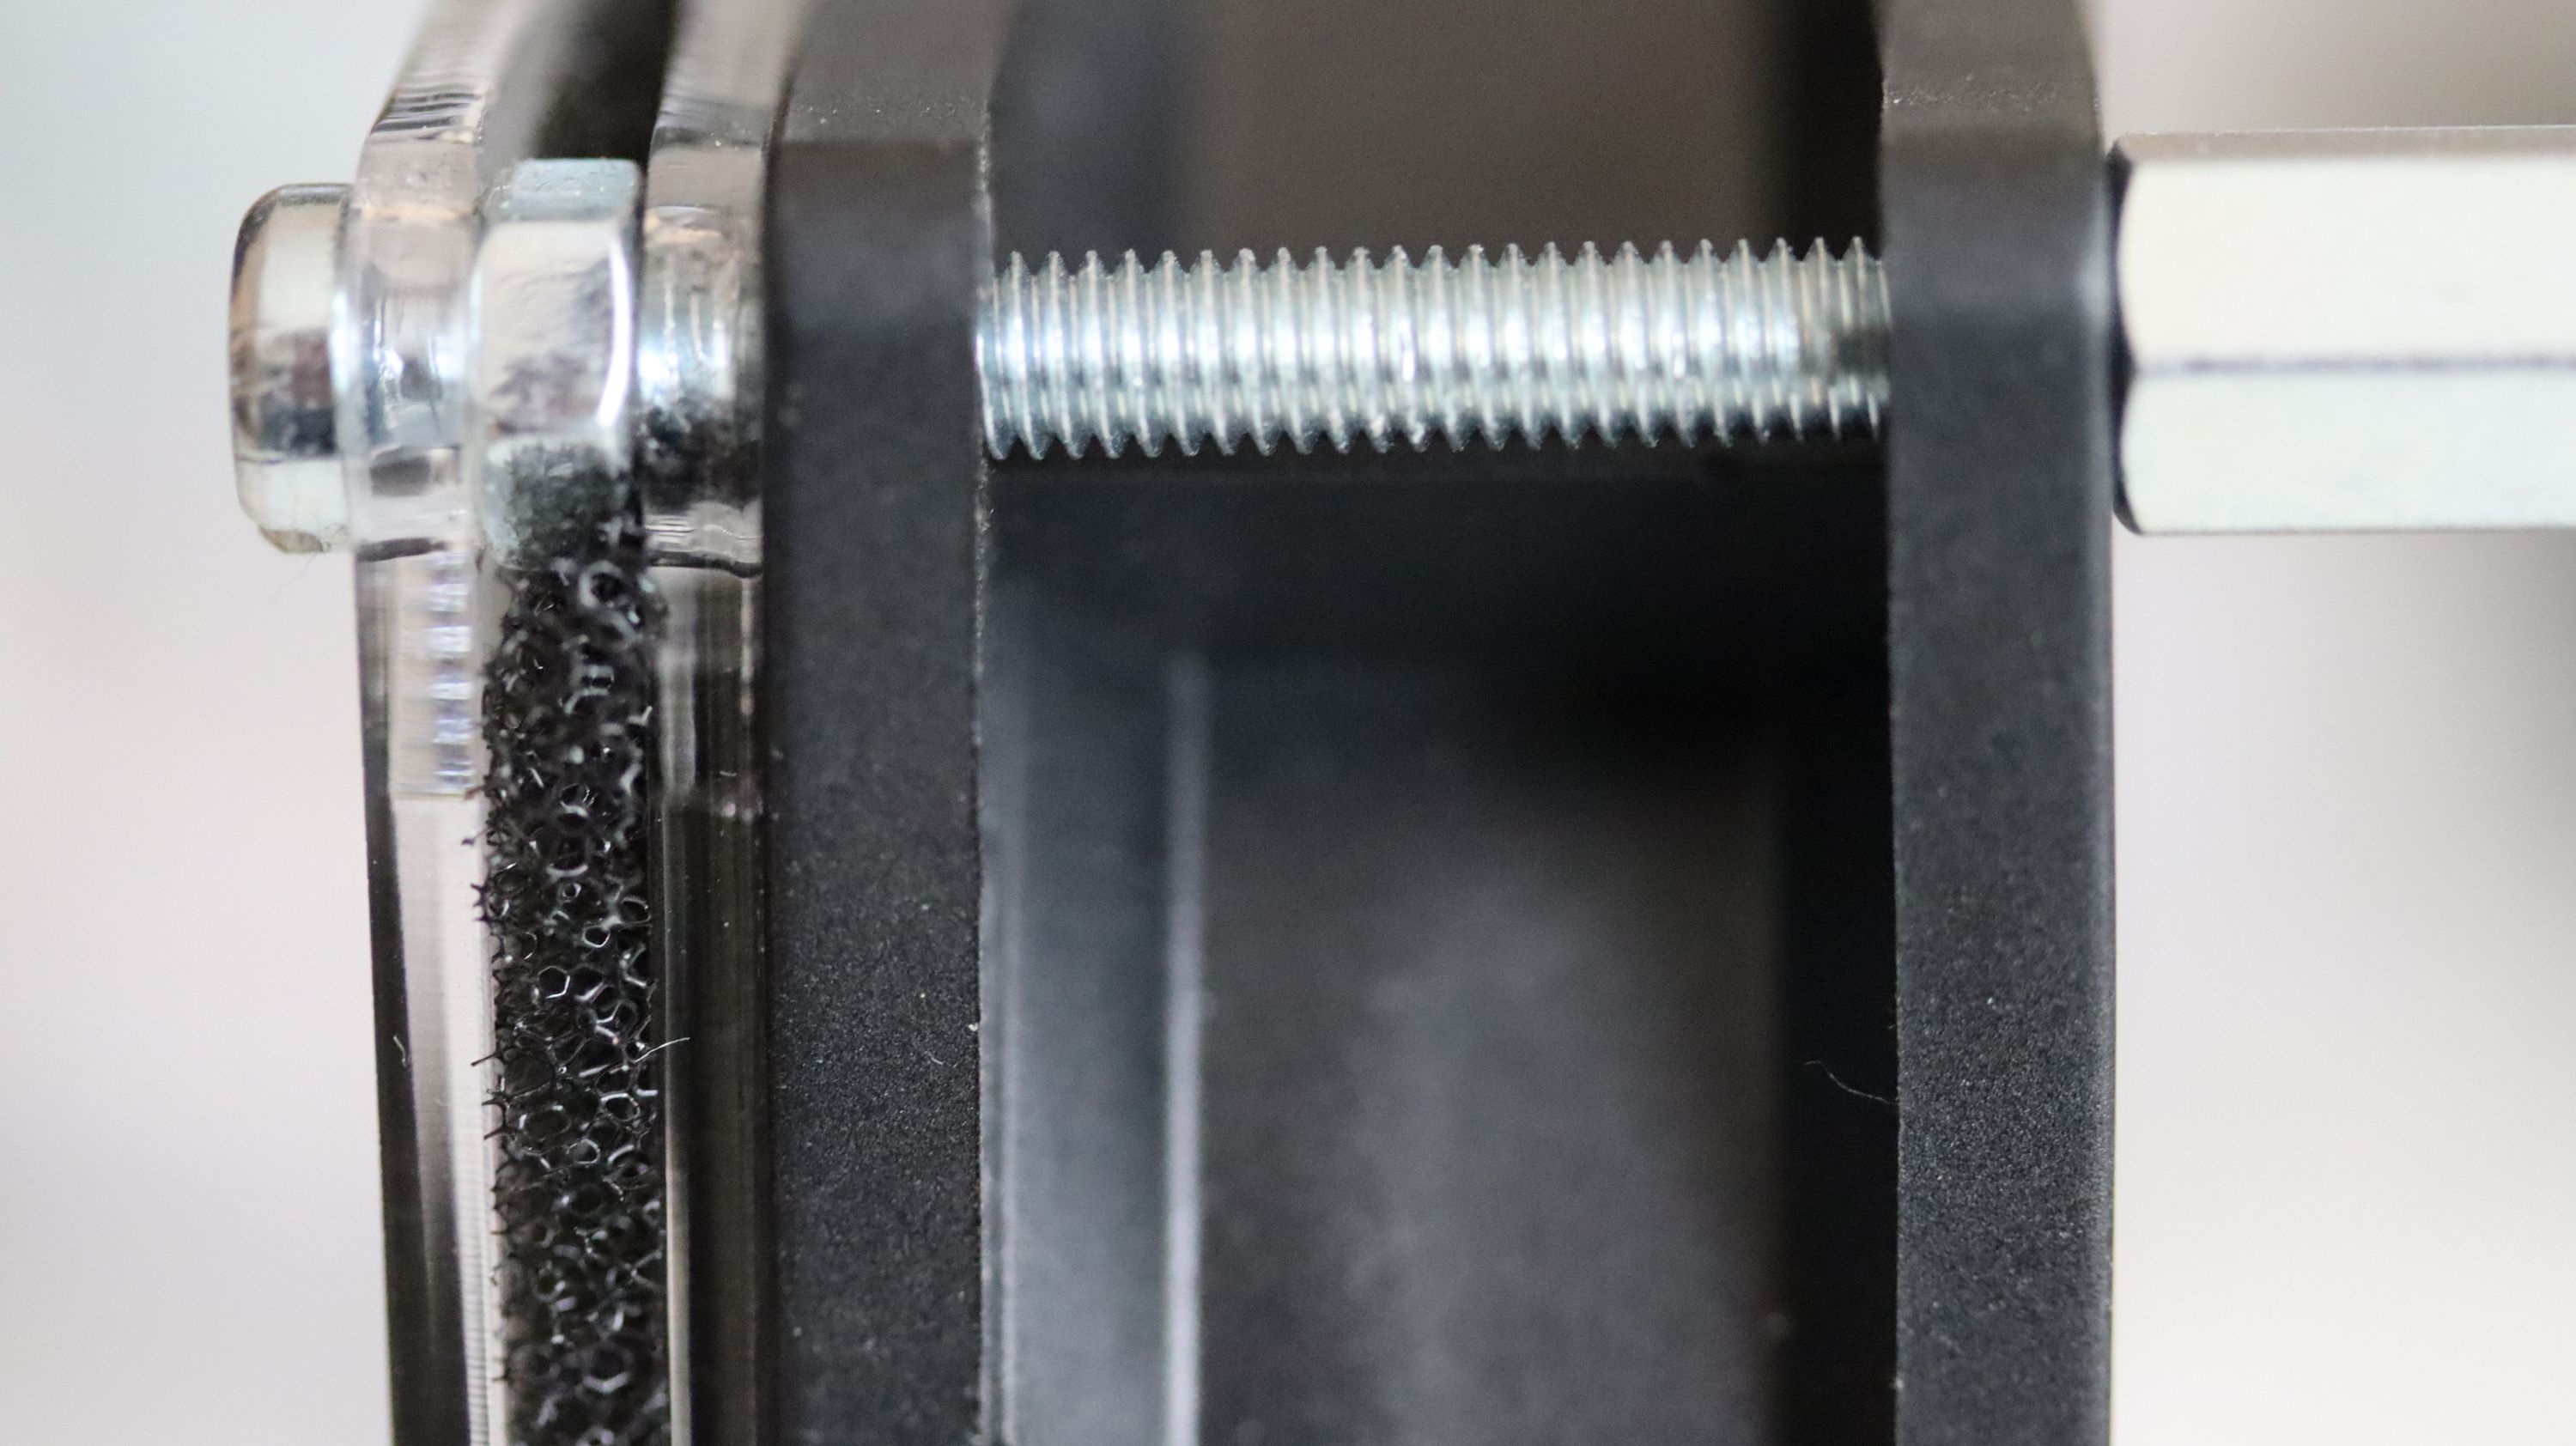
A couple of fan filters are included in each kit. Attach the 4 M4 screws to the front acrylic enclosure with 4 of the M4 nuts. Place one of the filters. Leave the other one as a replacement.
For long-term maintenance over time the filter must be regularly replaced. There is a huge variety of 80mm fan filters on the market. It is up to you to decide whether to buy carbon or HEPA filters. Various distributors offer appropriate filters, for example Mouser has 80 mm, 45 PPI foam media filters.
Step 5: Fan

Add the acrylic enclosure that separates the fan from the filter. On the side of the fan you will notice a label that indicates the direction of the air flow. Place the 80mm 5V DC fan so that the air will flow through the filter.
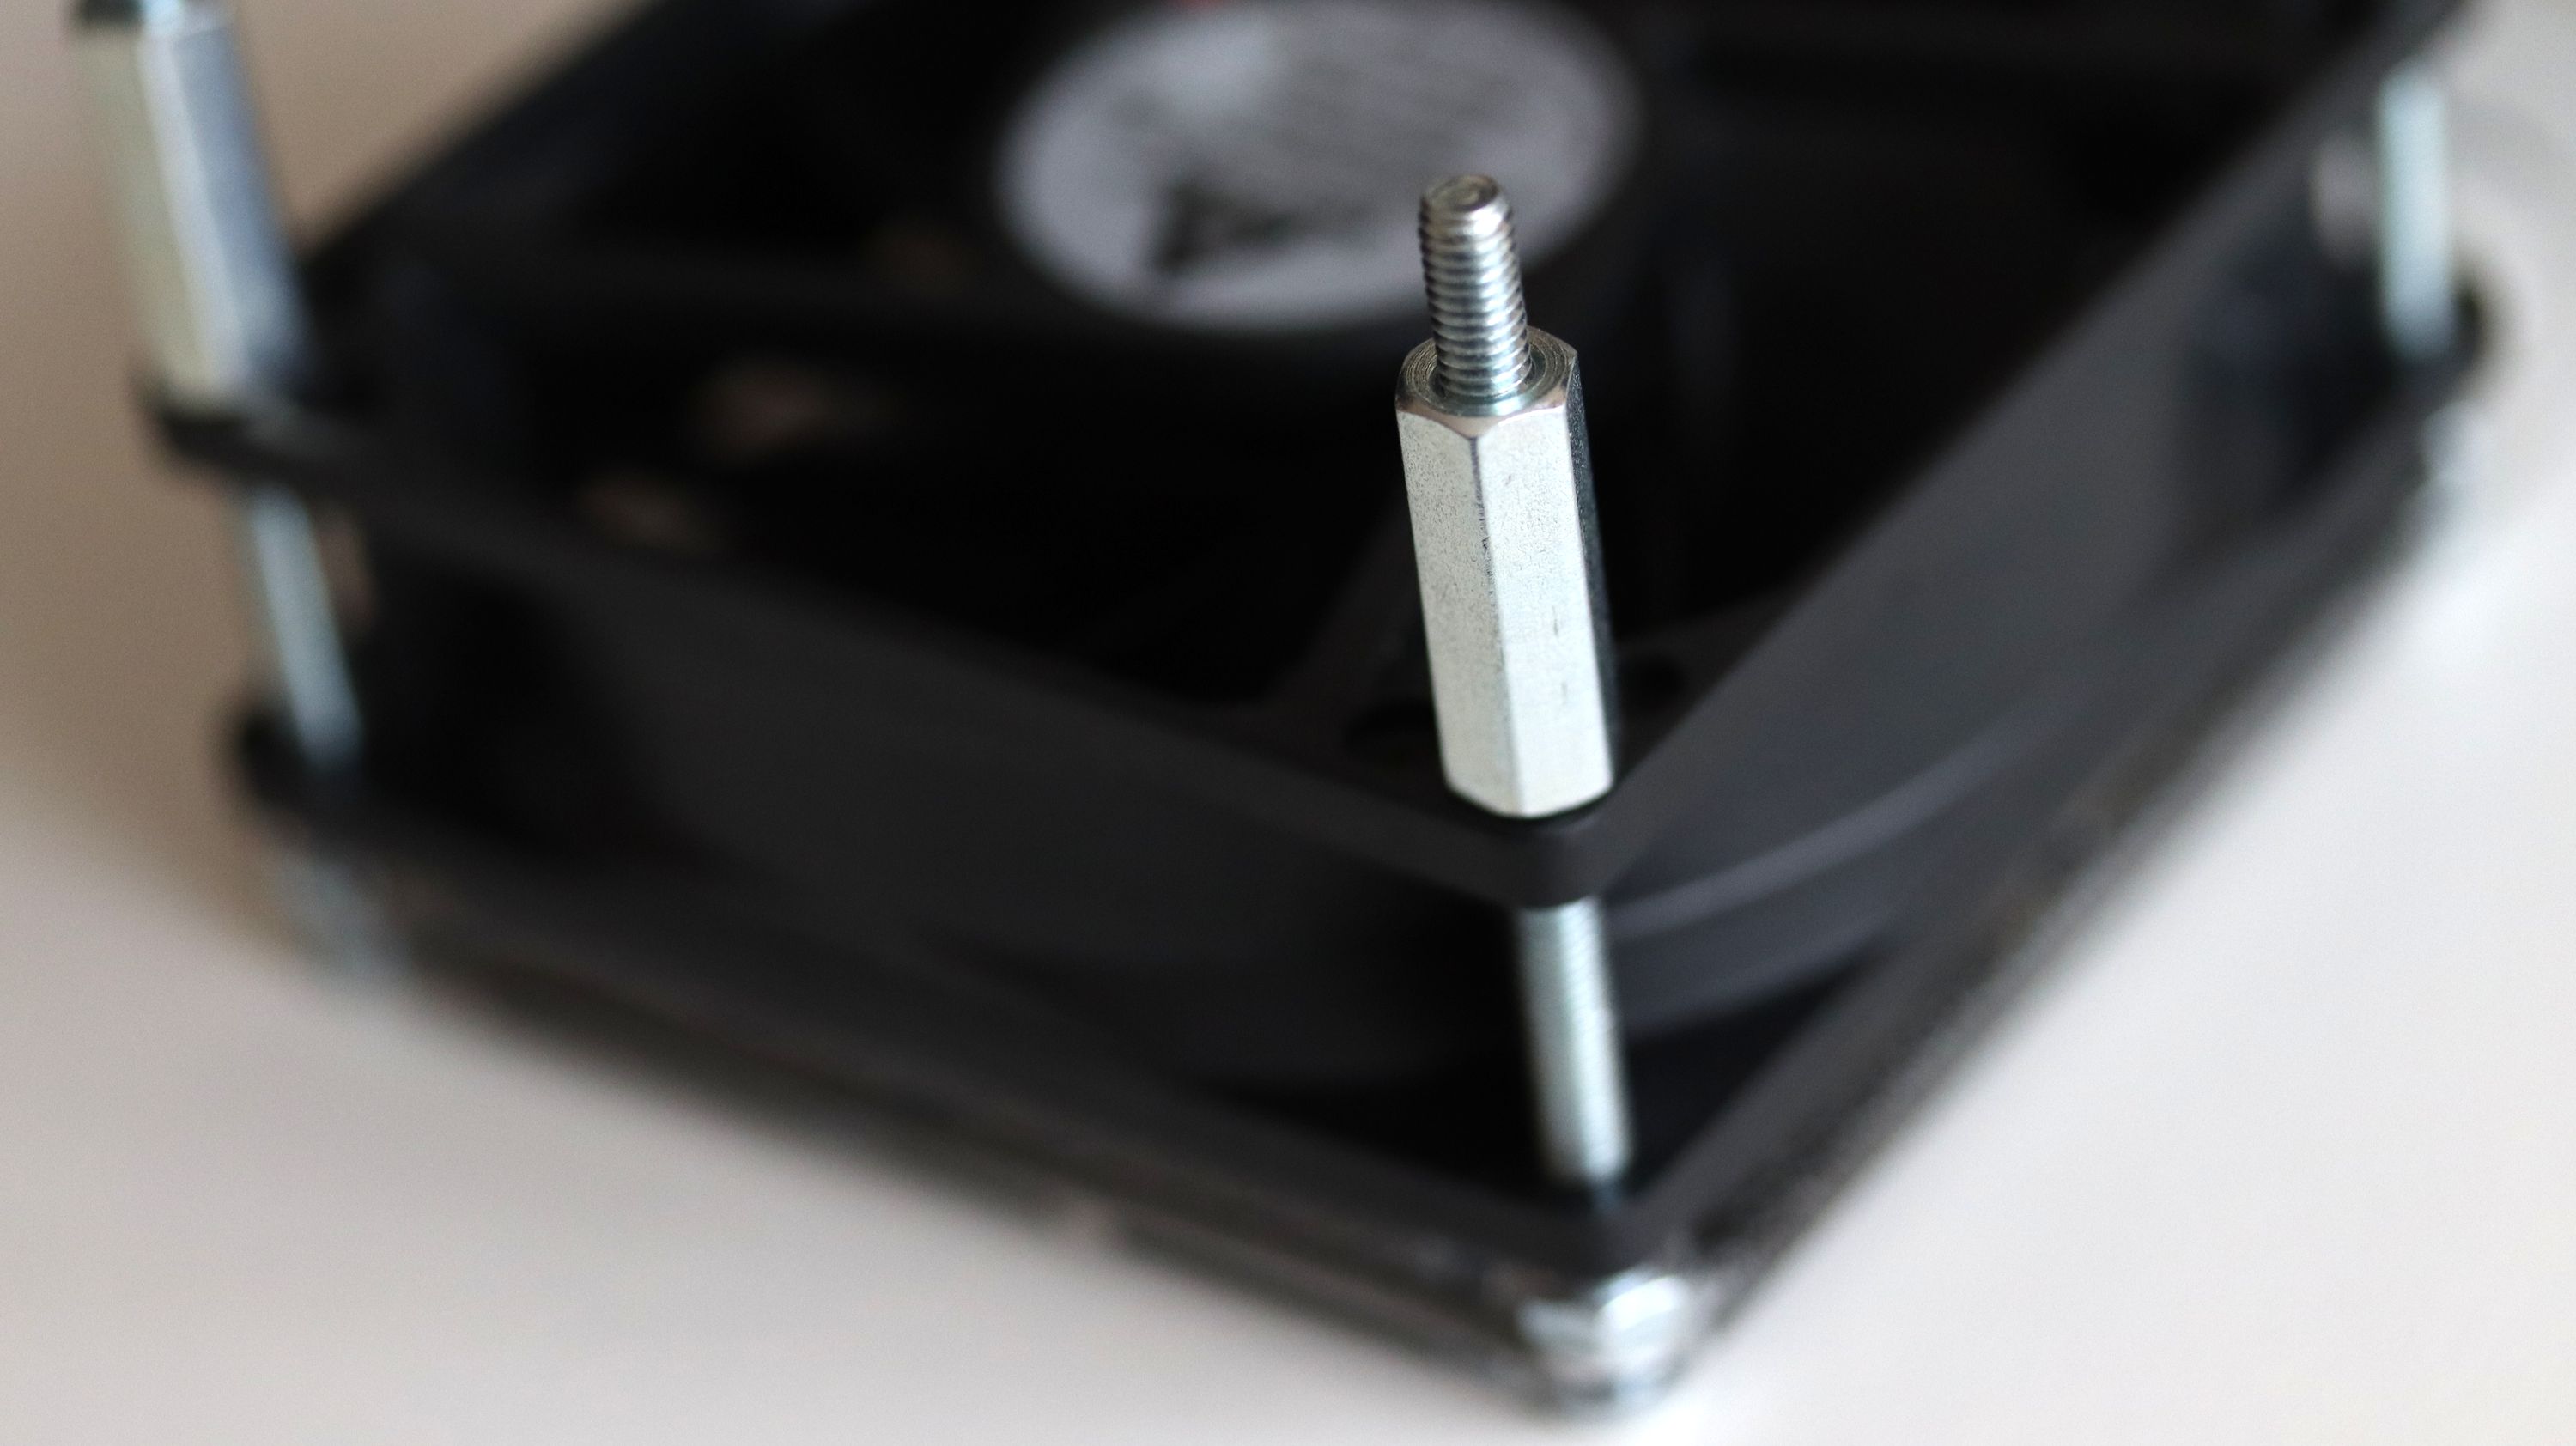
Screw the 4 M4 20mm stand-offs to firmly fix the position of the fan.
Step 6 (optional): Light Sensor Module
Owners of a developer kit should add the BH1750 light sensor module to the front acrylic enclosure and fix it with one M4 screw and a nut.
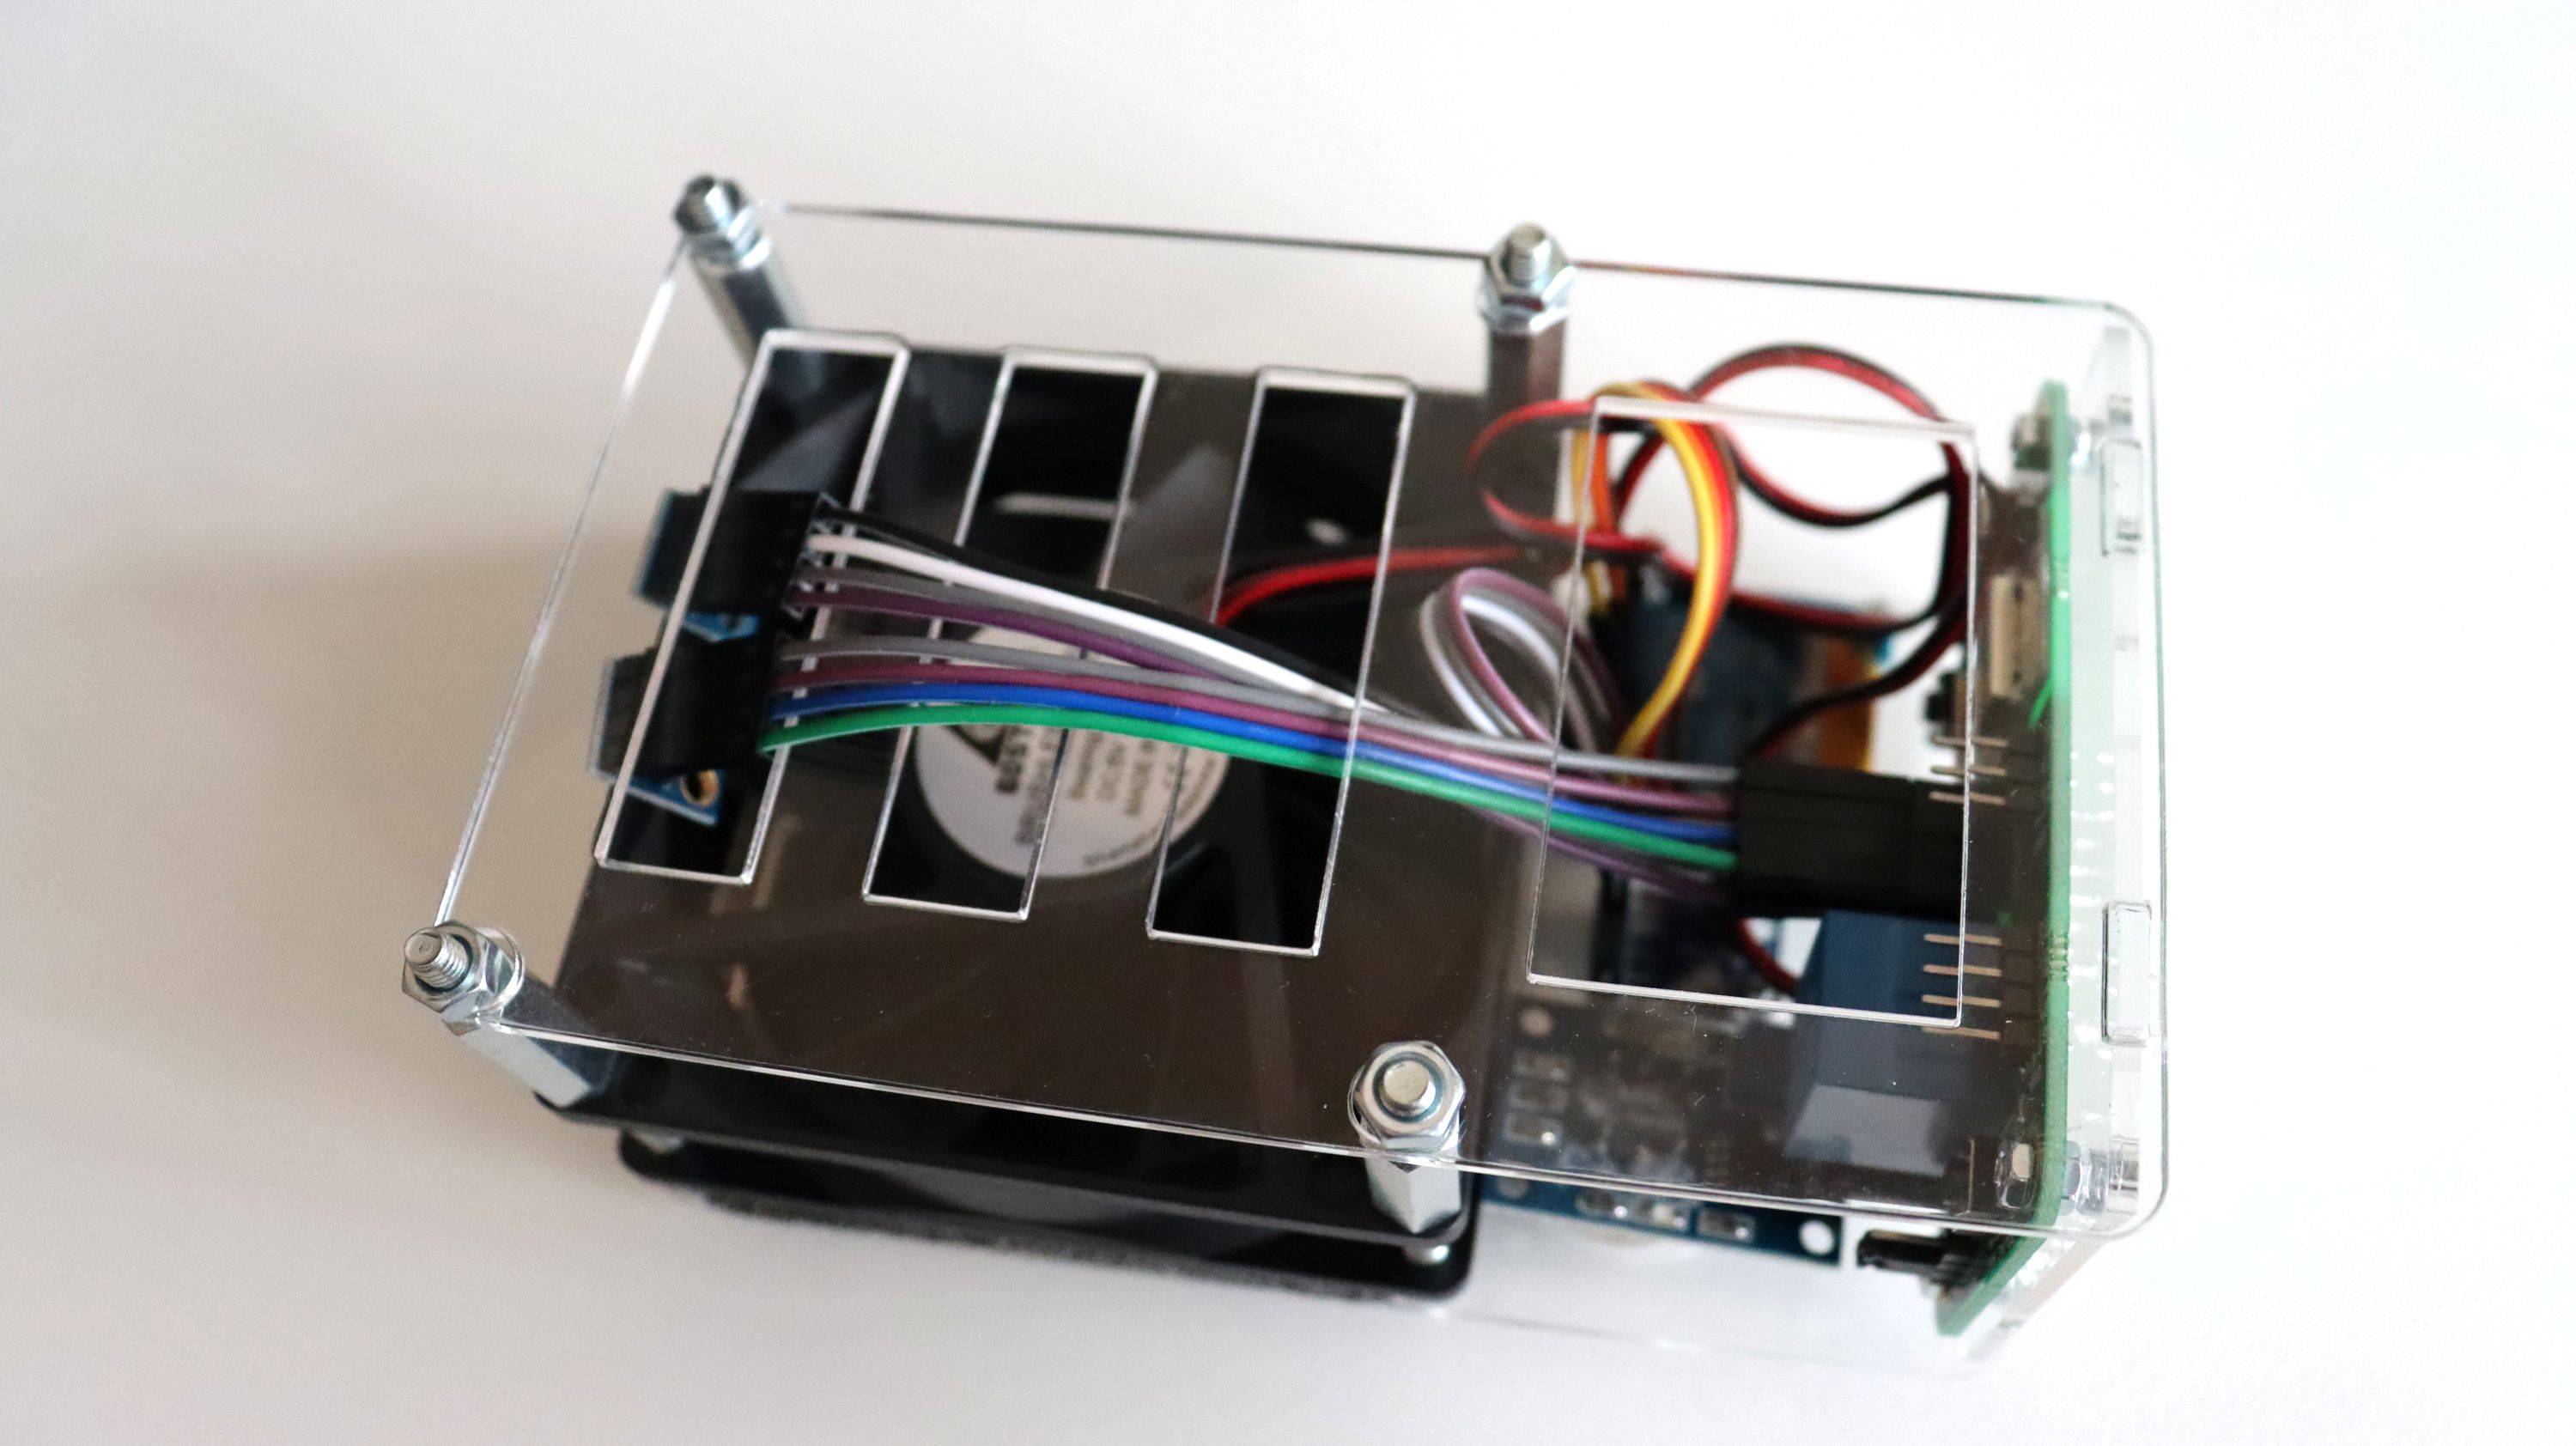
Step 7: Peripherals
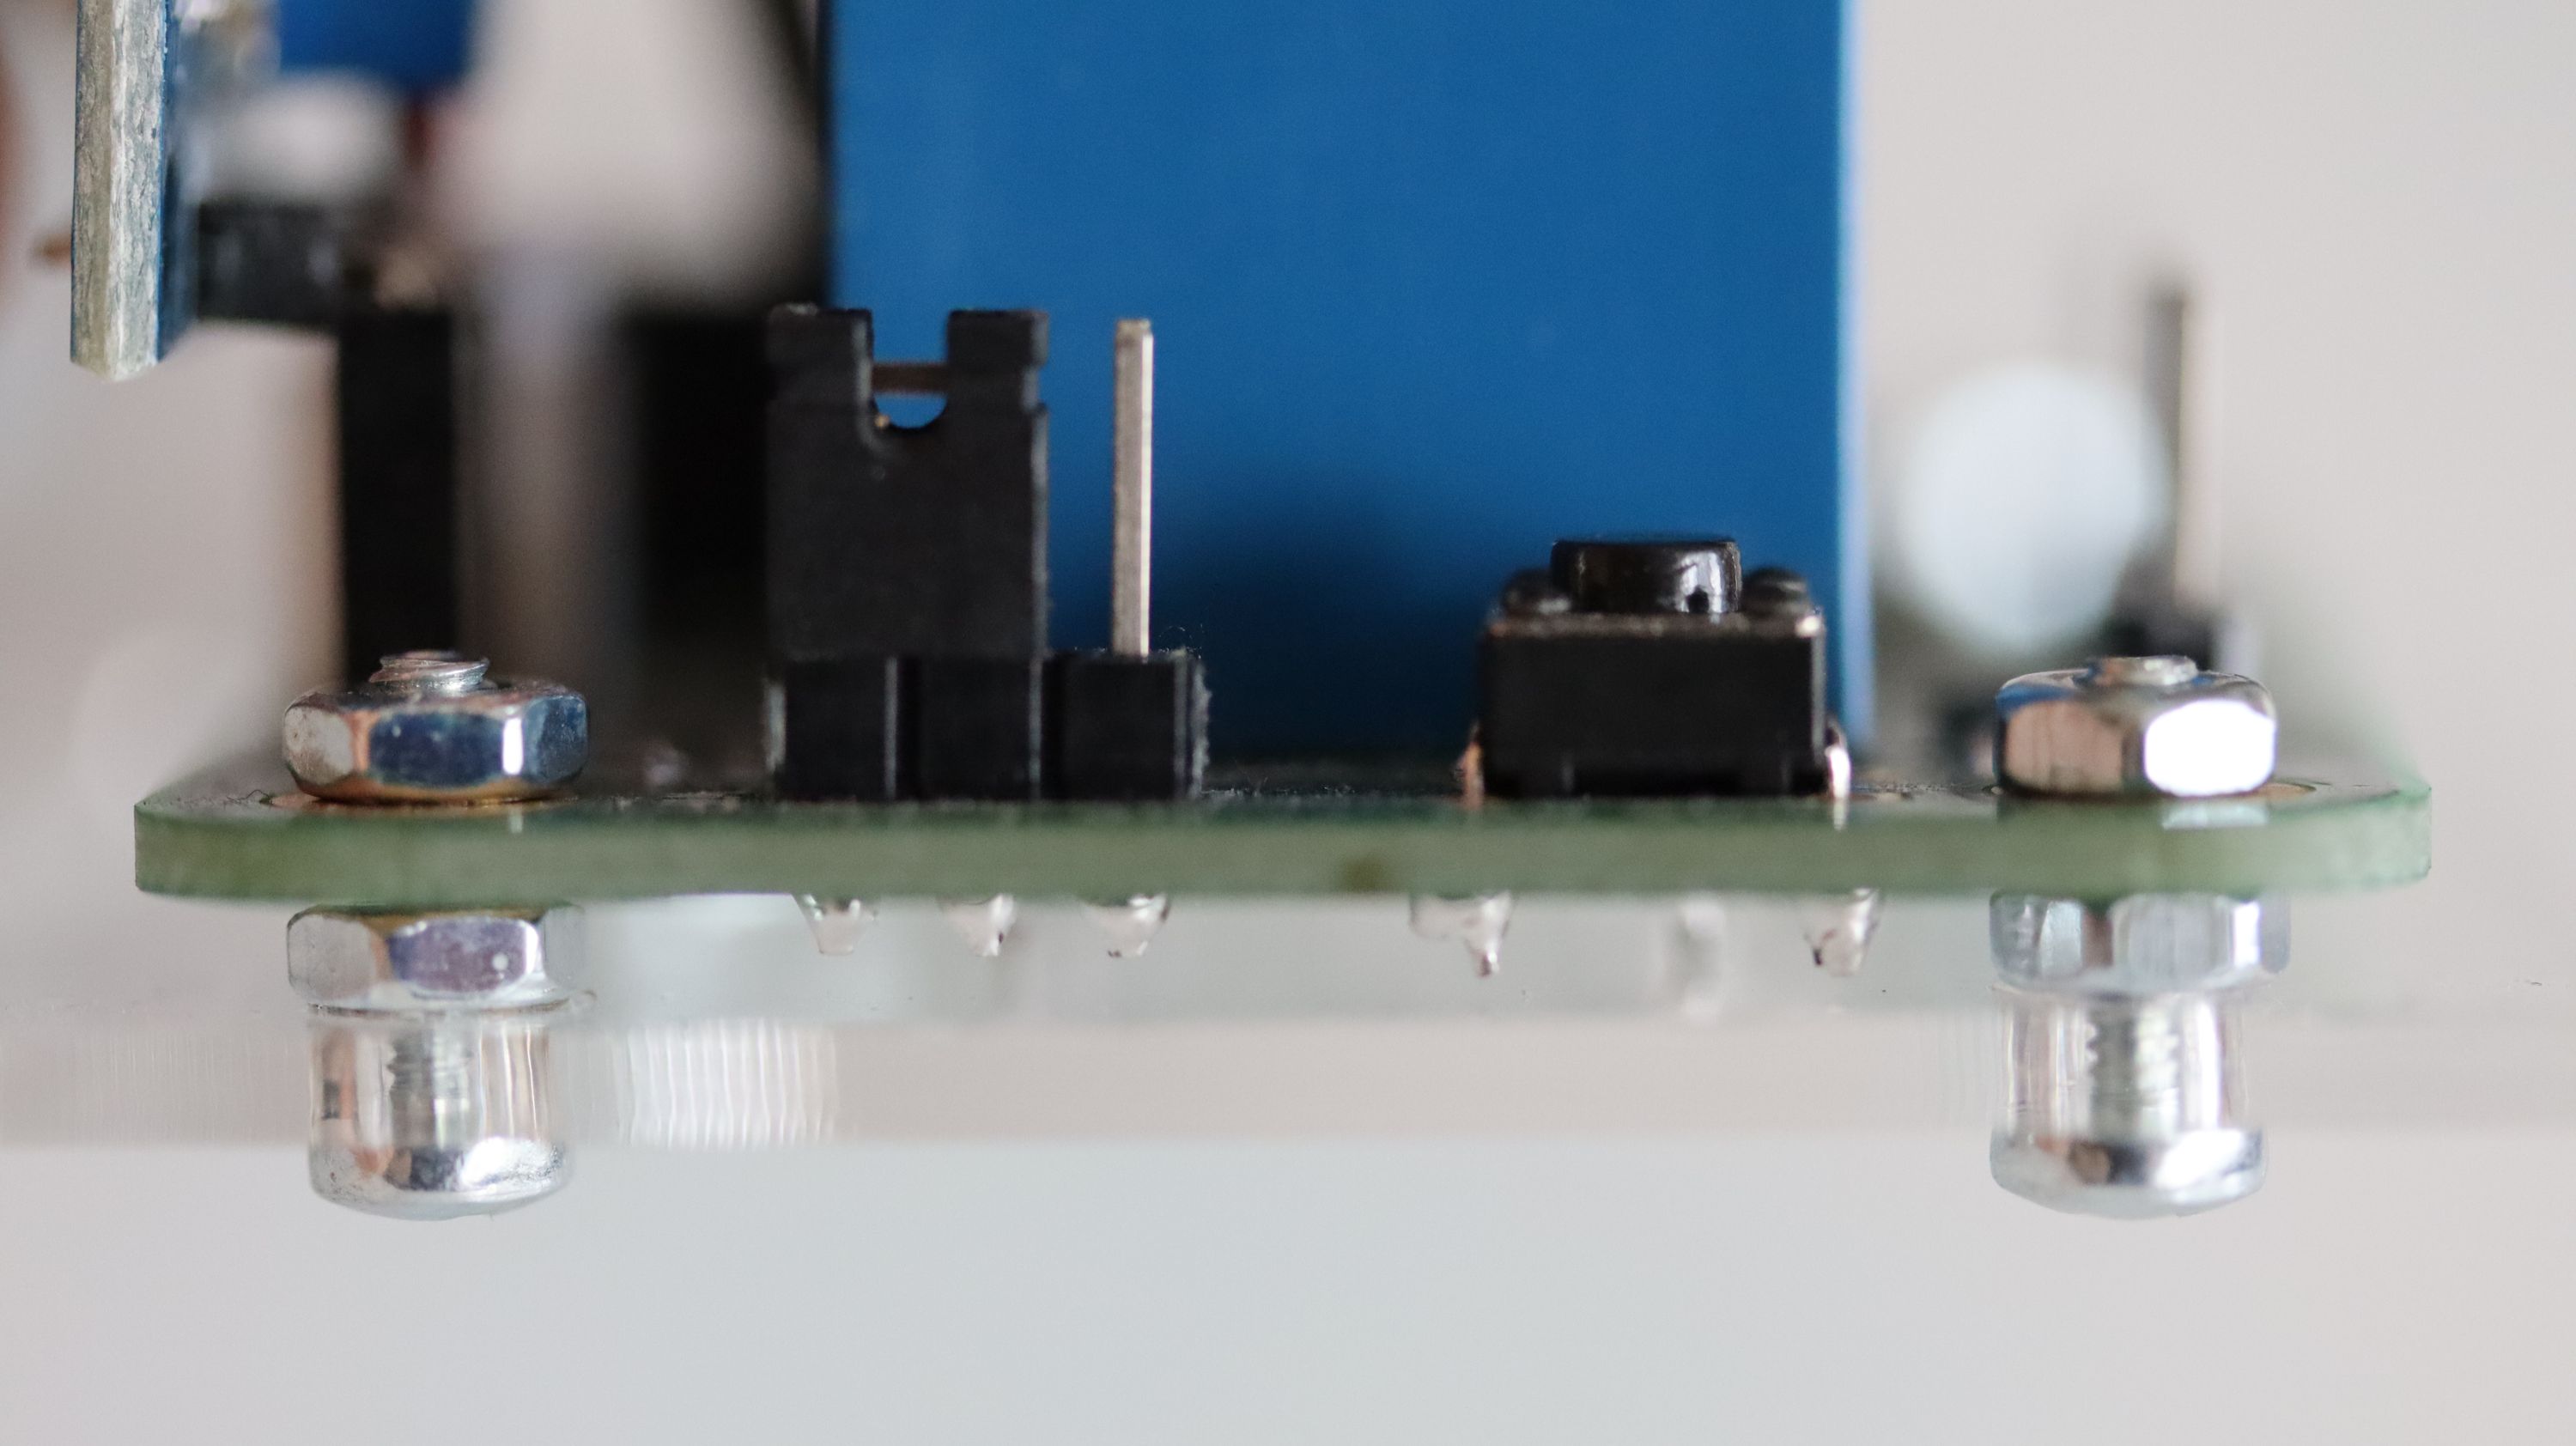
Connect peripherals, like the fan and the mini OLED display, to the printed circuit board. There are dedicated connectors for both of them. Pay attention to the labels for I2C on the top of the mini OLED display.
Step 8 (optional): Sensors
Owners of advanced or developer kits should attach:
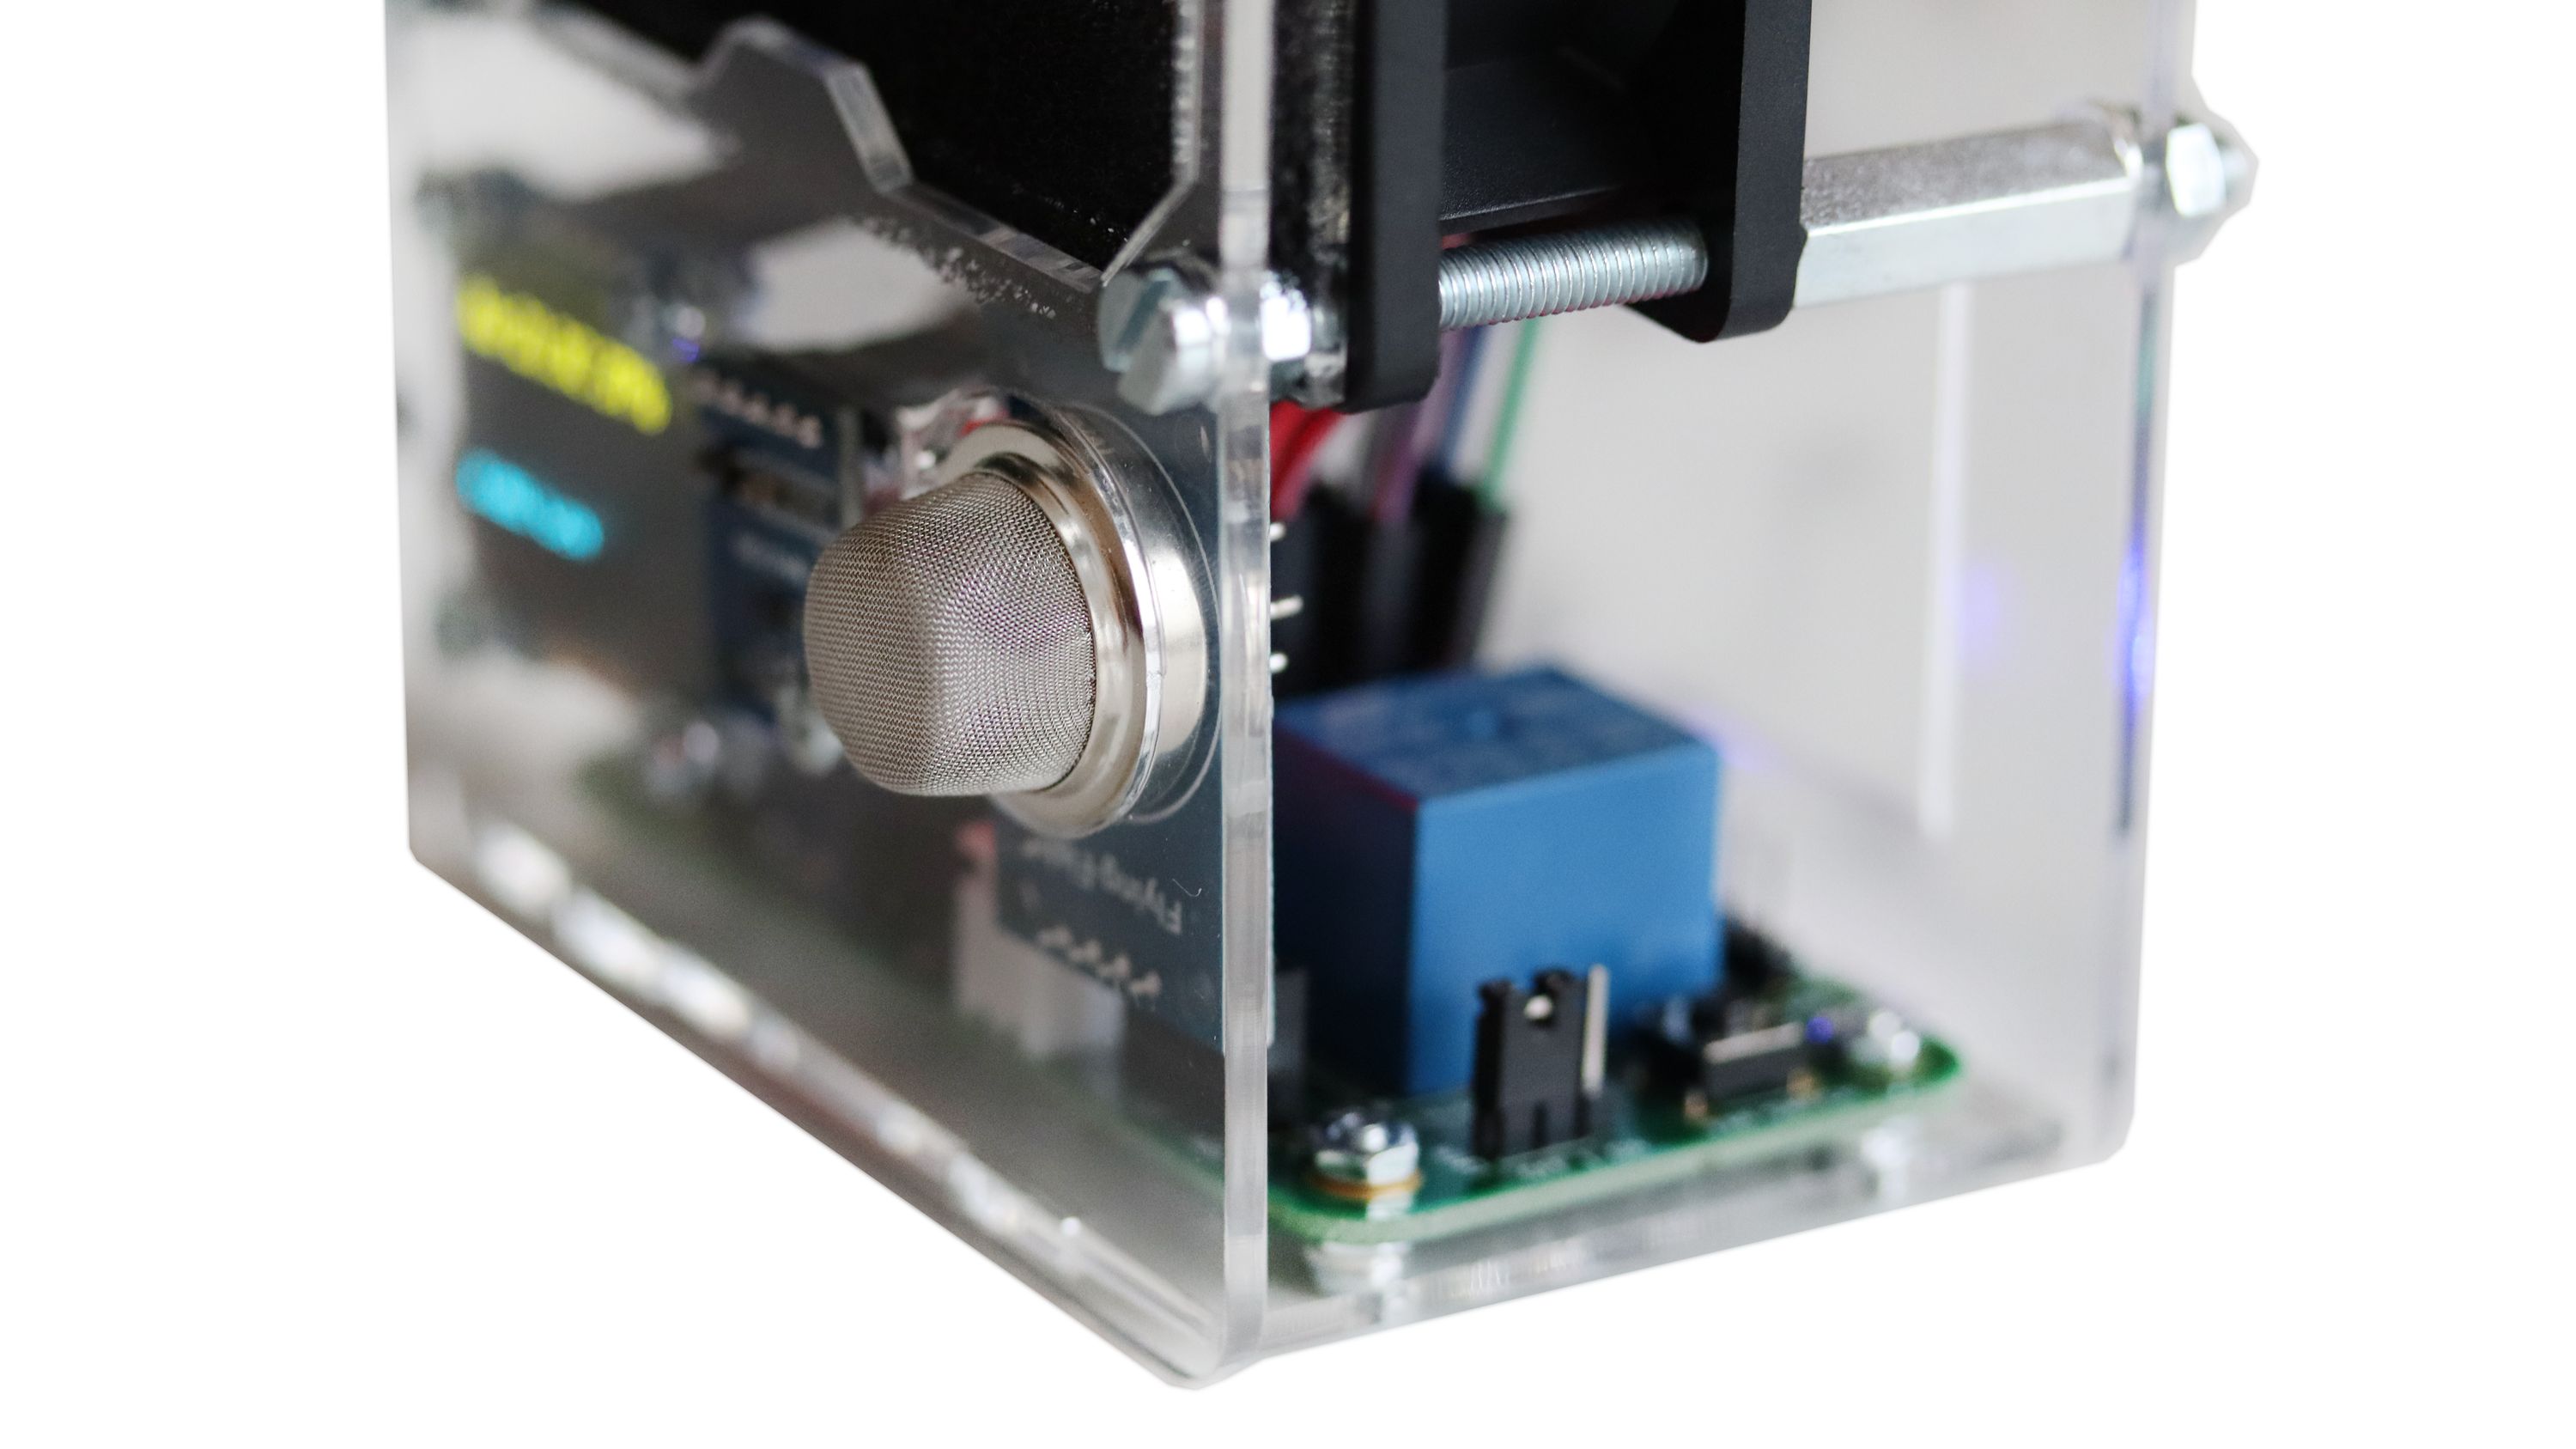
- MQ-135 for indoor air quality
- HTU21D I2C sensor module for temperature and humidity
- BMP180 I2C sensor module for barometric pressure and temperature.
Step 9: Assemble all acrylic enclosures
Finally, assemble together all acrylic enclosures by fastening 4 M4 nuts on the back of ANAVI Fume Extractor.
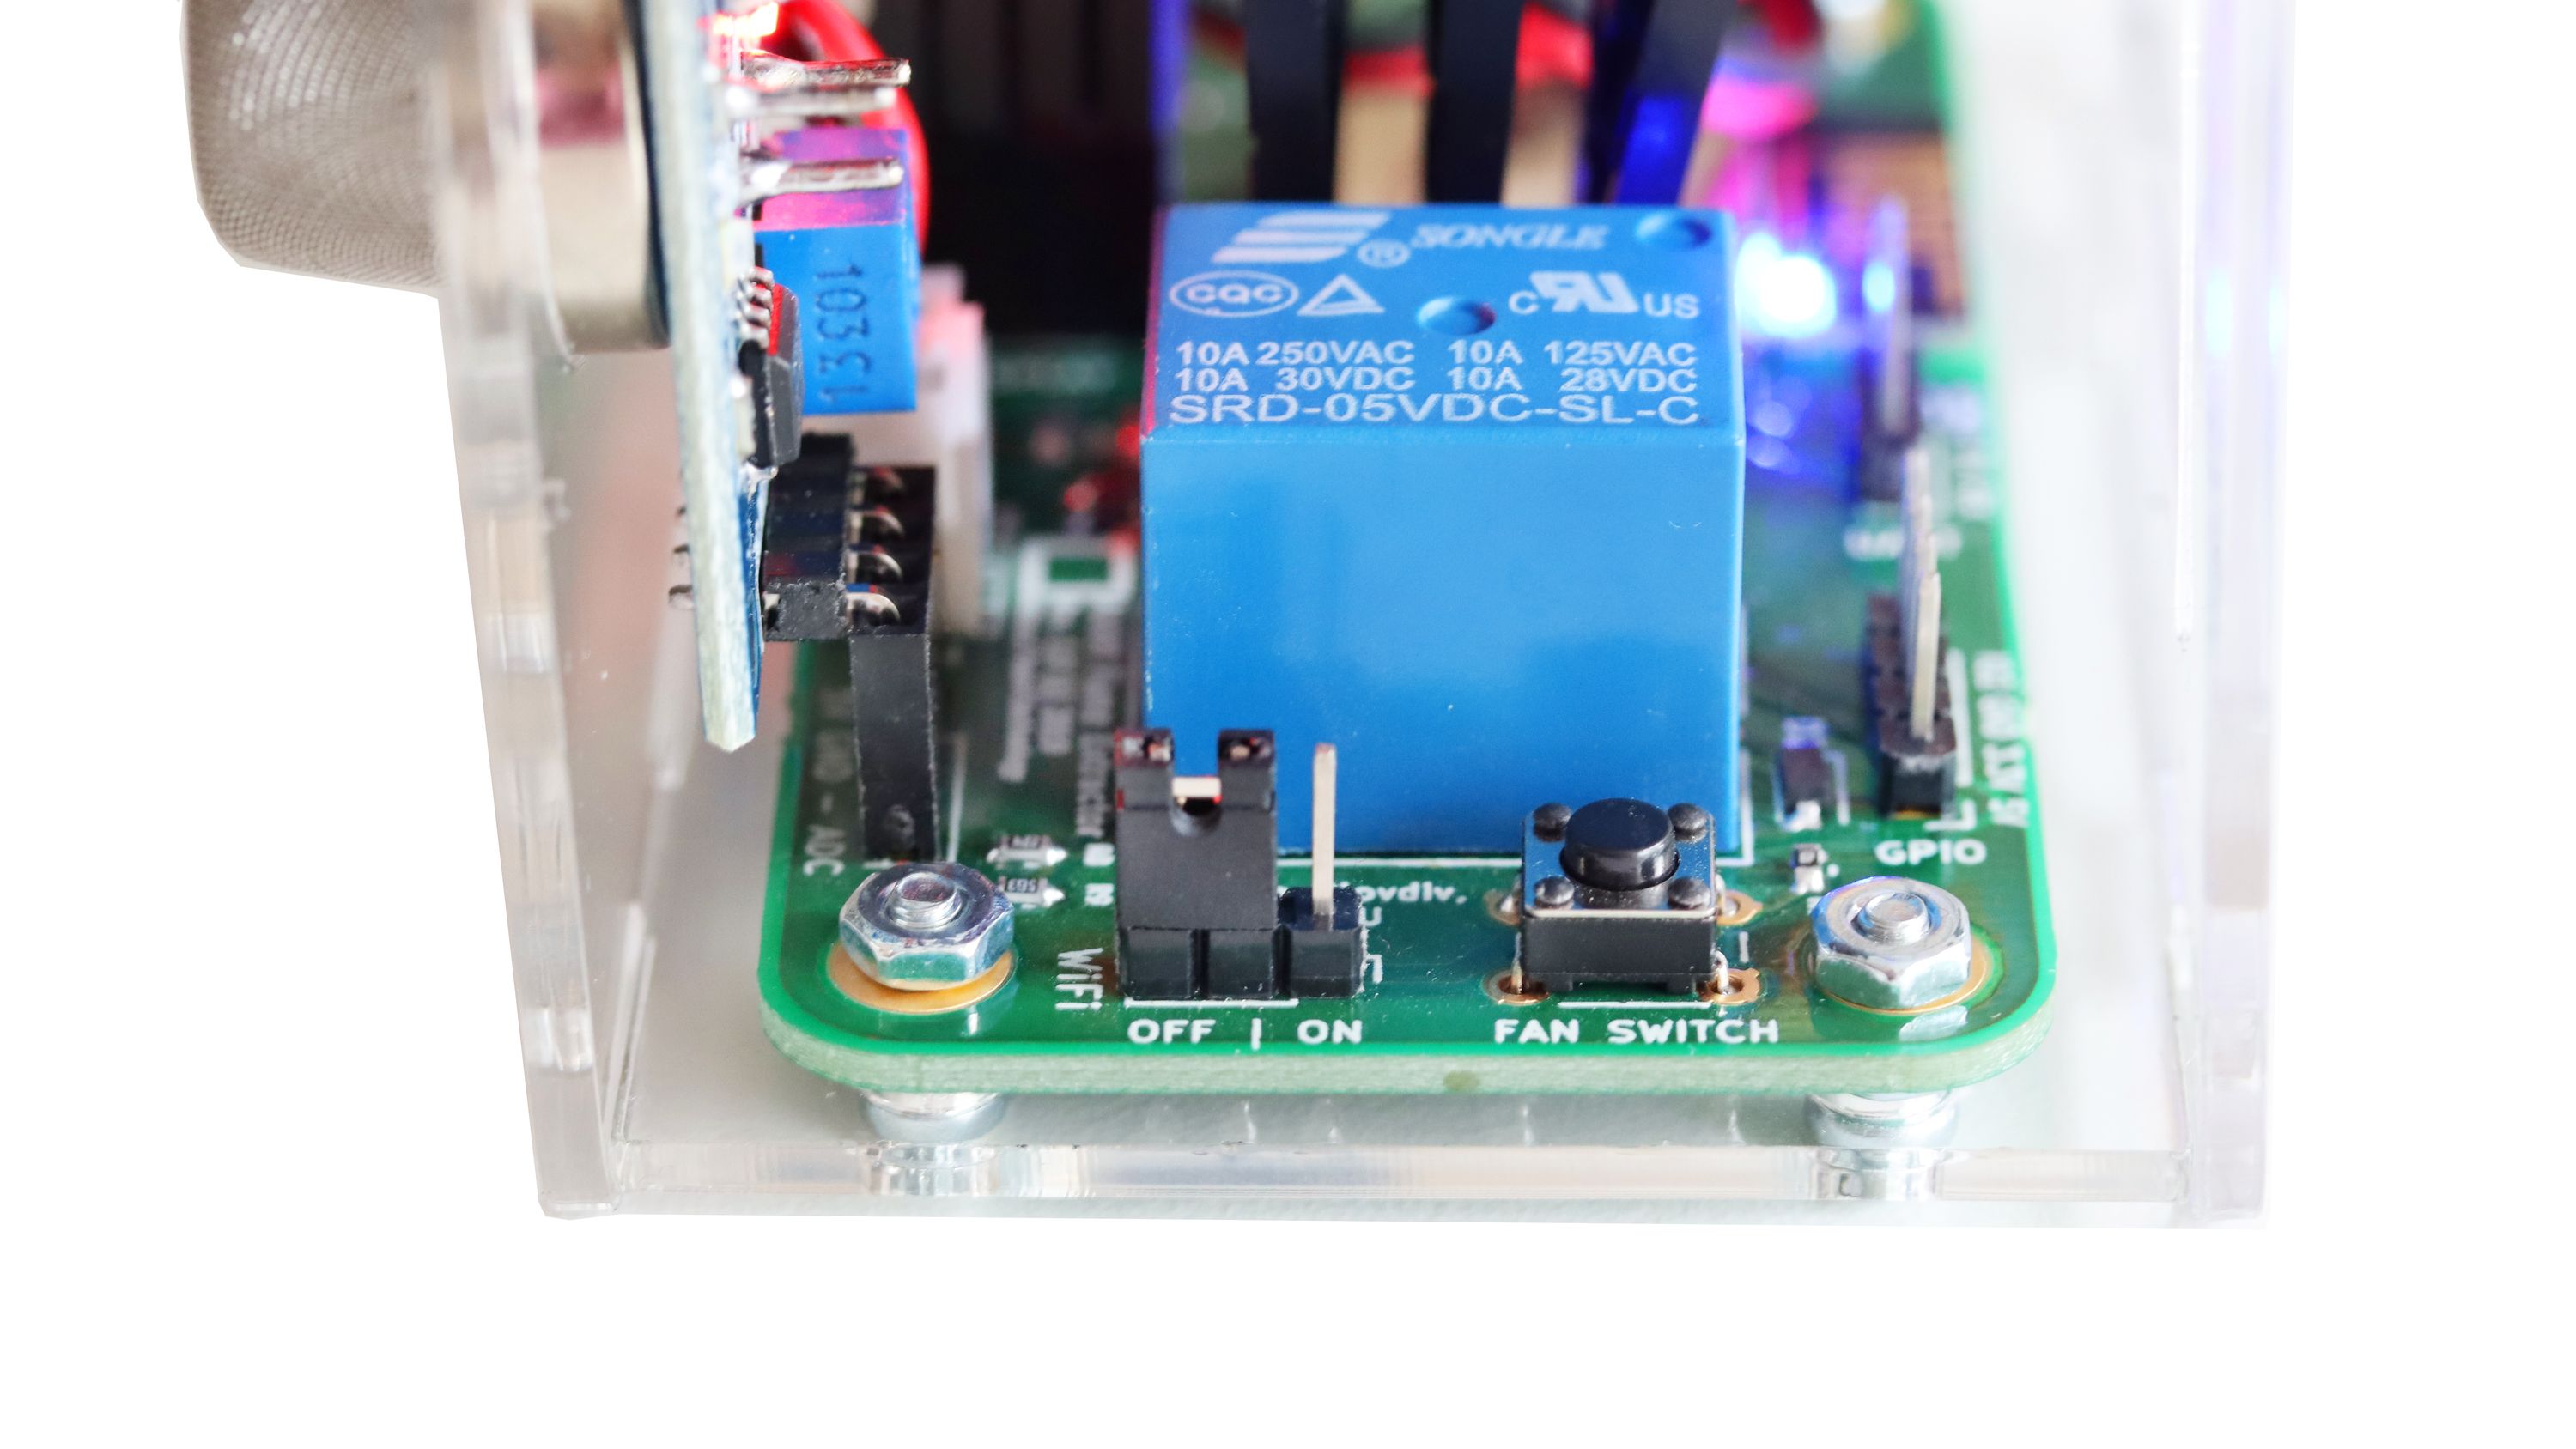
On the right side of ANAVI Fume Extractor you will notice a jumper for the WiFi as well as a button to switch the filter on and off. By default the jumper for the WiFi is set to OFF. Move it to ON and power cycle the board if you want to connect ANAVI Fume Extractor to a MQTT broker and IoT platform such as the popular open source system Home Assistant.
To turn ANAVI Fume Extractor on, gently plug an appropriate cable and 5V power supply into the microUSB connector on the left side of the board. The microUSB connector is used only for providing power, no data is transferred. Power supply and microUSB cable are NOT included in any of the kits.
For advanced or developer kits, on the first boot, it is very important to do what is called the "burn-in" procedure for initial calibration of MQ-135 air quality sensor module:
- Place ANAVI Fume Extractor with the attached MQ-135 in a room with clean air
- Leave it running for at least 24 hours
This has to be done only once when the MQ-135 sensor module is used for the first time. After doing this procedure, on every next boot ANAVI Fume Extractor and MQ-135 will do a quick calibration in a couple of minutes and start working properly.
Best regards,
Leon