Project update 5 of 8
Creating Games With MicroPython!
by Juan Flores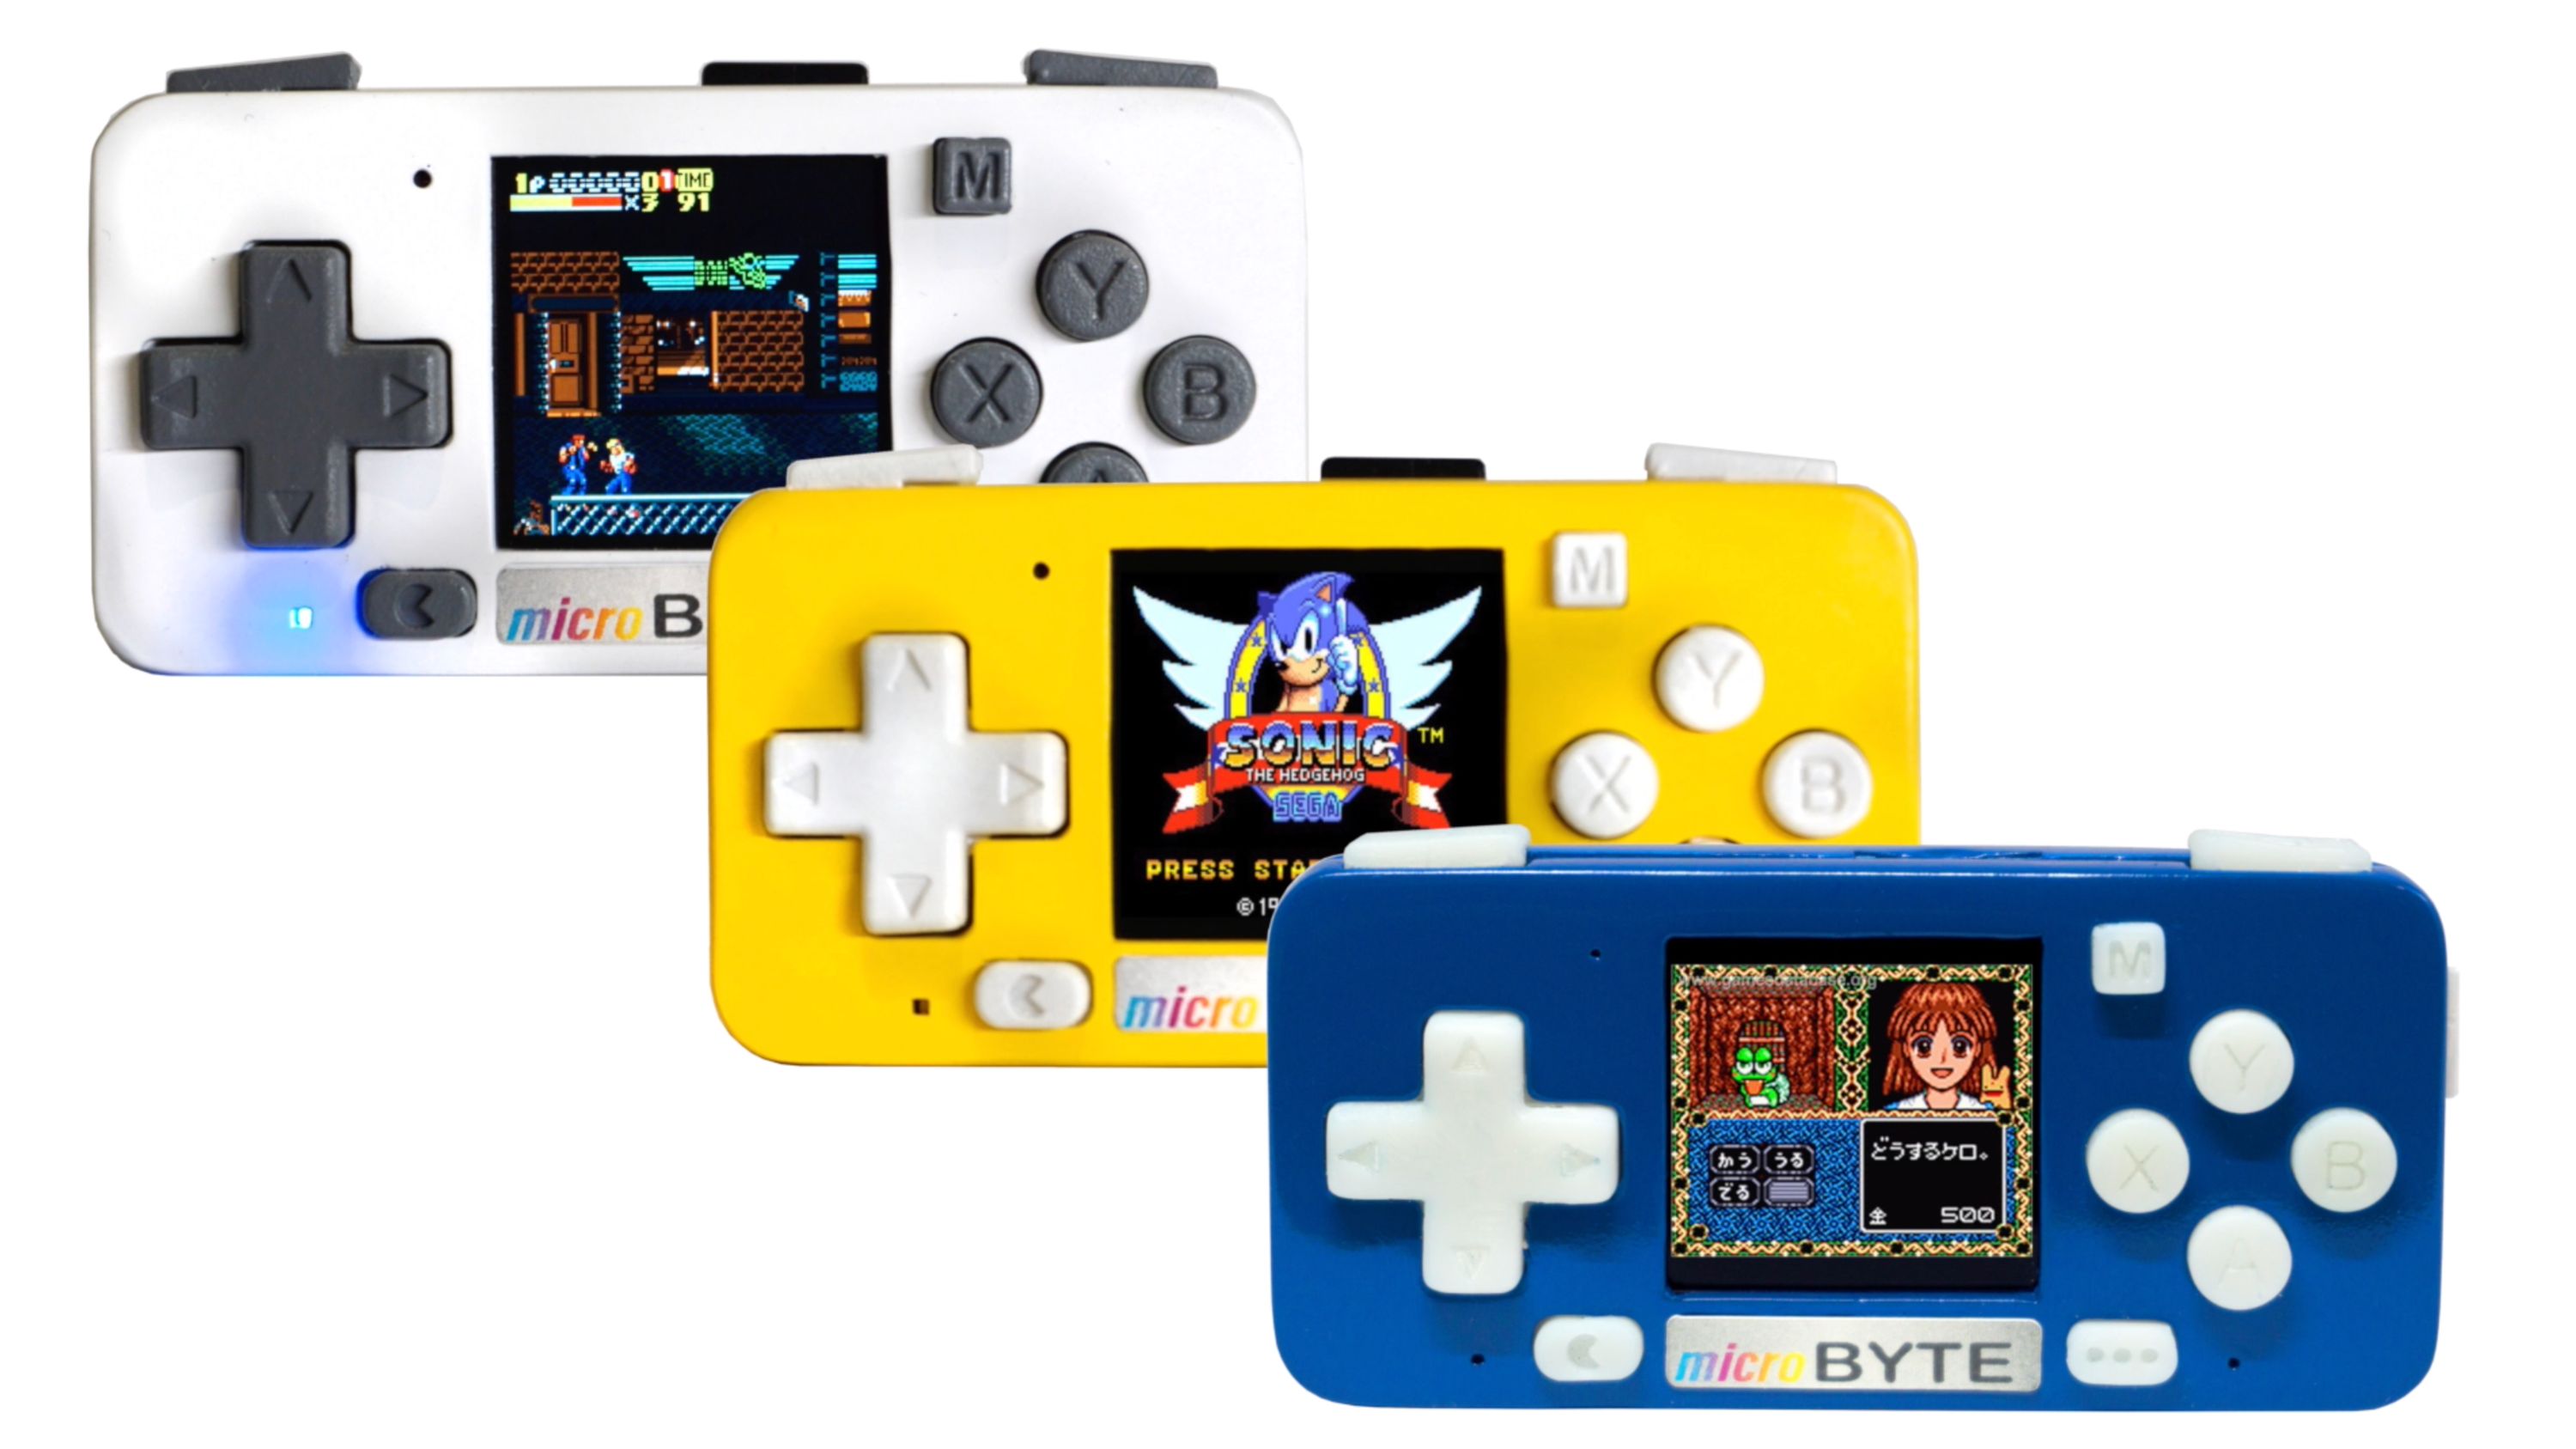
Hello!
We are now in the final days of our crowdfunding campaign, and I just wanted to express my gratitude for all the support. Thanks to you, microByte will soon be a reality! I also wanted to apologize for the lack of updates over the past few weeks. For what it’s worth, I’ve been making good use of my time! Instead of staying in touch (sorry!), I’ve been adapting MicroPython to the microByte architecture and porting the amazing Stage library, an open-source sprite engine that makes it easy to create games using MicroPython. You can check out the original uGame repository here.
The Stage Library and MicroPython Games on microByte
By teaching the Stage library how to take full advantage of microByte’s hardware, I’ve given it the ability to sustain a higher frame rate and to display more sprite on the screen. One of the key hacks that made this possible involved using the ESP32’s multi-core architecture to render and paint on different cores.
You can see a very simple demo in the video below:
For a sense of how amazing this library is, check out the demo code below!
import machine
import stage

#Initialize screen
display = machine.display()
#Initialize the buttons
btn_left = machine.gamepad(0)
btn_right = machine.gamepad(1)
btb_a = machine.gamepad(8)

#Load sprites file
bank = stage.Bank.from_bmp16("demo.bmp")

#Create the background
background = stage.Grid(bank,15,15)
#Paint the sky
y=0
while y<13:
    x = 0
    while x<15:
        background.tile(x,y,6)
        x += 1
    y += 1

#Paint some clouds
background.tile(2,4,5)
background.tile(5,6,5)
background.tile(8,5,5)
background.tile(11,7,5)

#Create ball sprite
ball = stage.Sprite(bank, 1, 100, 192)

#Initialize game engine with a limit of 60FPS
game = stage.Stage(display, 60)

#Set the layers and render all the screen
game.layers = [ball] + [background]
game.render_block()

dx = 5 # Increment on x axis of the ball
dy = -10 #Increment on y axis of the ball
while True:
    if btn_right.pressed(): #If right button was pressed move to right
        if ( 0 < ball.x < 220):
            dx = 5
            ball.set_frame(ball.frame % 4 + 1)
            ball.move(ball.x + dx, ball.y)
    if btn_left.pressed(): #If left button was pressed move to left
        if( 0 < ball.x < 220):
            dx = -5
            ball.set_frame(ball.frame % 4 + 1)
            ball.move(ball.x + dx, ball.y)
    if btn_a.pressed(): #If button a was pressed, the ball jump creating an animation
        while ball.y > 130:
            ball.set_frame(ball.frame % 4 + 1)
            ball.move(ball.x, ball.y+dy)
            game.render_block()
        while ball.y < 188:
            dy += 1
            ball.set_frame(ball.frame % 4 + 1)
            ball.move(ball.x, ball.y + dy)
            game.render_block()
        dy = -10
    ball.update()
    game.render_block()
    game.tick()
Additional MicroPython-Related Features
I made a few other modifications to MicroPython as well. More specifically, I…
- Added support for the use of an SD card as primary storage,
- Implemented a Python file-selection menu, and
- Pre-configured the right settings to get the best performance without having to use external modules.
Both Stage compatibility and the tweaks listed above remain works in progress, and I plan to continue improving them over time. I also plan to release a few related tutorials very soon.
Production Update
Finally, I wanted to announce that enclosure production has begun! It’s a slow process, so I wanted to get a head start to ensure that I can send you your microBytes as soon as possible!