We love to brag how the Inkplate family of e-paper displays is the simplest way for any maker to use electronic paper. How about we demostrate this with few examples, right now?
Start with hardware
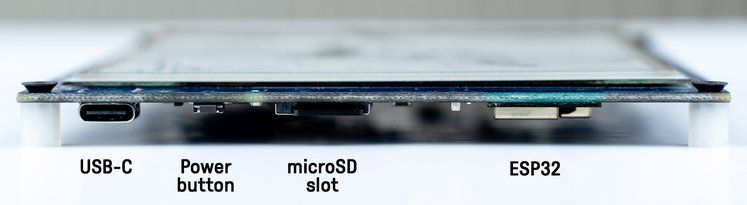
When you got the product box, everything must start by taking the board in your hands. First thing you notice is there are no multiple PCBs connected with flex cables, just one simple PCB with everything you might need on it. On its side, there’s all the connectivity you might need.
Start by plugging the USB-C into the power supply or your computer. By pressing the power pushbutton, you will turn on the power to the whole board. Now, you are ready to use the board or program it. If you are looking to add any peripherals to the board, plenty of GPIO pins are available. Lithium battery power - not an issue, just plug it in!
And continue with software
Most of our previous Inkplate users preferred Arduino as a programming platform. We are not surprised, since Arduino is the simplest way to get your content onto the Inkplate screen. If you check our documentation, you’ll find references to all the functions in our Inkplate Arduino library. For example, you want to print some text to the screen? Use our setTextSize function to make text larger and then theprint function to get it done:
display.setTextSize(4);
display.print("Writing some text on the screen in just few lines of code");
display.display();
The last line will actually send the text to the screen. And it is that simple!
Want to detect touches on the touchscreen? Just setup the if function and define a rectangle’s (X,Y) coordinates inside which you want to detect touches and you are done:
if(display.touchInArea(X1, Y1, X2, Y2)){
display.print("Touch detected in rectangle area!");
display.display();
}
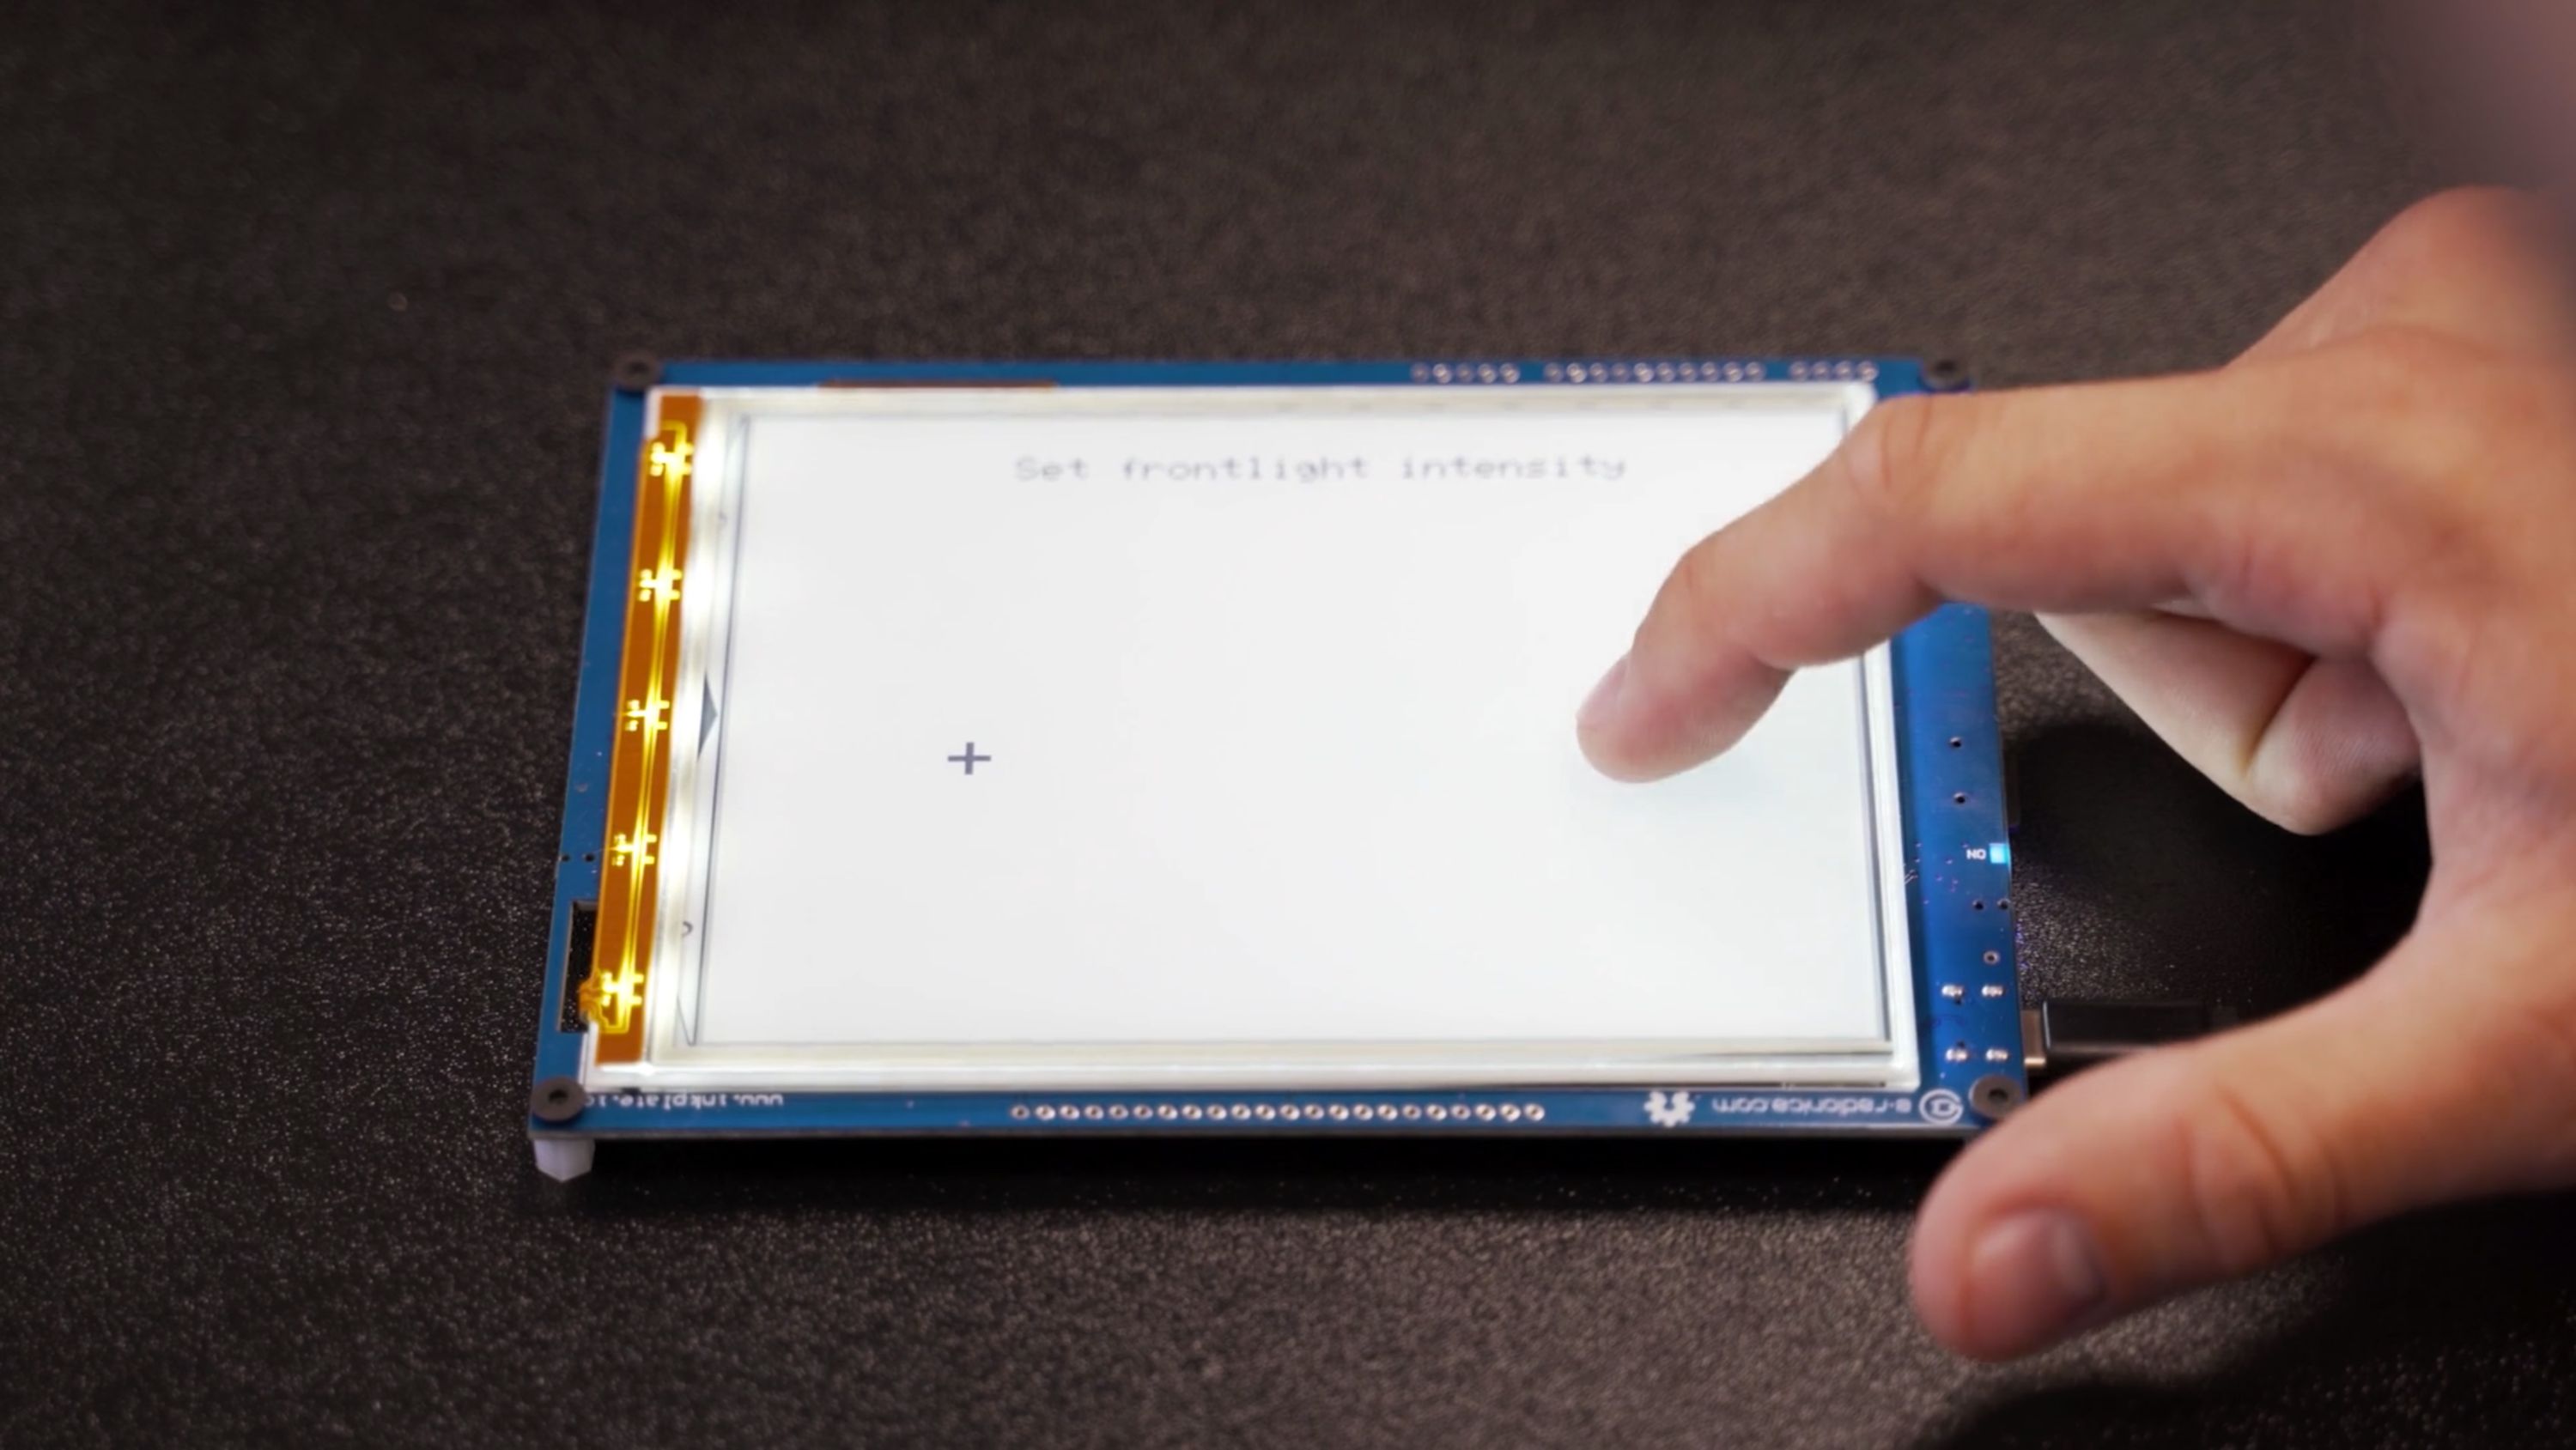
Want to set the front lighting level? Nothing easier, just set the value between 0 and 61:
display.setFrontlight(30);
Plenty of ready-to-use projects
Our Arduino library also comes with plenty of pre-written examples. Want to add some peripherals to the Inkplate board? It’s just a few lines of code. Deep sleep to save precious battery energy? We got you covered! Battery and temperature measurement, pictures from an SD card or the internet, touchpads/touchscreen usage, you’ll find several more functions more showcasing Inkplate’s features.
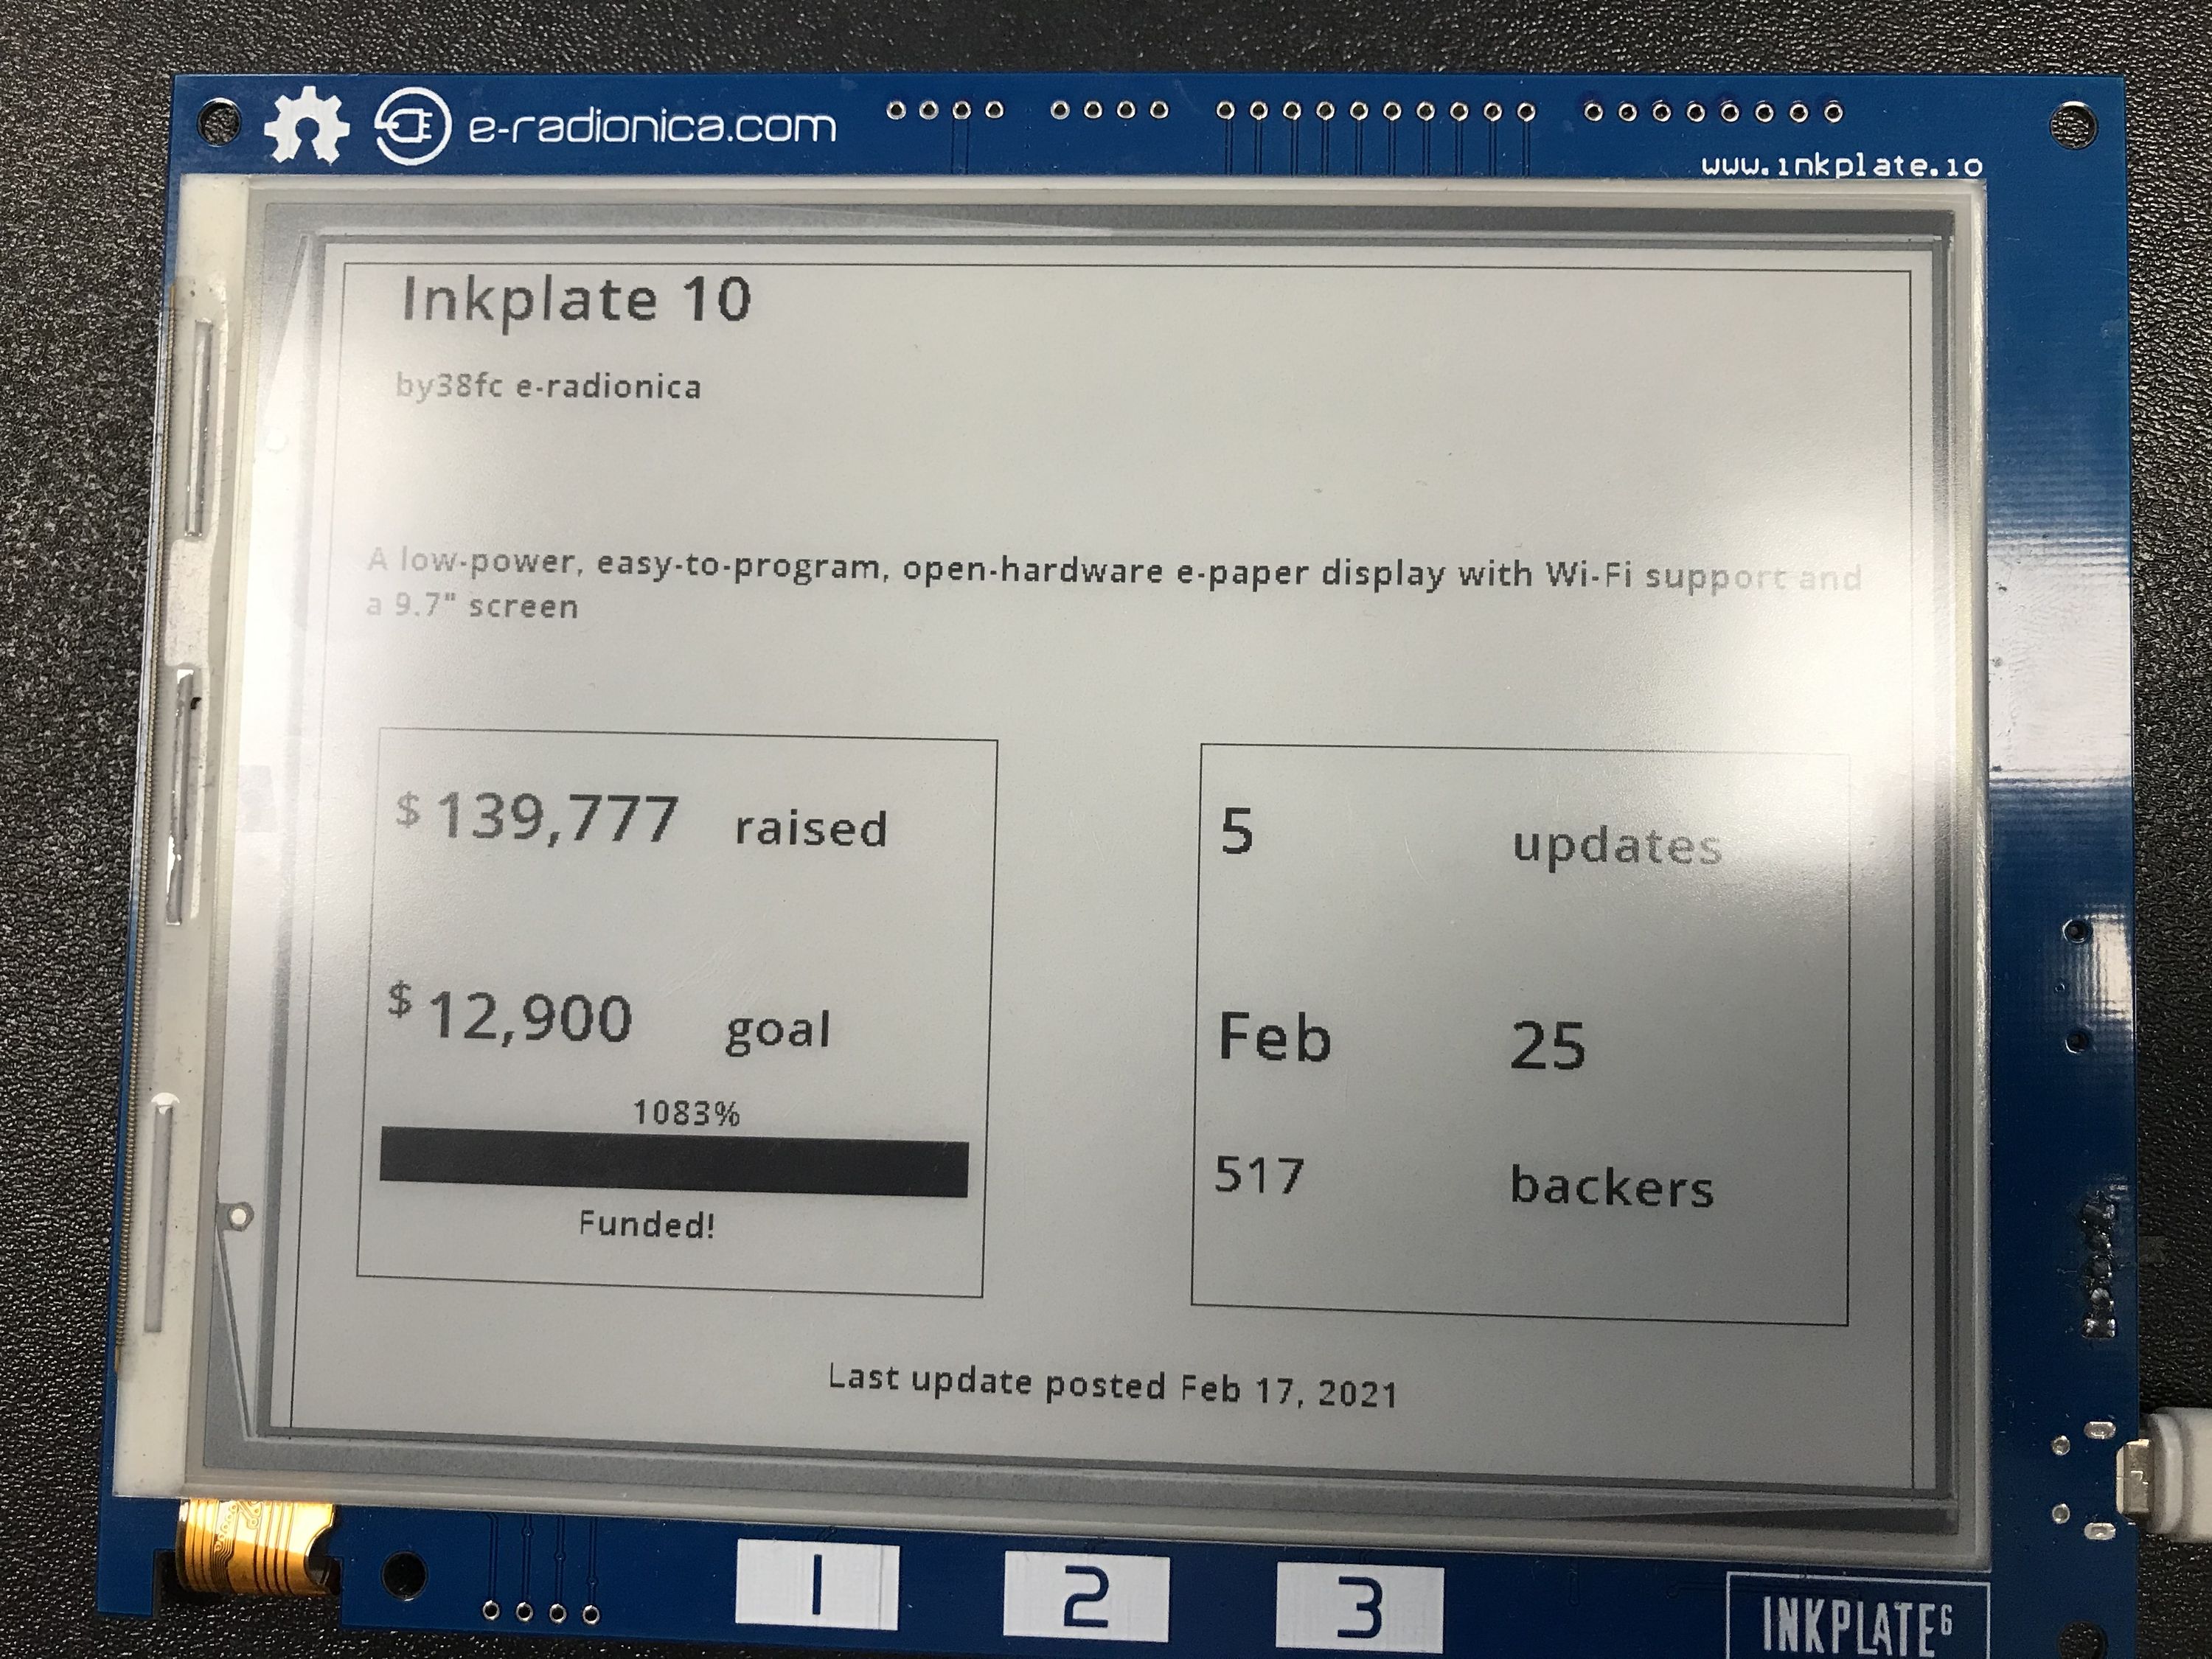
There are some finished projects in the library as well. If you have caught the cryptocurrencly mania, the Crypto tracker project might be an interesting addition to your work desk. The classic weather station project is also available, and don’t forget you can show all your Google calendar events on the display. There is even an example to track active campaign on Crowd Supply, and many more…
We’re proud to see so many extraordinary projects created on the Inkplate, some of which can be readily transferred to Inkplate 6PLUS. For example, you can read e-books using the Inkplate:
An early backer created this Guitar tab reader:
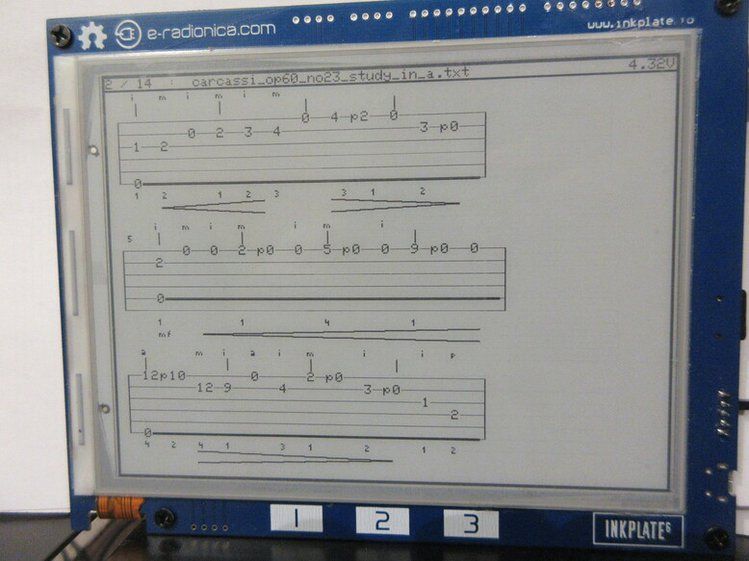
The list goes on. What did/will you make with your Inkplate? Let us know!