Before I start nerding out about IDE, I’d like to thank everybody who has backed the project so far! We doubled our goal in less than 24 hours and as of this publication we have more than tripled it. The response to PicoIDE has been amazing to see!
The Beginnings of an Idea
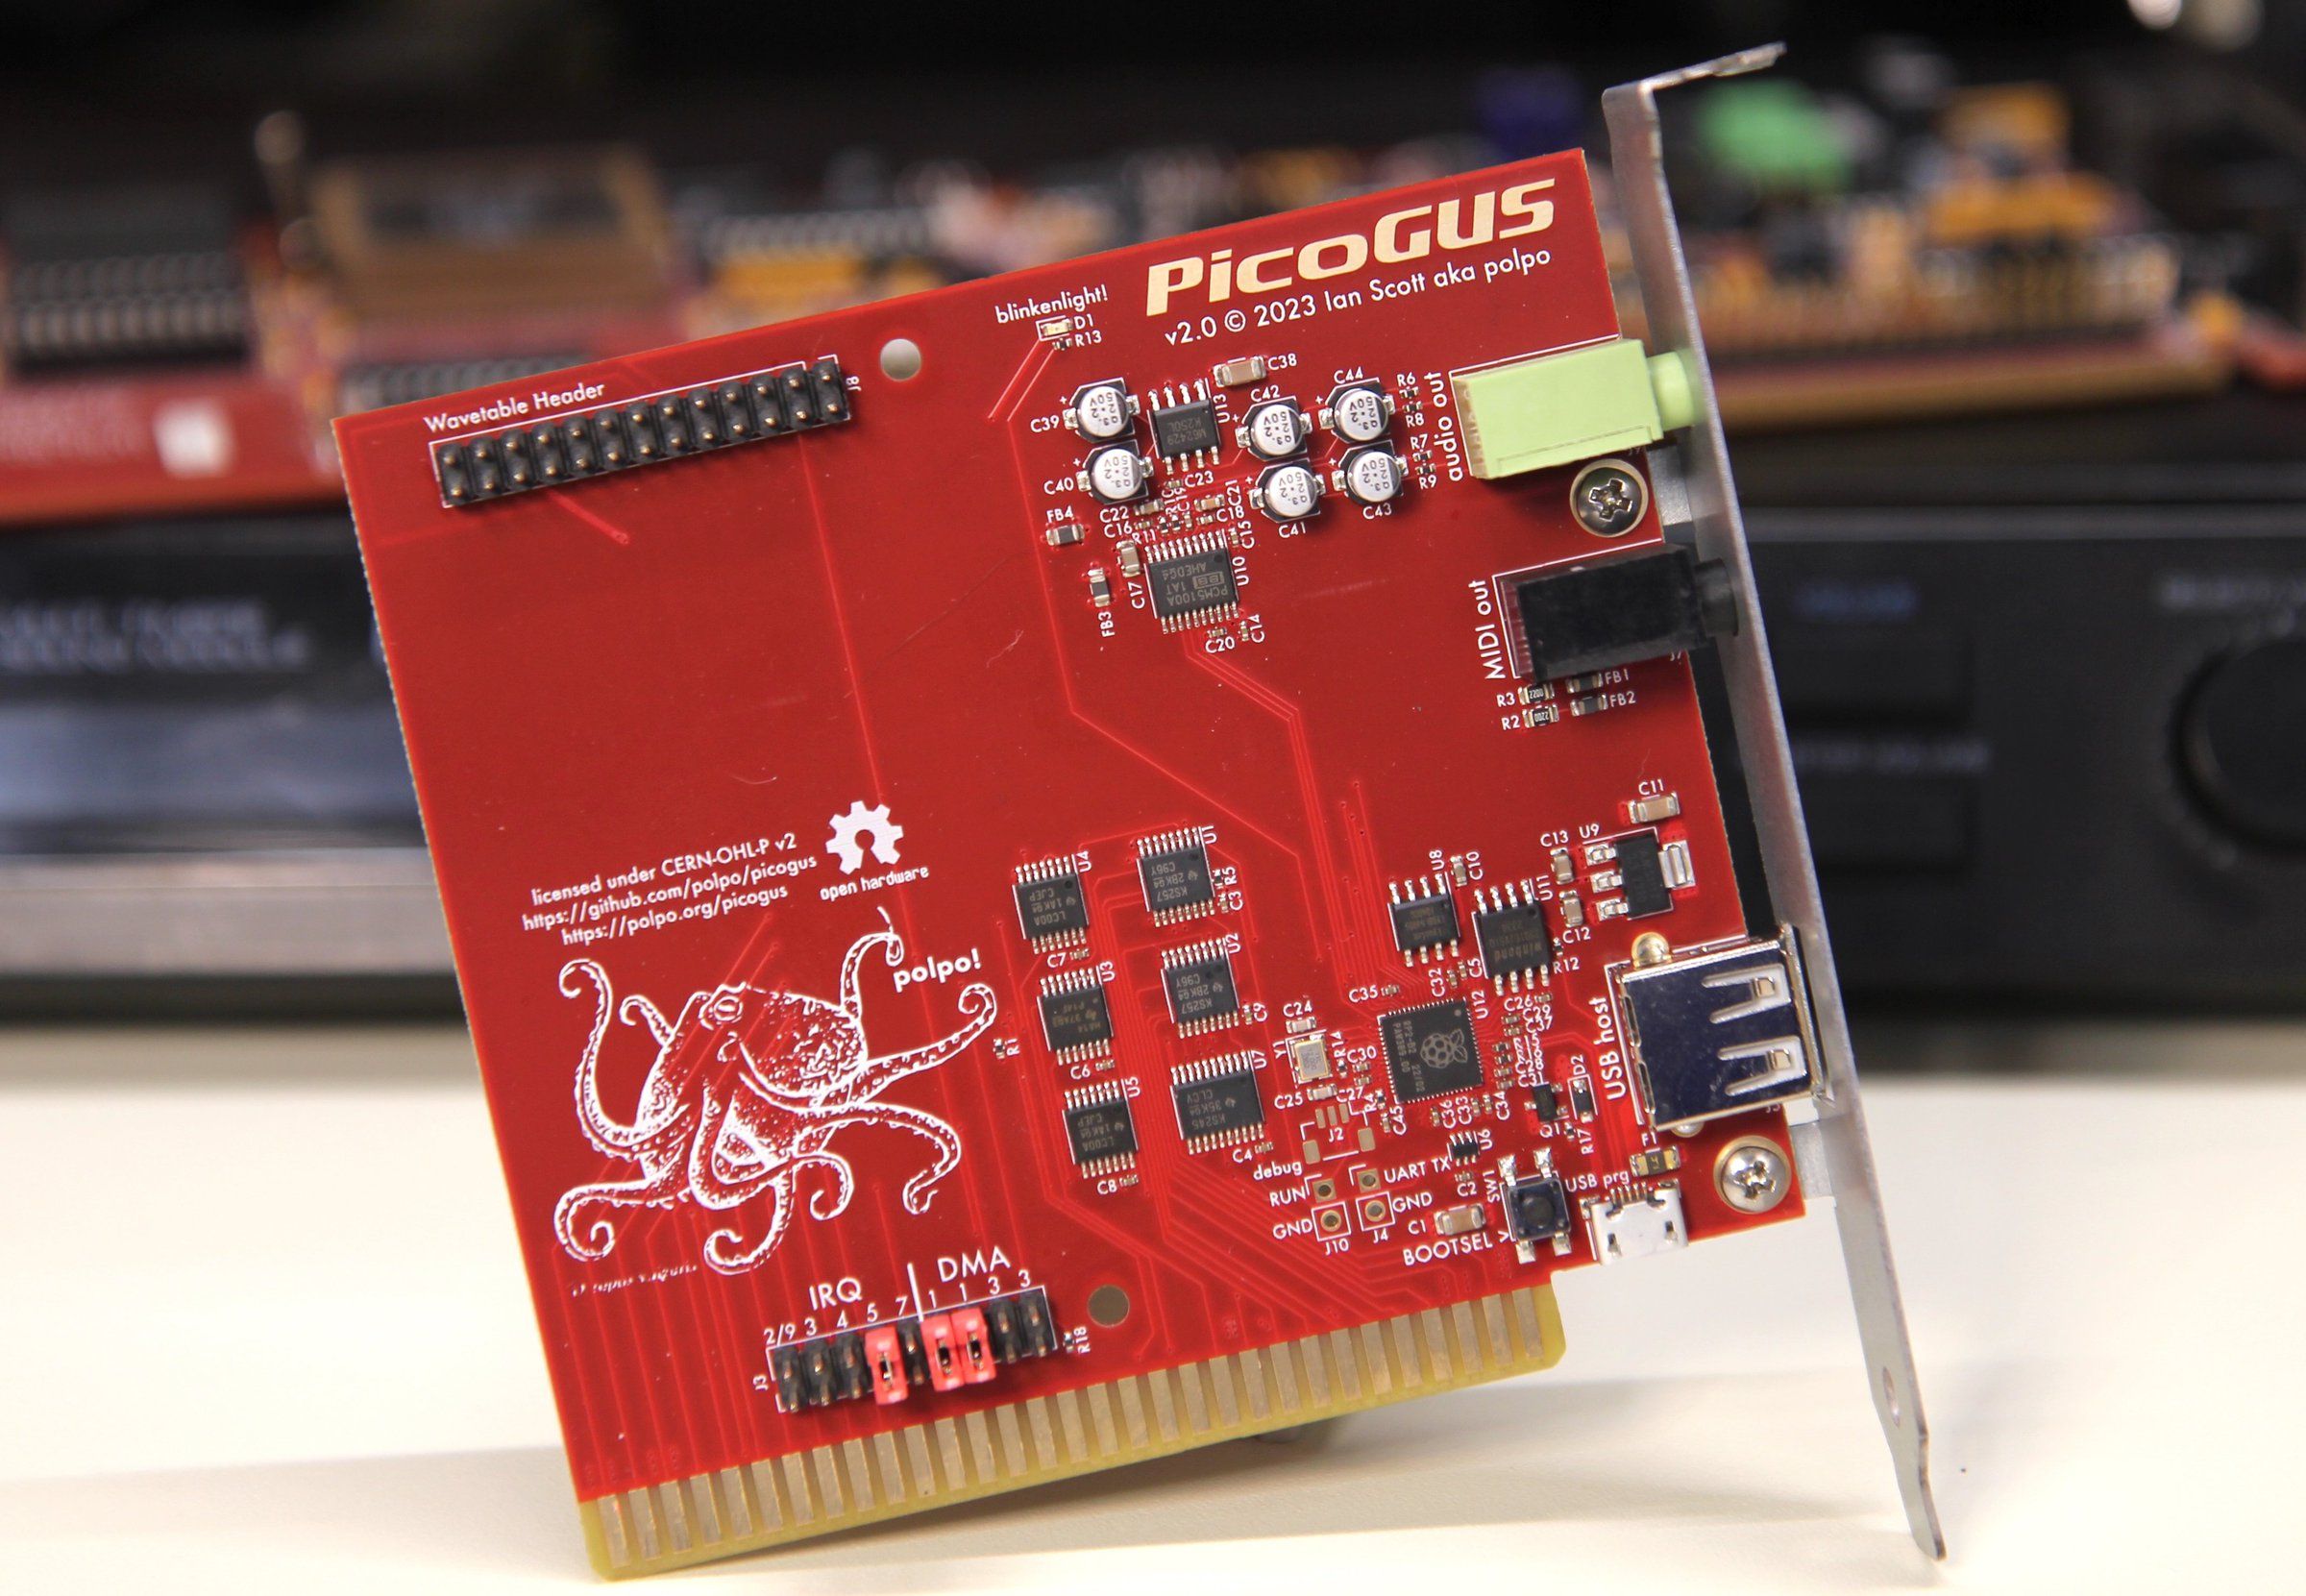
I first got the idea to develop PicoIDE when people started asking me if my previous hardware project, PicoGUS, could emulate an IDE or ATAPI drive. For those of you who don’t know, PicoGUS started life as a hardware emulator for the Gravis Ultrasound ISA sound card, originally based on the Raspberry Pi Pico and its RP2040 microcontroller. However, it soon grew to emulate all kinds of things on the ISA bus: other sound cards like the Sound Blaster, the MPU-401 MIDI interface, game port joysticks, and eventually Panasonic interface CD-ROM drives.
A common refrain I kept hearing was: "IDE is just ISA with some extra stuff added on, that should be possible, right?" But, it turns out, while on the surface that’s true, IDE in a more general sense kept growing well beyond its early days when it was just ISA with some address decoding added on. I pretty quickly decided that the PicoGUS or any other device I could make based on the RP2040 just couldn’t do real 16-bit IDE justice - the tight timing required looked like it just wouldn’t work out.
A couple years passed and Raspberry Pi released their RP2350B microcontroller, an evolution of the RP2040 that brings a more advanced CPU core, more memory, and lots more pins for general-purpose IO. I started thinking of using it to emulate more advanced 16-bit ISA sound cards, but IDE drives were also in the back of my head. Another thing happened that made me think even more about drive emulation: Kevin Moonlight (aka yyzkevin) was developing a Pico-based PCMCIA card for laptops, and he reverse engineered the Panasonic CD-ROM drive interface as a way to bring CD-ROM support into that project. Kevin very graciously shared his code under an open source license, so I was able to bring it into the PicoGUS project. I added on a command layer to support managing multiple disc images and optimized CD audio playback; doing that really gave me a feel for what I wanted to see out of a drive emulator and how to implement it.
Baby Steps Into IDE
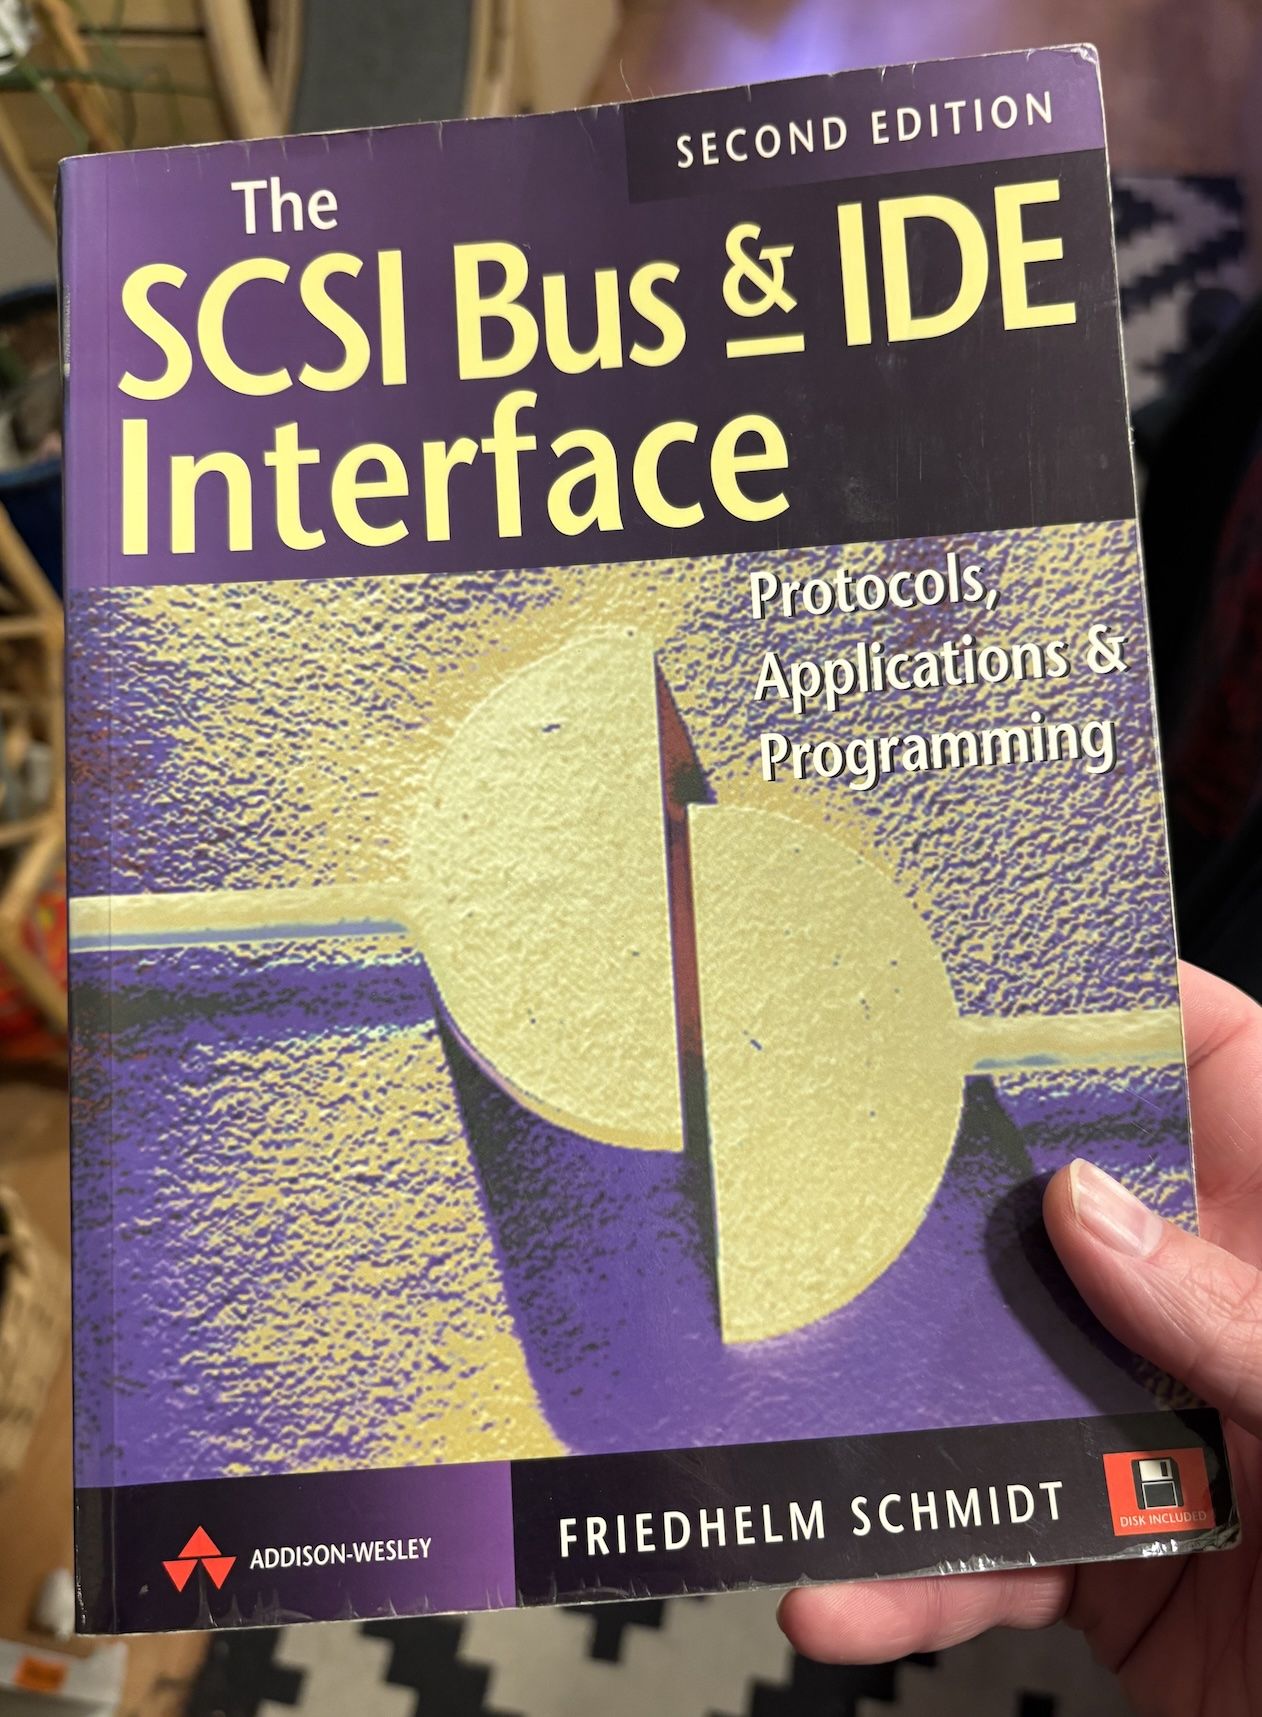
So with the new RP2350B available and optical disc emulation on my mind, I decided to dive in and see what it’d take to implement IDE. I wanted to implement IDE from scratch, but, when starting from that point, the ATA and ATAPI standards documents were pretty much impenetrable. I remembered when I first started learning about the ISA bus when working on PicoGUS, contemporary reference books from the standards’ heyday were invaluable. For IDE, I found what looked like a great option: The SCSI Bus & IDE Interface by Friedhelm Schmidt. I bought a used copy of the book for almost nothing on eBay and it made for riveting bedtime reading for a couple weeks. While IDE is a small part of the book compared to SCSI and it glosses over a lot of ATAPI, having a nice prose introduction to IDE was invaluable for unlocking my understanding of it.
Once I had a base level of understanding and I could finally "get" the ATA standards, I had another mystery to unravel: there are so many versions, so which one do I use? Even if I focus on versions released in the time period I was focusing on (early-mid 90s), that’s four different versions of the standard: ATA-1 through ATA-4. And I came to find that some older systems expect drives to behave pretty differently from what the standards say, and then between versions of the ATA standards, things changed like when the DRDY (drive ready) status bit gets asserted, or what the error register contains after drive diagnostics are run. Sometimes you just have to see what real drives do and do the best to mimic them. I wound up implementing ATA-4, but also made sure to be compatible with ATA-2 and even allow optional compatibility with pre-ATA standard behavior for very old systems.
Good Vibes
While looking at all these standards, something caught my eye: the technical editor for several versions of them had a work address just a couple doors down from where I worked! It was an old office of Maxtor, which came out of the acquisition of the ill-fated MiniScribe. As it turns out, this area of Colorado had a large part in the development of storage technology and still does: Maxtor was acquired by Seagate which still maintains an office here. In any case, I had to make a mini-pilgrimage and take a selfie in front of the nondescript building in an industrial park where the standards I had been poring over were written:

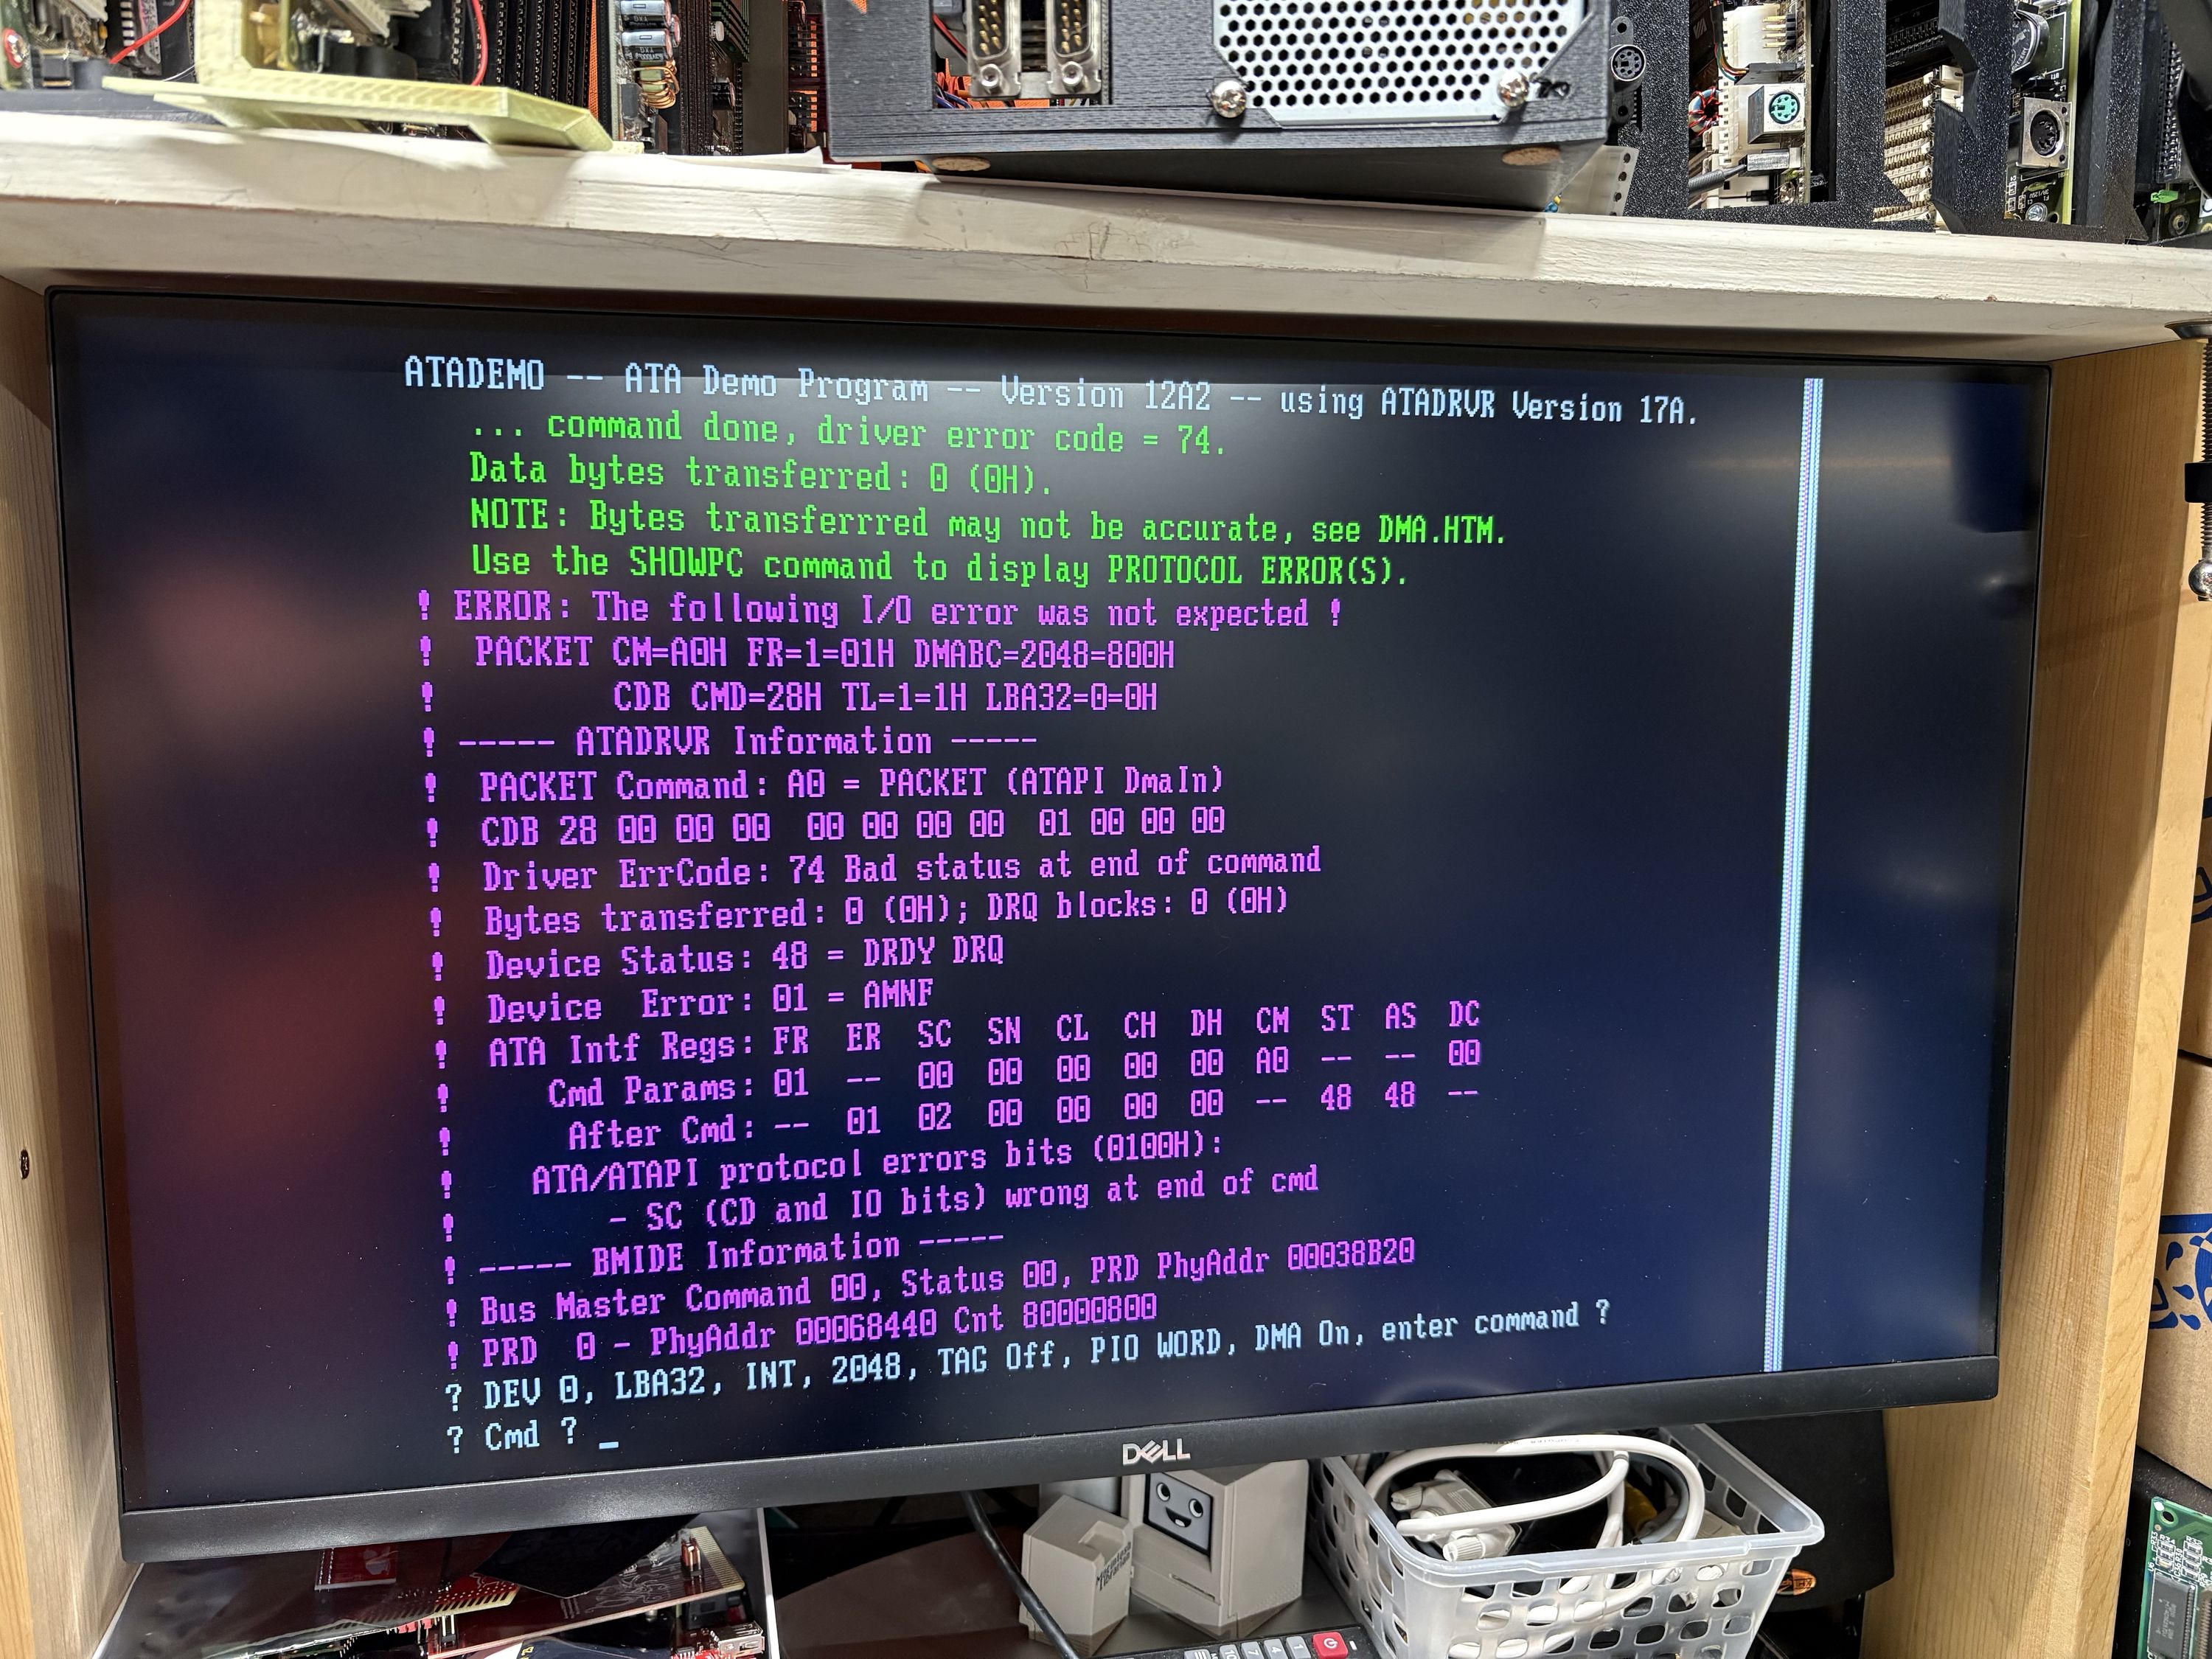
I stumbled on another connection to the local storage development ecosystem when I found the ATADEMO tool. ATADEMO is an exhaustive testing program written for DOS that can send pretty much any ATA or ATAPI command and check for correctness and, because it’s now considered outdated, it has been released for free. It’s been an invaluable testing tool. After digging a bit, I came to find that the author is also in this area. I guess the storage vibes are good here!
Humans are a Tool-Making Species
Oftentimes, the best time you can spend working on a project is creating your own tools. The time invested in creating tools that let you work more efficiently can pay itself back many times over. While comparing how PicoIDE behaved on the IDE bus compared to real drives, using a standard logic analyzer was not quite cutting it for me. Staring at all of the unfiltered bus activity was mind numbing. Logic analyzer software lets you write protocol decoders to get a better understanding of the activity it captures, but I wanted a way to programmatically or visually "diff" the activity from a real drive and from the PicoIDE to see where they diverge in behavior.
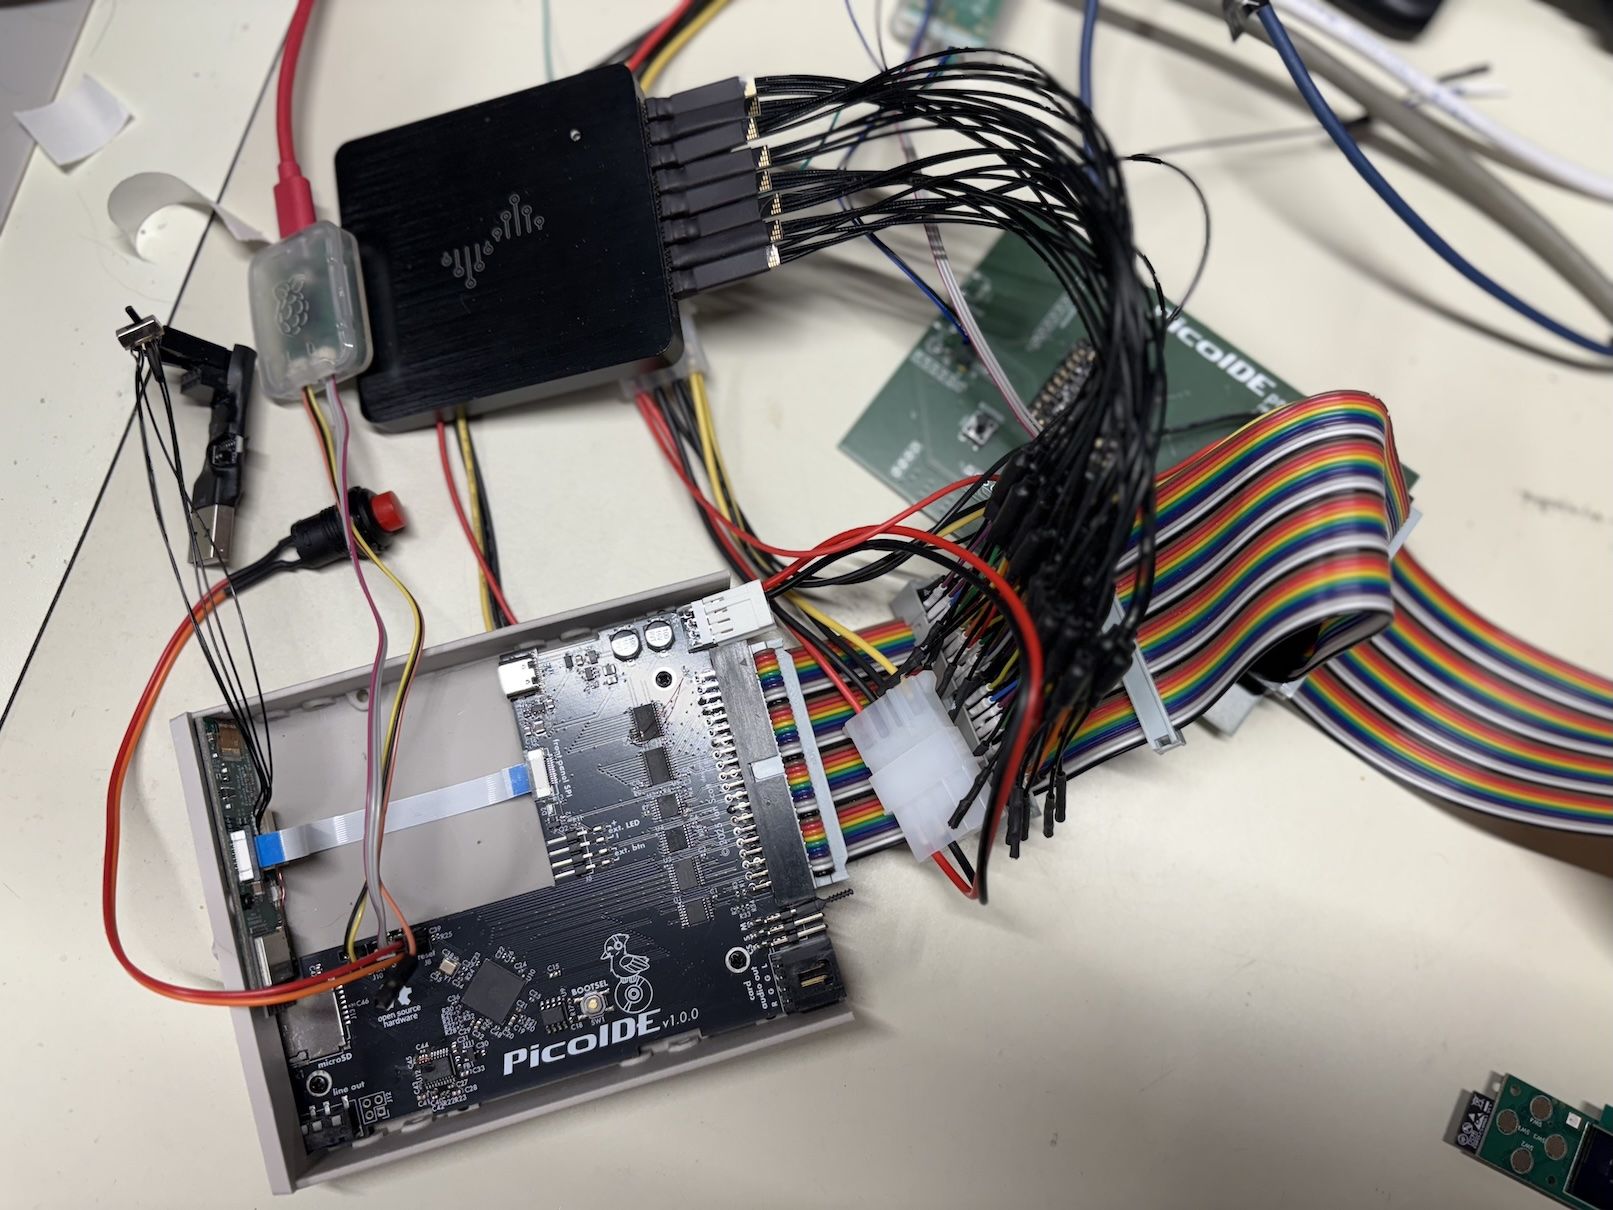
Since the PicoIDE works by listening to all activity on the IDE bus, I realized I could create a special firmware loaded onto a second PicoIDE connected to the IDE cable that would log all activity in RAM on the RP2350 in a compact format and then capture it on my computer. Once I had the raw bus data captures, I started working on creating tooling with Python scripts to extract meaning from them: detecting the various commands, showing their arguments, extracting various status bits, and so on. With these tools, I could very quickly look at an analyzed capture from a real drive next to one from the PicoIDE, see where things diverge, and then apply any needed fixes to the PicoIDE firmware code. Every minute I put into creating this IDE analyzer has paid off many, many times. This tangled mess of PicoIDE, logic analyzer, and prototype PicoIDE turned IDE analyzer has been a constant fixture on my workbench for the better part of the past year:
To the Future
It has been extremely fulfilling applying this new knowledge and tools to create PicoIDE and make it the IDE/ATAPI hardware emulator that I’d want to use. I can’t wait to share it with everyone who has backed this campaign so far. And, if you haven’t backed PicoIDE yet, don’t worry, there’s still plenty of time to support it here on Crowd Supply!
