Project update 8 of 14
Only Two Days To Go! How To Try the PowerSTEP01 Chip Before Backing
by KantaWe only have two days left. If you’re thinking about backing this project and have any questions about STEP400, we’d love to hear from you! You can contact us via Crowd Supply’s contact page, also our Twitter account.
This is an update on how to try out PowerSTEP01 chip before you back the Step400! (if you can make it in time.)
A few ways to try out PowerSTEP01
Expansion shield from STM
STEP400 uses a motor driver chip called PowerSTEP01. If you want to try out PowerSTEP01 quickly, the X-NUCLEO-IHM03A1 expansion board from STM is a good choice.
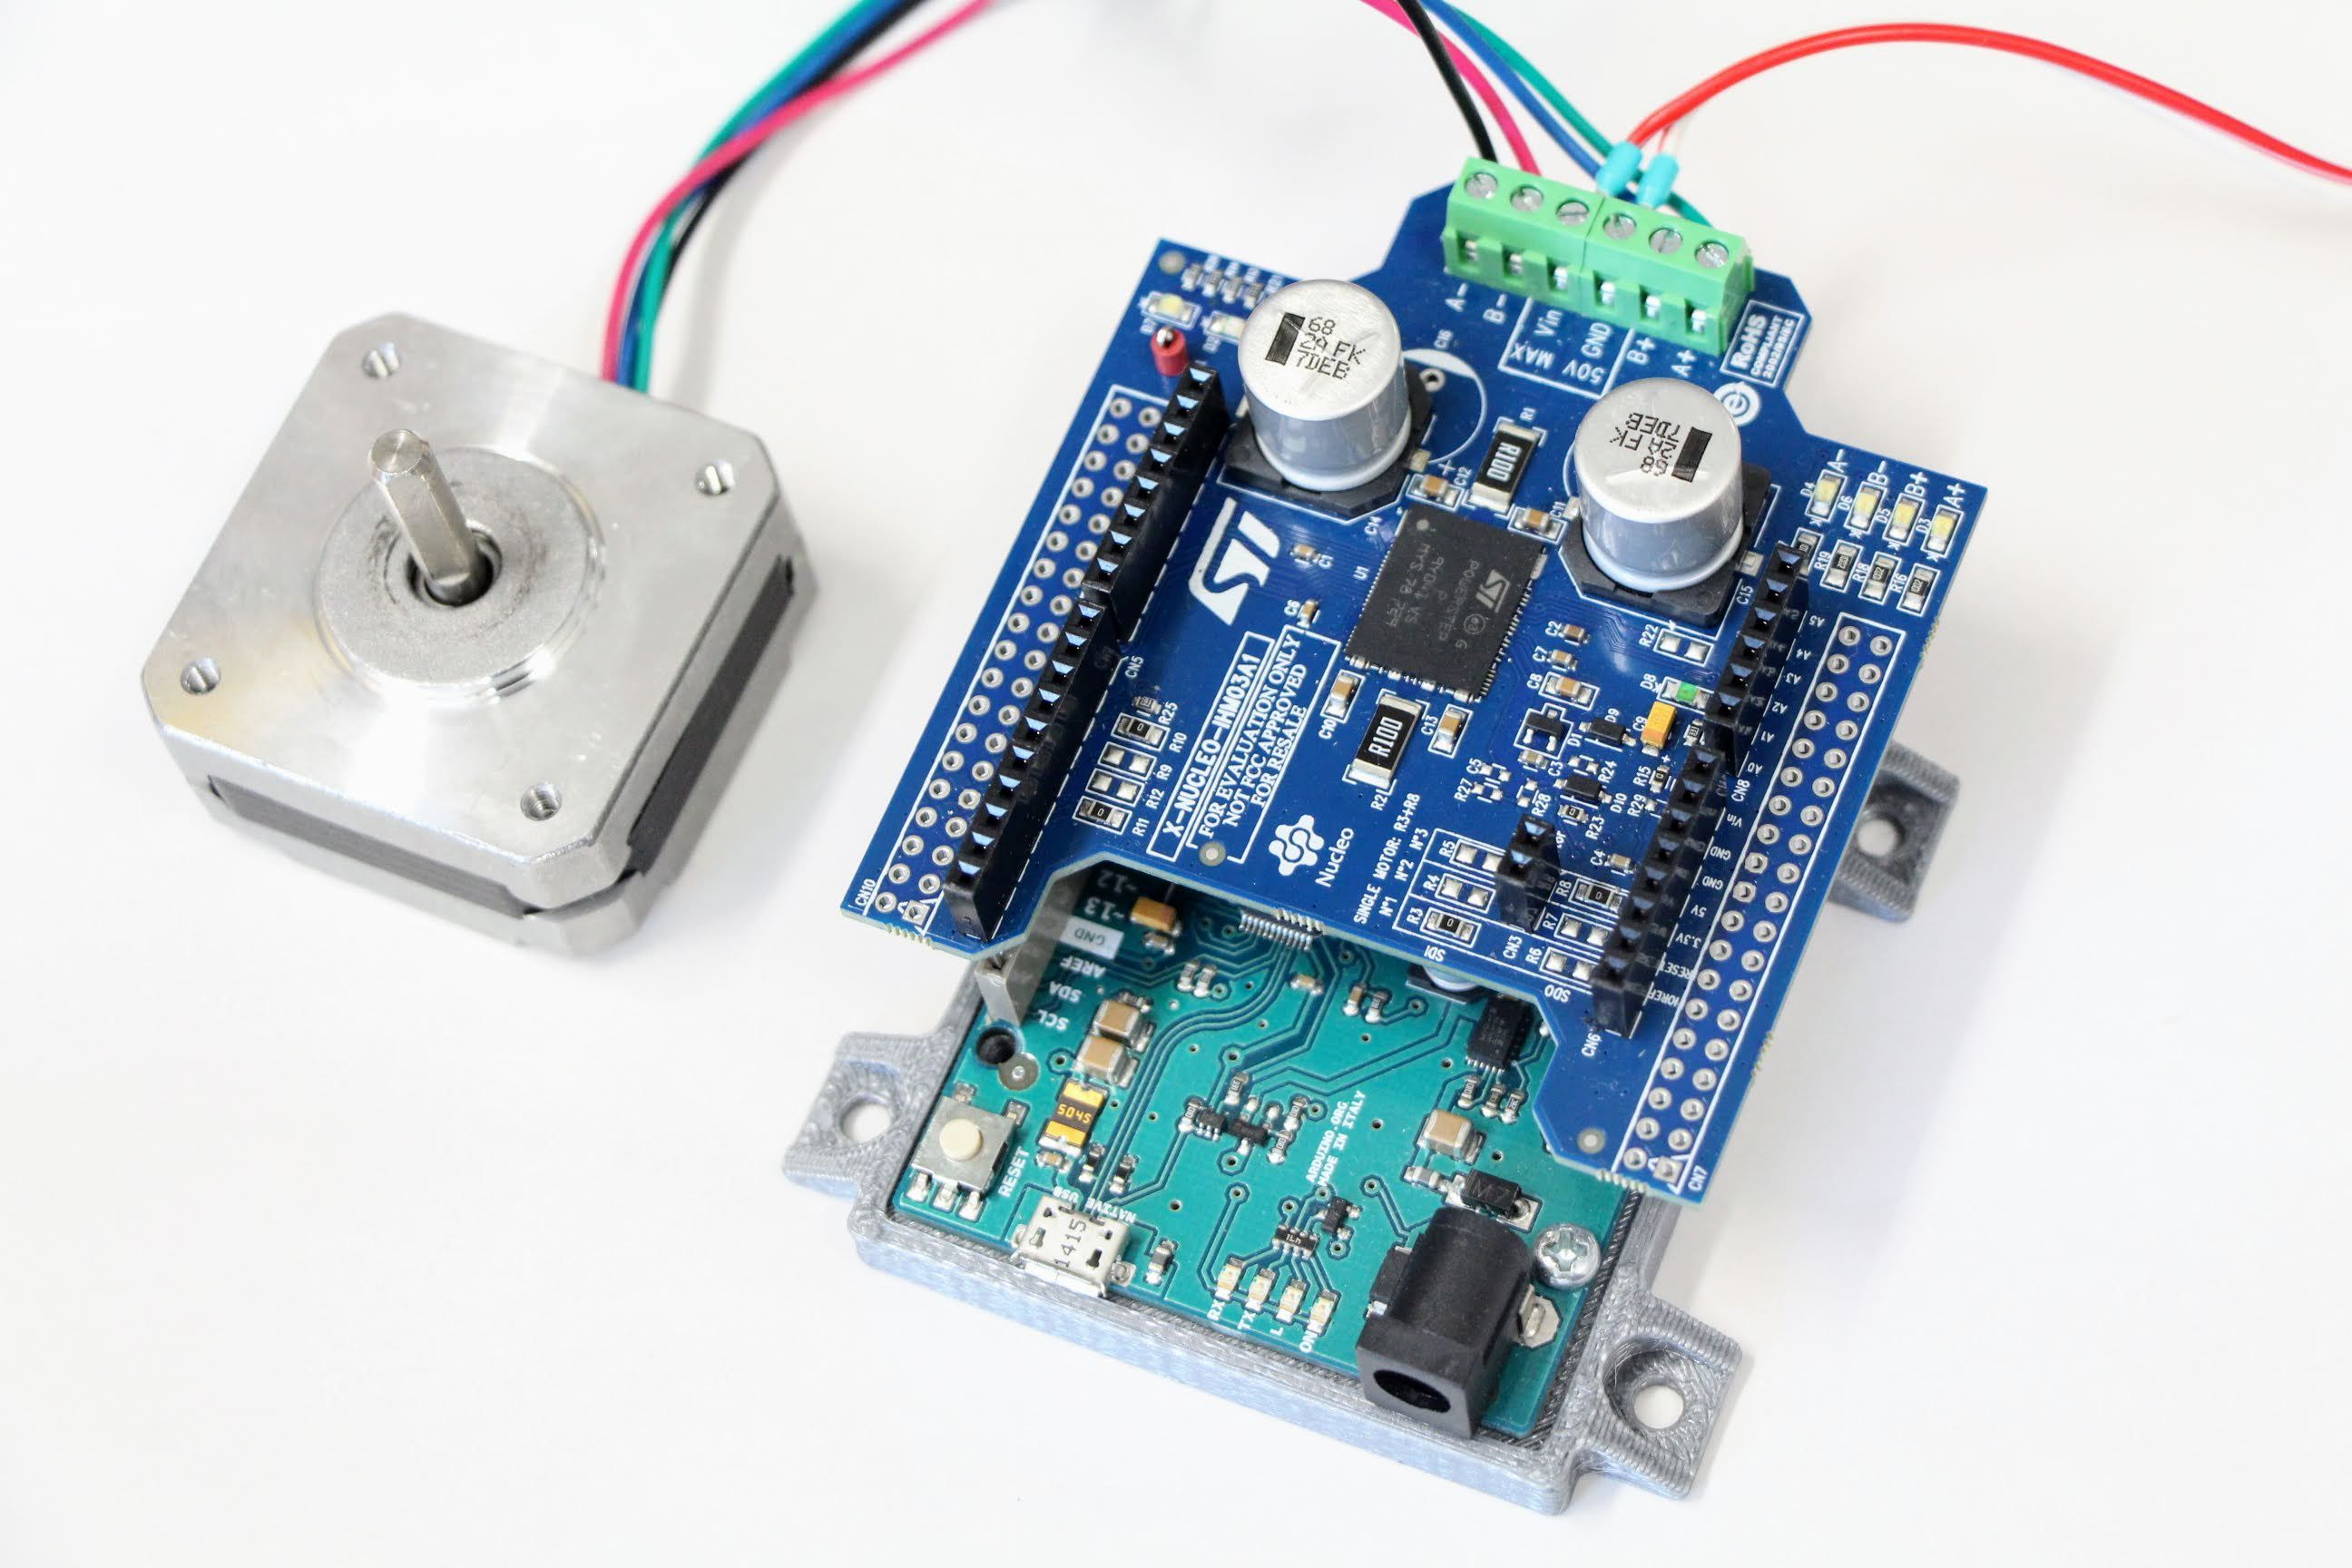
This is a board that can be used with STM’s Nucleo platform, but it can also be used as an Arduino shield. You can stack up to 3 boards by changing the resistors on each board. You can get it from major electronics distributors such as Mouser or Digikey, at a very attractive price!
Try with Nucleo
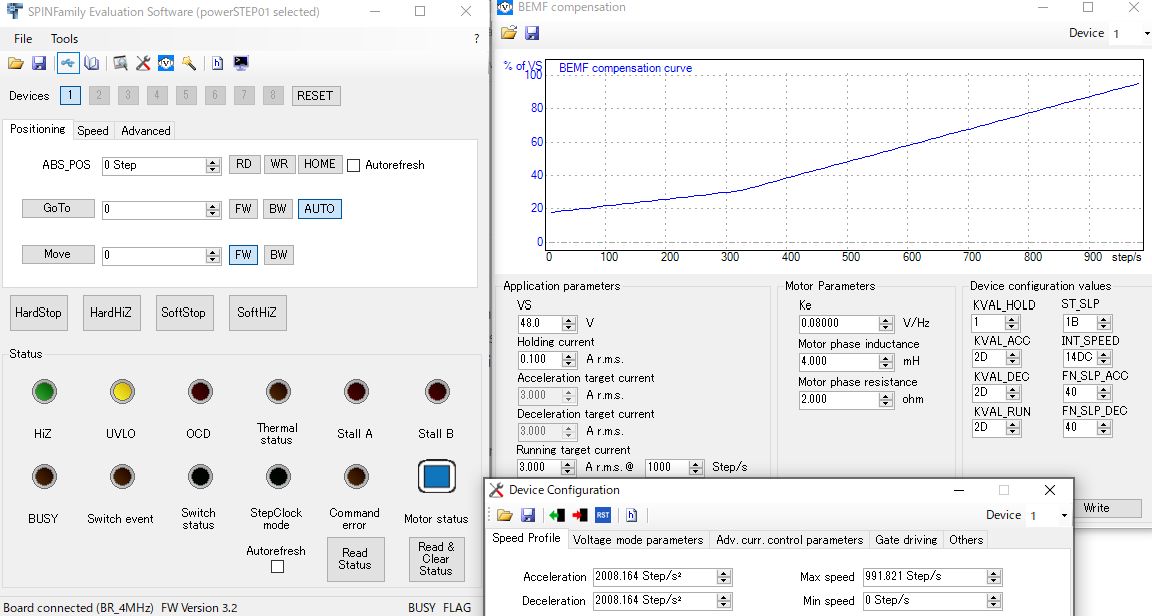
If you have a Nucleo series board, you can use STM’s official evaluation tool called STSW-SPIN002: You can use it simply by uploading the provided firmware to Nucleo boards. You can check the register values in detail, which is useful for debugging.
Try with Arduino
You also can test X-NUCLEO-IHM03A1 with the Arduino platform. You can use Megunolink’s powerSTEP01 Arduino Library, forked from Sparkfun’s AutoDriver Arduino Library. But this library only supports voltage mode, so we present our PowerSTEP01 library, created by further forking this library.
The Ponoor PowerSTEP01 library
https://github.com/ponoor/Ponoor_PowerSTEP01_Library
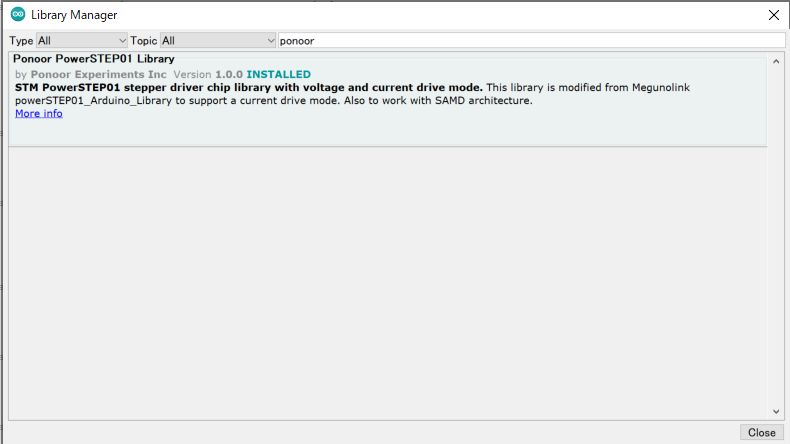
This library has added current mode commands to the original Megunolink library. It also fixes a problem with the SAMD architecture and some register definitions.
You can install this library from the Library Manager of Arduino IDE.
Notes for using with Arduino
SPI pinouts
X-NUCLEO-IHM03A1 has an Arduino formfactor but the SPI pins are appearing on pins D11-D13, instead of the SPI socket. This is a classic SPI pinout used in Arduino UNO or earlier models, so this shield won’t work with other Arduinos like Leonardo/Mega. In Arduino Zero/M0, you can use these pins by configuring them to behave as SPI pins.
Ethernet shield
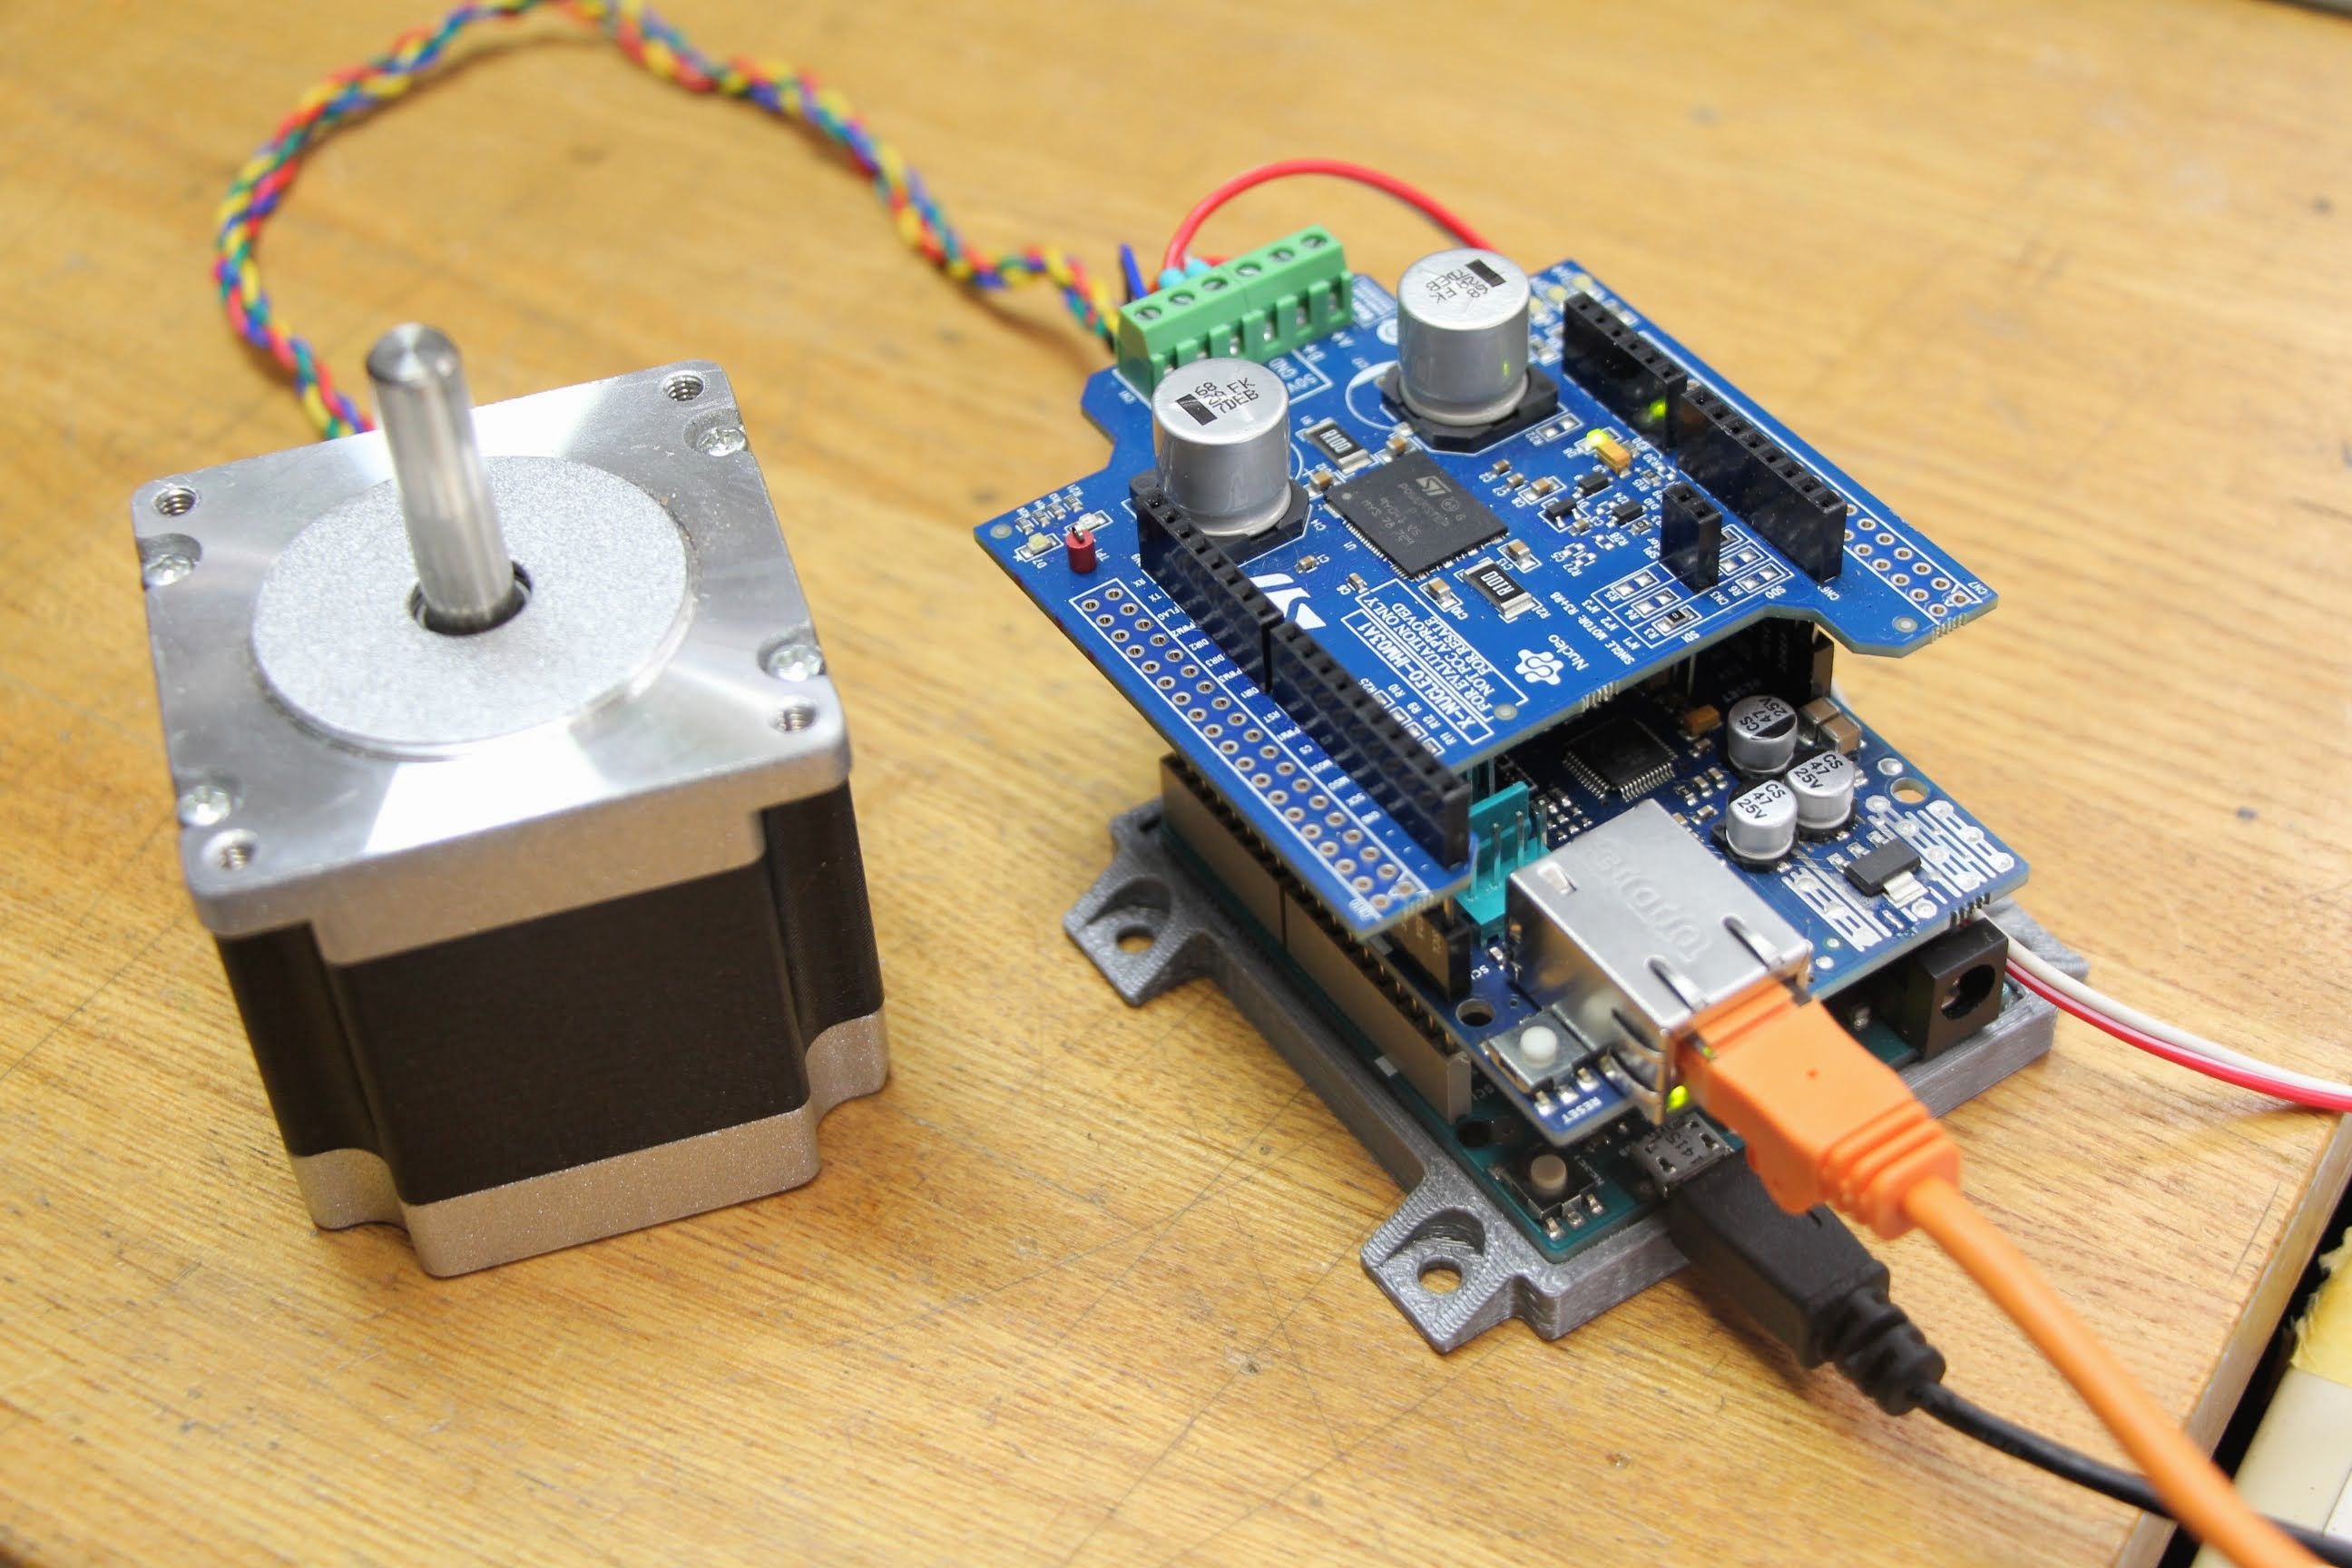
Using the X-NUCLEO-IHM03A1 in combination with the Ethernet Shield will provide a ready-to-use system for your project!
You should be aware of the following points:
- The BUSY pin of PowerSTEP01 is connected to D4 and interferes with the CS pin of the SD card in the Ethernet shield.
- CS pin of PowerSTEP01 is connected to D10 and interferes with the CS pin of the W5500 (or W5100 if dealing with the old type) of the Ethernet shield.
Both of these pins can be replaced with other pins by replacing the jumper resistors on the X-NUCLEO-IHM03A1 board.
Also, the SPI mode is different on the Ethernet shield and PowerSTEP01. Therefore, when you communicate with PowerSTEP01, you must insert this sentence in advance.
SPI.setDataMode(SPI_MODE3);
Essentially, this instruction should not be necessary because the mode is set every time SPI communication is done in the library, but for some reason it doesn’t work if it’s omitted. I’m still investigating the reason.
In STEP400, this process is not required because different SPI ports are assigned to the Ethernet chip (W5500) and the motor driver (PowerSTEP01) , thanks to the multi SPI ports functionality of the ATSAMD21 chip.
About SAMD chip
I’d like to end this post with a little mention of Microchip SAMD chip and open source. STEP400 is open source hardware, which is important not only in terms of philosophy, but also in terms of practicality. Some projects just throw the source code out and leave it, but I’m more concerned with making sure users can actually rewrite the code. In fact most of beta testers have modified the firmware to use it so far. The use of the ATSAMD21G18A and its compatibility with Arduino IDE plays a central role in making this a reality.
Some more additional mentions, when I started my microcontroller projects around 2002, PIC had a big share of the market, but AVR had a hack that allowed me to make a writer for almost free by using the printer/parallel port on PC, and this is why I started using AVR. In those days, there was no Arduino yet, so I had to write codes with assembler. It was really hard to get started microcontroller with assembler. Considering that, I really must thank Arduino and Wiring, which was the origin of Arduino!
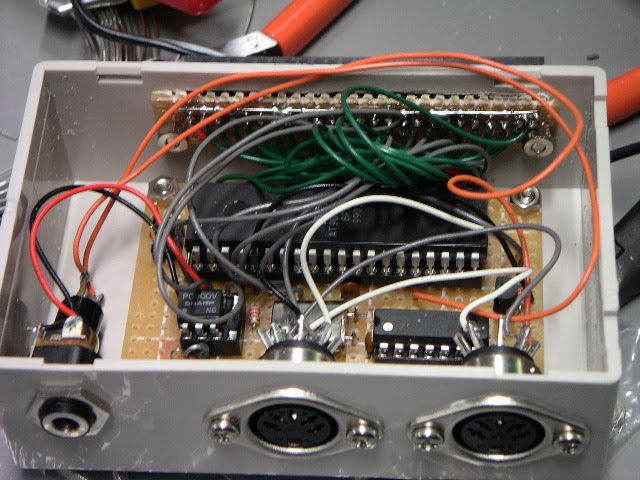
This is a MIDI I/O box I made at the time, used in my old work. I remember I took this picture at a high resolution, but it’s actually 640x480.