Project update 5 of 12
Running Debian Linux on Jupiter Nano
by AdamFirst, a quick update on the campaign’s progress: we’re 195% funded! Thanks so much for your support!
Linux on Jupiter Nano
Jupiter Nano can run Linux, both Debian Linux 9.x (Stretch) and Yocto Linux. In this update, we’ll go over running Debian Linux. I’ll be updating the Debian Linux image to the just-release 11.x (Bullseye) after the campaign concludes. In the meantime, here’s an excerpt from the Jupiter Nano documentation to give you a taste of running Linux on the Jupiter Nano.
Quickstart
This Quickstart Guide is for using Jupiter Nano with Linux and assumes you are familiar with Linux and Internet networking.
Creating a Bootable Micro SD Card - Linux
- Download the Jupiter Nano Debian Linux disc image.
There are two partitions on this disk: BOOT and rootfs. BOOT is a small FAT filesystem that contains the at91bootsrap program and U-Boot. The built-in ROM code in the SAMA5D27C knows how to read at91bootstrap and run the first stage boot, which loads U-Boot. U-Boot can then boot the Linux kernal and mount the Linux rootfs partition.
Install Balena Etcher - Balena Etcher is an easy to use program for burning SD Card images.
Run Balena Etcher and write the disk image to your Micro SD card.
- See this guide for how to use it: How to Flash/burn an OS Image with Etcher on Ubuntu. The process is similar on macOS or Linux.
- You will need at least a 2 GB MicroSD card. If you have a larger one, you can enlarge the filesystem later.
Connecting to Jupiter Nano
Jupiter Nano has been tested on macOS and Linux. If you have problems, please contact the Jupiter Nano mailing list.
Install the Micro SD Card.
Plug in the Micro USB cable to the Jupiter Nano Console port.
Connect to the serial console via USB.
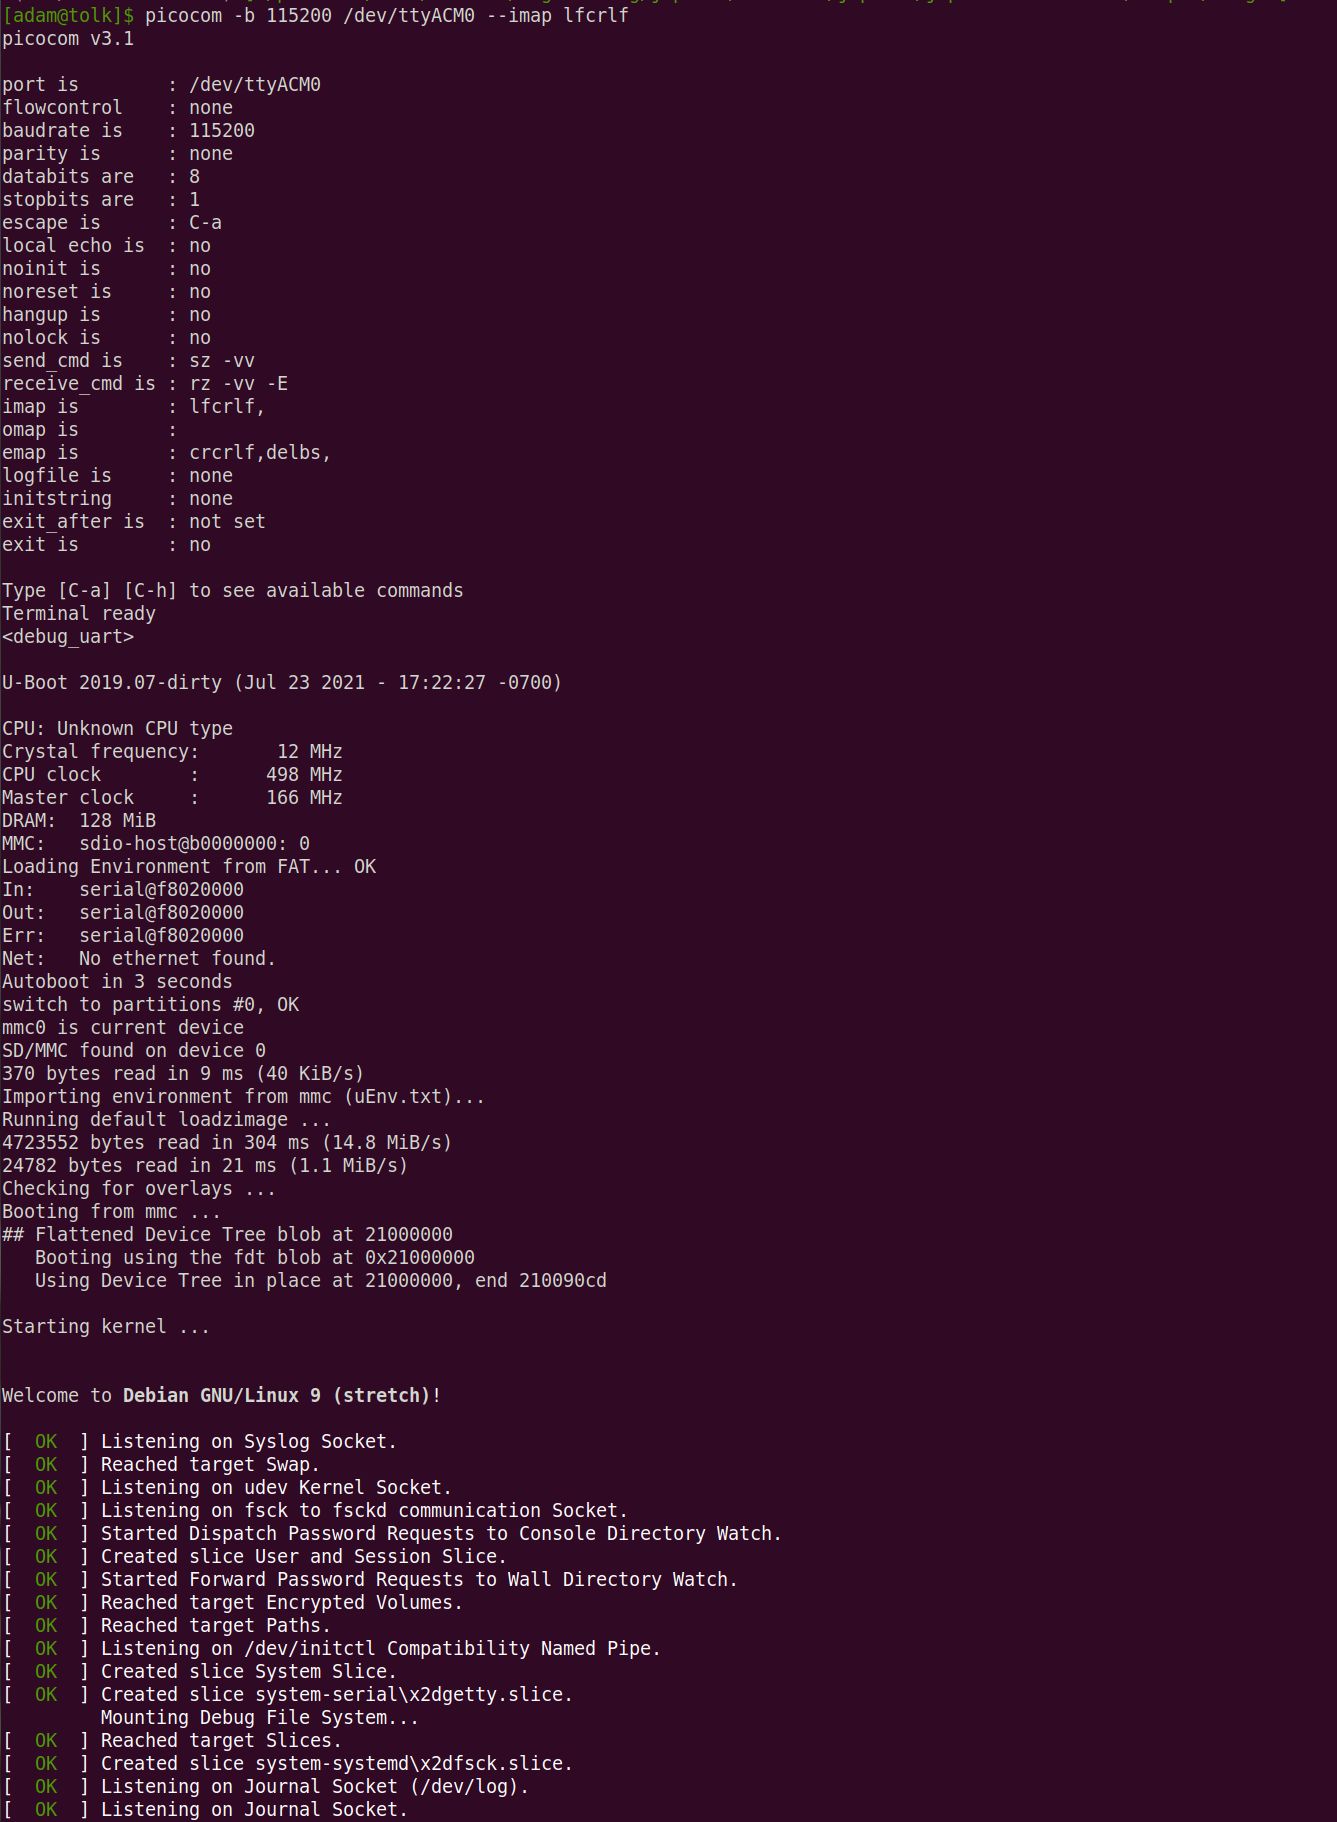
Start a serial terminal:
$ picocom --imap lfcrlf -b 115200 /dev/ttyACM0
Replace
/dev/ttyACM0with whatever it is on your machine.You should now see Jupiter Nano booting, going through the at91bootstrap (first level boot), the U-Boot bootstrap (second-level boot), and the Debian Linux boot process:
- When it's finished, you can login with the terminal:
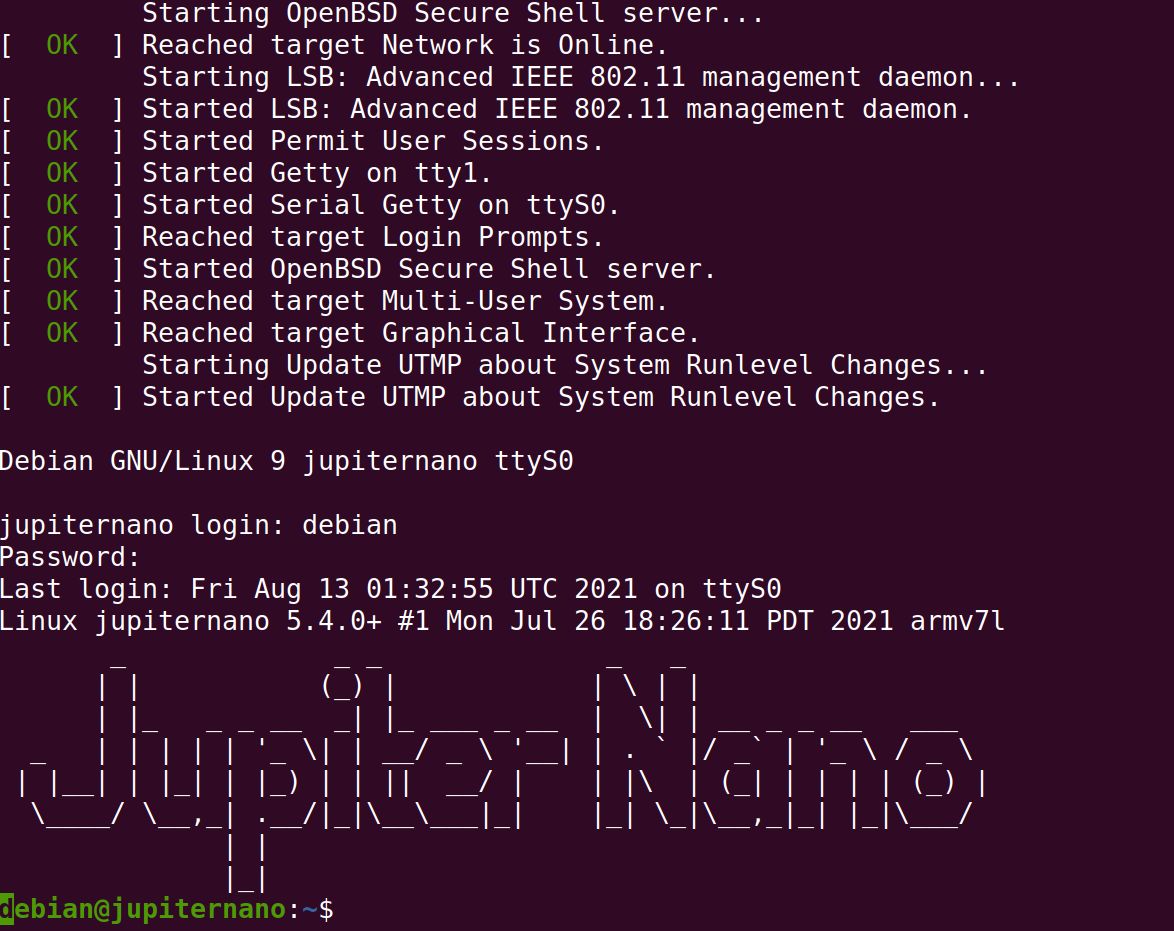
Login: debian
Password: password
Networking Using Ethernet over USB
These instructions have only been tested on Linux. On macOS and Windows you will need to do something similar to the steps in the netusb.sh script. If you do get a script running for these platforms, please consider contributing it to the Jupiter Nano Tools repository via a pull request!
Plug a Micro USB cable into the Jupiter Nano Native port (keep the Console cable plugged in).
Using a Jupiter Nano console session, start the network:
$ sudo /usr/bin/netup.sh
This will bring up the
usb0USB Ethernet Gadget interface, give it an IP number of10.0.0.2, and set the default route to10.0.0.1.On your Linux workstation, set up the network (replace
wlp0s20f3with the name of the network interface you use to connect to the Internet):$ cd jupiter-nano-tools $ sudo ./scripts/netusb.sh wlp0s20f3 usb0 on
This brings up the
usb0USB Ethernet Gadget interface on your workstation, gives it the IP address of10.0.0.1, and sets up routing to the Internet.Ping and ssh
Now you can ping and ssh:
$ ping 10.0.0.2
$ ssh debian@10.0.0.2
Internet access from Jupiter Nano
On the Jupiter Nano console or ssh session, you should be able to do the following:
$ ping 10.0.0.2
$ ping 8.8.8.8
$ ping www.google.com
Notes
The scripts that help build at91 bootstrap, U-Boot, the Linux kernel, and the Debian root filesystem (rootfs) are located in the Jupiter Nano Tools github repository. These tools can automatically build at91bootstrap, U-Boot, and the Linux kernel. The scripts will also build a stock Debian rootfs tree that needs some manual work to be useful. The manual changes needed are installing the resolvconf package to enable name resolution, installing the openssh-server package to have an SSH server, and installing helper scripts.
Enlarging the SD Card file system
There is a script to enlarge the Micro SD card file system if you have a card larger than 2 GB. Here’s how to run it.
Connect to the Jupiter Nano either by the serial console or via ssh.
Run the following script:
$ sudo /usr/bin/grow_sd.sh
This will grow the file system to the size of the Micro SD Card. You will need to reboot for it to take effect.
Jupiter Nano documentation
You can find more info in the Jupiter Nano documentation. We will be adding documentation on the hardware, running Linux, running NuttX, and doing software development on the board as the campaign progresses and afterwards.
Linux links
- Debian Linux
- Yocto Linux – custom embedded Linux distribution
- Yocto for SAMA5D2_Xplained – Jupiter Nano works like a miniaturized SAMA5D2_Xplained board.
Next Steps
Well, that’s been a short introduction to running Debian Linux on the Jupiter Nano. If you have questions, email me at adam@starcat.io or better yet, email the Jupiter Nano email list.
Next update, we’ll go over running the Apache NuttX RTOS on the Jupiter Nano.