Hey everyone.
It is time for another update.
tldr;
As we mentioned in the last update, our previous PnP was not viable and we needed outside help, as well as a major update to our shop. The new workshop is almost fully set up and we are getting close to resuming manufacturing of the Glasgow on our new PnP machine.
We got a generous sponsorship from Screaming Circuits. They agreed to assemble 200 Glasgows for us. None the less, it took quite a lot of doing and coordination to get the PCBs and parts to them. But we recently got the assembled boards back and they look great!
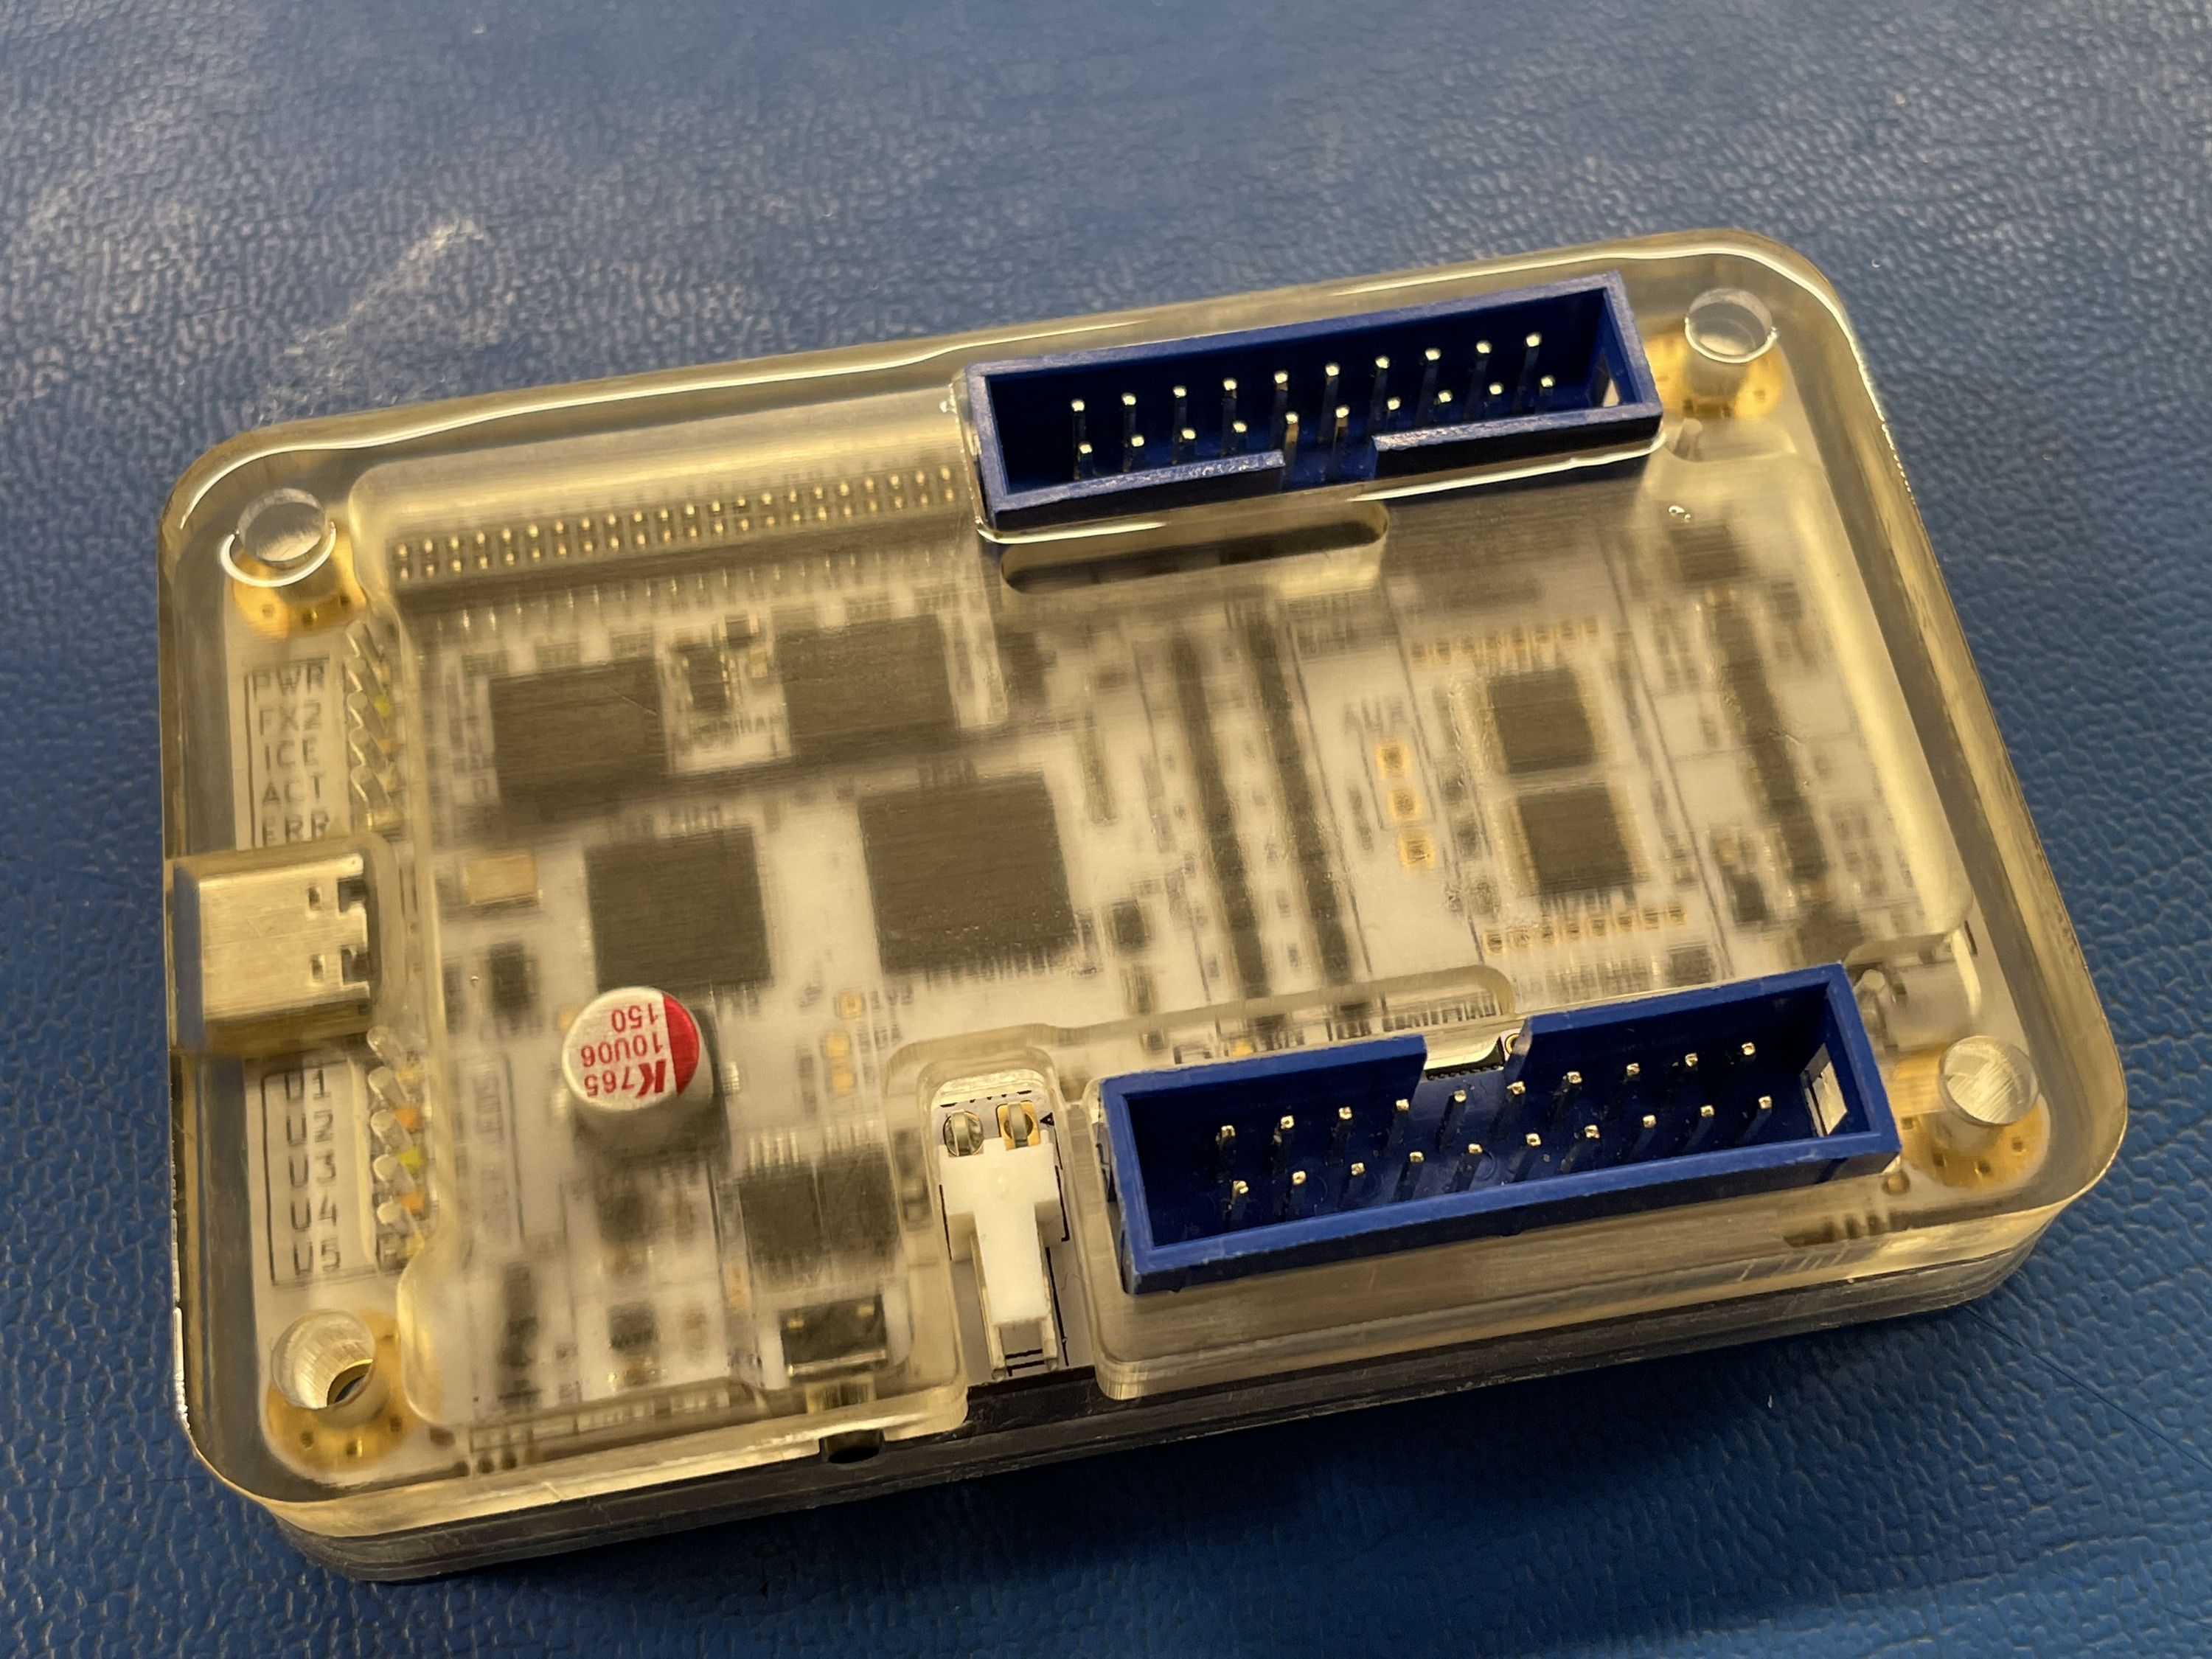
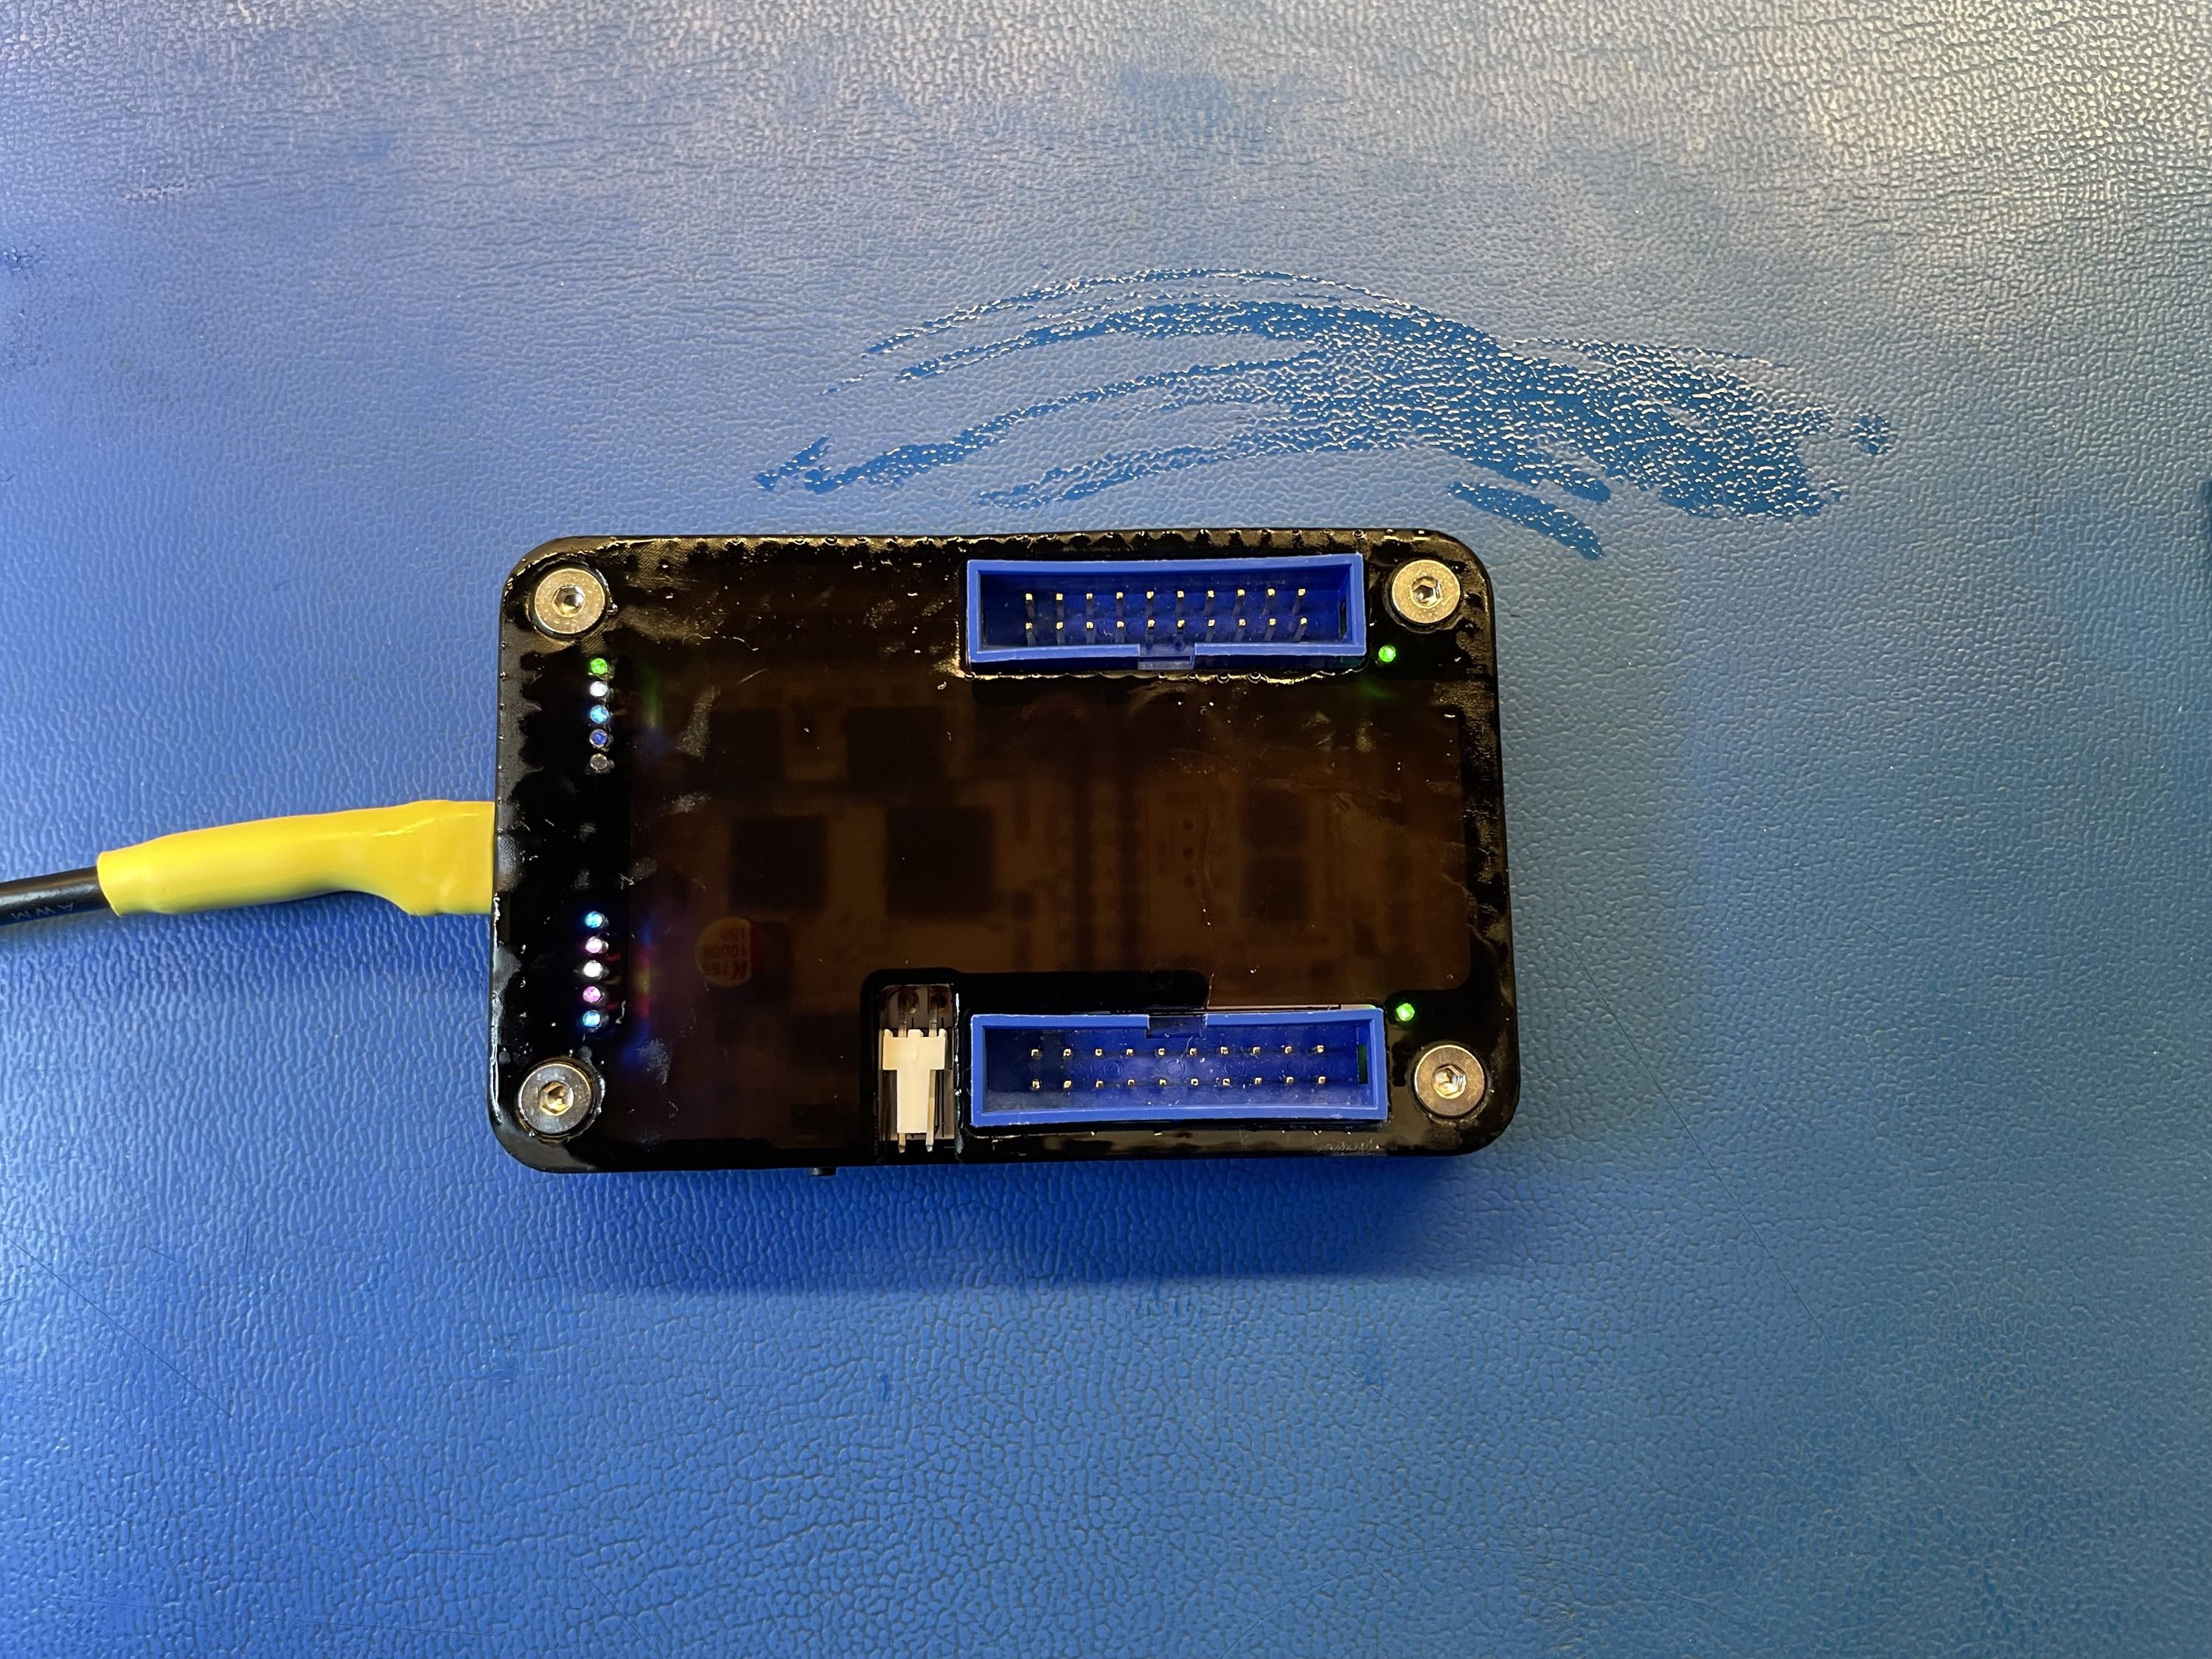
Before we can ship the Screaming Circuit Glasgow board batch to you, we also need to get the final cases. Piotr spent quite some time updating and improving the aluminium case design. Eventually a prototype was ordered from PCBWay, in hopes that it will result in a quick prototype turn around. After a lengthy delay, partly caused by the Chinese New Year and partly by their service being slower than expected, we got a prototype case back. It turned out that the case still had a major problem and was unusable. We have corrected the problem, and we ordered another test run from our actual case manufacturer. We really hope this is the last time we need to order prototypes so we can kick off mass production.
We will be able to ship out the 200 boards assembled by Screaming Circuits as soon as we get the production cases. If the cases look good, the early bird tier will be ready to ship in a few weeks.
For more details please continue reading. :)
Glasgow PCB Assembly
As we mentioned in the last update, we reached out to a few companies in hopes to get a sponsored assembly run. Screaming Circuits was generous enough to assemble 200 units for us.
As we usually assemble our hardware in house, and had not used Contract Manufacturers (CM) for assembly in quite a while, it was an interesting experience. It turns out that preparing, packing, making inventory and describing all the parts to a CM takes a surprising amount of time. We are so familiar with the hardware we assemble that we don’t need to create extra documentation when we set up for assembly. But getting things ready for Screaming Circuits was an interesting reminder of the CM process.
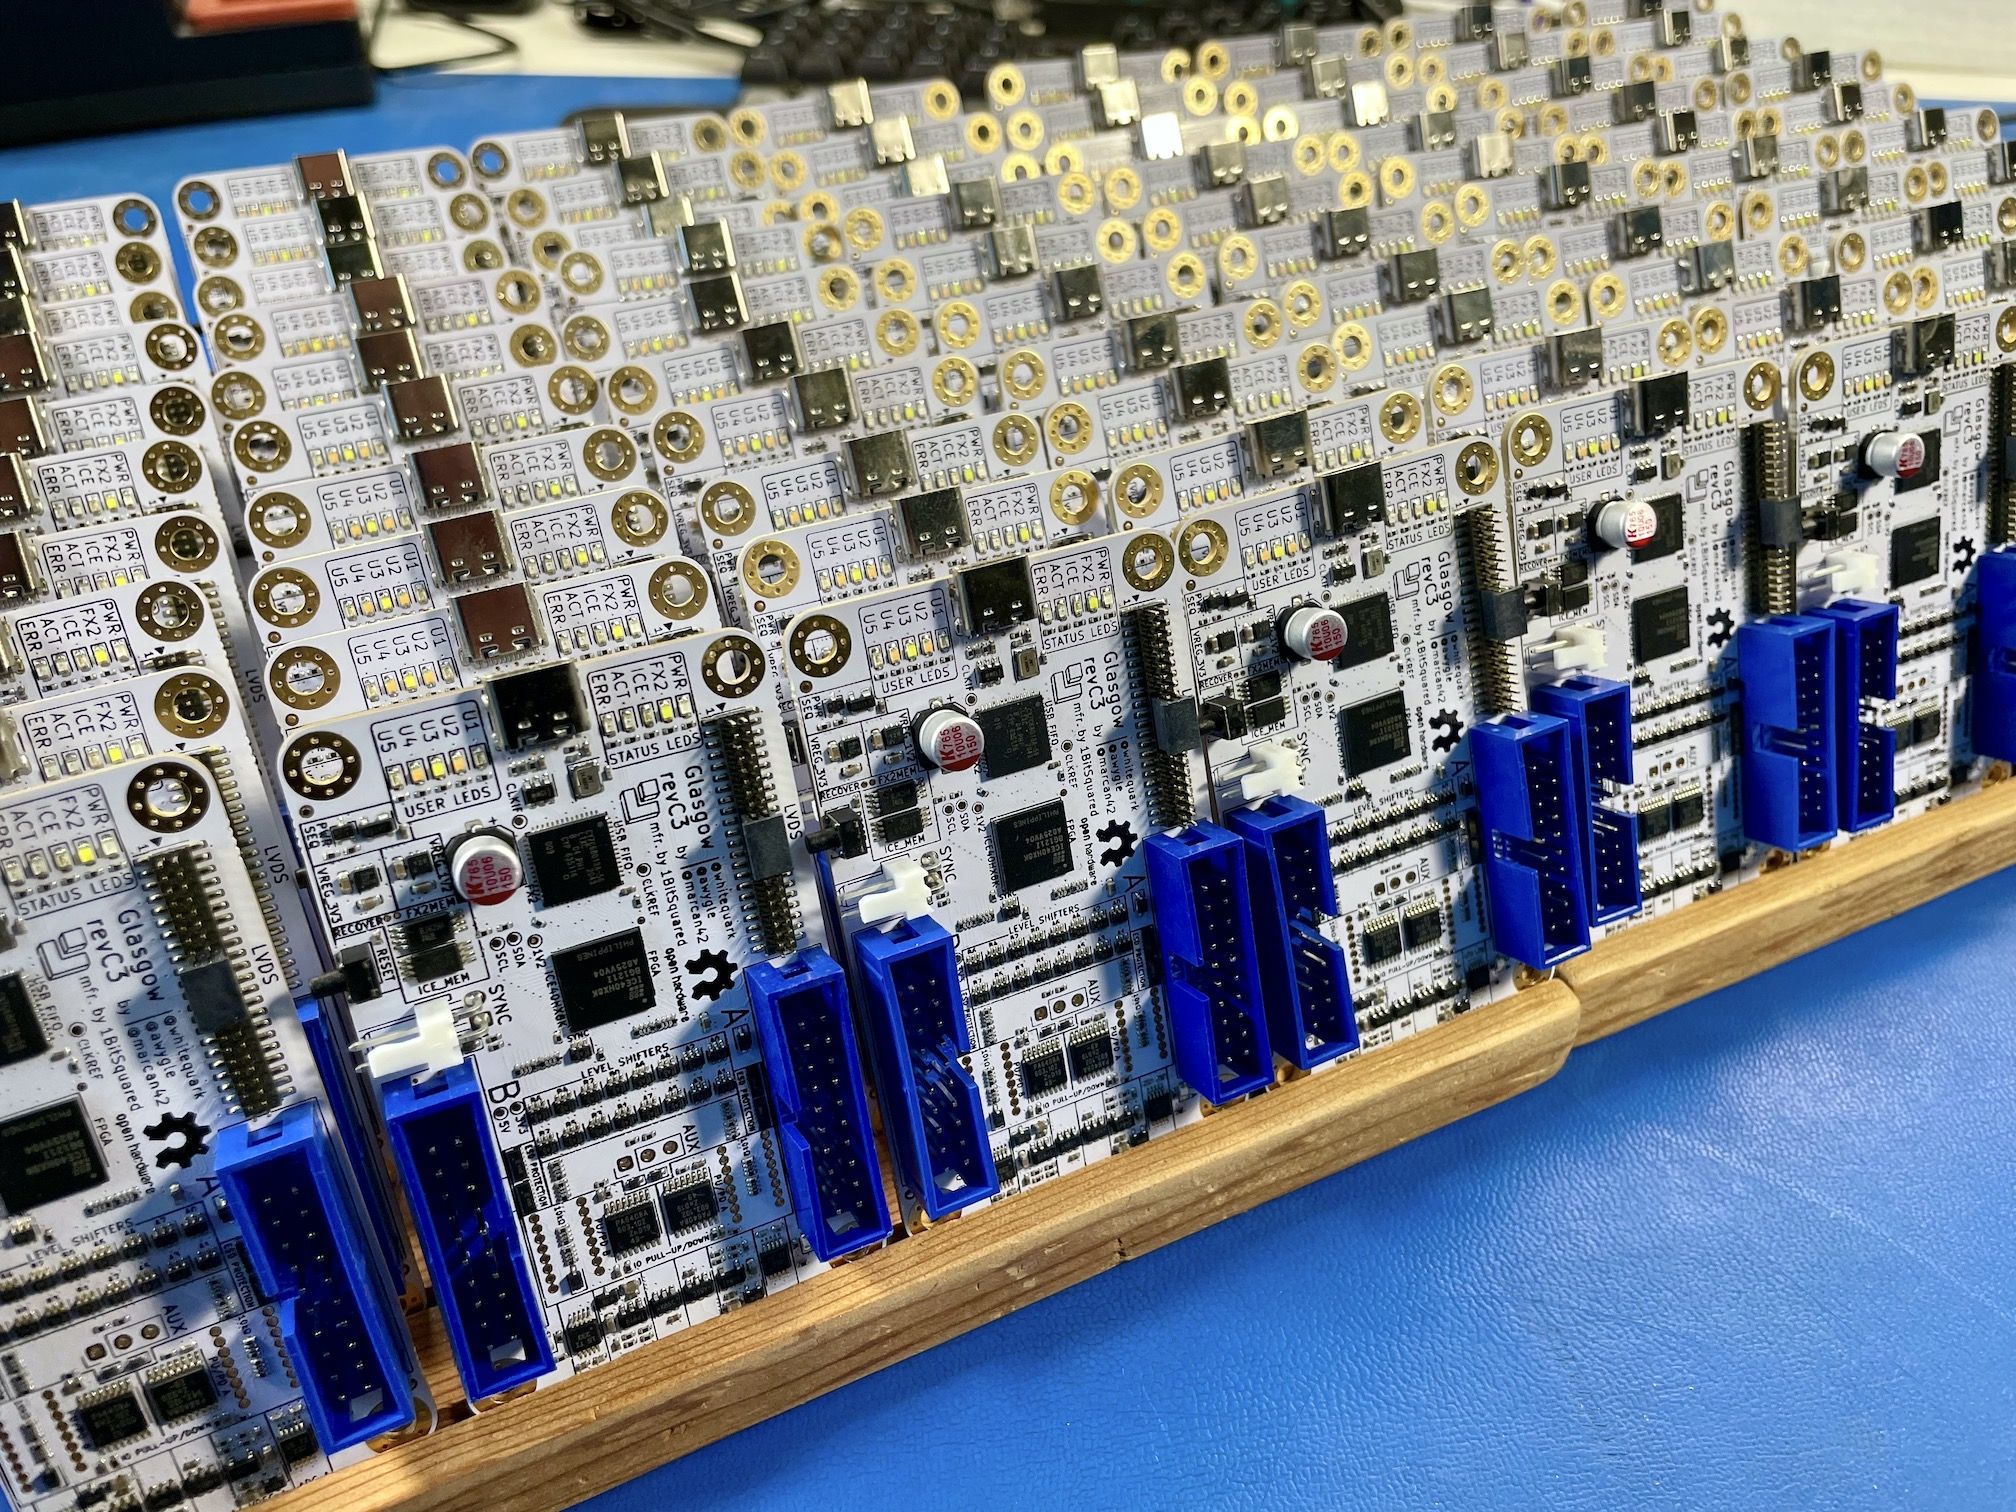
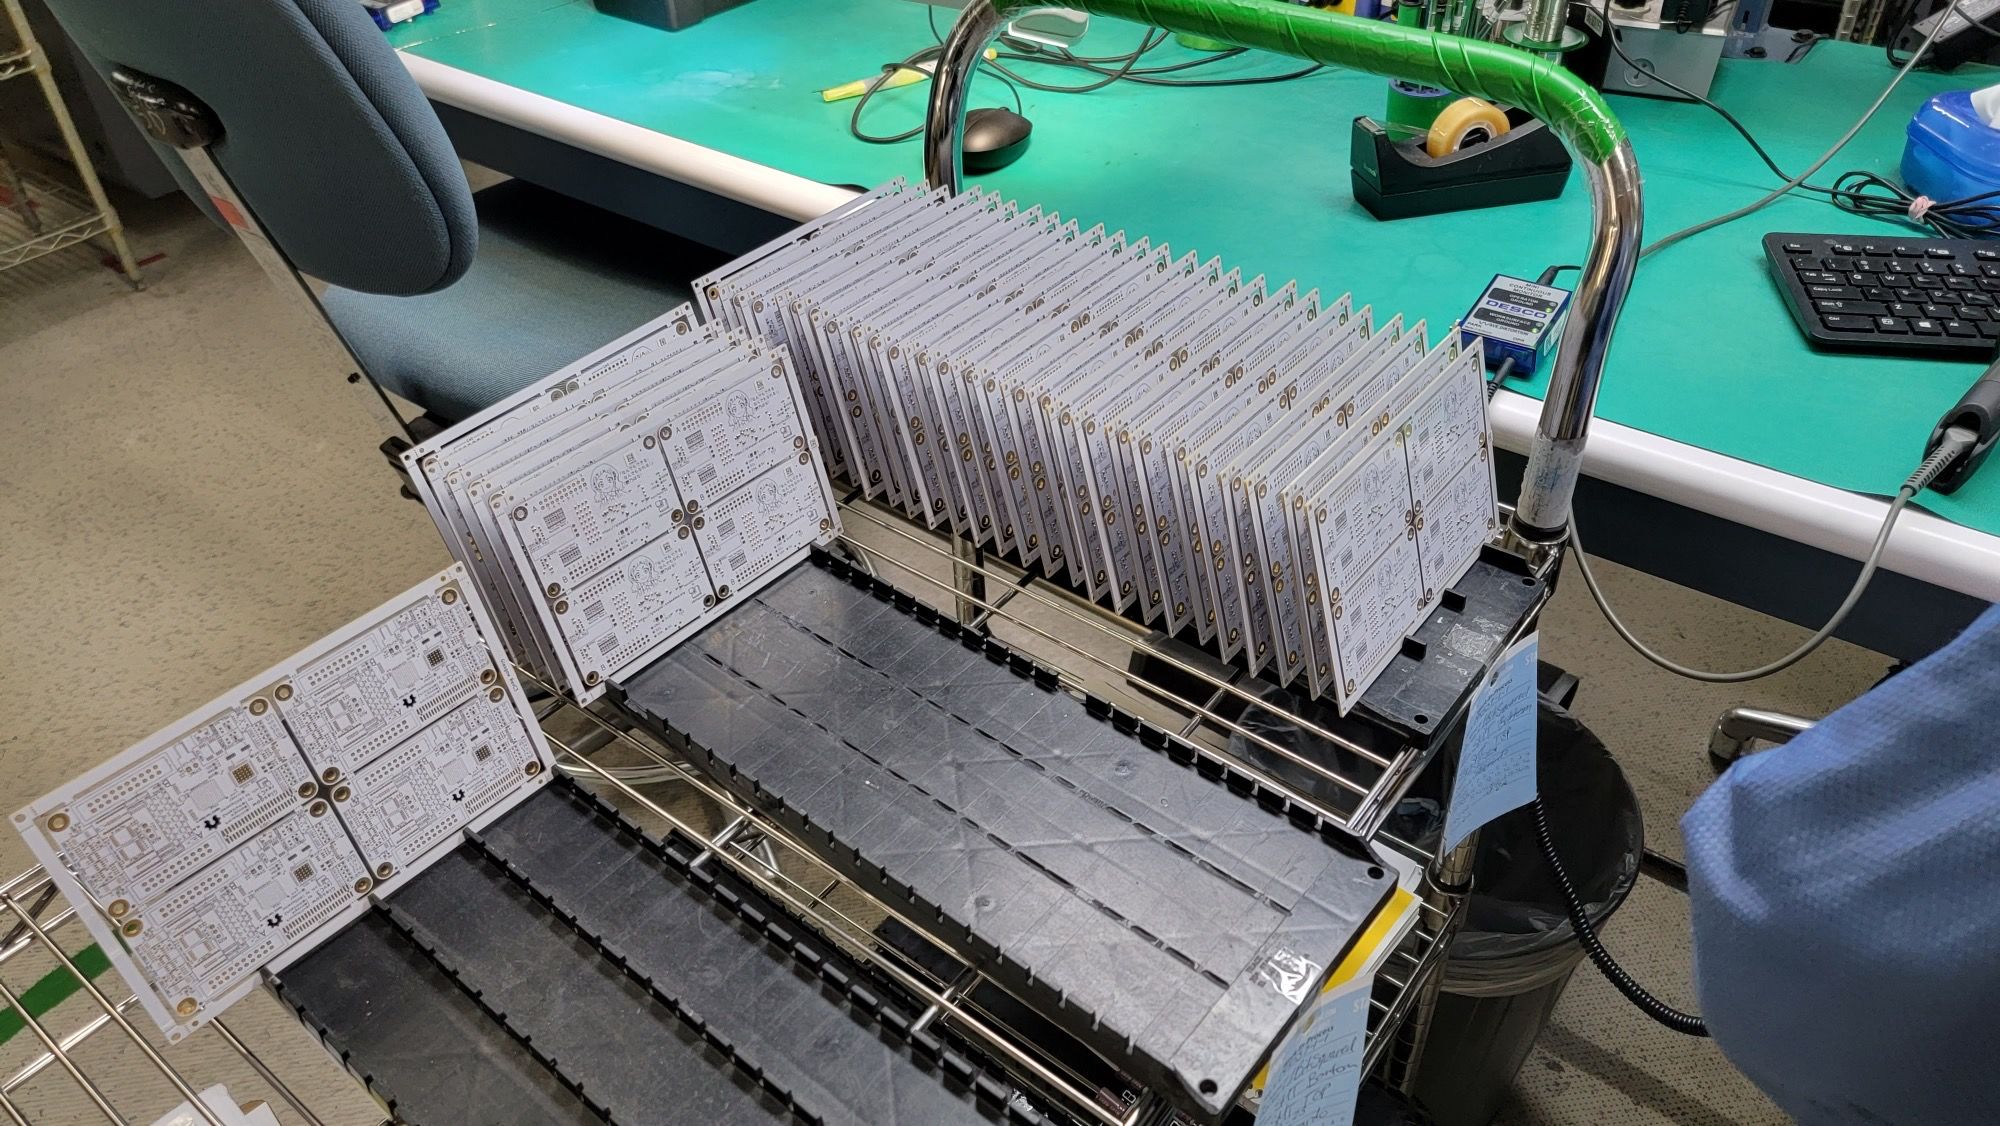
After sending them all the documentation and delivering 3 boxes of parts to their facility, we waited as they assembled the boards and shipped them back to us in separate batches. They all look great and have all the through hole components mounted.
The remaining steps are:
- factory programming the boards
- finalize testing
- add serial number stickers to the boards
- pack Glasgow together with the cables
- labeling
- adding necessary documentation for CE and UKCA
- shipping to Mouser (this step depends on us having the cases to ship with the Glasgows)
Glasgow Aluminum Case
A big percentage of you ordered cases with the Glasgows, which is great. But it also means we have to ship both items together to avoid paying for shipping twice. Unfortunately, Mouser can’t selectively ship to just the portion of you that ordered the naked Glasgows.
The version of Glasgow cases that we received before the last update still had some issues.
- The bottom case could potentially short the reset button pins as it was missing a recess.
- The bottom case was not fully rotationally symmetric, which made it very easy to mount it the wrong way around and potentially crush some capacitors on the bottom of the board.
Piotr started work on incorporating the changes into the case. And while doing those changes and testing out transparent resin prints of the case, he also addressed the following minor improvements:
- The bottom case distance to the IO pins was small enough to cause a potential short, the distance was increased.
- The thickness of the top case covering the light pipes was increased, resulting in better light blocking on the light pipes, decreasing light bleed.
- The top case geometry was radically simplified to open up the space for additional mods and add-ons people might come up with in the future.
In hopes of expediting and saving some money on the test run, we ordered a single case from PCBWay. We placed the order one week before Chinese New Year(CNY), assuming that the case would be made right after they come back from vacation. After the CNY was over, and the "estimated shipping date" passed, we contacted PCBWay about the status of the case. It took them another week to find out what the status of the case was, and we only got something to the effect of "sorry we had a very big backlog due to CNY". It took another three weeks after that date before they finally shipped the case. Another confirmation that ordering anything around CNY from China is problematic.
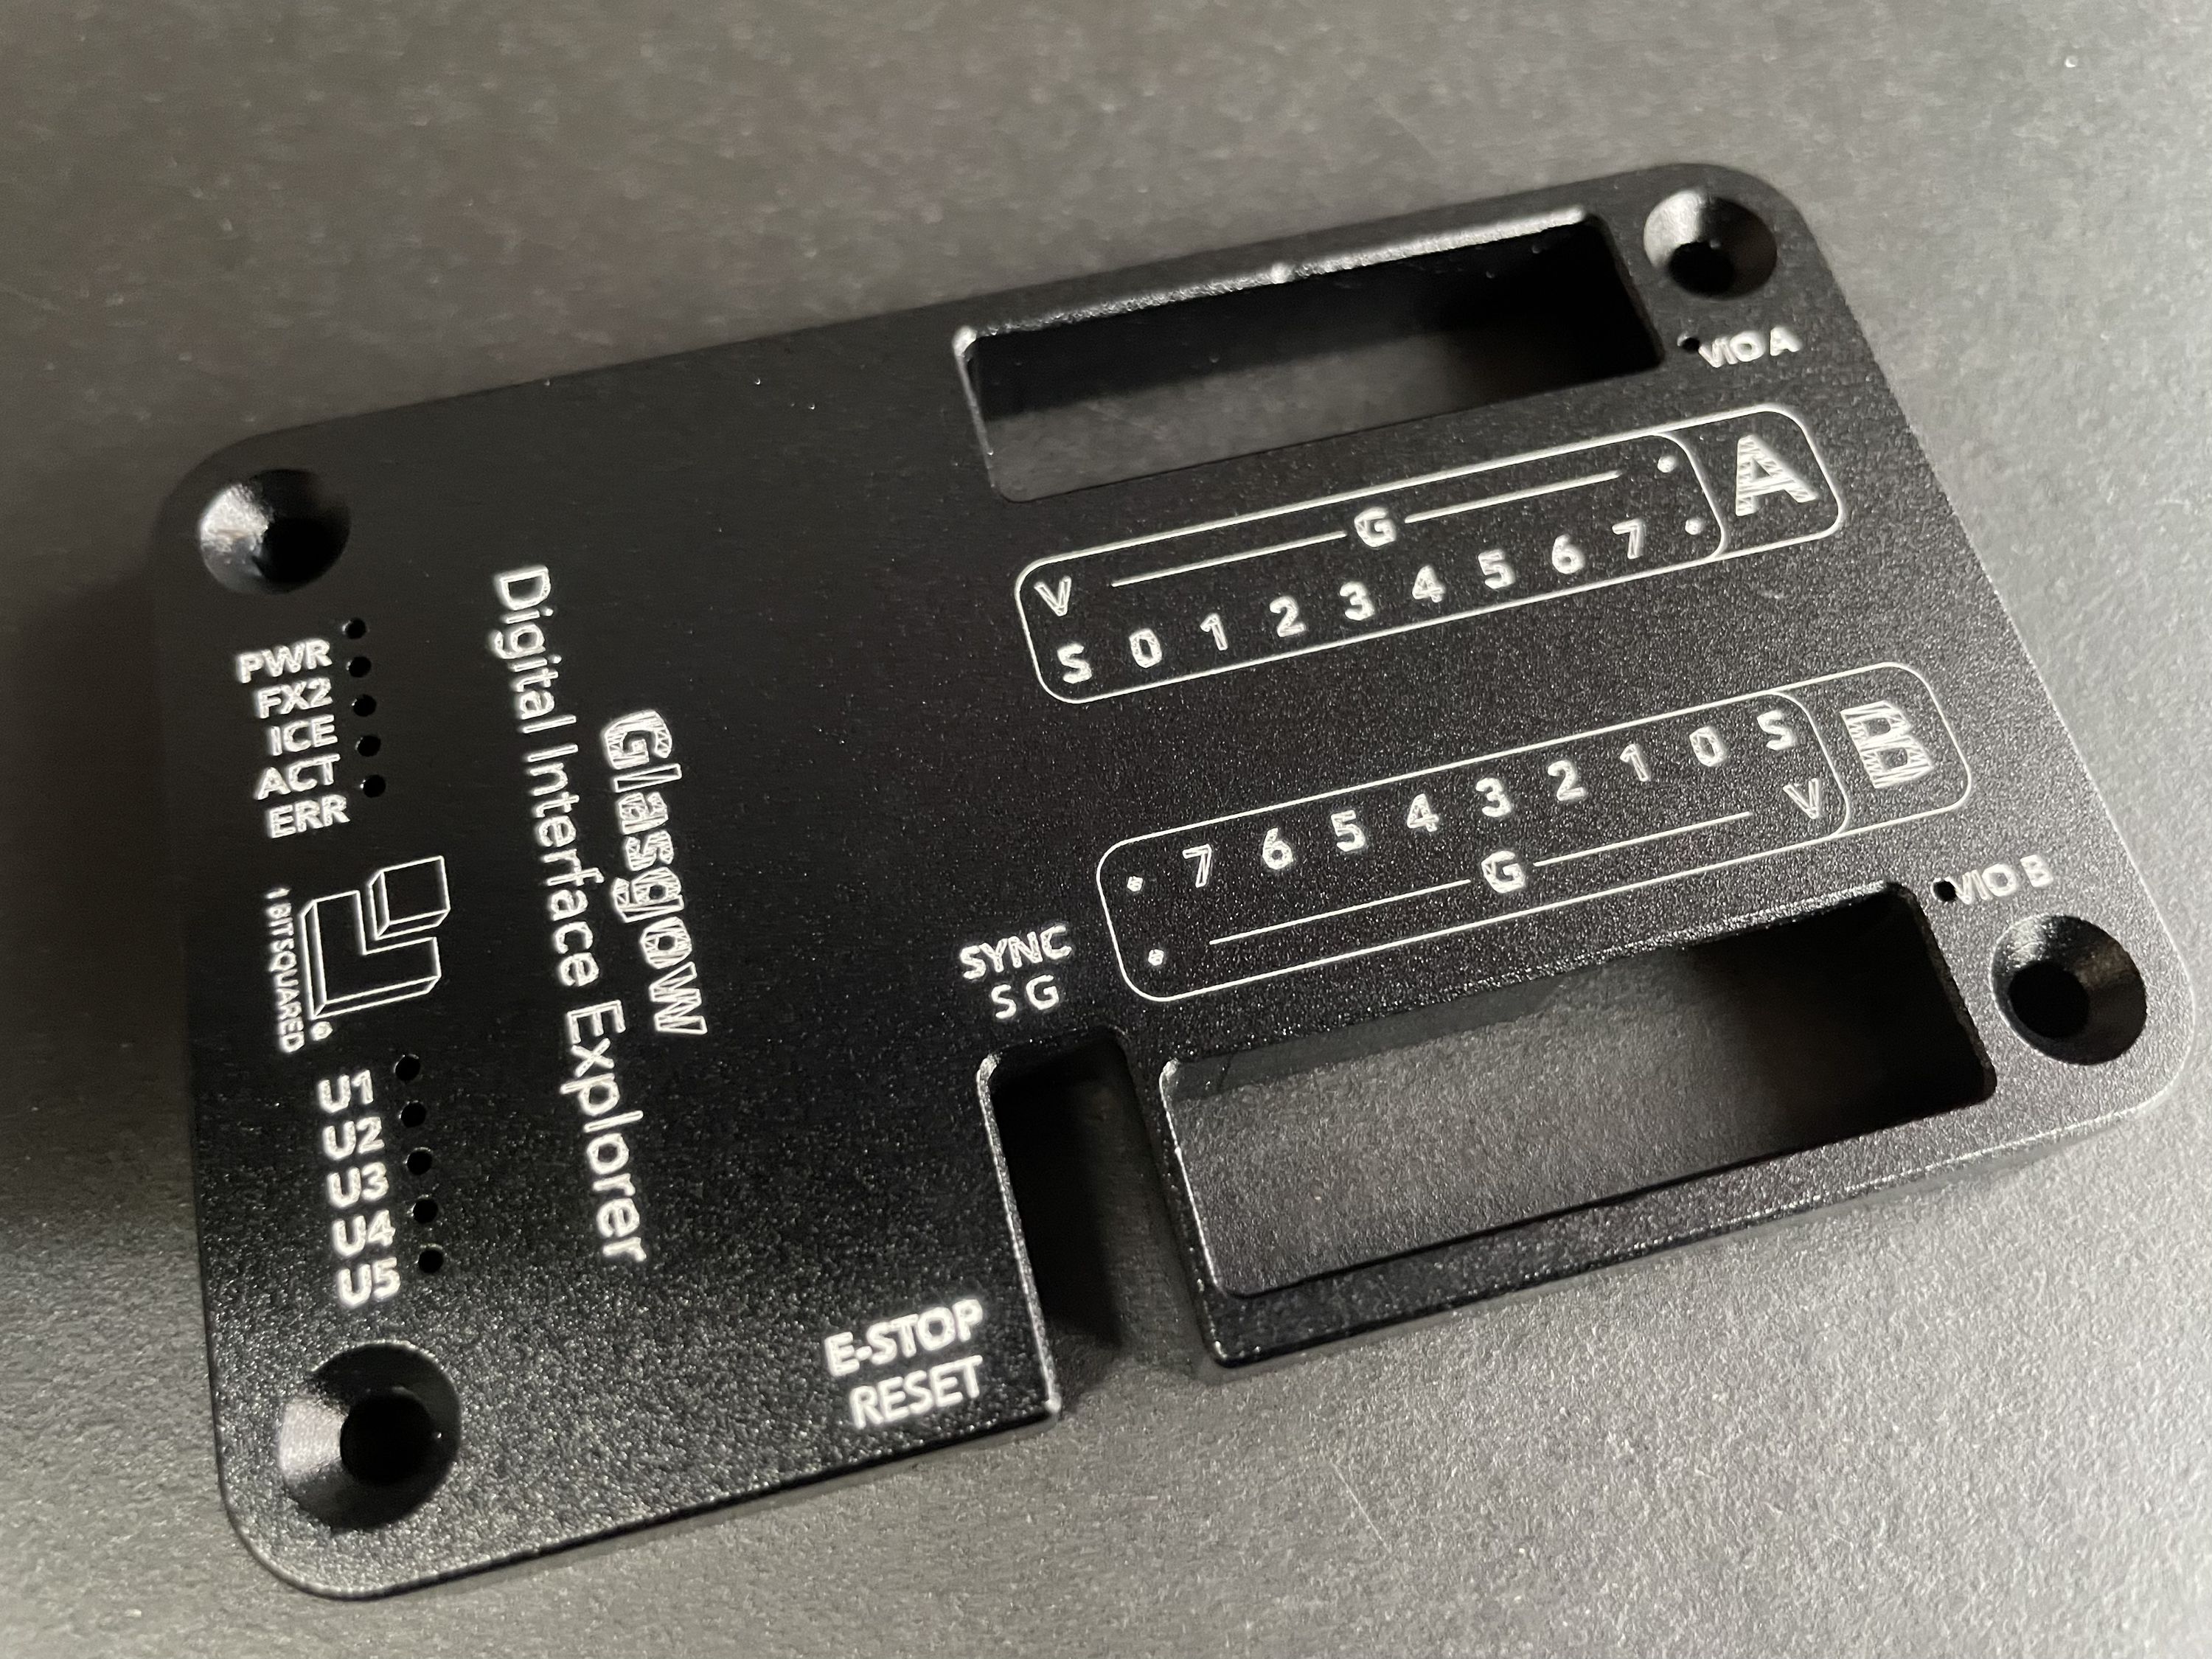
The case finish and machining looked great, unfortunately the laser etching on the case was incredibly bad. It seems that the engraver converted the PDF into some other vector format instead of using it to raster the engraving. This means that we lost an opportunity to validate our laser engraving CAD files were correct. We did not have issues like this with our regular case manufacturer.
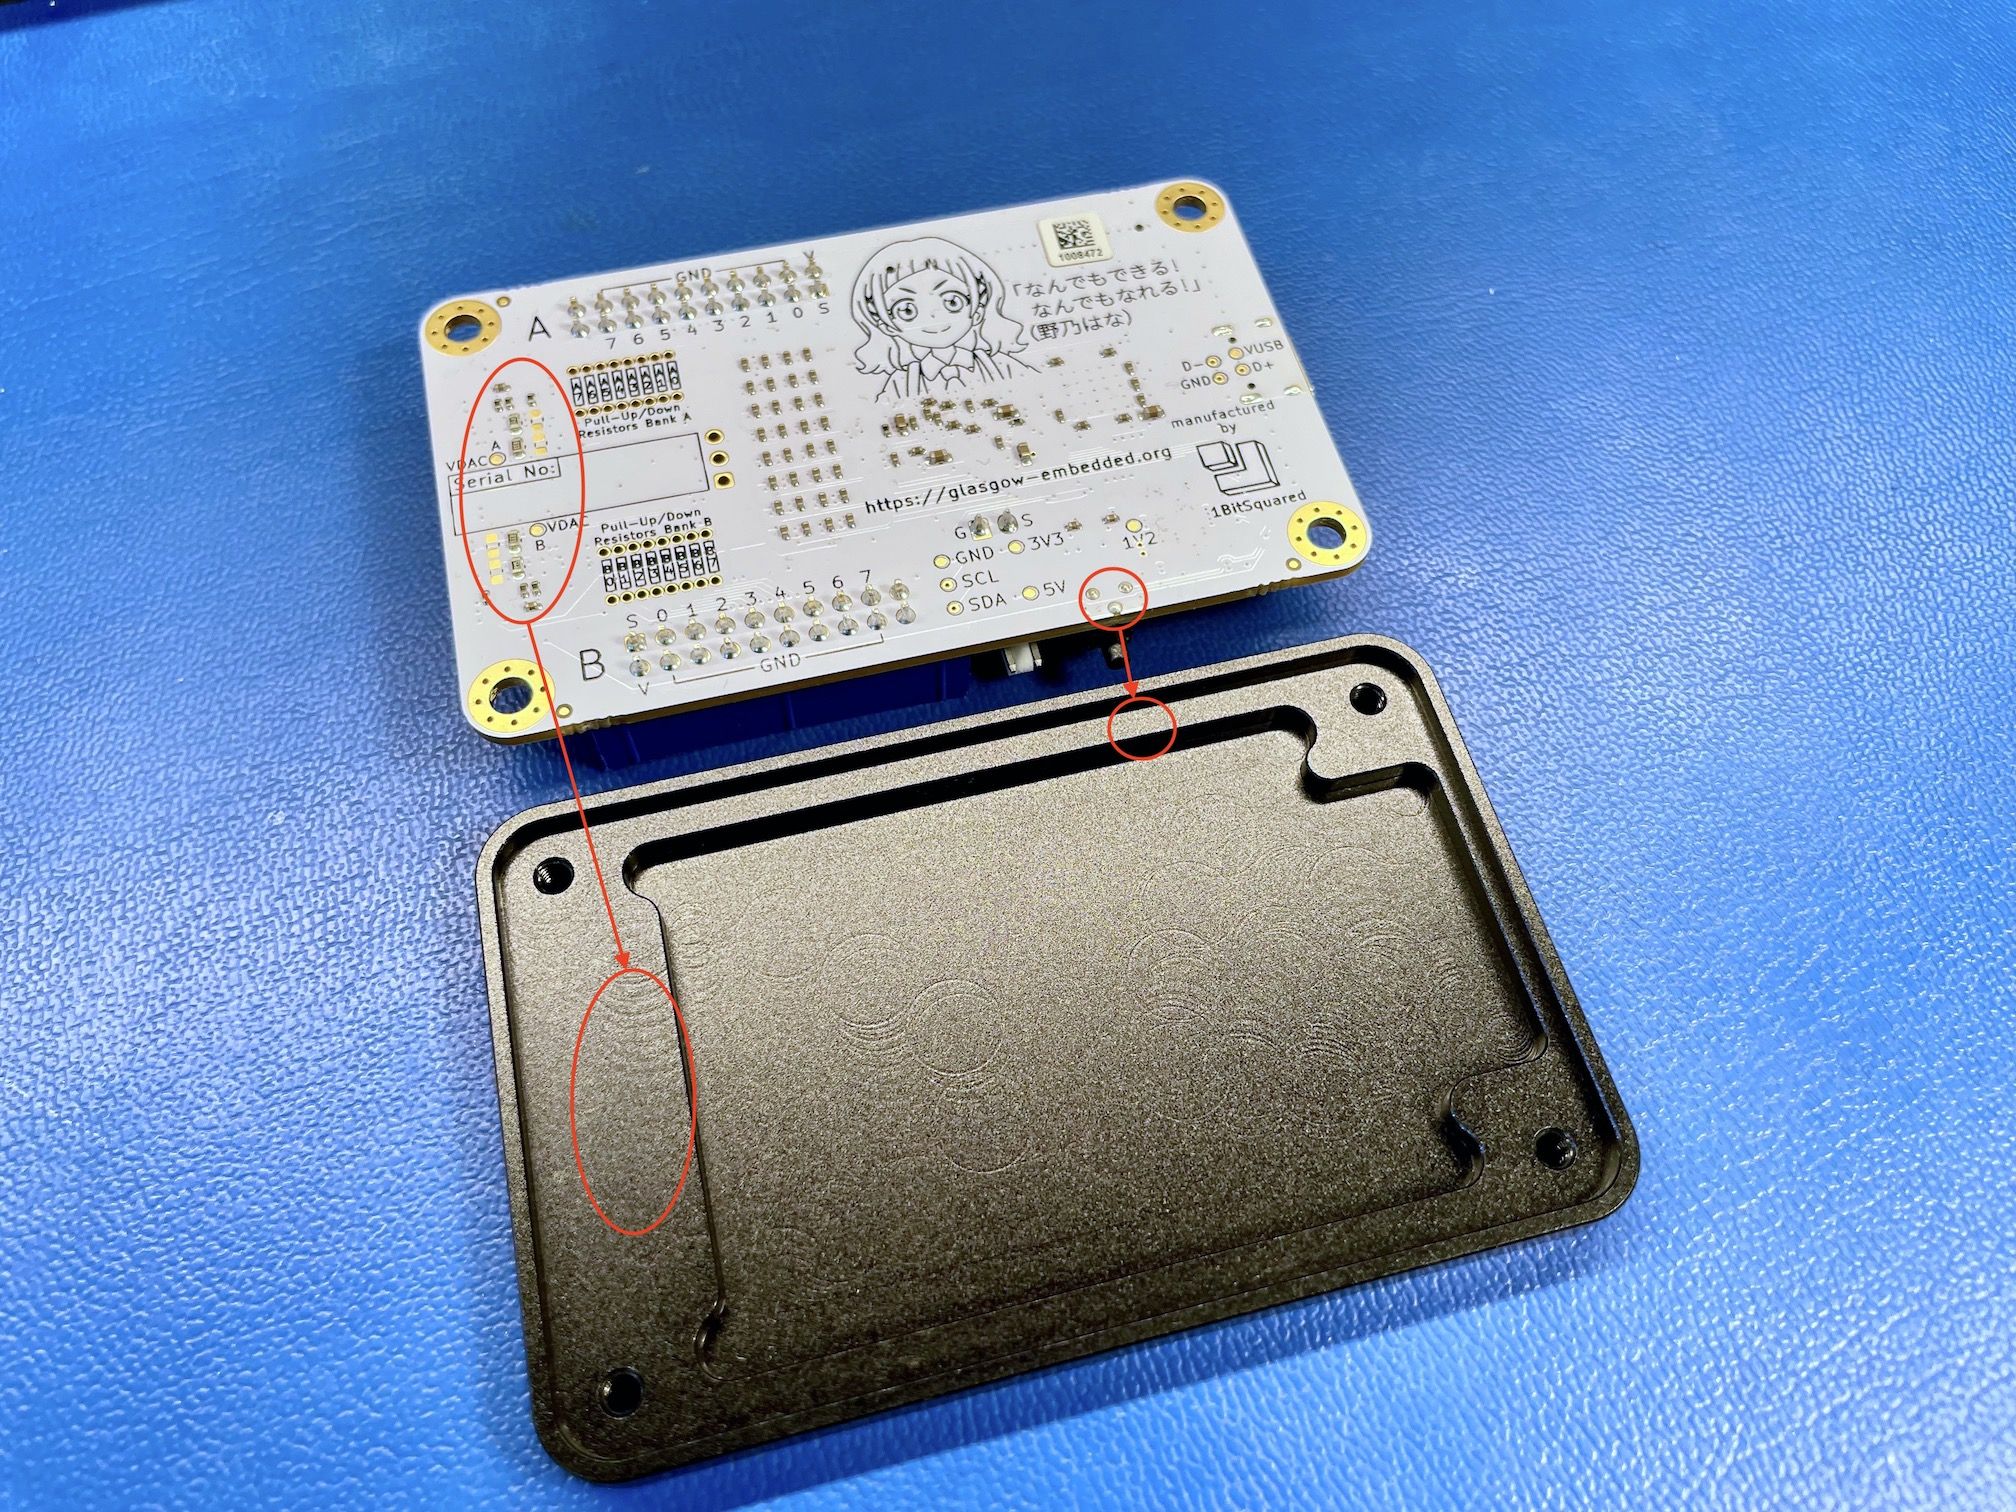
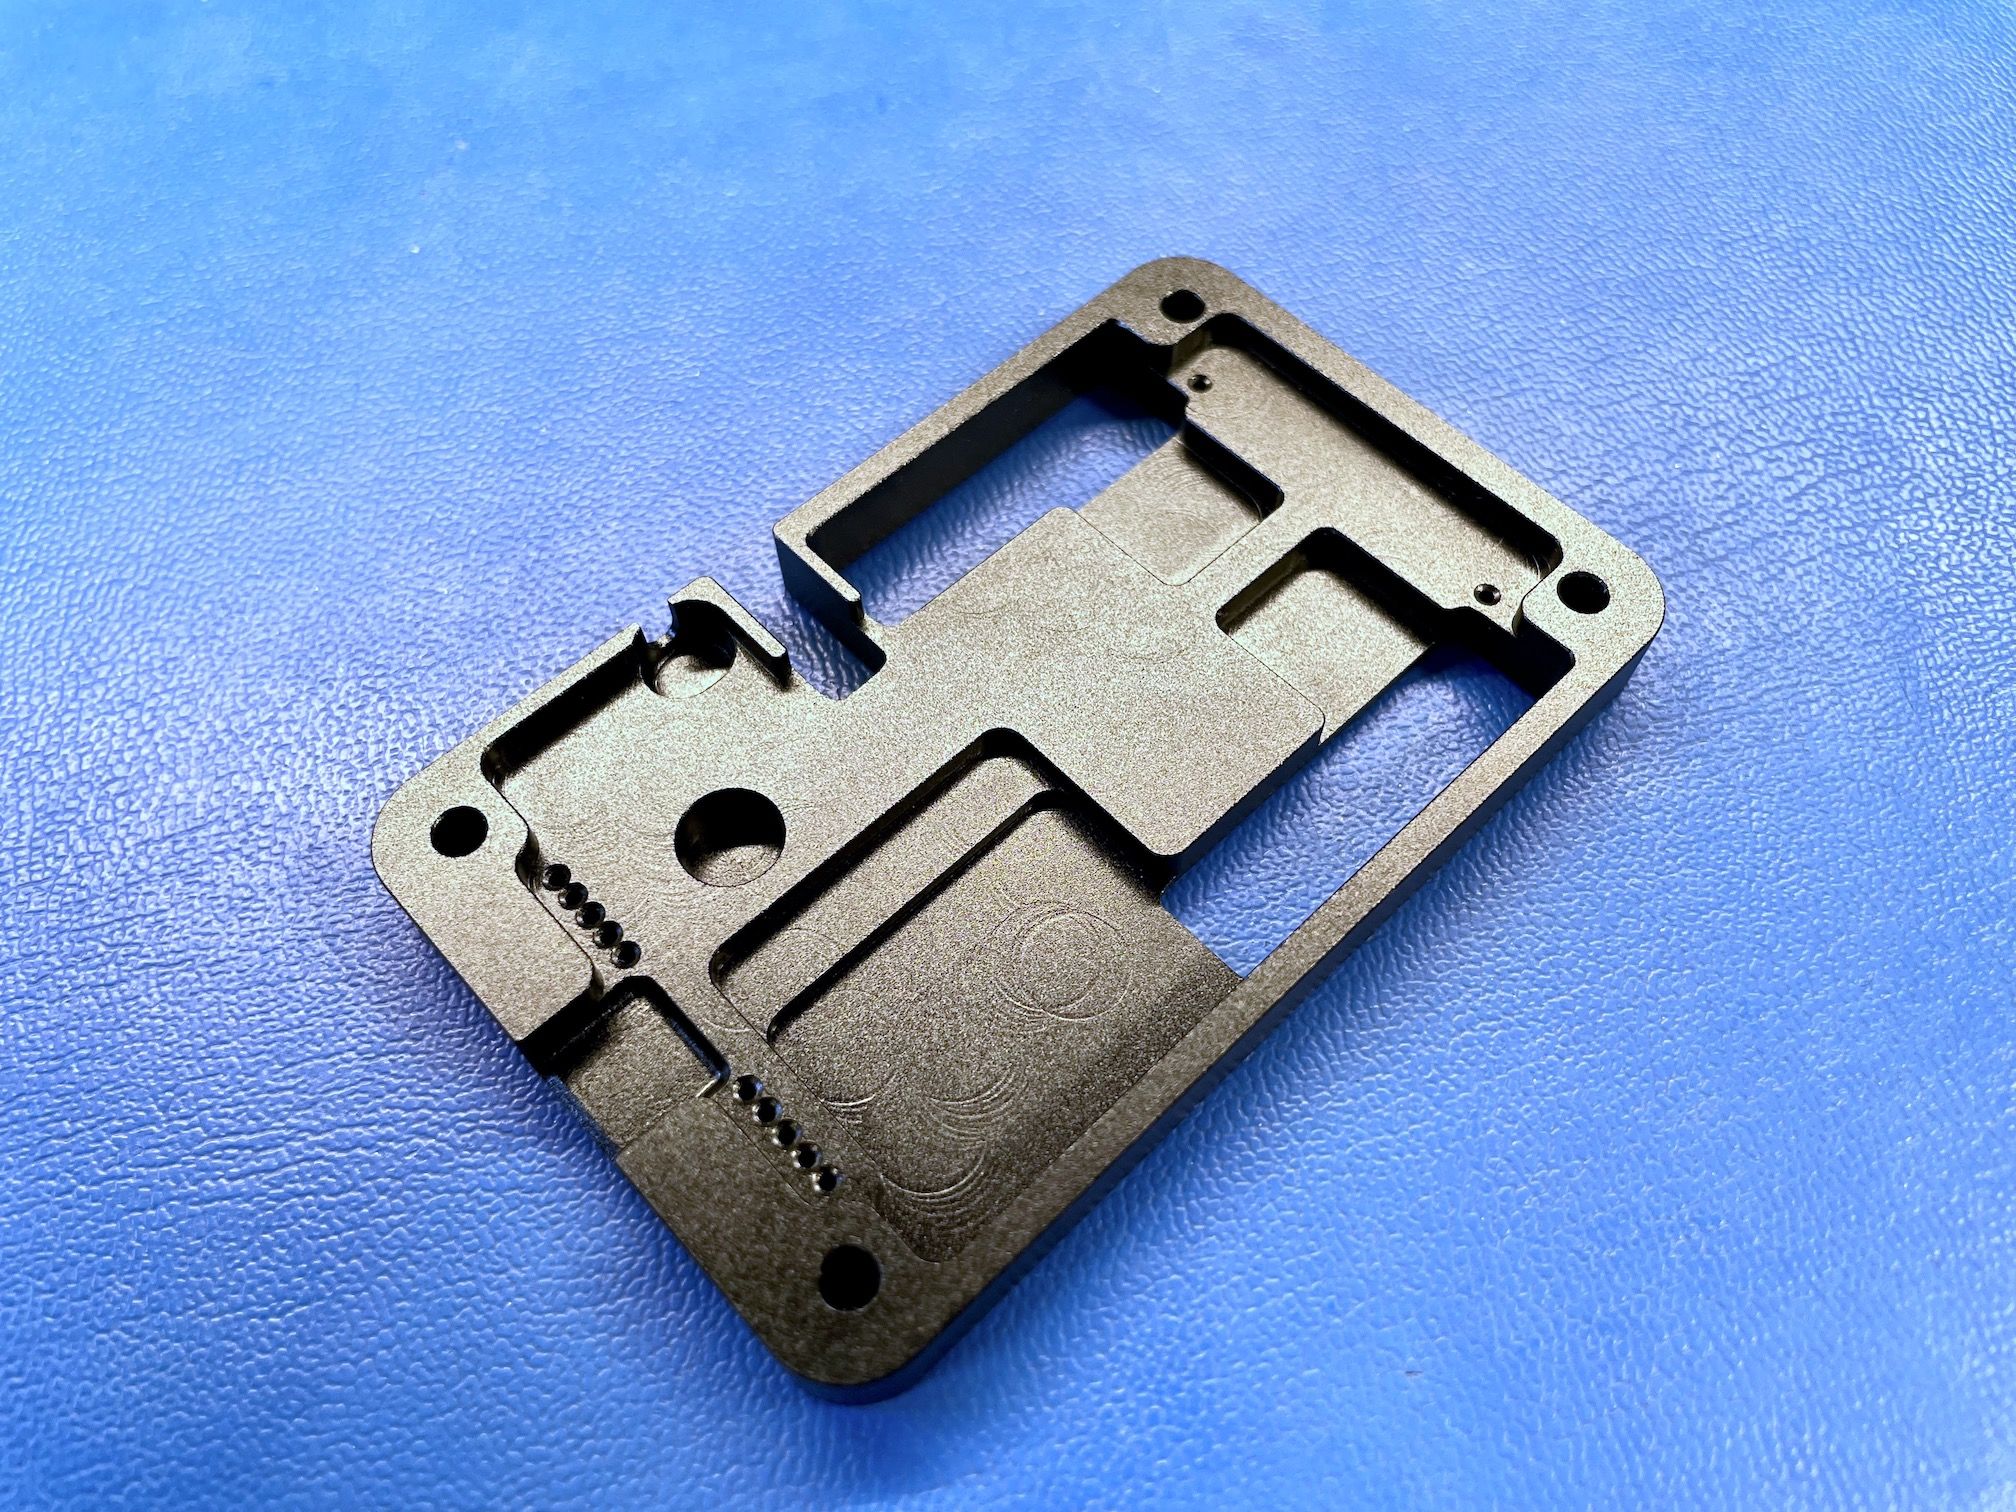
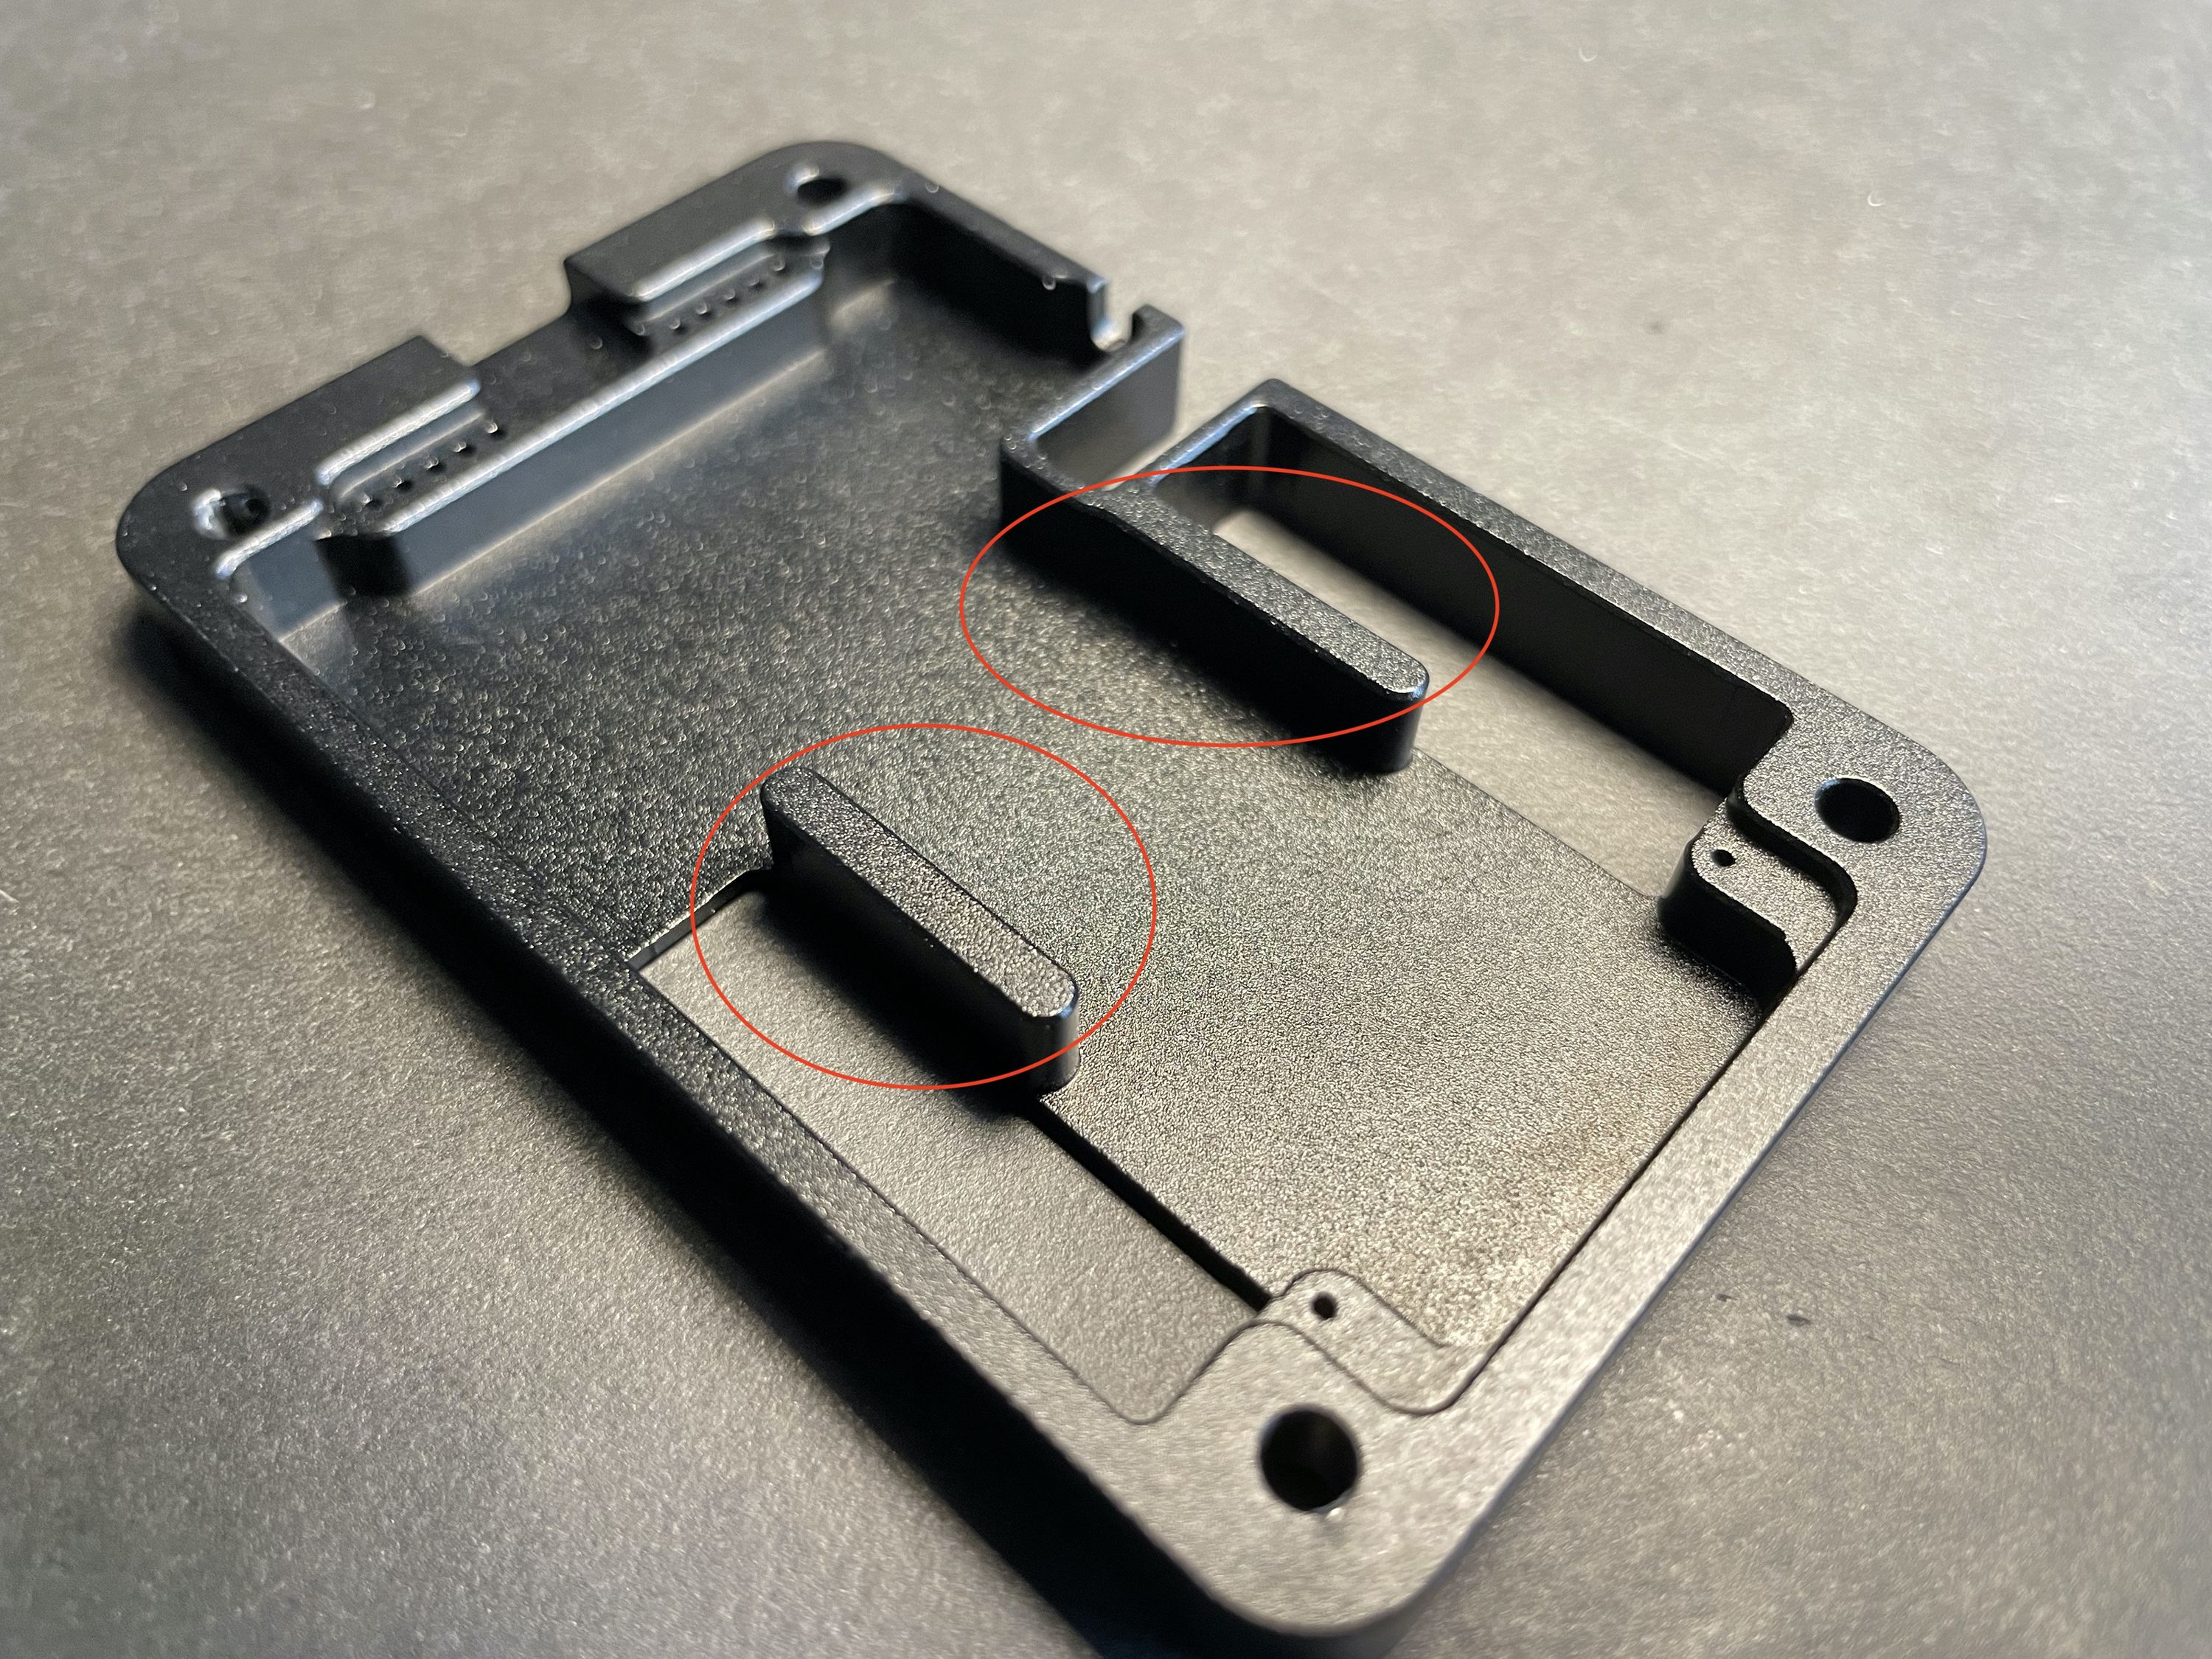
When we tried to assemble the case with the PCB, we found an issue with the design. The internal fences were not stepped down to make space for parts on the PCB. We were experimenting with additional light pipe fencing and in the process of doing that we deleted one operation in the CAD software. This resulted in the IO connector fences (see photo) being too tall. It somehow slipped through last minute reviews before sending the CAD files to PCBWay.
The two issues, one caused by us and the other by PCBWay (they did issue us a refund) resulted in us losing a bunch of time. We corrected the CAD file issue as quickly as we could, 3D printed another test piece to make sure that it fits. We are pretty sure we got everything right this time, but after all those tests and failures, we still needed to make one last prototype run.
The prototype cases are ordered and we expect to get them in a few weeks. We really hope that it is the last time we need to do this and we will be able to place the final order.
Workshop status
In the last update, we also mentioned that we decided to upgrade our workshop. After assembling a few Glasgow panels, we realized that we will not be able to get this project fulfilled in any reasonable time frame with our old Pick and Place (PnP) machine.
Video clip of the Quad 4000C placing parts on the Glasgow panel
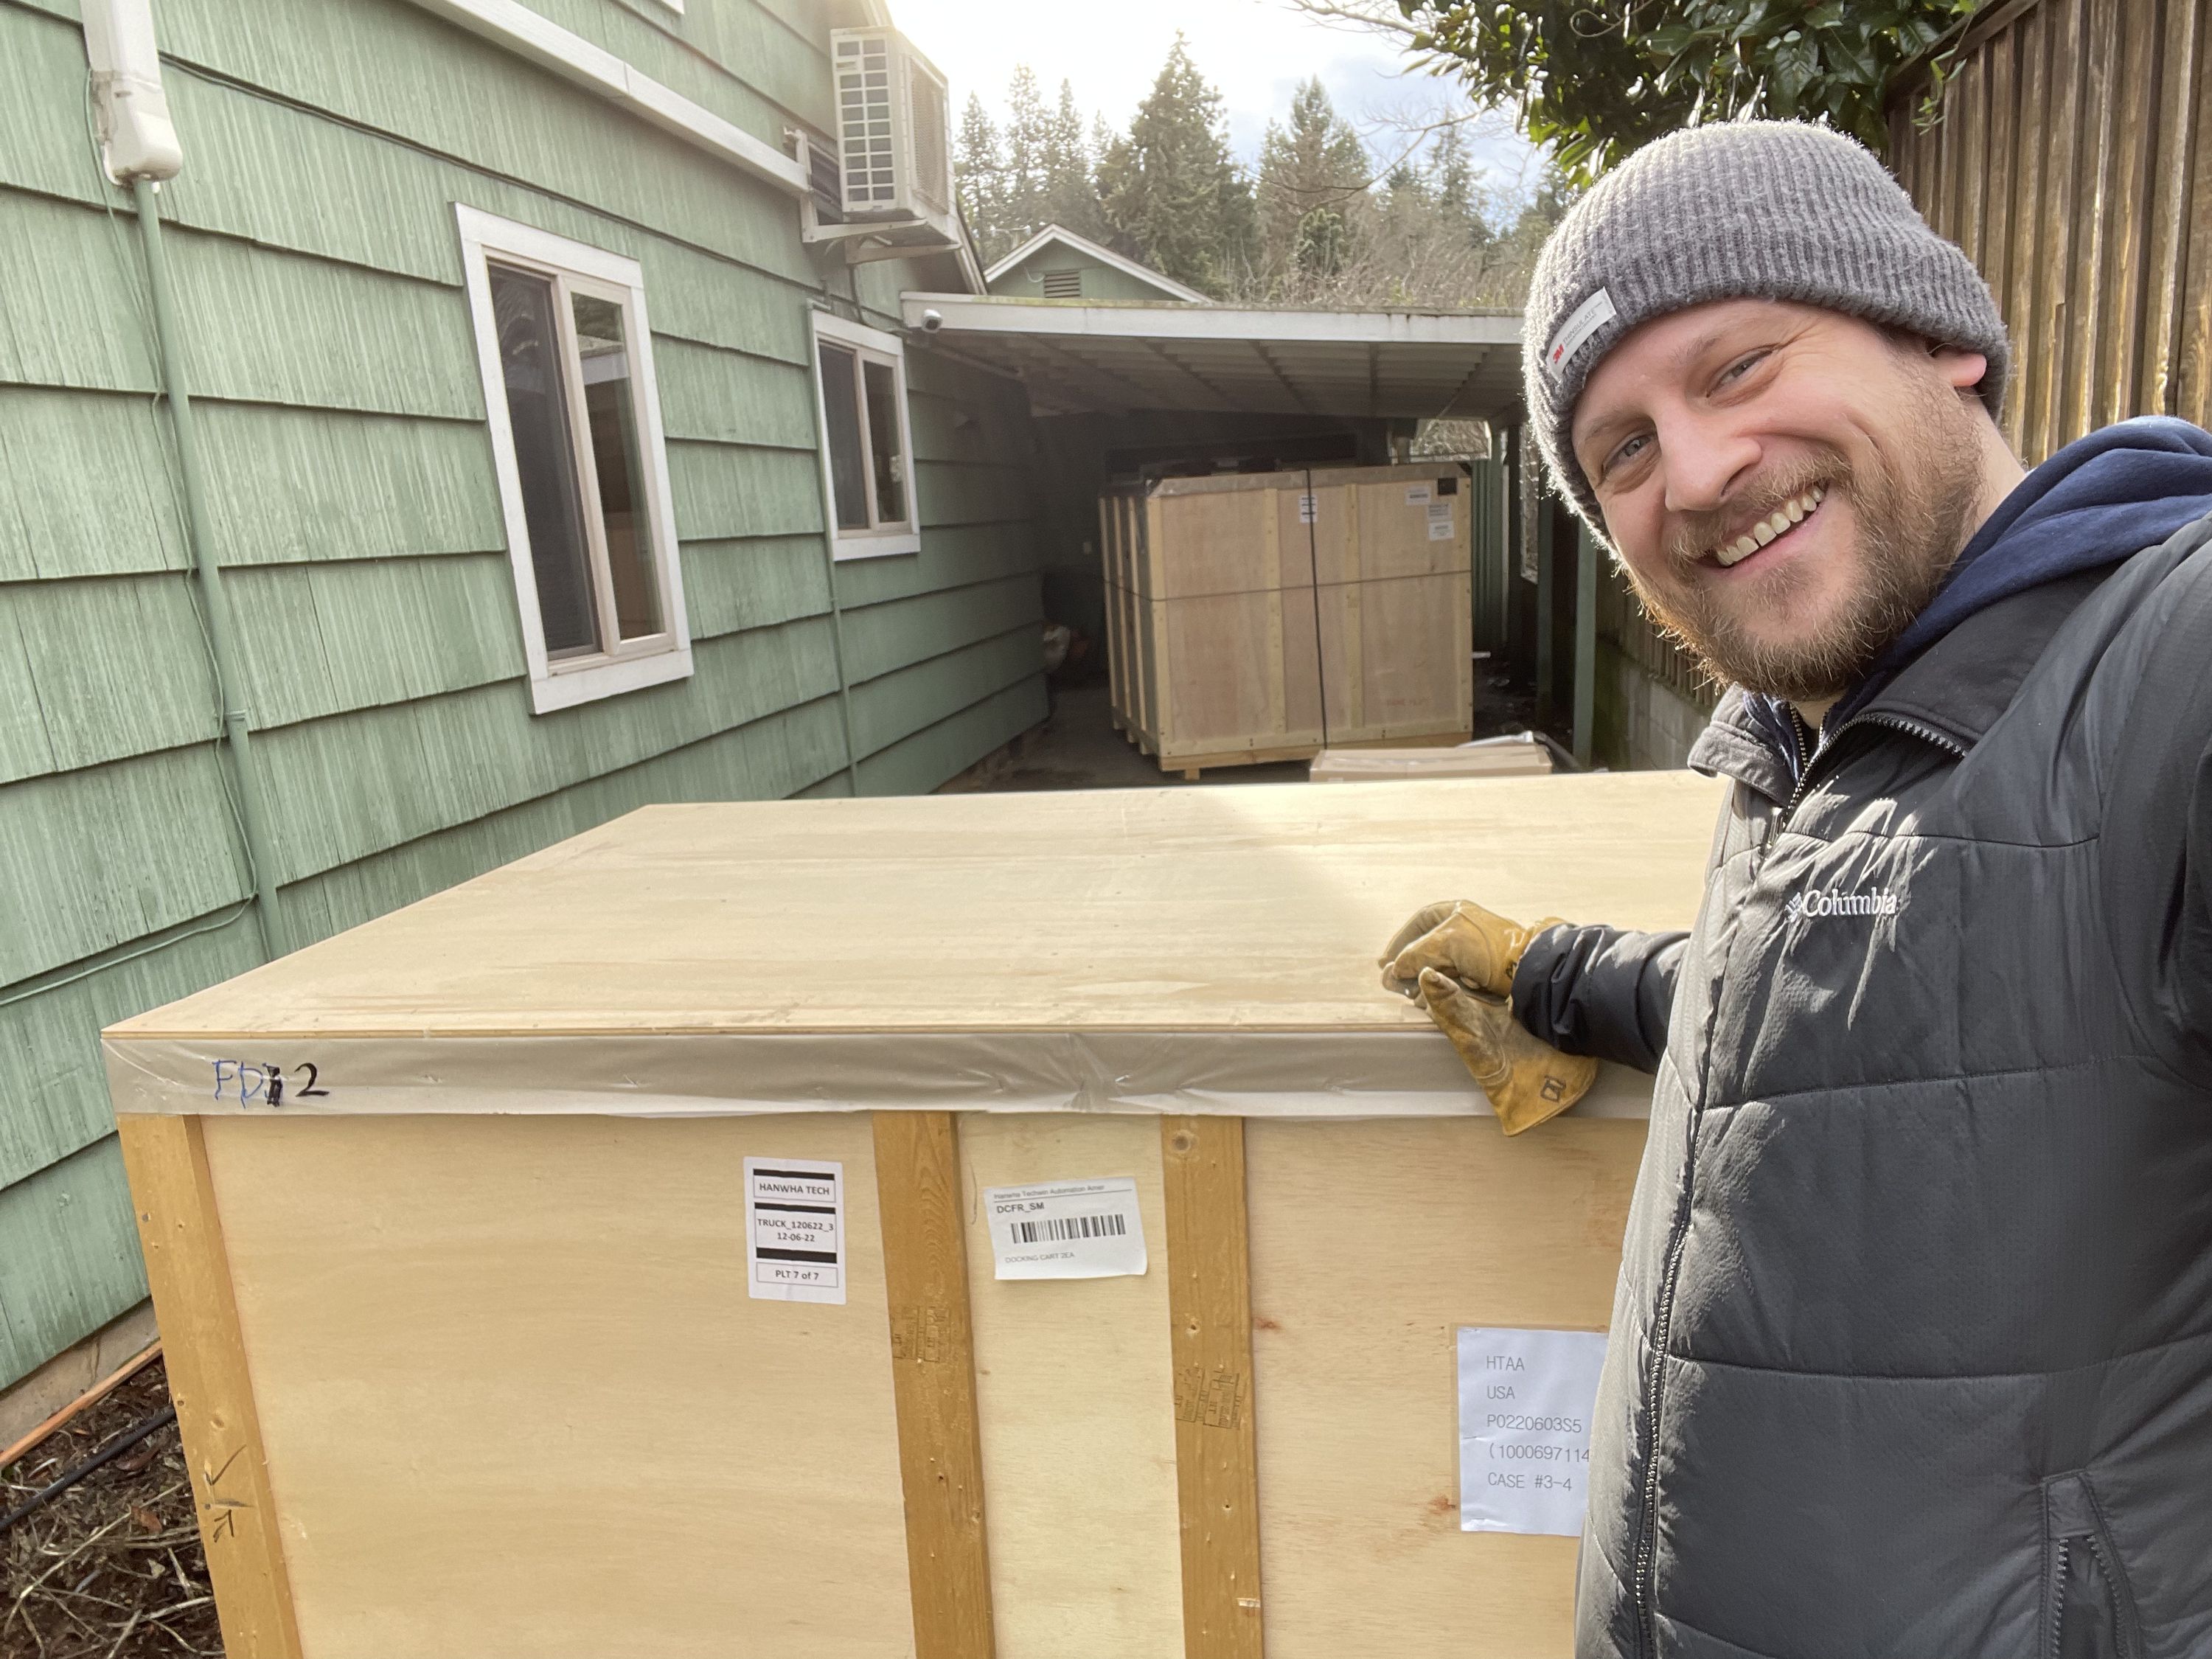
We talked to a bunch of friends with different PnP machines and decided that we should invest in a proper, name-brand, modern and versatile PnP machine. We reached out to a few different vendors and after a bunch of meetings and negotiation we settled on the Hanwha (formerly Samsung) SM482Plus.
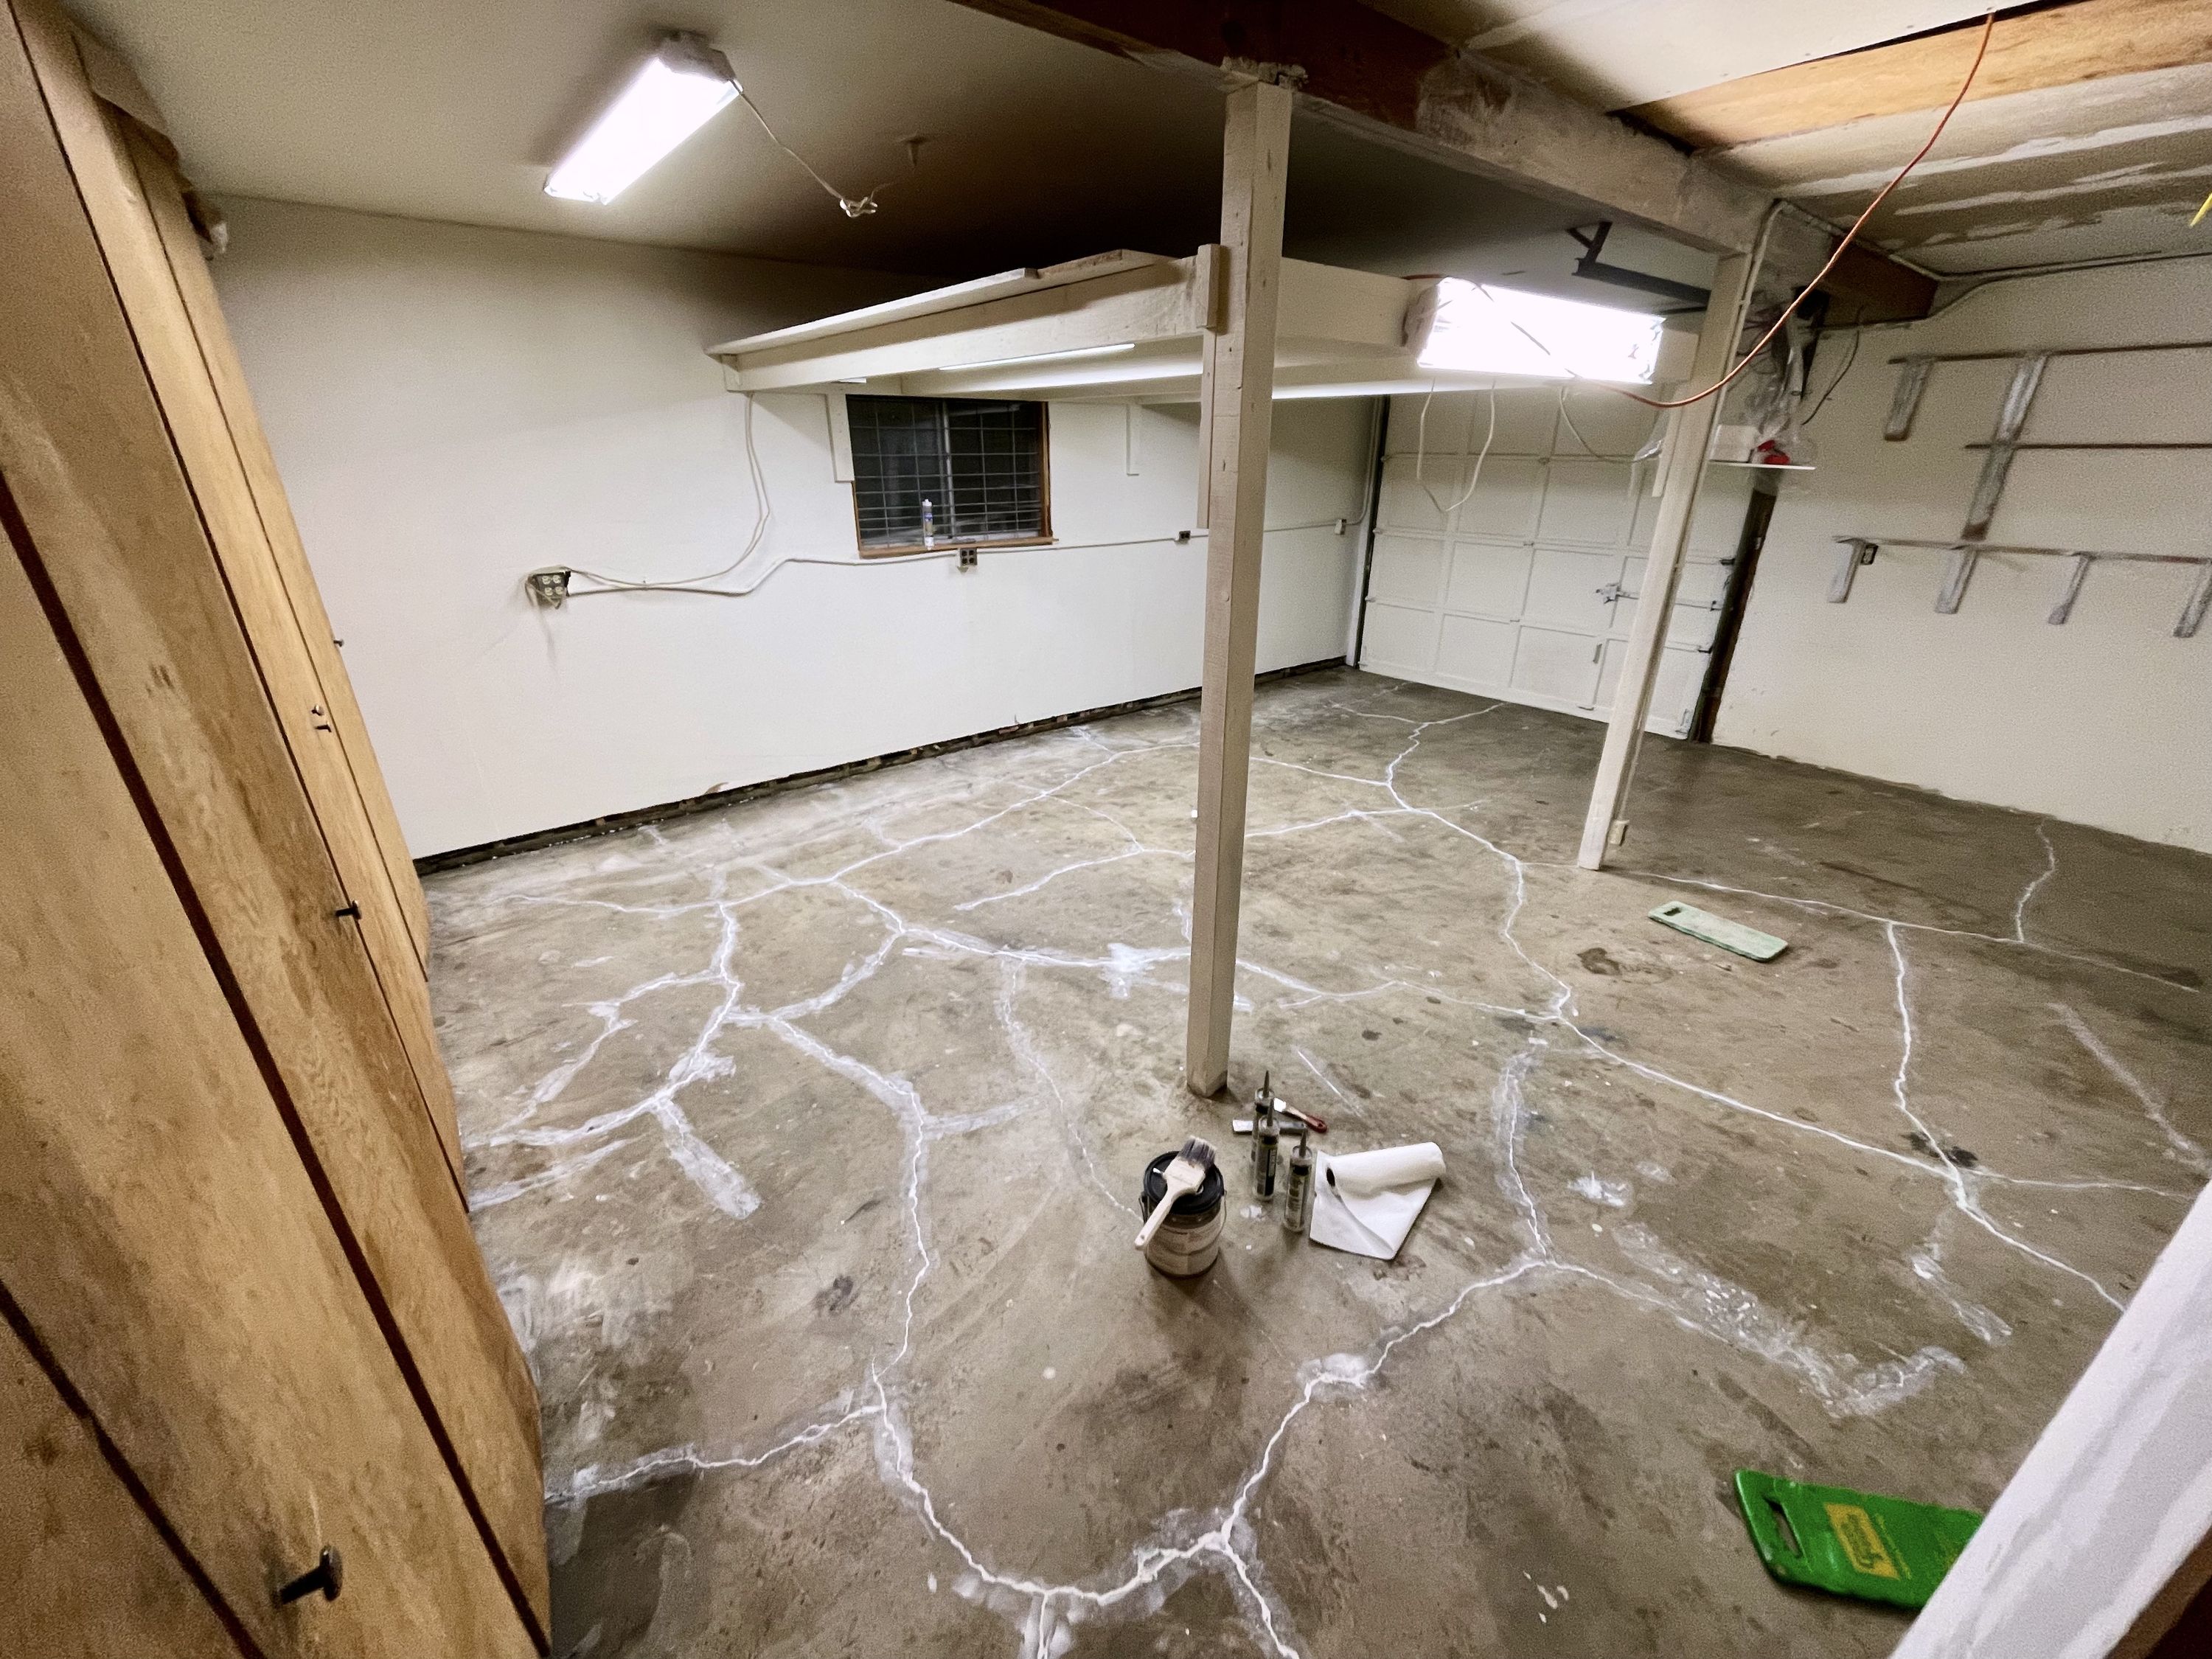
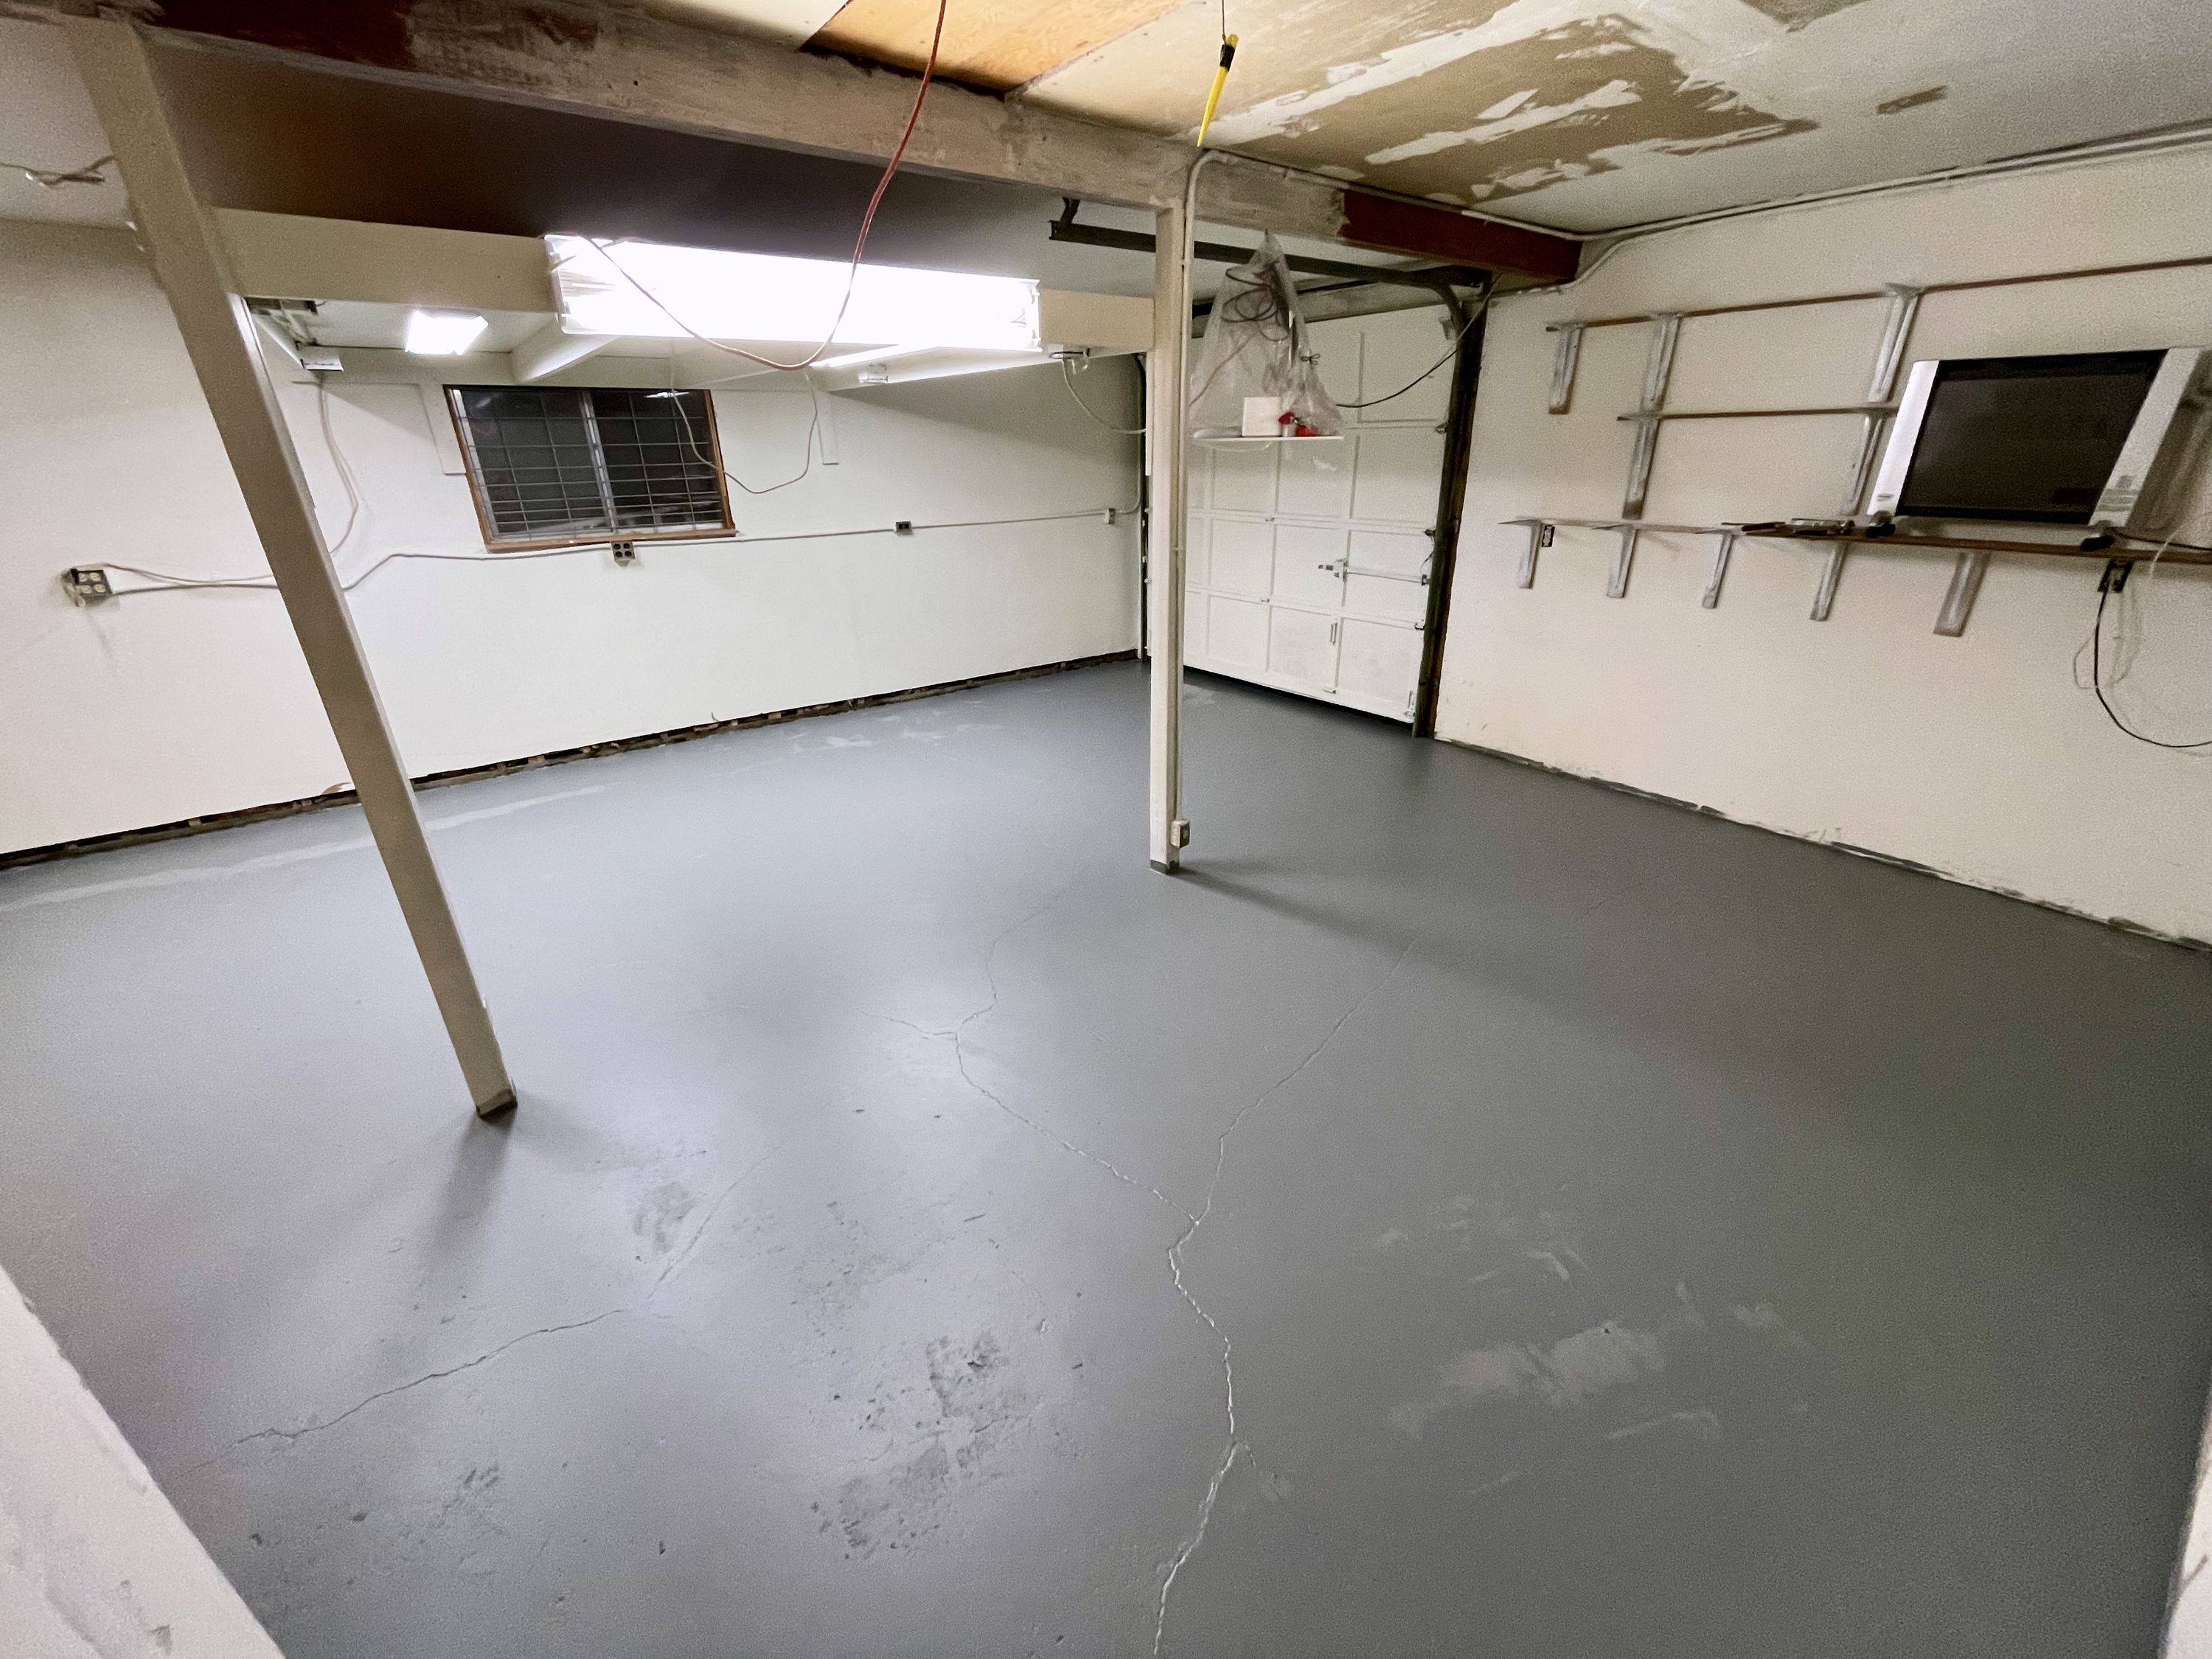
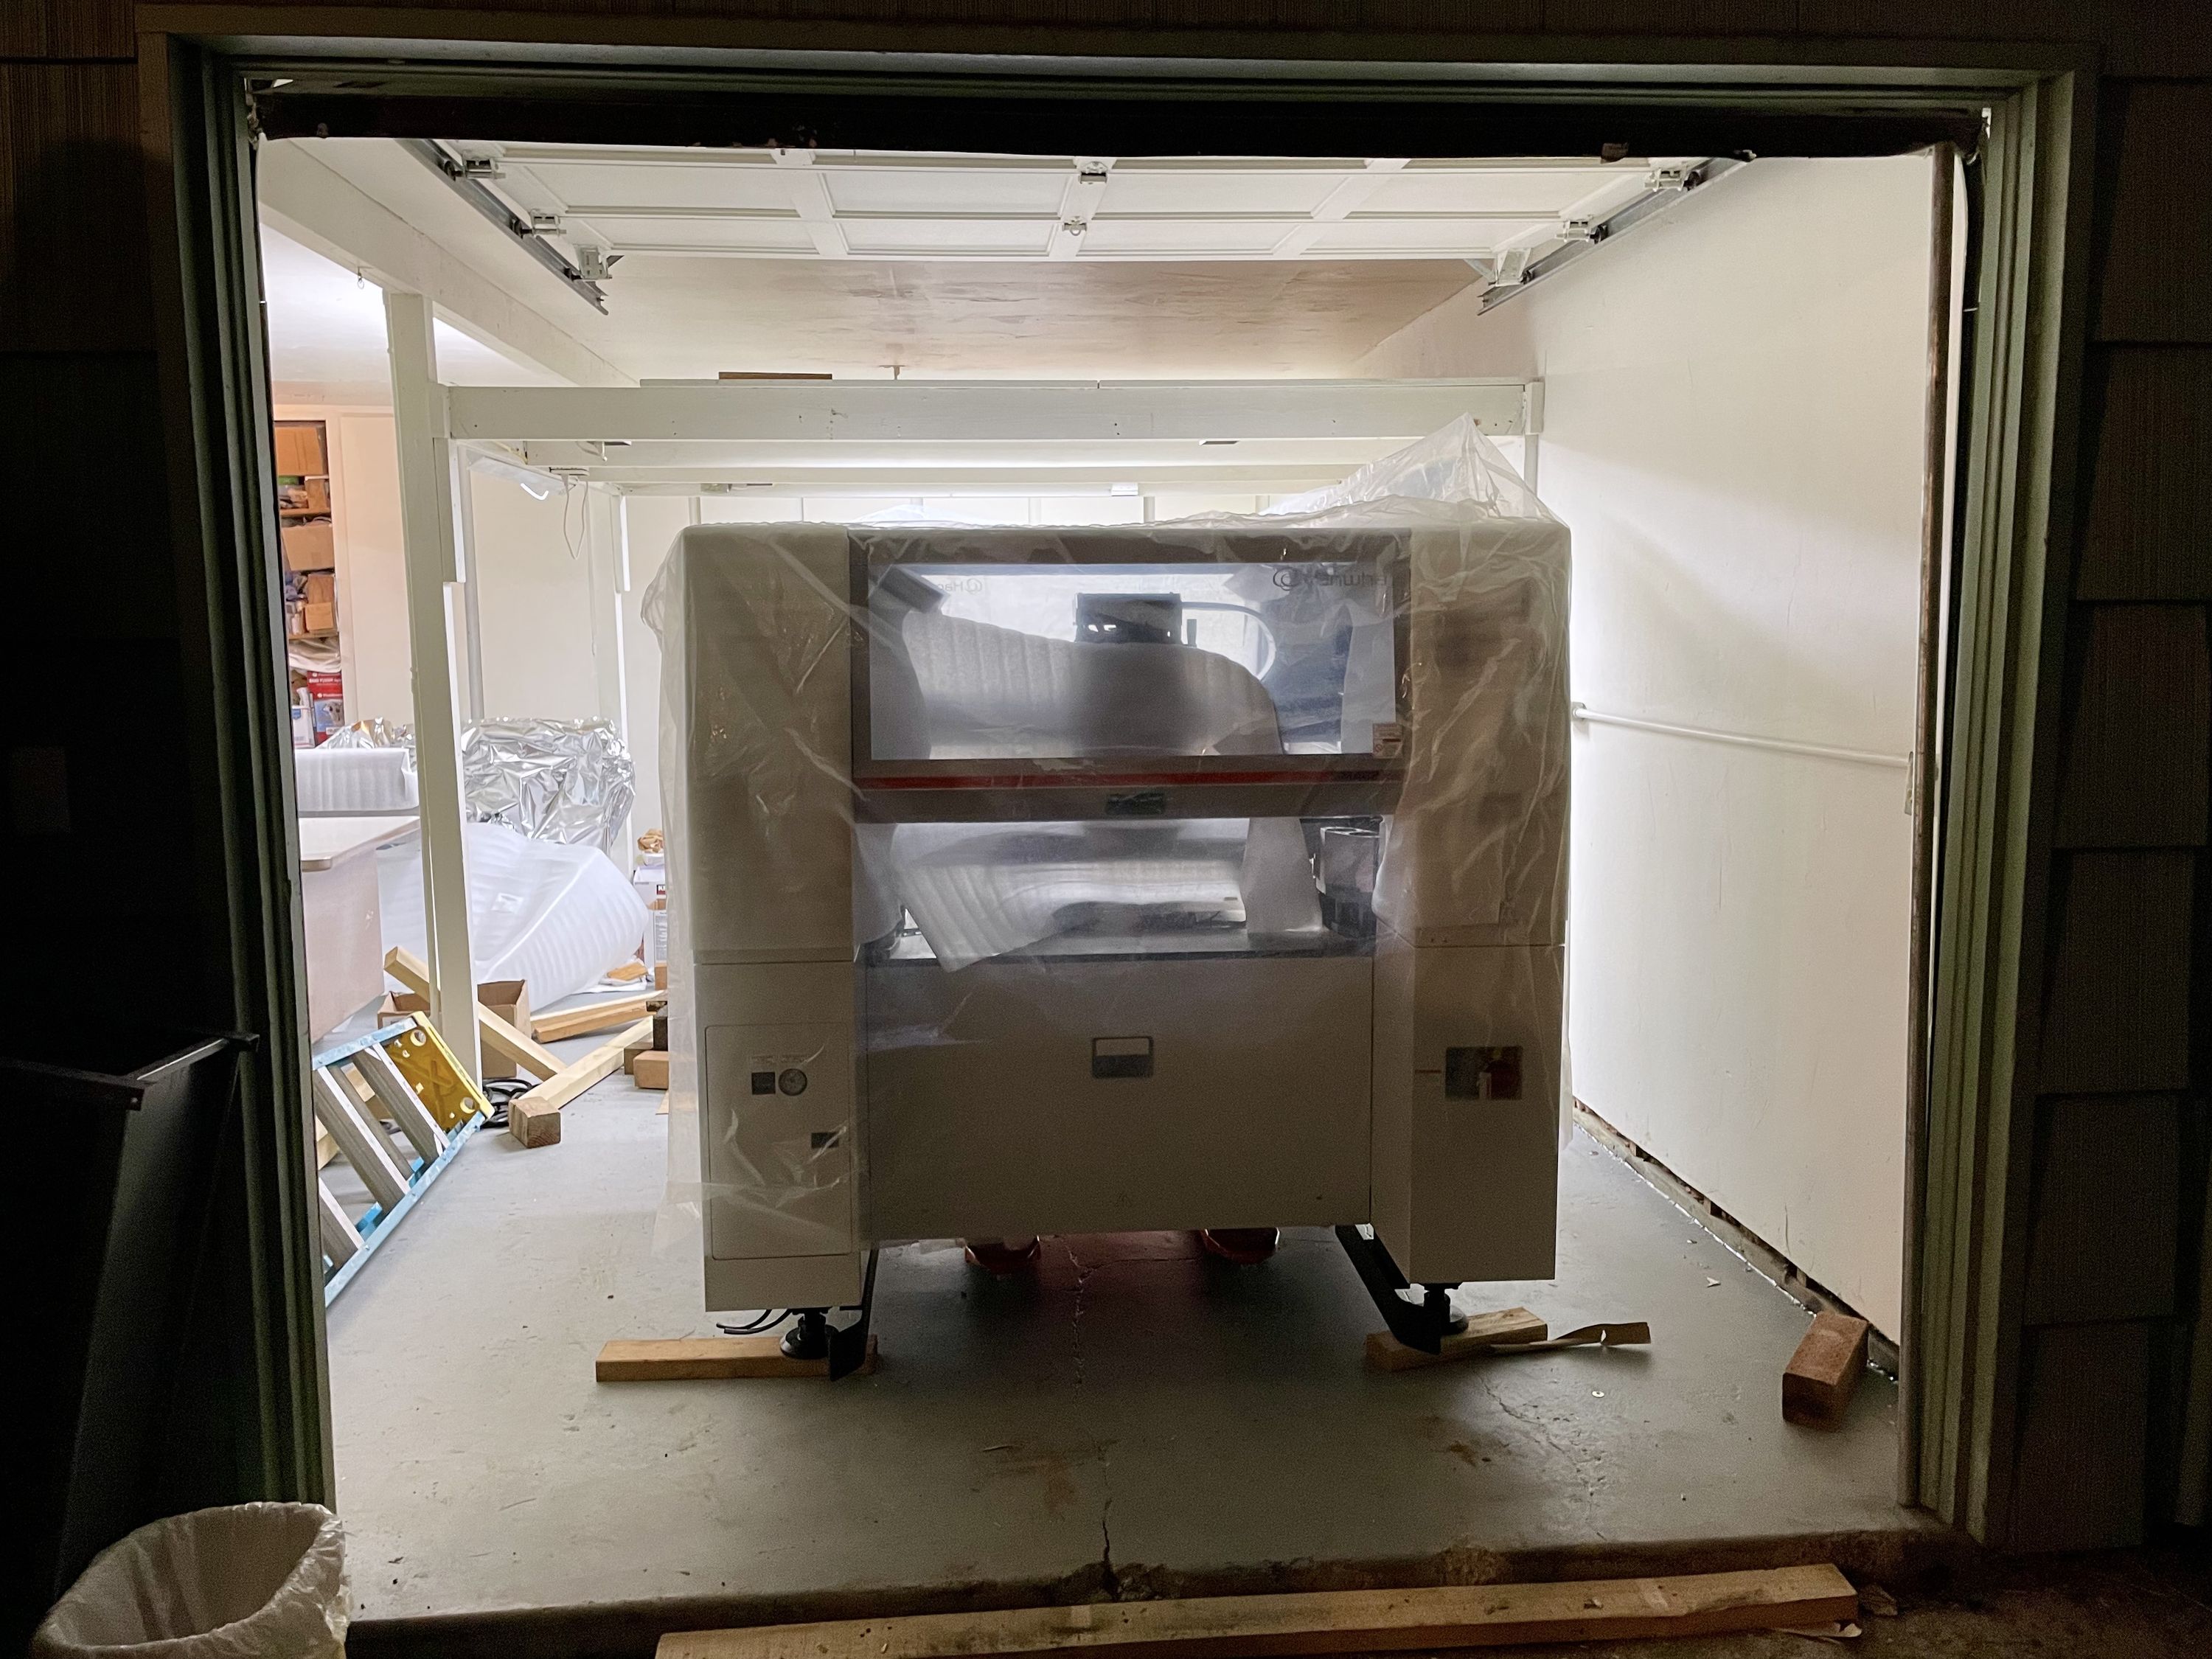
After spending Christmas, New Year and first week of January furiously renovating and preparing the space in the new workshop, we got the machine delivered. It was surprisingly large. We had some "fun" moving it around with a rented forklift. The "fun" part was that Hanwha did not tell us we would need a forklift with extended forks, so we had to get a bit inventive. All in all we did manage to move the machine into the shop and unpack it. But it was touch and go during the process.
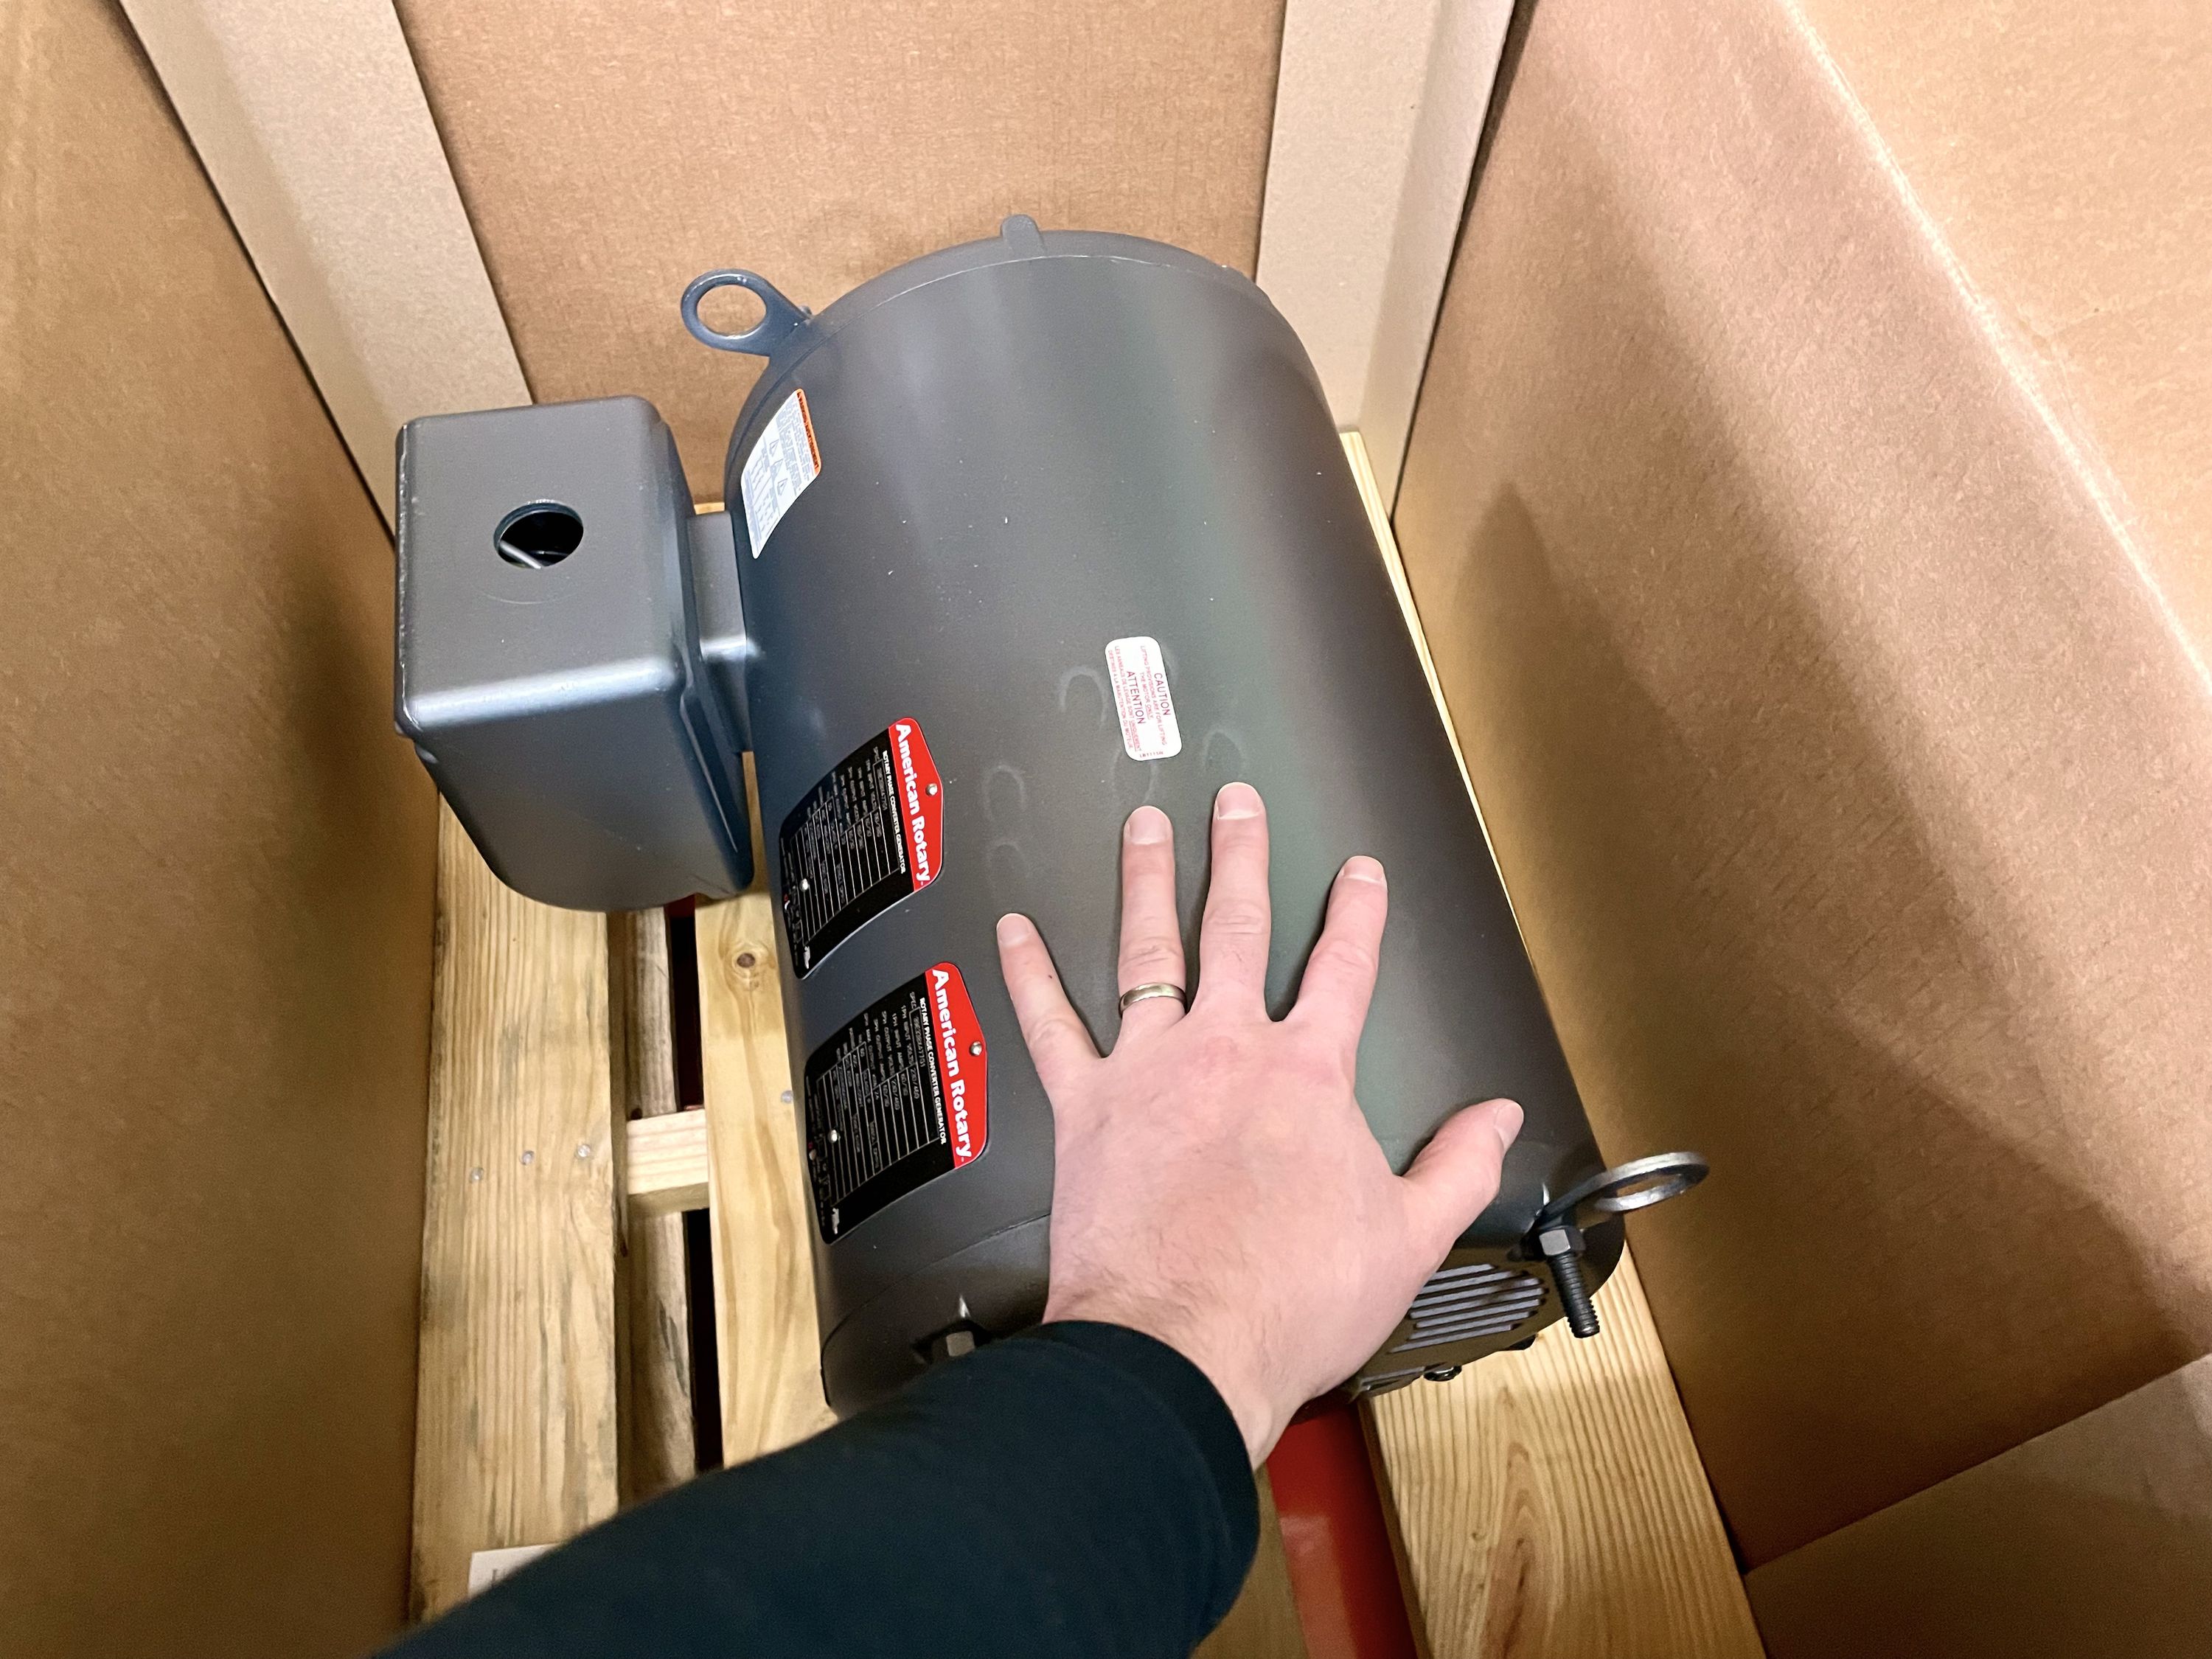
The machine also needed a bunch of infrastructure improvements. All modern "proper" PnP machines run on 3 phase power these days. Our workshop is in a residential area in the US. To get 3 phase here, one has to be in an industrial area or pay the utility to install some extra transformers, which is prohibitively expensive. The common solution to this issue is to get a rotary converter. In simple terms, it is an induction motor that generates the third phase. Solid state solutions do exist, are more efficient and are definitely quieter but they cost as much as getting those transformers installed by the utility. I bet, given time, we should be able to score a used solid state inverter on eBay or some industrial surplus eventually, but within the current time constraints, that was not really an option. If you happen to have a 15 kVA solid state three phase inverter you want to get rid of, let us know. ;)
Clip of the Rotary Converter starting and stopping
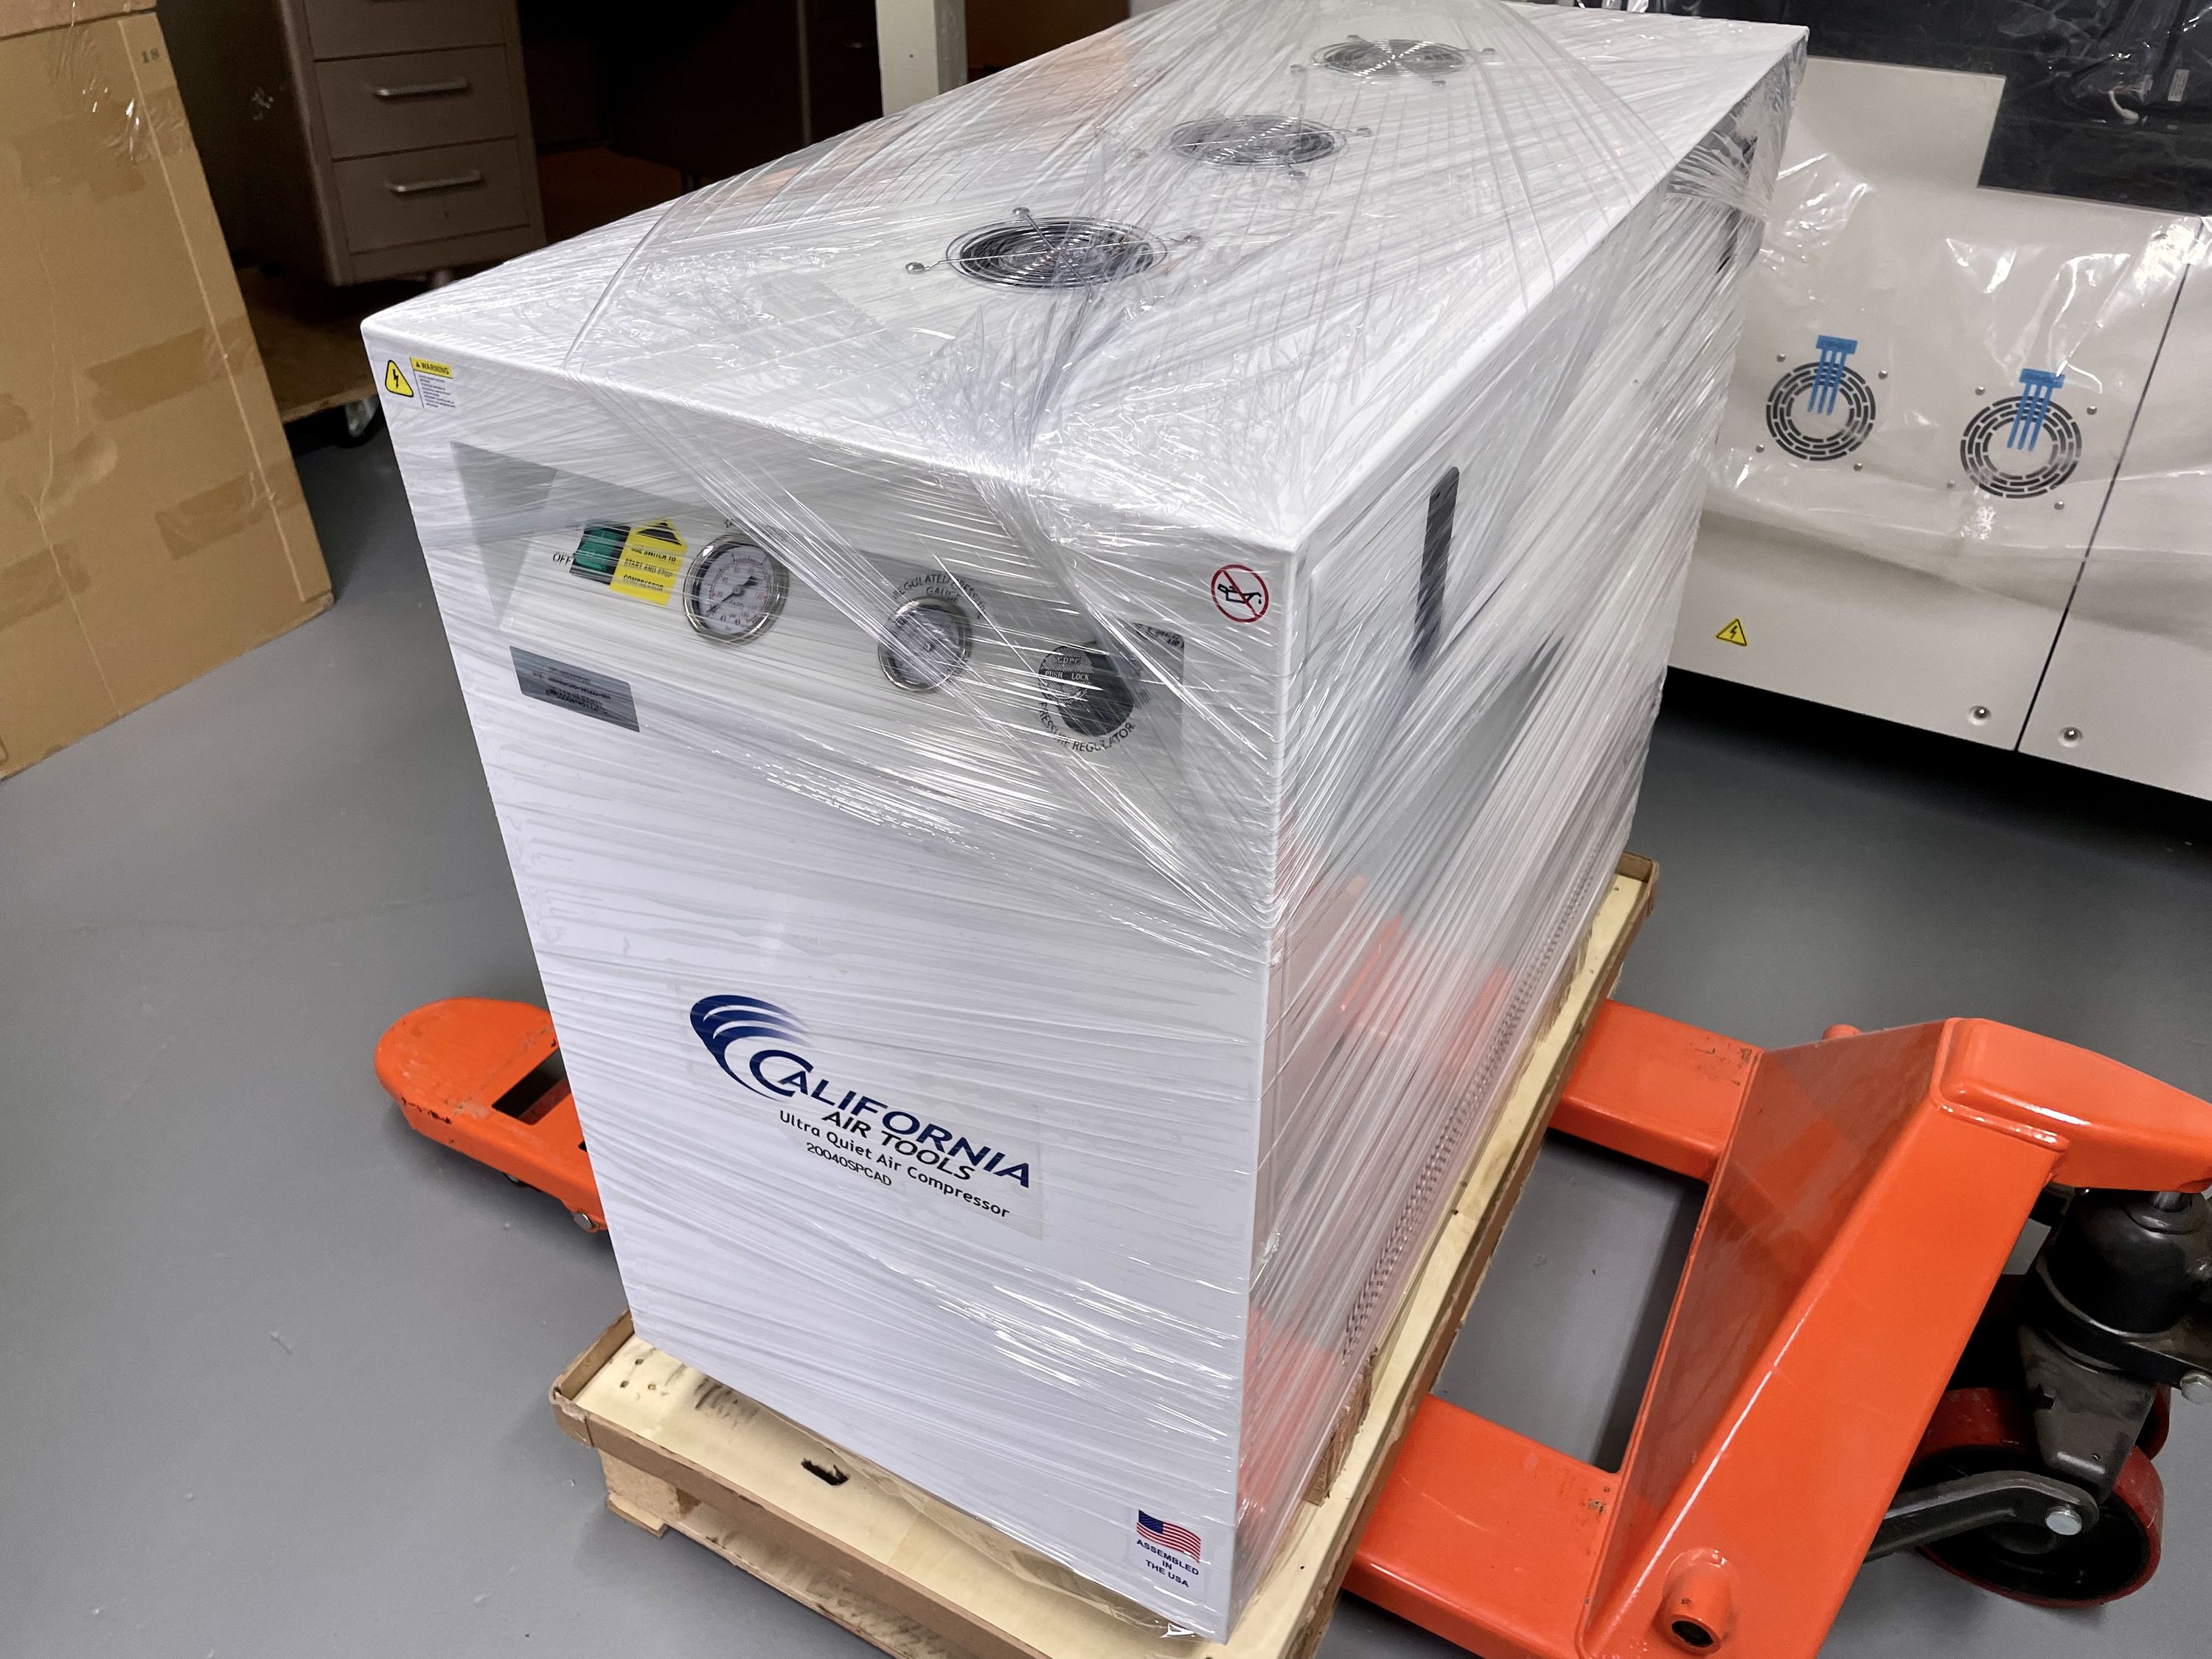
Beyond 3 phase power, a PnP takes a lot of compressed air. In case of the SM482 it consumes 8 CFM (190 Nl/Min) of 80 PSI (5.5 Bar) of air. It uses most of that compressed air in a venturi converter to provide vacuum to the nozzle pickups. There is a bunch of pneumatics in the machine, and the nozzles need compressed air to quickly collapse the vacuum, but most of the air is "wasted" in the venturi. We ordered the machine with the vacuum pump option, but the machine we received did not have that option installed yet. We had the feeling that it will be a while before we receive that option so we had to upgrade our compressor from a 2 HP 5 CFM to a 4 HP 10 CFM compressor.
After the machine was delivered and all the infrastructure was set up with power and air pipes, we got a week long visit from a Hanwha technician. He set up the machine, leveled it, updated the software, added some convenience libraries and made sure that our rotary converter and compressor were up to the task of running the machine. We also got a bunch of training, setting up the machine for different assembly jobs. It was an intense educational week.
It was a good decision to upgrade the compressor, because it took another month before we received the vacuum pump option and we could schedule a visit from Hanwha to come back and get it installed. In the meantime, we were able to catch up on some of the assembly backlog that had piled up since December.
Assembling Black Magic Probe JTAG/SWD Programmer and Debugger on the Hanwha SM482Plus
Another bottleneck were the batch reflow ovens that we were using. A few years back, we got a free conveyor reflow oven from a friend. It was time to set it up. After figuring out the wiring and ducting for the exhaust, it turned out that two of the three solid state solenoids controlling the heaters were broken. Fortunately, they were just regular off the shelf solenoids and we were able to repair the oven in a few days.

The new reflow oven helps streamline the production a lot, and it also improved the quality of the reflow. The batch ovens were ok, but it is visible that the conveyor oven is better when you put boards side by side.
Last week we moved the Quad PnP from the old shop space into the new space. It still needs to be set up, wired and hosed up, but we will be able to move our old projects back onto the Quad and free up the new machine to focus on Glasgow.
Closing words
If you are interested in helping out before you receive the hardware, join the #glasgow Discord channel. We have a bunch of software to-do items that we would appreciate some community help with. For example, a few applets still need to be ported to Amaranth. If you are using Windows or MacOS consider giving the Glasgow framework installation a try, help us in documenting the installation process. There are currently some known paper cuts that a well written tutorial will soothe.
Thank you very much for your patience and support. This project is quite a test of perseverance, but we are sticking to it. We are making steady progress and road blocks are finally starting to budge. Hopefully the final aluminium cases will arrive soon and we will be able to start sending the first Glasgows out to backers.
See you in the next update!
Cheers,
Piotr Esden-Tempski and the Glasgow team