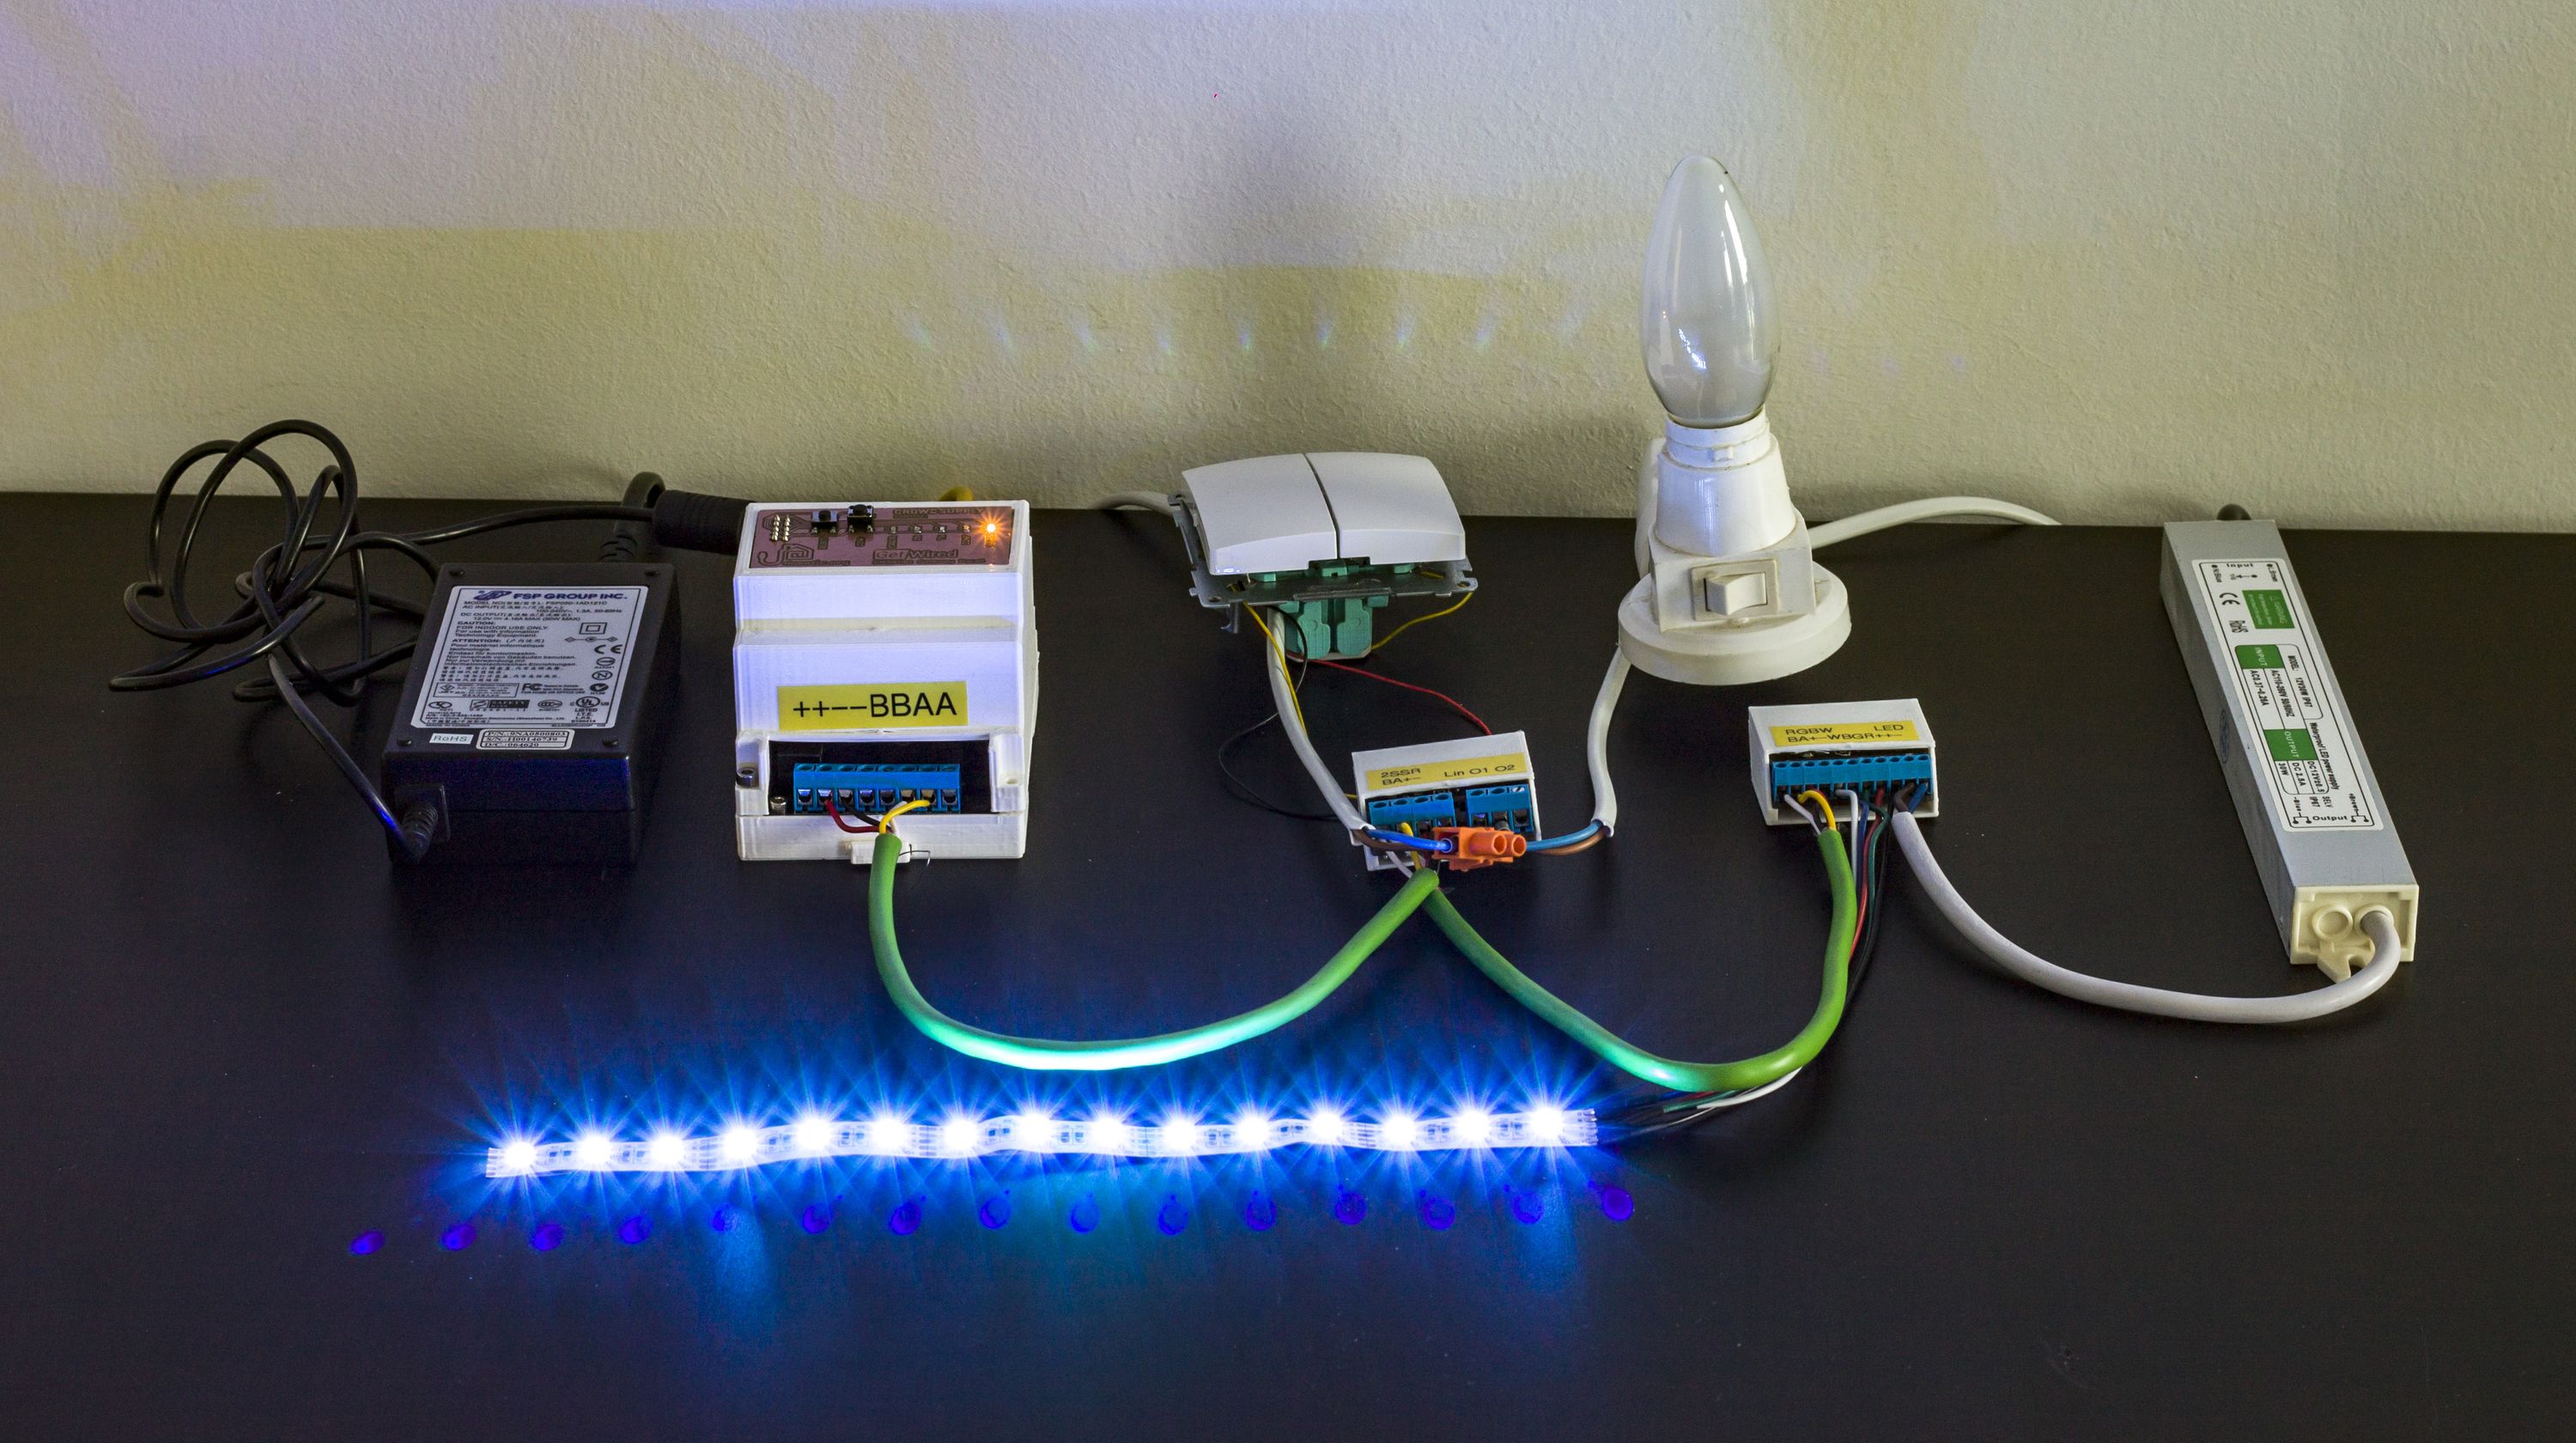
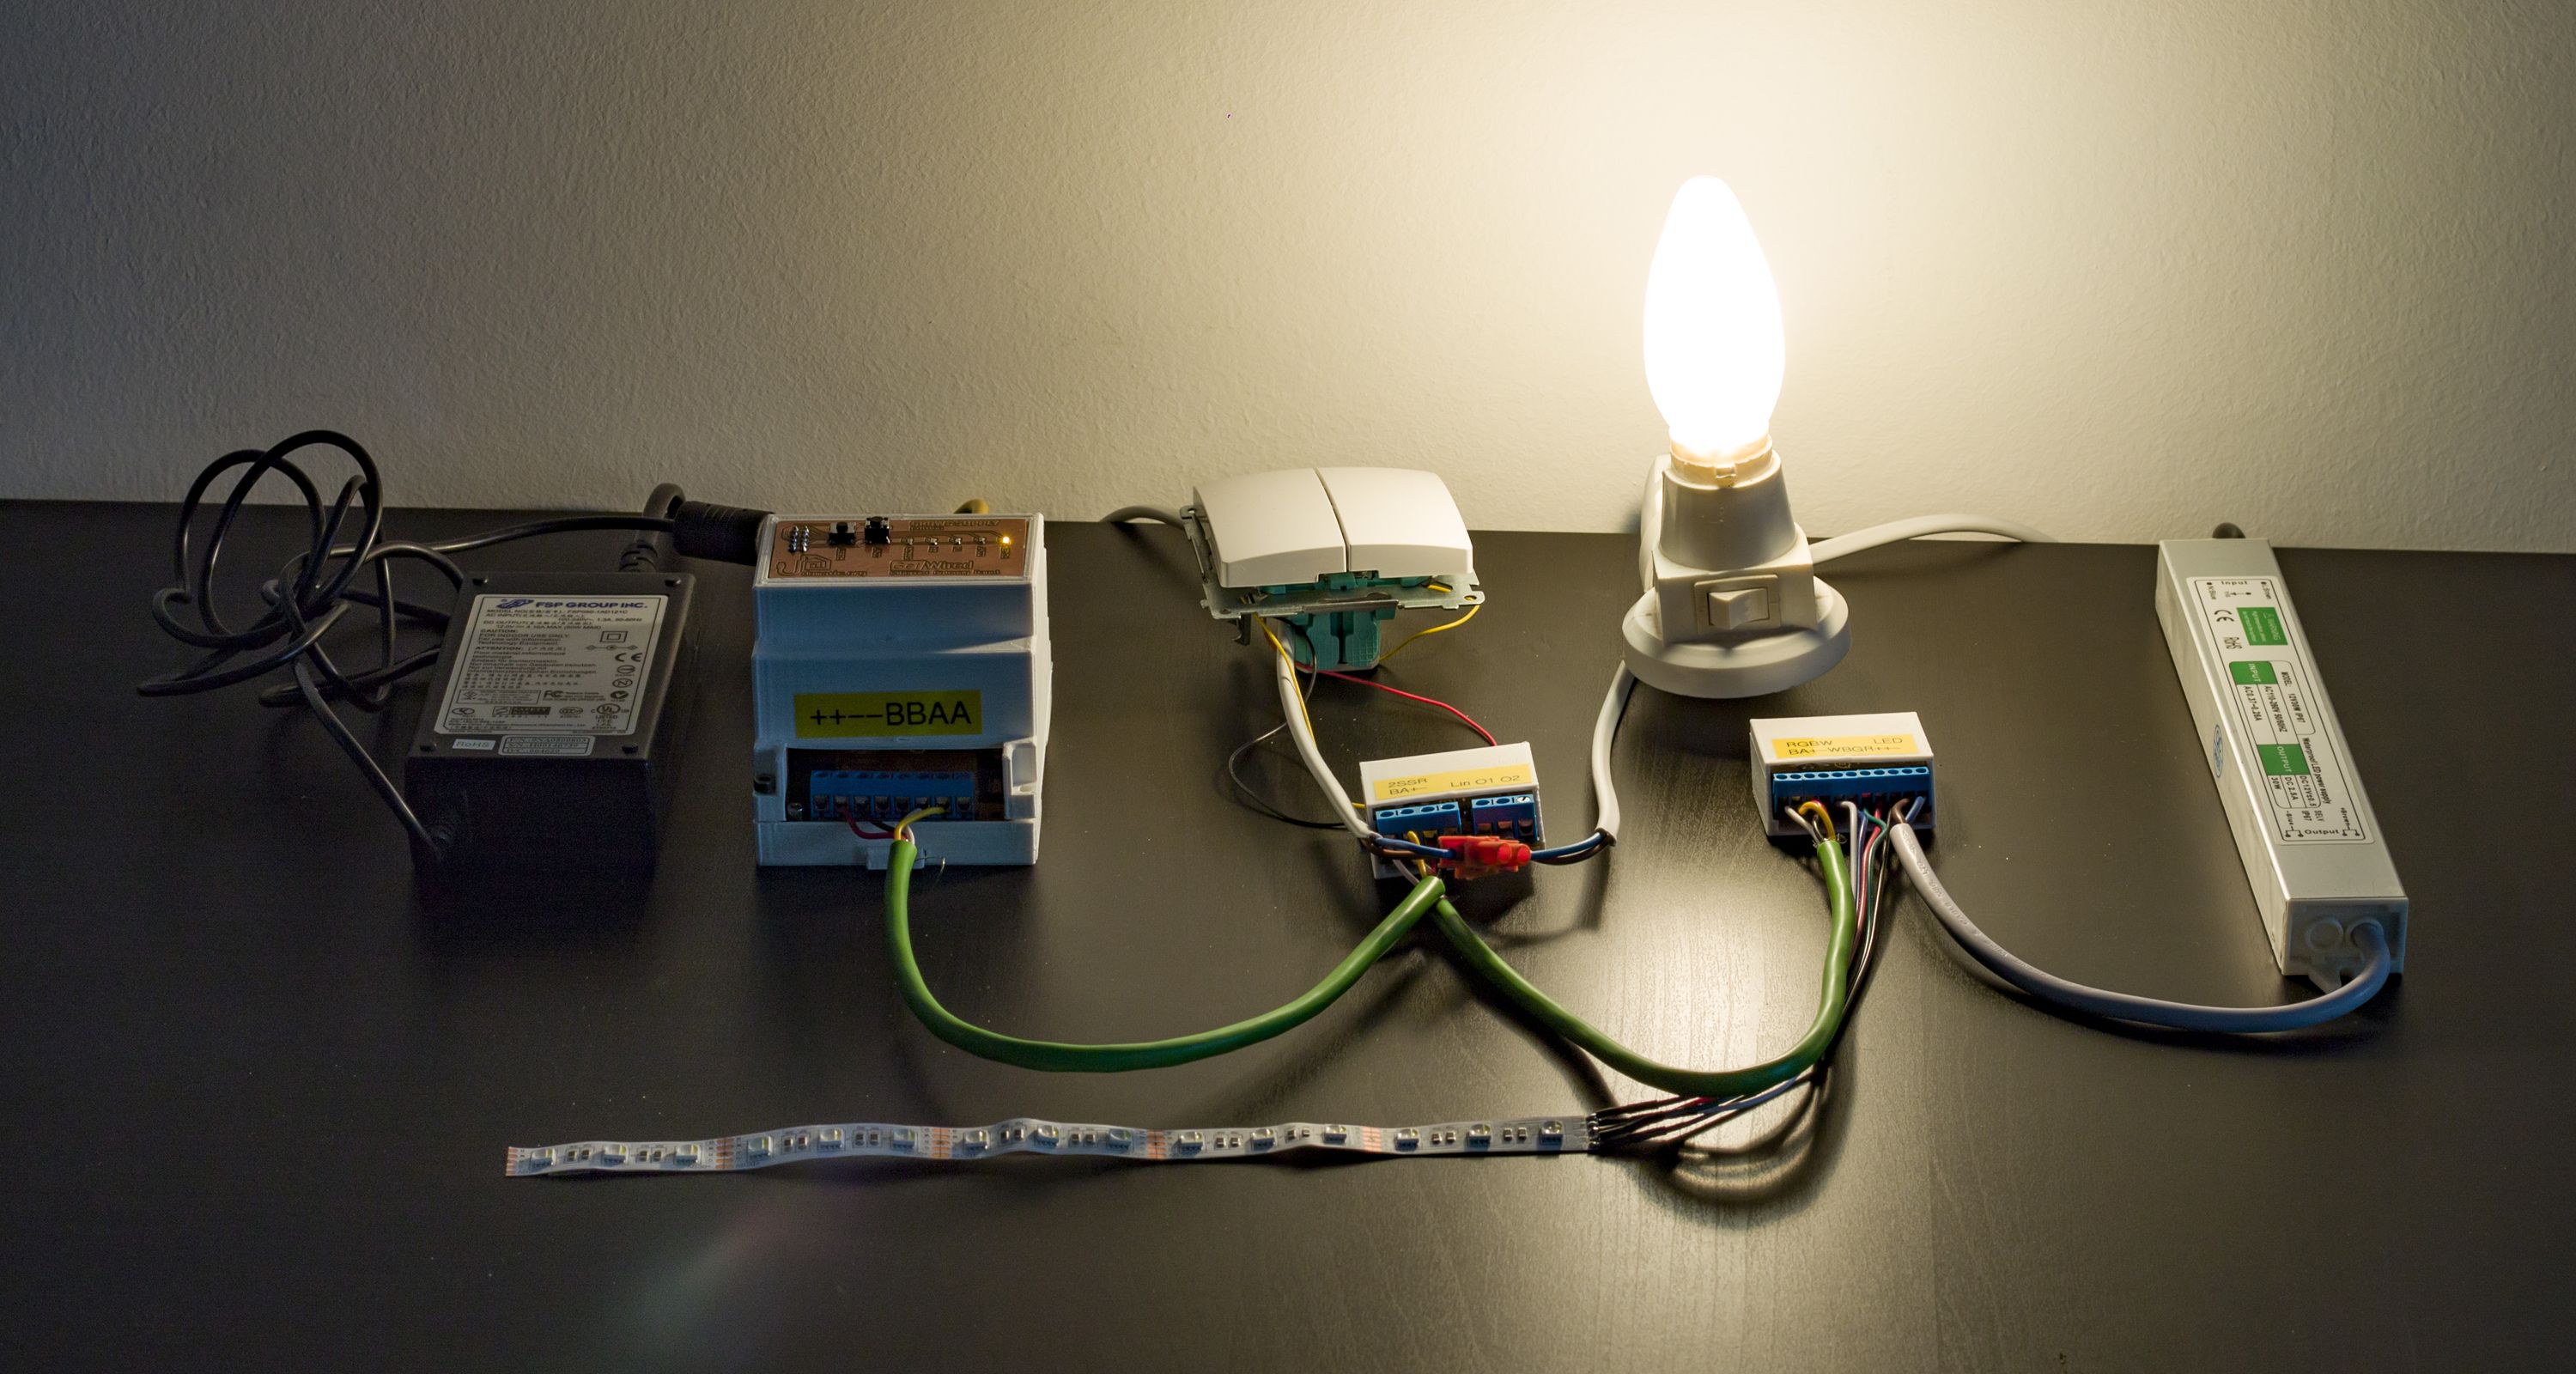
Todays update will show you how to use GetWired modules with the most popular home automation controllers, that is Domoticz and Home Assistant. Note that you can only connect your Gateway (and modules) to one controller at a time. Alright then, let’s have it done!
Using GetWired With Domoticz
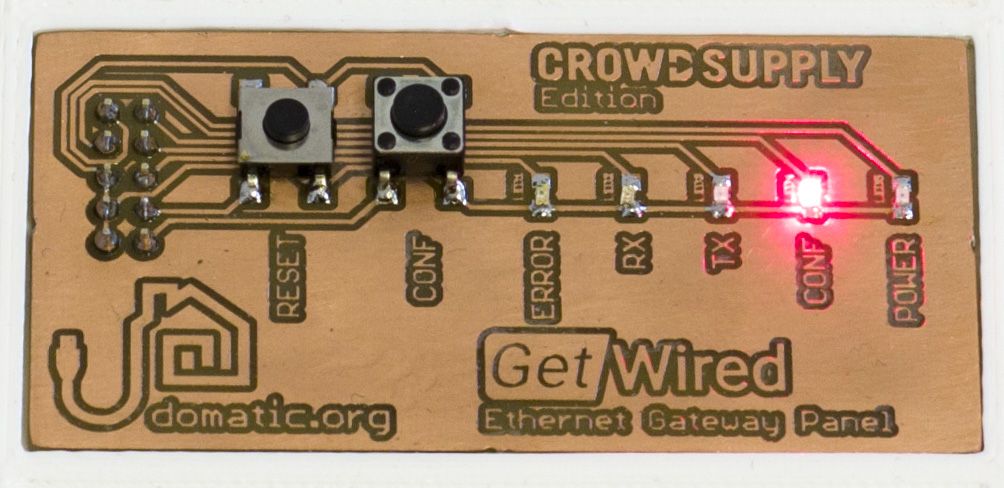
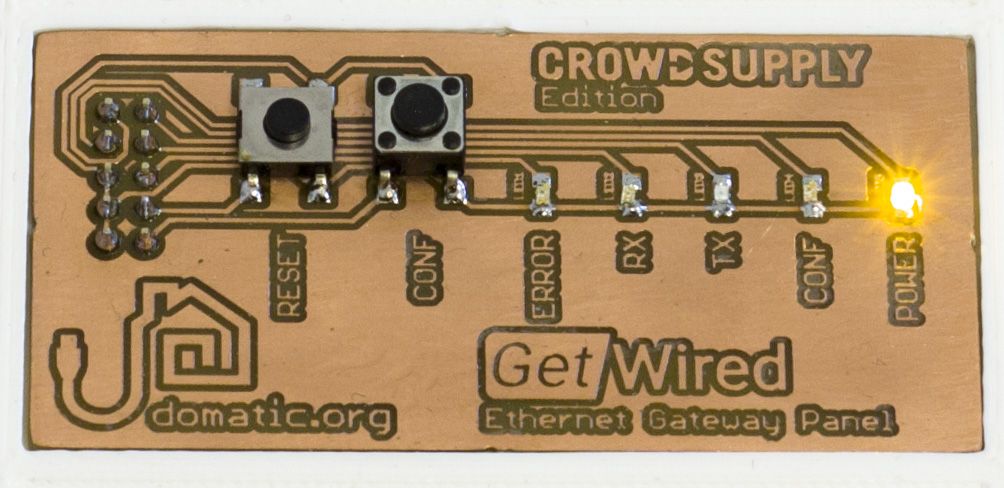
Using GetWired with Domoticz is actually quite straightforward. Now that you have set everything up, as shown in the previous update, the time has come for some configuration. First, cut power to your modules by pressing the CONF button on the gateway enclosure panel. The CONF LED should turn on:
Next, open the Domoticz Web interface and select Configuration -> Hardware. Then, from the drop-down menu, select MySensors Gateway with LAN interface (since GetWired is using the MySensors protocol). You will also need to configure the following options:
| Option | Setting |
|---|---|
| Turned on | Yes |
| Name | Any |
| Data time limit | Off |
| IP Address | As set in a Gateway sketch * |
| Port | As set in a Gateway sketch |
* See previous update
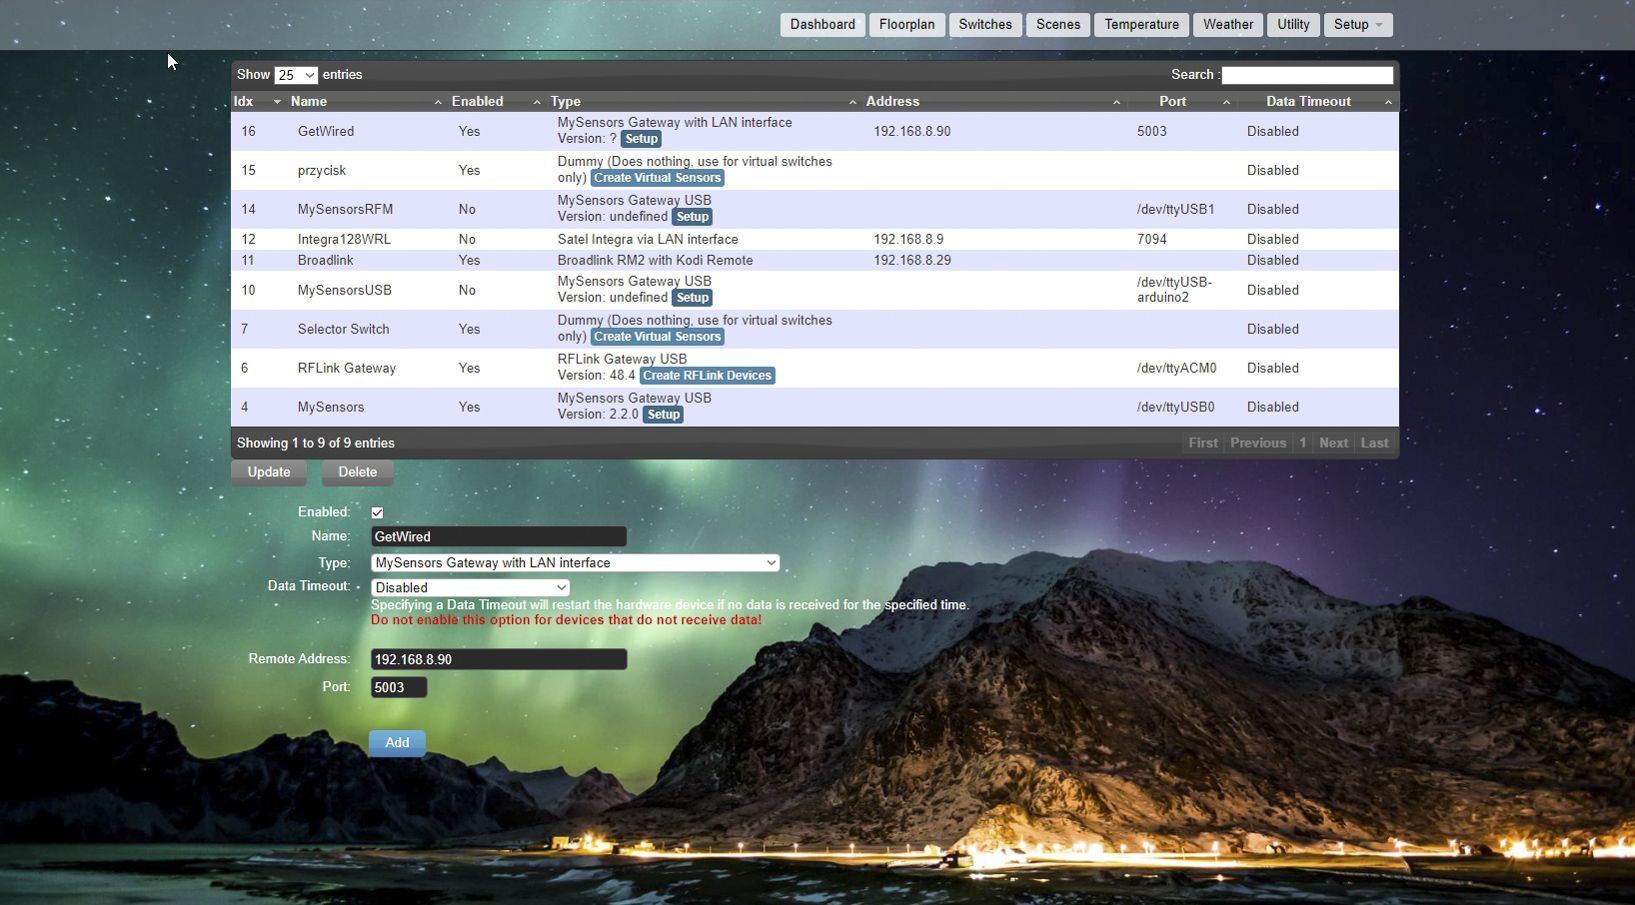
Once you’ve added the Gateway, reload the page. The Version should appear in the Gateway row of the hardware table. Then press the CONF button again (the CONF LED should turn off and the POWER LED should turn on). This will restart all modules connected to the Gateway, after which they will execute a presentation function that allows Domoticz to recognize them. If you encounter any problems, you can try this CONF button procedure more than once.
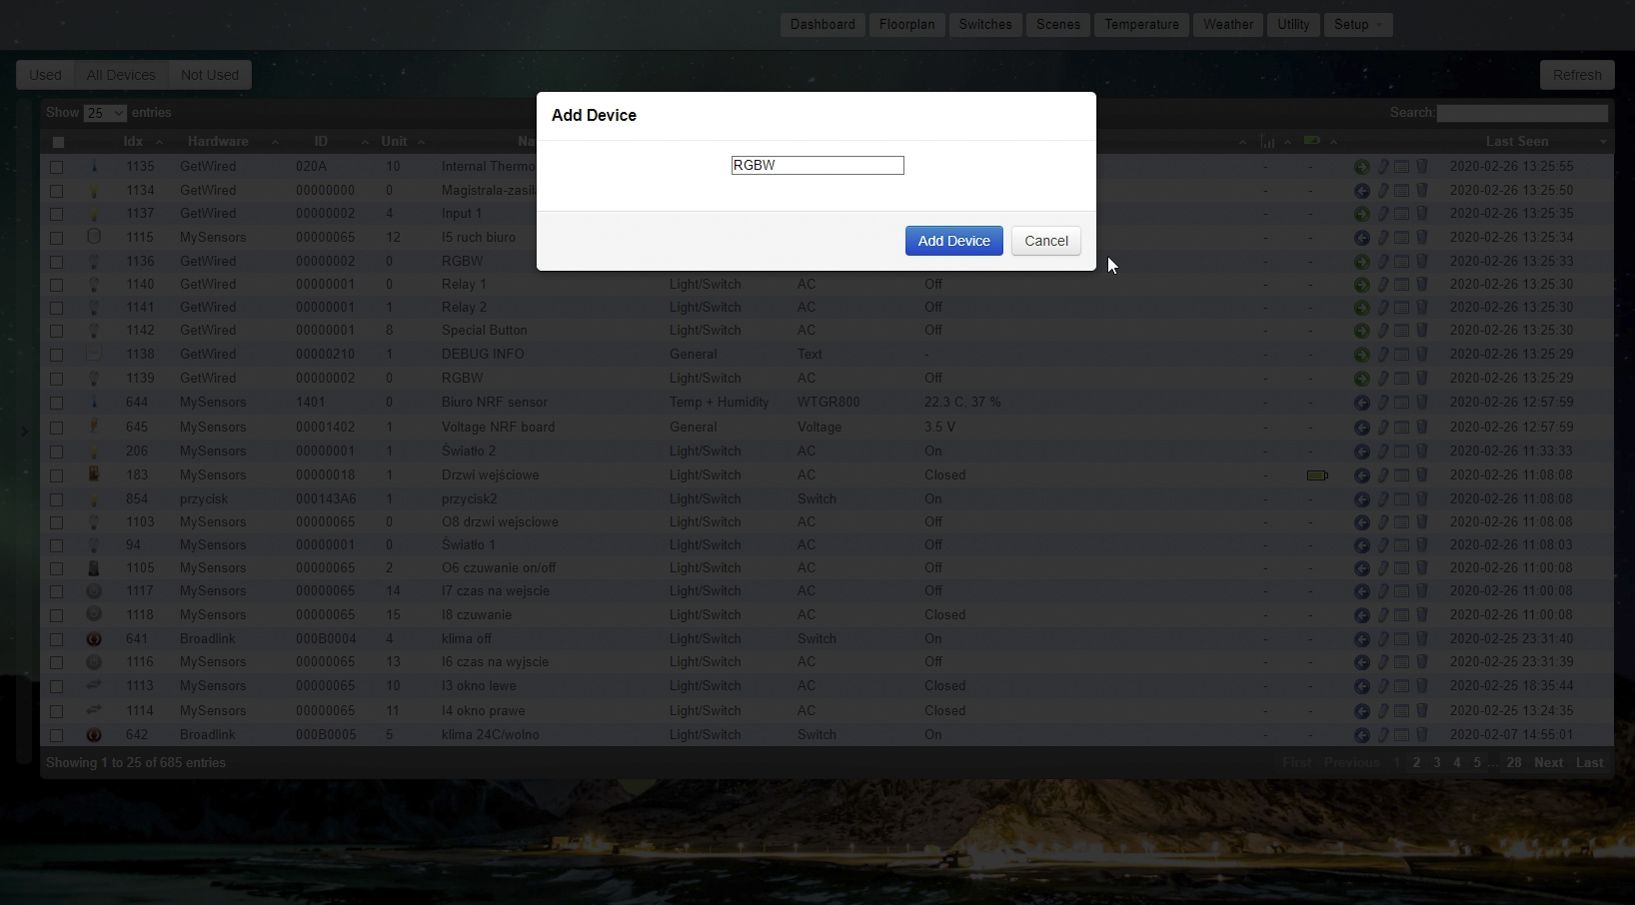
Now, to add your GetWired modules as devices in Domoticz, select Configuration -> Devices. A table will appear that displays all of the devices available to be added to the system. Select the devices you want to add by pressing the green arrow on the right. Then you just have to enter a name for the device, and voila!

Using GetWired With Home Assistant
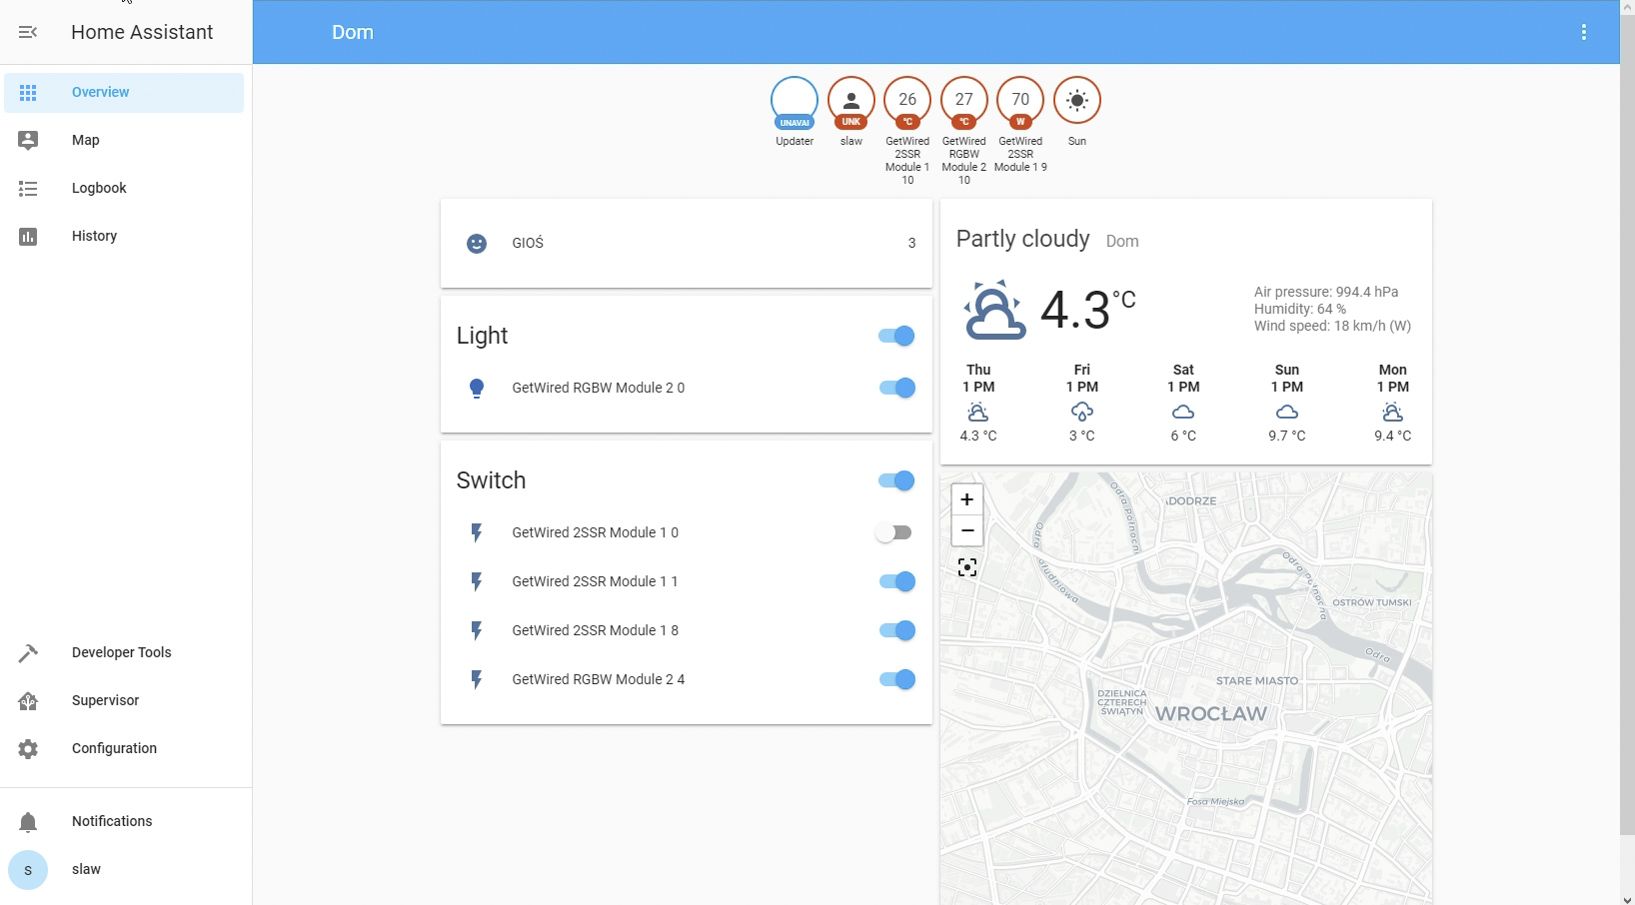
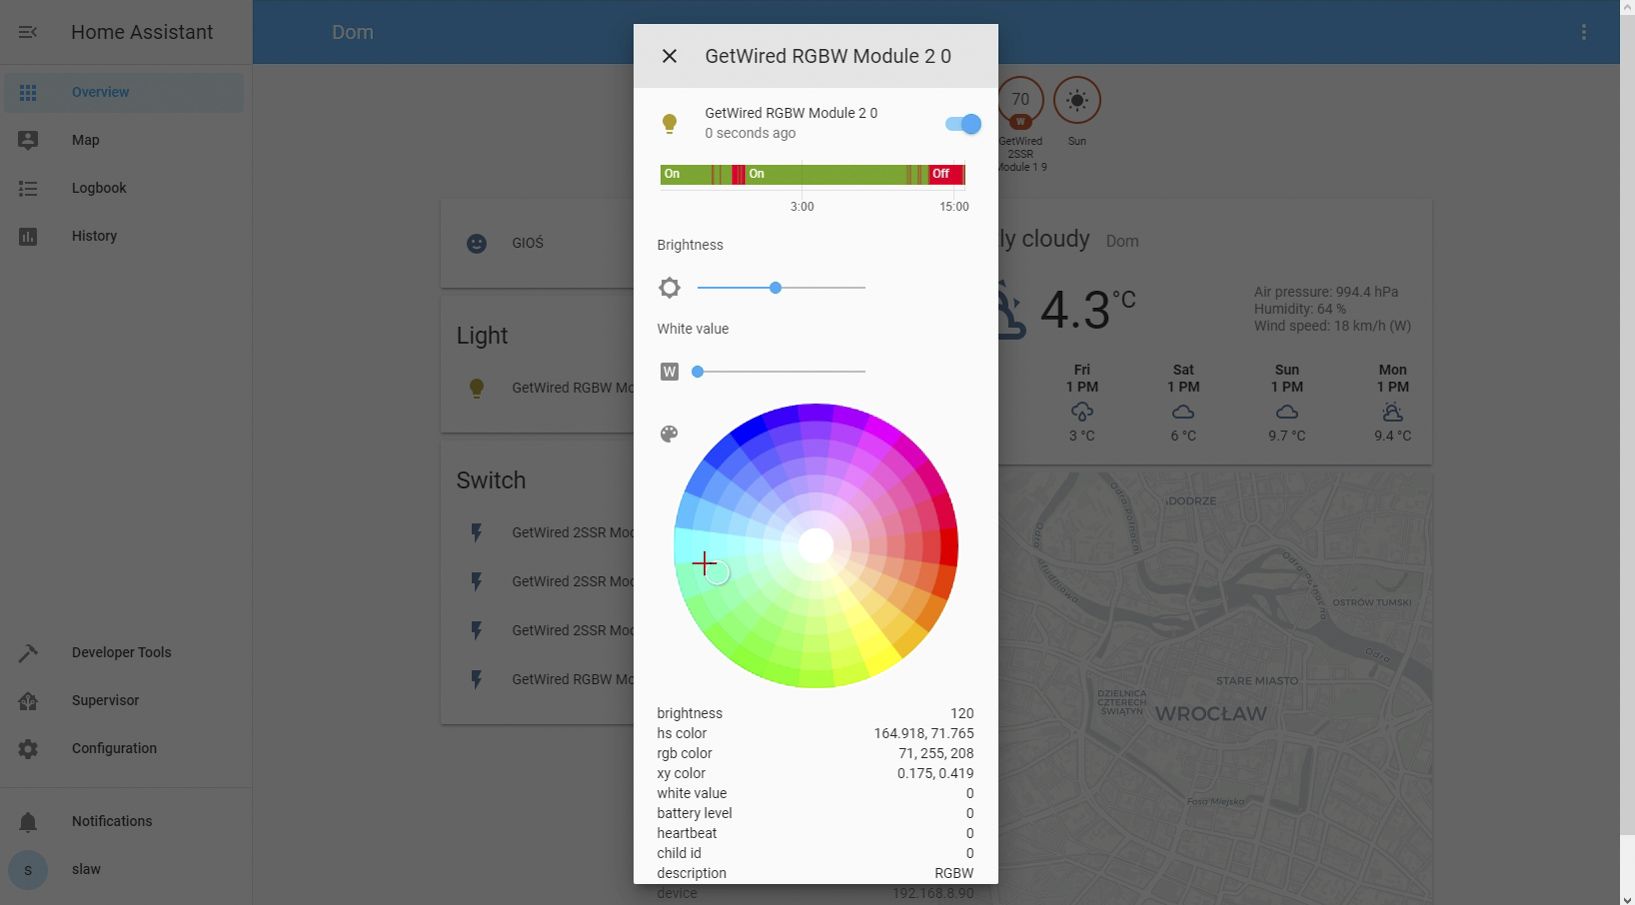
Setting up Home Assistant is even easier! After editing the configuration.yaml file (see example below), your GetWired modules will be added to the system automatically. Just exit out of Home Assistant, then re-launch it. When it’s up and running, restart the modules as described in the Domoticz section above (by pressing the CONF button on your Gateway, then pressing it again).
# Example configuration.yaml entry
mysensors:
  gateways:
    - device: '192.168.0.70'
      persistence_file: 'path/mysensors3.json'
      tcp_port: 5003
  optimistic: false
  persistence: true
  version: '2.3'
New Firmware Release
We’ve also been working on our software lately, and a new release is almost ready. Highlights include:
- Support for Home Assistant’s "additional presentation" function
- DC current measurement
- Better current sensor accuracy
- A new, more advanced procedure for updating current values sent to the controller (every significant change is reported)
- Support for use of a cos(fi) load value in power calculations
- A new "Quick Configuration" section within
Configuration.h - CONF button and CONF LED handling for the Gateway
Some of these changes are quite significant, particularly those related to the current sensor. The new code is in our development branch waiting for additional review, but it should be merged into master by the end of the week.
That’s it for now. If you have any suggestions or special requests, please let us know. In our next update, we will show you how to plan a GetWired installation for your house or apartment. So stay tuned. And meanwhile, as always, keep calm and support GetWired!