Project update 4 of 14
Getting Started with Home Assistant Yellow & First Impressions
by Stefan AFor those who backed a Yellow Kit, this update will show you the steps to get your Yellow Kit ready to use with Home Assistant up and running. As we are still working on Amber, these steps might slightly change by the time you receive your Yellow Kit.
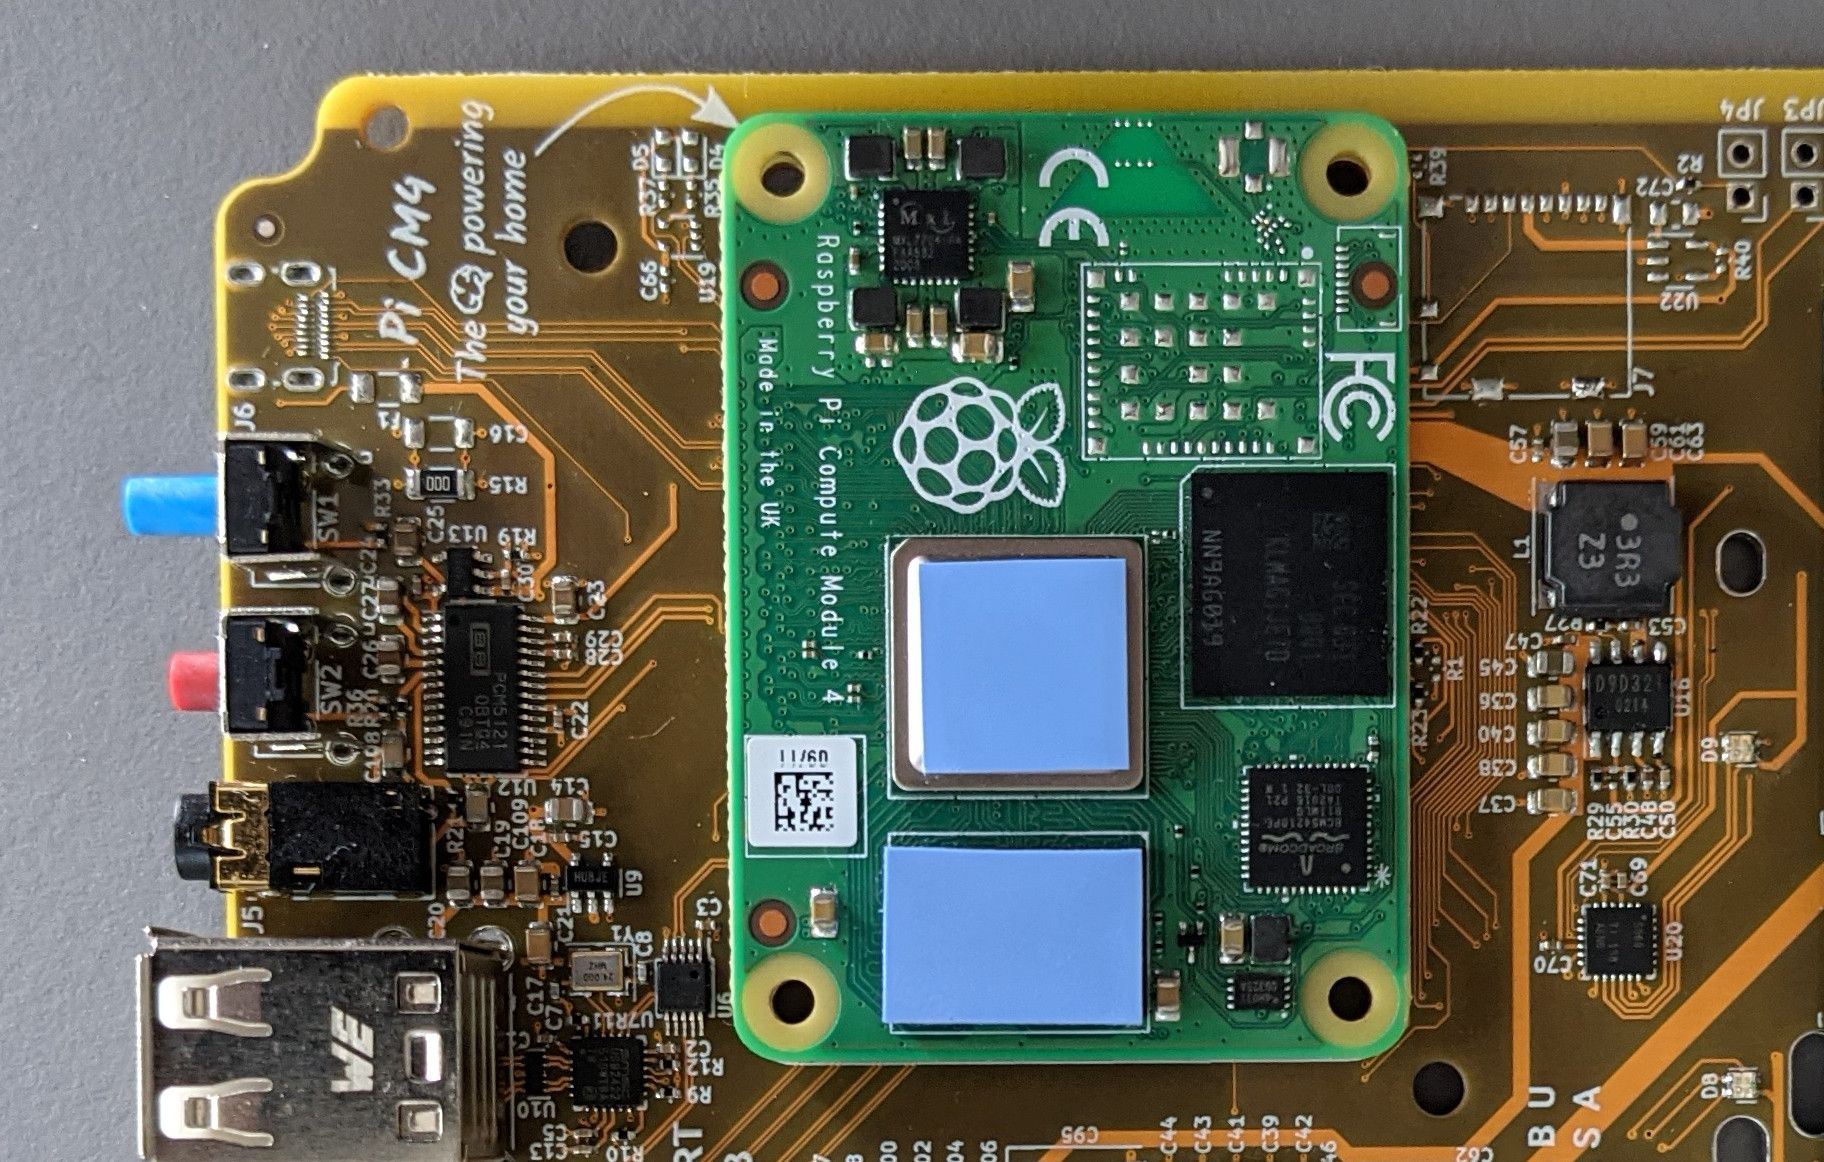
The first step is to plug the Raspberry Pi Compute Module 4 (CM4) into the Amber board. Open the enclosure by unscrewing the four thumbscrews at the bottom. Place the Yellow board on a flat surface. Then carefully place the CM4 onto the designated location on the Yellow board. The white Raspberry Pi logo printed on the CM4 needs to face the side of the Yellow board with the ports. Make sure the connectors on the underside are aligned and press firmly on both long edges of the CM4 simultaneously.
The next step will be to place the heat sink. The Yellow Kit ships with two heat pads which help to keep the CM4 cool. Place the heat pads onto the SoC and memory chip as shown in the picture below.
Pre-assemble the heat sink by pressing the pushpins through the two mounting holes on the heat sink. Lastly, align the heat sink with the mounting holes on the Yellow board and press the pushpins through the Yellow board until they snap in place.
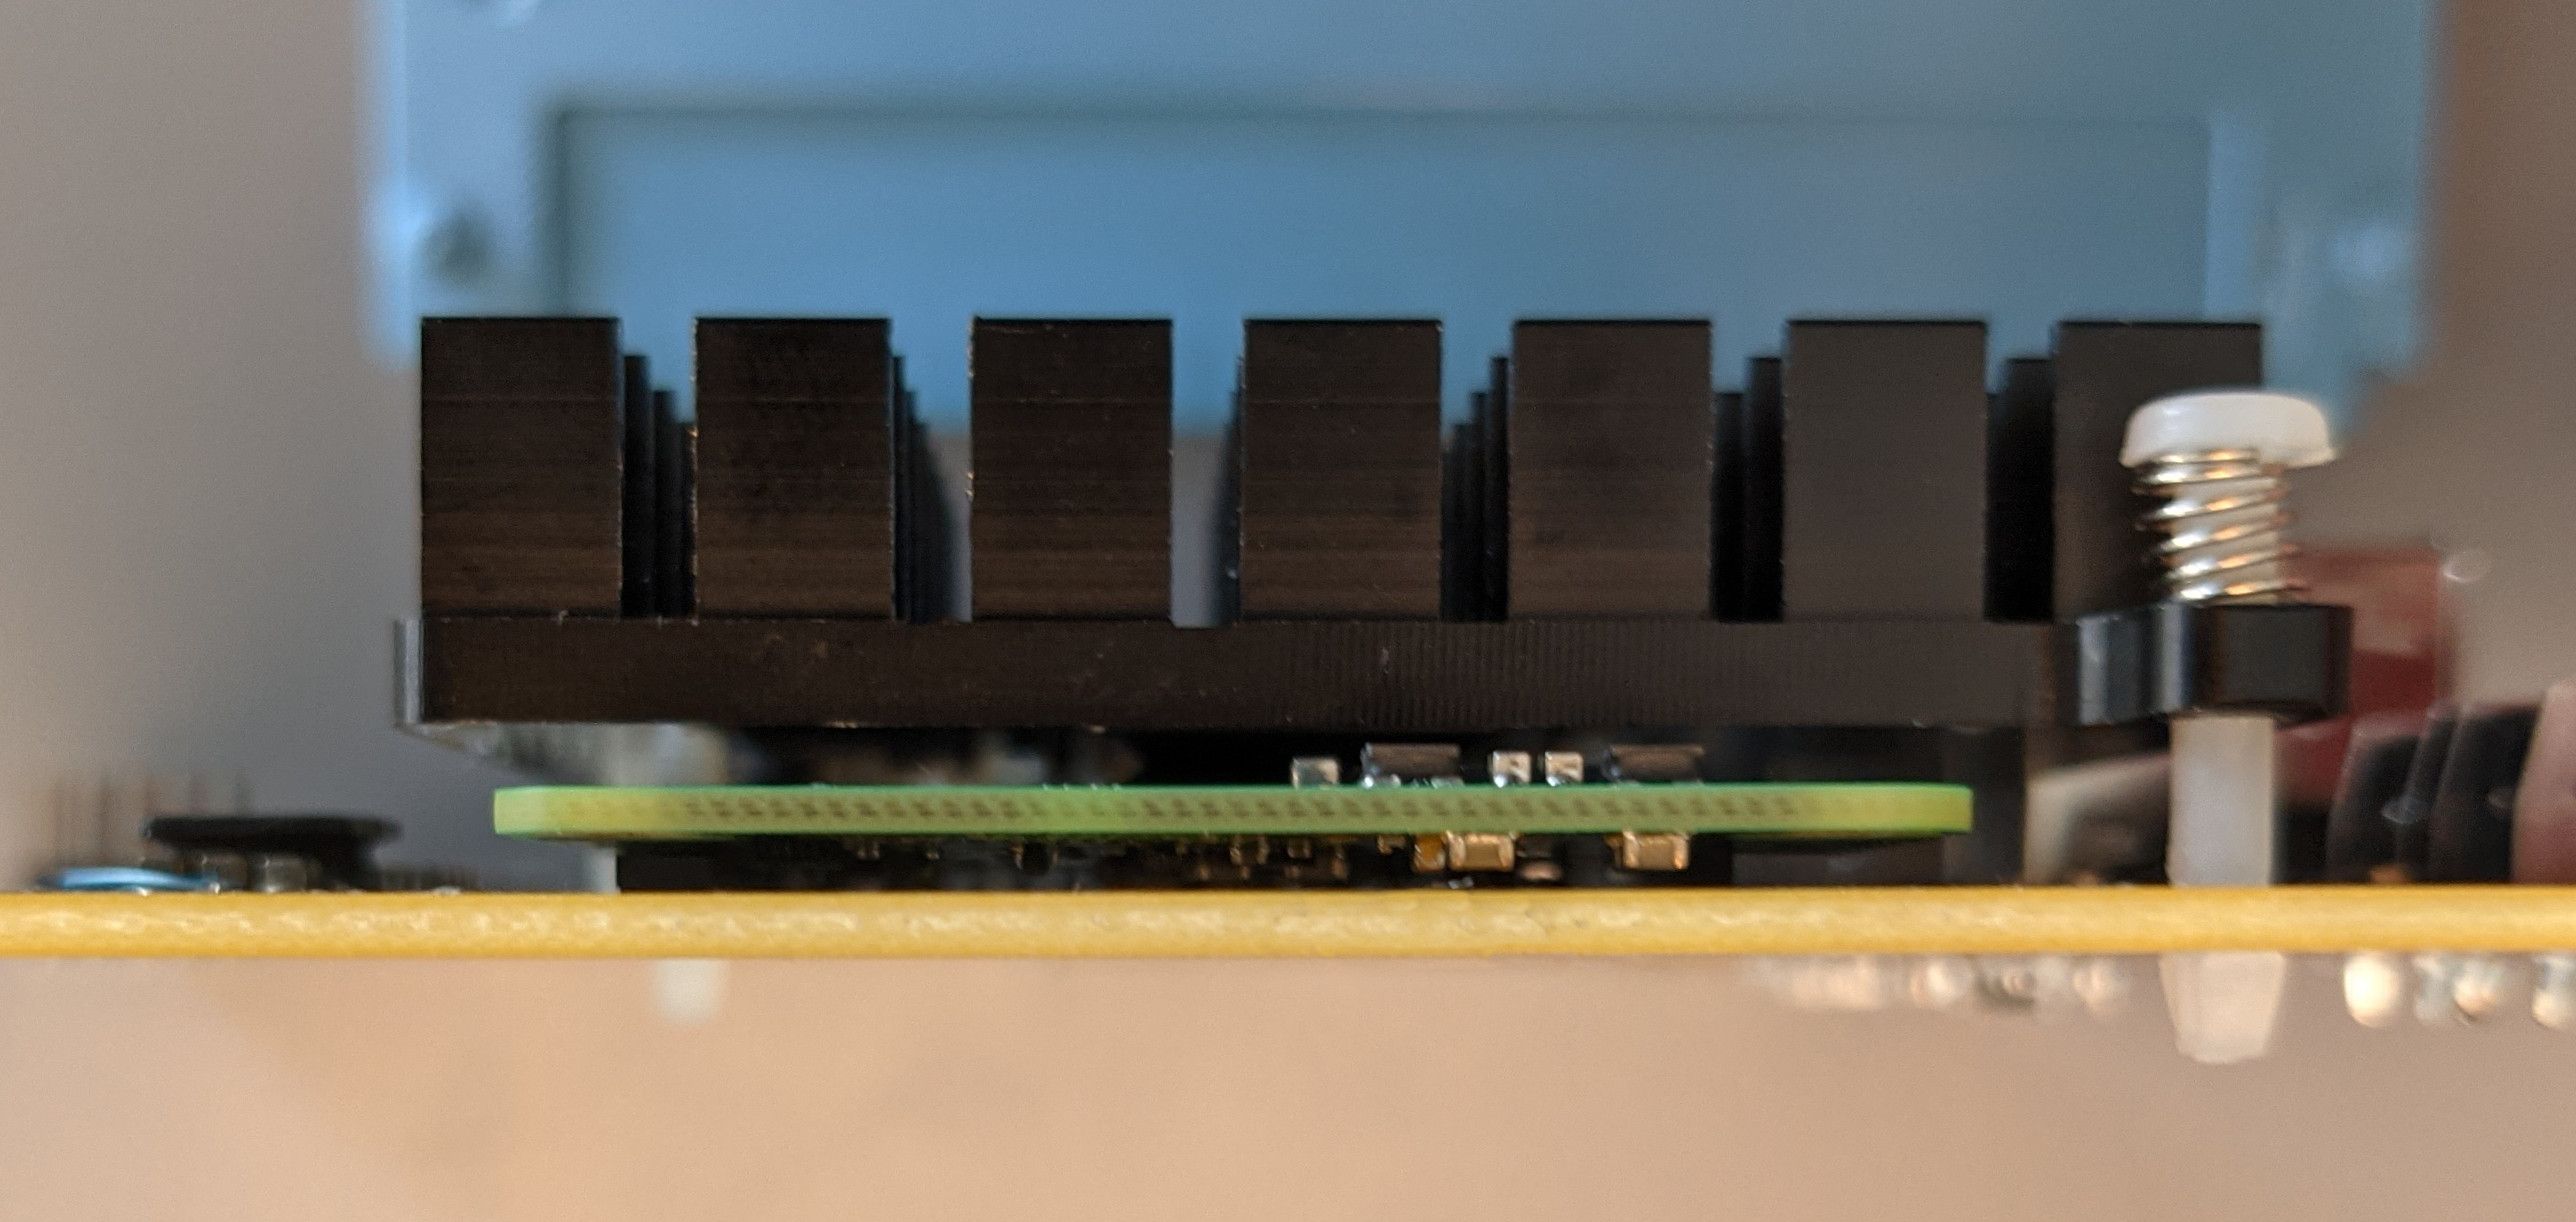
With that, assembling the CM4 is finished. Put the Yellow board back into the enclosure and screw the bottom plate back in place using the four thumbscrews.
Lastly, you will need to install Home Assistant on the on-board eMMC. We will publish a simple installer you’ll need to flash onto a USB flash drive. The CM4 boots from a USB flash drive out of the box. You’ll need to prepare the USB flash drive using balenaEtcher or a similar imaging tool. We’ll publish links to the installer once Home Assistant Yellow is available.
Plug the prepared USB flash drive into your Home Assistant Yellow. Make sure to connect Home Assistant Yellow to the internet via Ethernet. This is required since the latest version of Home Assistant OS will be downloaded directly from the internet. Power your device on and wait until the yellow LED turns solid (this process takes 5-10 minutes).
You can now use Home Assistant just like the pre-installed version. Check out our previous update showing Home Assistant running on Home Assistant Yellow.
Note: If you are using a CM4 Lite (without on-board eMMC storage) you’ll need to have an NVMe SSD instead. The installation process is the same; the installer will detect which storage device is present.
If you backed Home Assistant Yellow with the CM4 included, these steps are unnecessary as the CM4 is already pre-installed and loaded with Home Assistant.