Project update 2 of 10
Hookup Guide and Test Rig
The Hookup Guide
To get started after unboxing your Paperino we created a step-by-step hookup guide. It describes the first steps around the hardware setup and explains how to run your first very own "Hello World!" sketch. The tutorial is split into the following sections:
- Breakout Board – To begin, we’ll go over each of the pins on the breakout board and their function.
- Hardware hookup – In this section we’ll show you how to hookup an Arduino to the display via SPI.
- Using the Adafruit Library – A quick examination of how to include Adafruits GFX library
- First Example: Hello World! – The first complete example… let’s make the display blink!
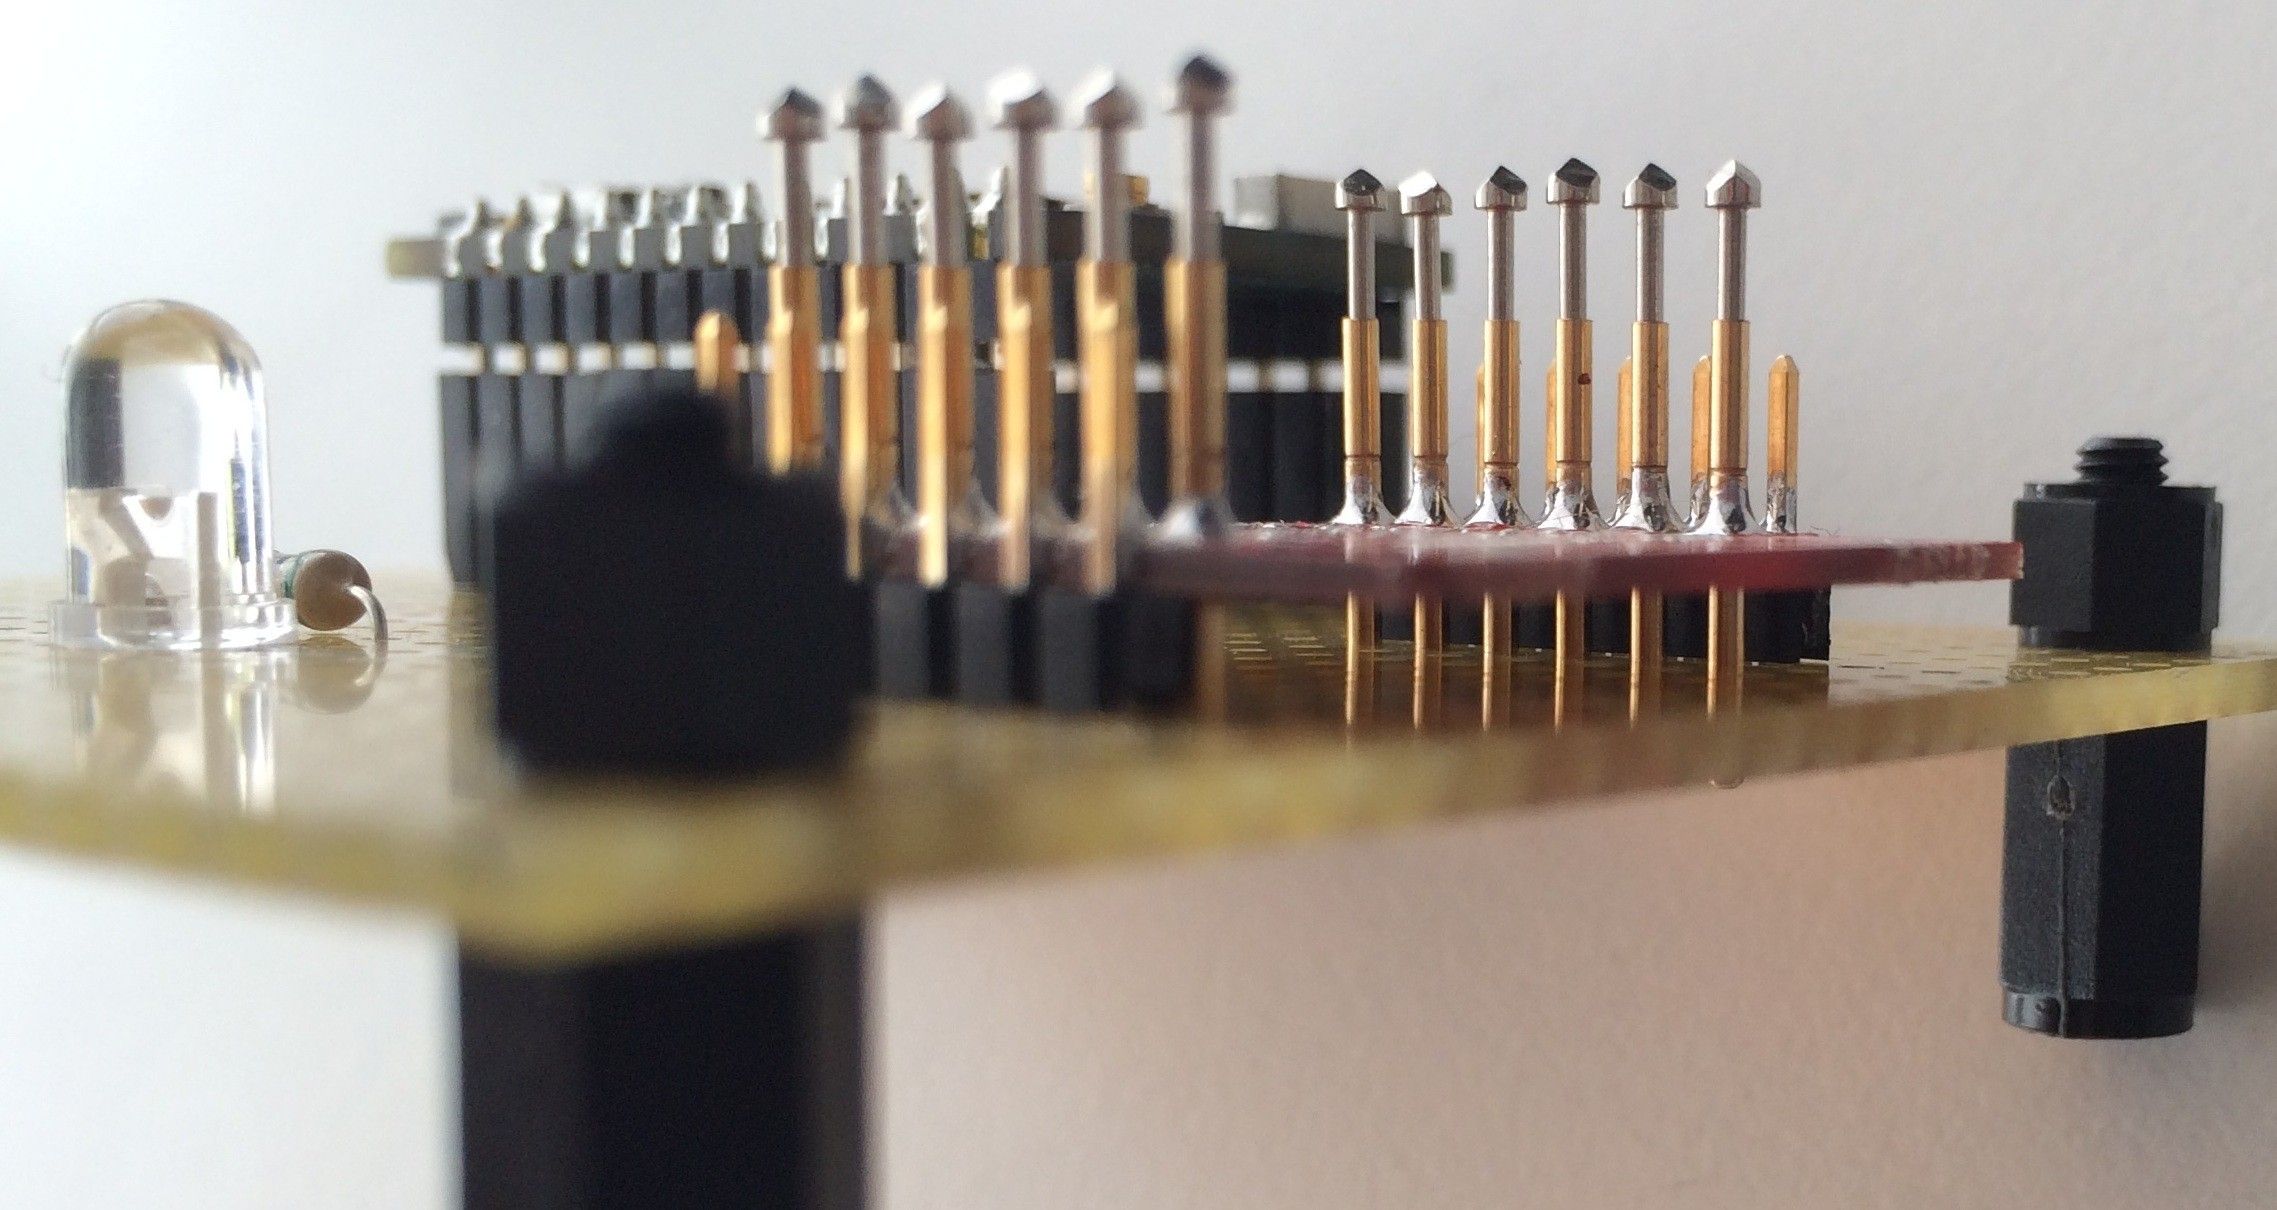
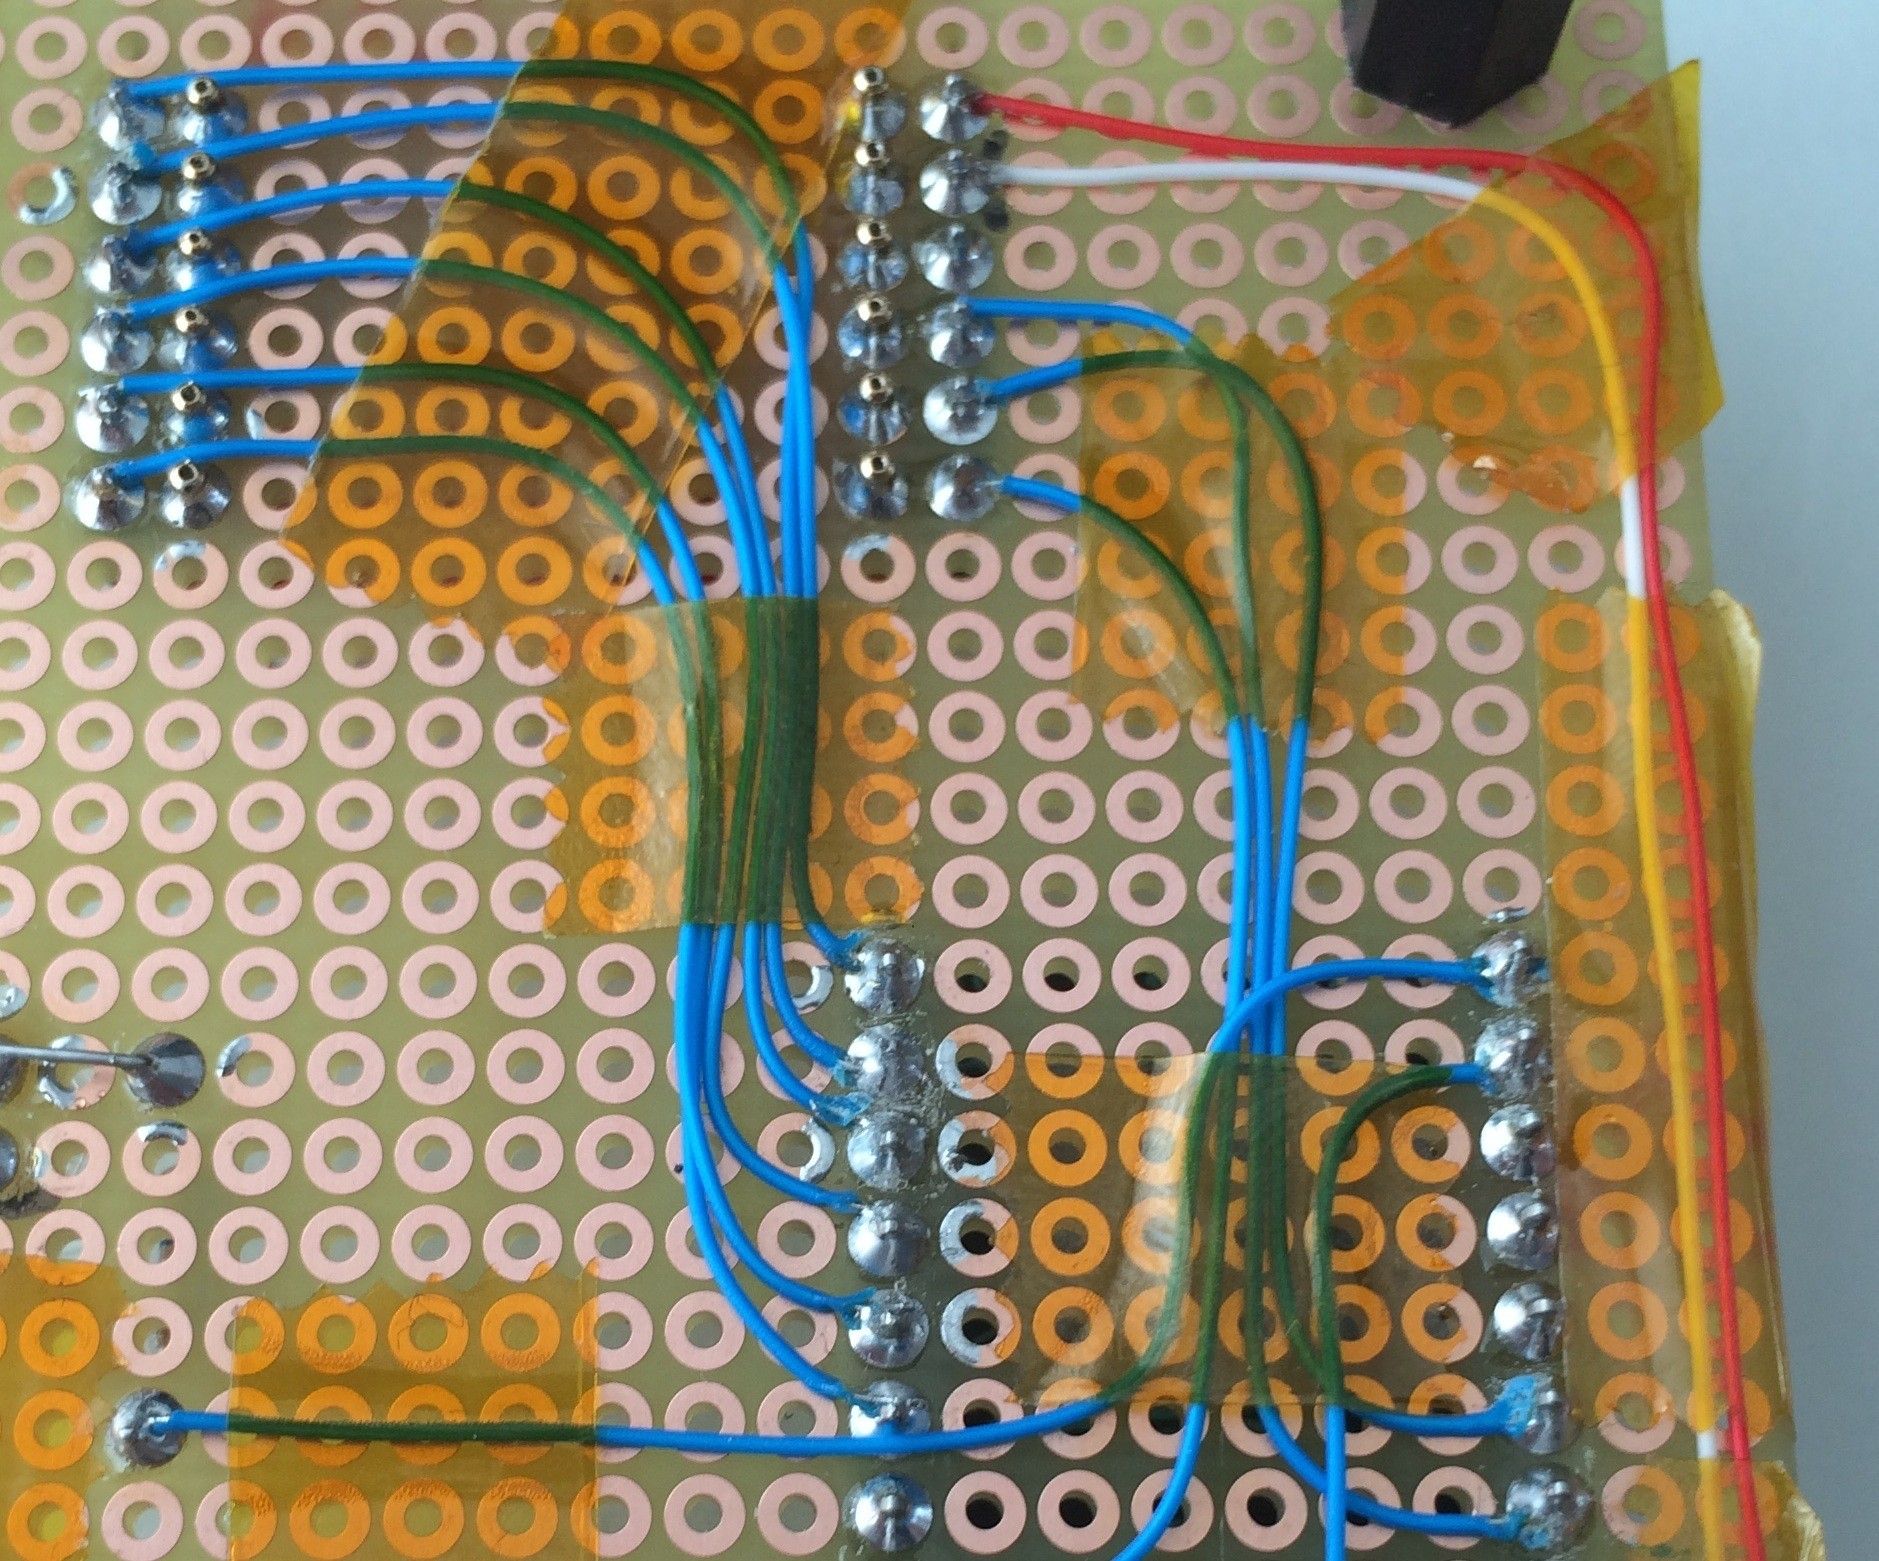
Project Log: Building A Test Rig
To test the assembled PCBs before shipping we will need a nice testing jig concept. It should cover the PCB functioning as well as a final check of the working display. To save time and money on PCB design and manufacturing we decided to whip out some Perfboard, ordered some pogo pins on eBay, checked our component drawer and fired up the soldering iron. The schematics can be found in our hardware repo.

If you are interested in more details on building a test jig just head over here.