Tinusaur
Environmental Sensing
OSH Park
Tinusaur
Environmental Sensing
OSH Park
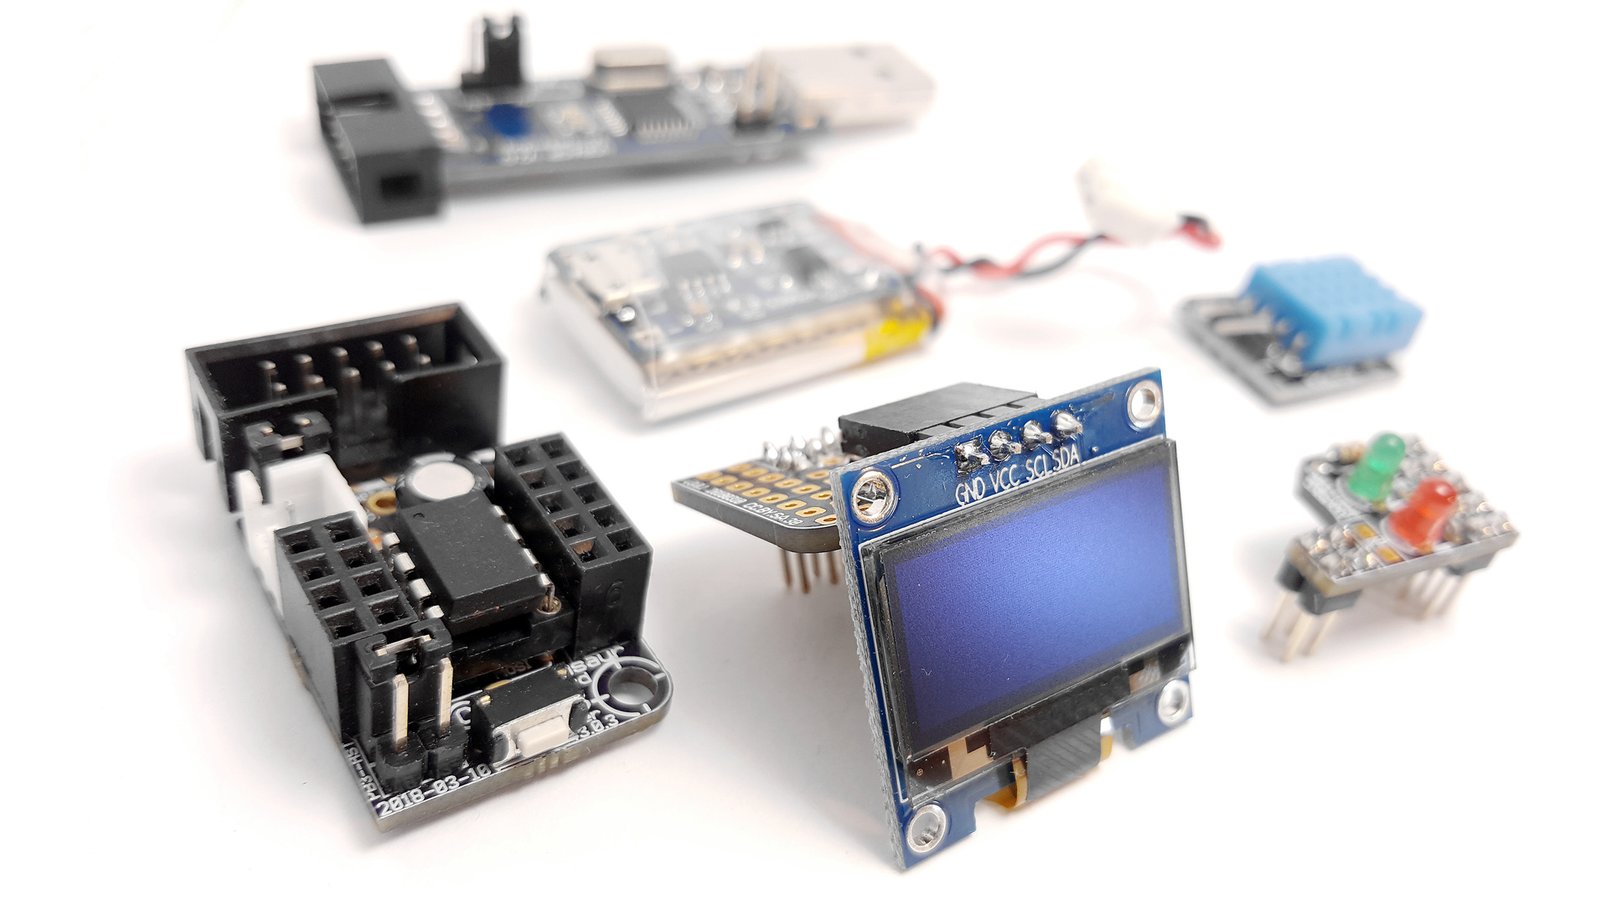
The Tinusaur OLED Display Kit is a bundle of boards, parts, and modules that you assemble yourself using our step-by-step instructions. Once the kit is assembled, you can immediately start programming it using our intuitive Blocktinu graphical interface and numerous tutorials, or skip directly to C and the Arduino IDE. In the end, you’ll have a small, battery-powered, standalone sensor node that you’ve built and programmed yourself to sense ambient temperature and relative humidity and display those data on its OLED screen.
This Tinusaur OLED Display Kit is our latest addition to the larger Tinusaur Project. The basic idea behind the Tinusaur Project is that you learn a lot more about electronics, physics, programming, microcontrollers, robotics, and many other things if you go through the process of building them yourself. We provide you with carefully designed hardware kits and tutorials to guide you on that journey. Tinusaur kits are suitable for almost anyone who doesn’t have much coding experience but wants to learn. Our kits are used in several schools and universities with students ages 6 to 50+.
The Tinusaur OLED Display Kit comes with everything you need to build a completely standalone, battery-powered sensor node that can display temperature and relative humidity data on its OLED screen:
Above: Tinusaur main board, before and after assembly
This kit has all the parts you need to assemble the main board of the Tinusaur ecosystem. Specifically, the kit contains the popular ATtiny85 microcontroller and all the discrete components needed for it to run properly, as well as connectors for programming, external shield boards, and power, and some configuration jumpers to change various functions of the board. Note that this is the LITE version of kit, which means it does not include a coin cell battery or clip — power will be drawn from the LiPo Battery Kit instead. See our assembly guide.
Above: Tinusaur two-LED shield, before and after assembly
This is the simplest shield kit we’ve got, designed to warm up your soldering skills and help you write the "Hello, World!" program of microcontrollers: blinking LEDs to make sure your Tinusaur main board is working properly. See our assembly guide.
Above: Tinusaur OLED display module and assembled attachment shield
This OLED kit contains both a pre-assembled OLED display module and an assemble-yourself attachment shield for connecting to the Tinusaur main board. The OLED display module is monochrome, 128 x 64 pixels, and controlled by an on-board SSD1306 chip, for which we have a great firmware library. See our assembly guide.
Above: Pre-assembled Tinusaur DHT11 Sensor Module
This pre-assembled module has a DHT11 sensor on a PCB with a three-pin male angle header for easy connection to the main Tinusaur board. With this module, your Tinusaur can sense temperature and relative humidity.
Above: Tinusaur LiPo battery kit, before and after assembly
This kit includes a pre-assembled USB charger module, a LiPo battery, a cardboard separator, and heatshrink to keep it all together. All you need to do is solder the battery wires to the charger module, sandwich everything together, and heat the heatshrink to keep it that way.
Above: USBasp programmer, alone and connected to a Tinusaur main board
This pre-assembled USBasp programmer is what allows you to program your main Tinusaur board over a USB connection to your computer.
Blocktinu is the Tinusaur web-based development environment for programming the main board. To create code, you snap together blocks like puzzle pieces. Of course, this is not a new idea, but Blocktinu has certain unique features and focal points that make it unique.
Blocktinu generates real C language code that you see take shape and evolve as you move your blocks around. This allows the student, even if they are new to programming and the C language, to start picking up the basic principles of writing programs. This makes for an easier transition to to writing code in a traditional source code editor.
Most of the blocks in Blocktinu map directly to C language constructs. We avoided adding blocks that are too abstract. Again, this makes for a smoother transition to traditional source code.
Once you are ready to quit using the blocks and start writing C language source code directly, you can continue to use Blocktinu simply by switching to the built-in source code editor. It’s that easy.
To use Blocktinu, you need to install only two applications: 1) the USB driver for the USBasp programmer – in case you don’t already have it as part of another package or an Arduino board, and 2) a small app that uploads the machine HEX code to your microcontroller via the USB port. That’s it. All the compilation is done on our servers so you don’t need to install or update any SDKs. This is very convenient in environments like a university lab, where installing and updating software is often a challenge. See our guide for installing Blocktinu on Windows.
The Tinusaur OLED Display Kit is fully open source, like all aspects of the Tinusaur project. What started as a hobby project has quickly become a platform that teaches programming and microcontrollers by taking students through each step of the engineering process.
We often organize workshops for assembling and programming Tinusaur kits, and more and more are being organized by partner organizations. It’s always fun to get together, fetch our soldering irons, and build something. The questions, suggestions, and feedback we get from teachers, students, and partners are what drive the project forward.
Using other external modules, you can easily expand Tinusaur to measure other things or accomplish other tasks. For example:
Your imagination is the limit!
We have developed our own library to work with the SSD1306 chip – the controller for the OLED display. We started working on the library in 2014 with three goals: 1) to be fast, 2) to be easy to use, and 2) to be focused only on the ATtiny85 and SSD1306. The result is the SSD1306xLED library. The considerable speed of the library is due to the fact that we’ve implemented only those parts of the protocol necessary for the OLED display and the SSD1306 to work with the ATtiny85 microcontroller.
Over time, the library has become popular and has been used by other people and projects. For example:
Our manufacturing processes are pretty simple and straight forward.
Some of the PCBs, like the Tinusaur main board, have been in production for couple of years already, while for the others we’ve already received samples from the manufacturers. We work with OSH Park for the prototypes and some of the production, and another far-east manufacturer for some other boards.
The parts, tools, and materials we order from our suppliers – some of them are in the EU while others are elsewhere in the world. Most of them we already have in our lab, though we order some of the more expensive ones as we need them.
The last part of our process is kitting the parts, tools, and materials. We have a few years of experience doing this and have developed an efficient system and workflow.
We ran our first crowdfunding campaign in 2016 with the initial idea of seeing if there was an interest in the boards that we were making at that time. We found there was. Since then, we ran another two crowdfunding campaigns and we’ve developed systems and processes to successfully carry out our mission.
First, we do everything ourselves in regards to packaging and shipping. We don’t want to rely on any third parties in this regard.
Before we start the campaign we have some of parts and materials for fulfillment of the first batch of orders, which could be anywhere from 20 to 50, up to a few hundred. That allows us to test the process before ordering larger batches.
All pledge levels include free worldwide shipping. We use Bulgarian Post to ship all packages. It’s proved to be a reliable, fast, inexpensive service. For the previous three crowdfunding campaigns, the total number of the lost packages was less than 10, which is under 1%. In the case of lost packages, we work with customers to find or replace the packages.
Over the years, we have identified a few types of risk associated with our crowdfunding campaigns. First, there can be delays in receiving parts from suppliers. It usually takes between 10 and 30 days to receive parts and materials for our kits from suppliers. However, in some rare cases, they could be delayed up to 60 days or do not arrive at all. We mitigate this risk by ordering smaller quantities from multiple suppliers, and we order 20-30% more of some parts.
Another risk is misplacing parts in the package or having a defective part. In that case, we send the customer a small envelope with a replacement part.
For the product itself, we develop all hardware and software before we start a campaign, with the exception maybe of some small changes we might make to improve the design a little.
We communicate with our users through a variety of channels. Here’s how you can get in touch, keep up with the latest Tinusaur news, and learn how to use your Tinusaur kits:
Produced by Tinusaur in Veliko Tarnovo, Bulgaria.
Sold and shipped by Crowd Supply.

This kit has everything you need to assemble and program a small, battery-powered, standalone sensor node to sense ambient temperature and relative humidity and display those data on its OLED screen. The kit includes a Tinusaur Board 3 LITE kit, LEDx2 shield kit, OLED kit, DHT11 sensor module, LiPo battery kit, and USBasp programmer.

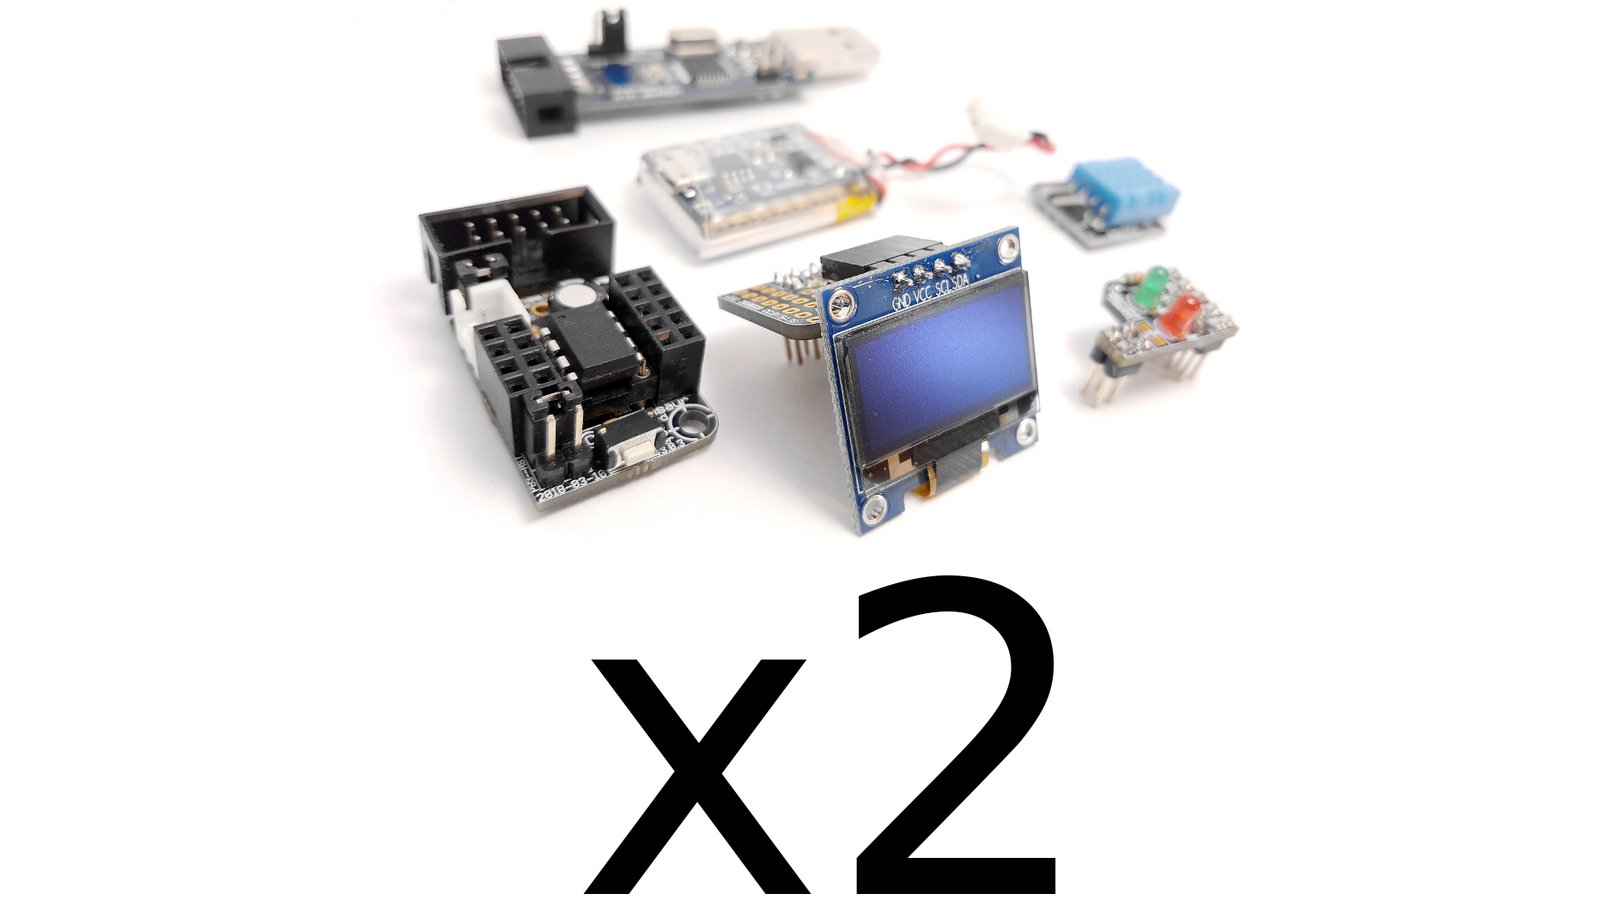
One for you and one for a friend. Or both for you.

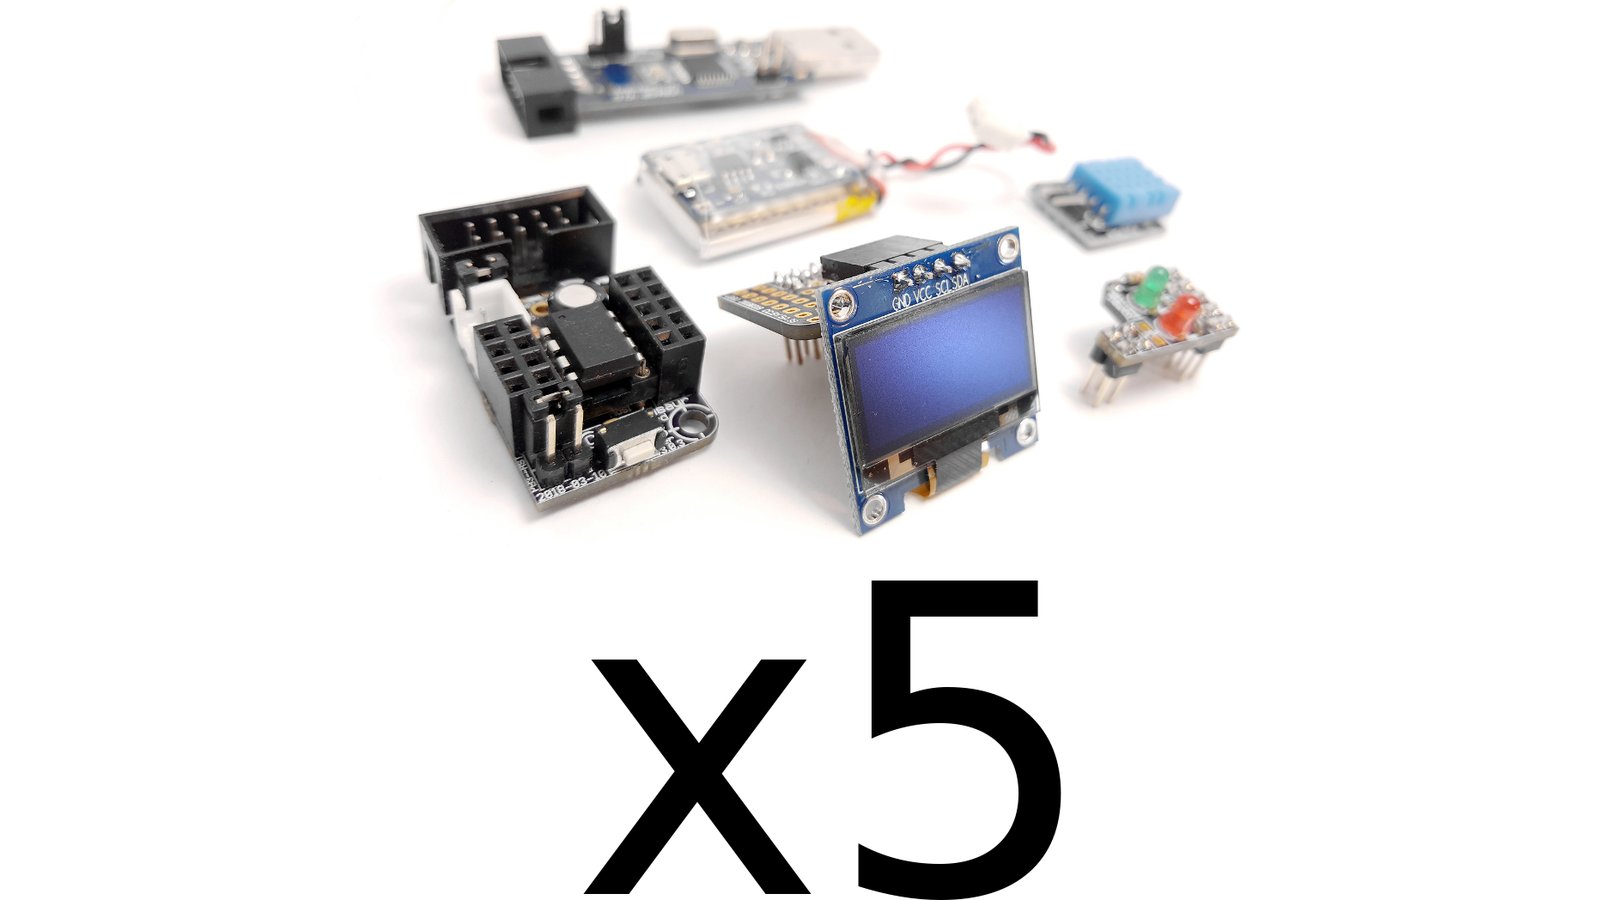
Start a hackathon, teach a class, or practice a lot on your own!

An educational platform and set of tools that focus on programming, robotics, and electronics. We apply modern learning methods in an effort to present science and technology in an interesting and entertaining way. Tinusaur is a mixture of software and hardware: first, you assemble your hardware yourself by soldering your board; then you learn how to program it using puzzle-like blocks; finally, you learn how to write C code.