Run 1 bare dies and chips-on-board (COBs) have shipped - join us to have a look into the process.
The Chip-on-Board Boards
If you’ve been following along, you may remember a previous update where we discussed different potential strategies for chip-on-board packaging. In this update we will see all that hard work come to fruition, as we wirebond some of the very first dies from this run.
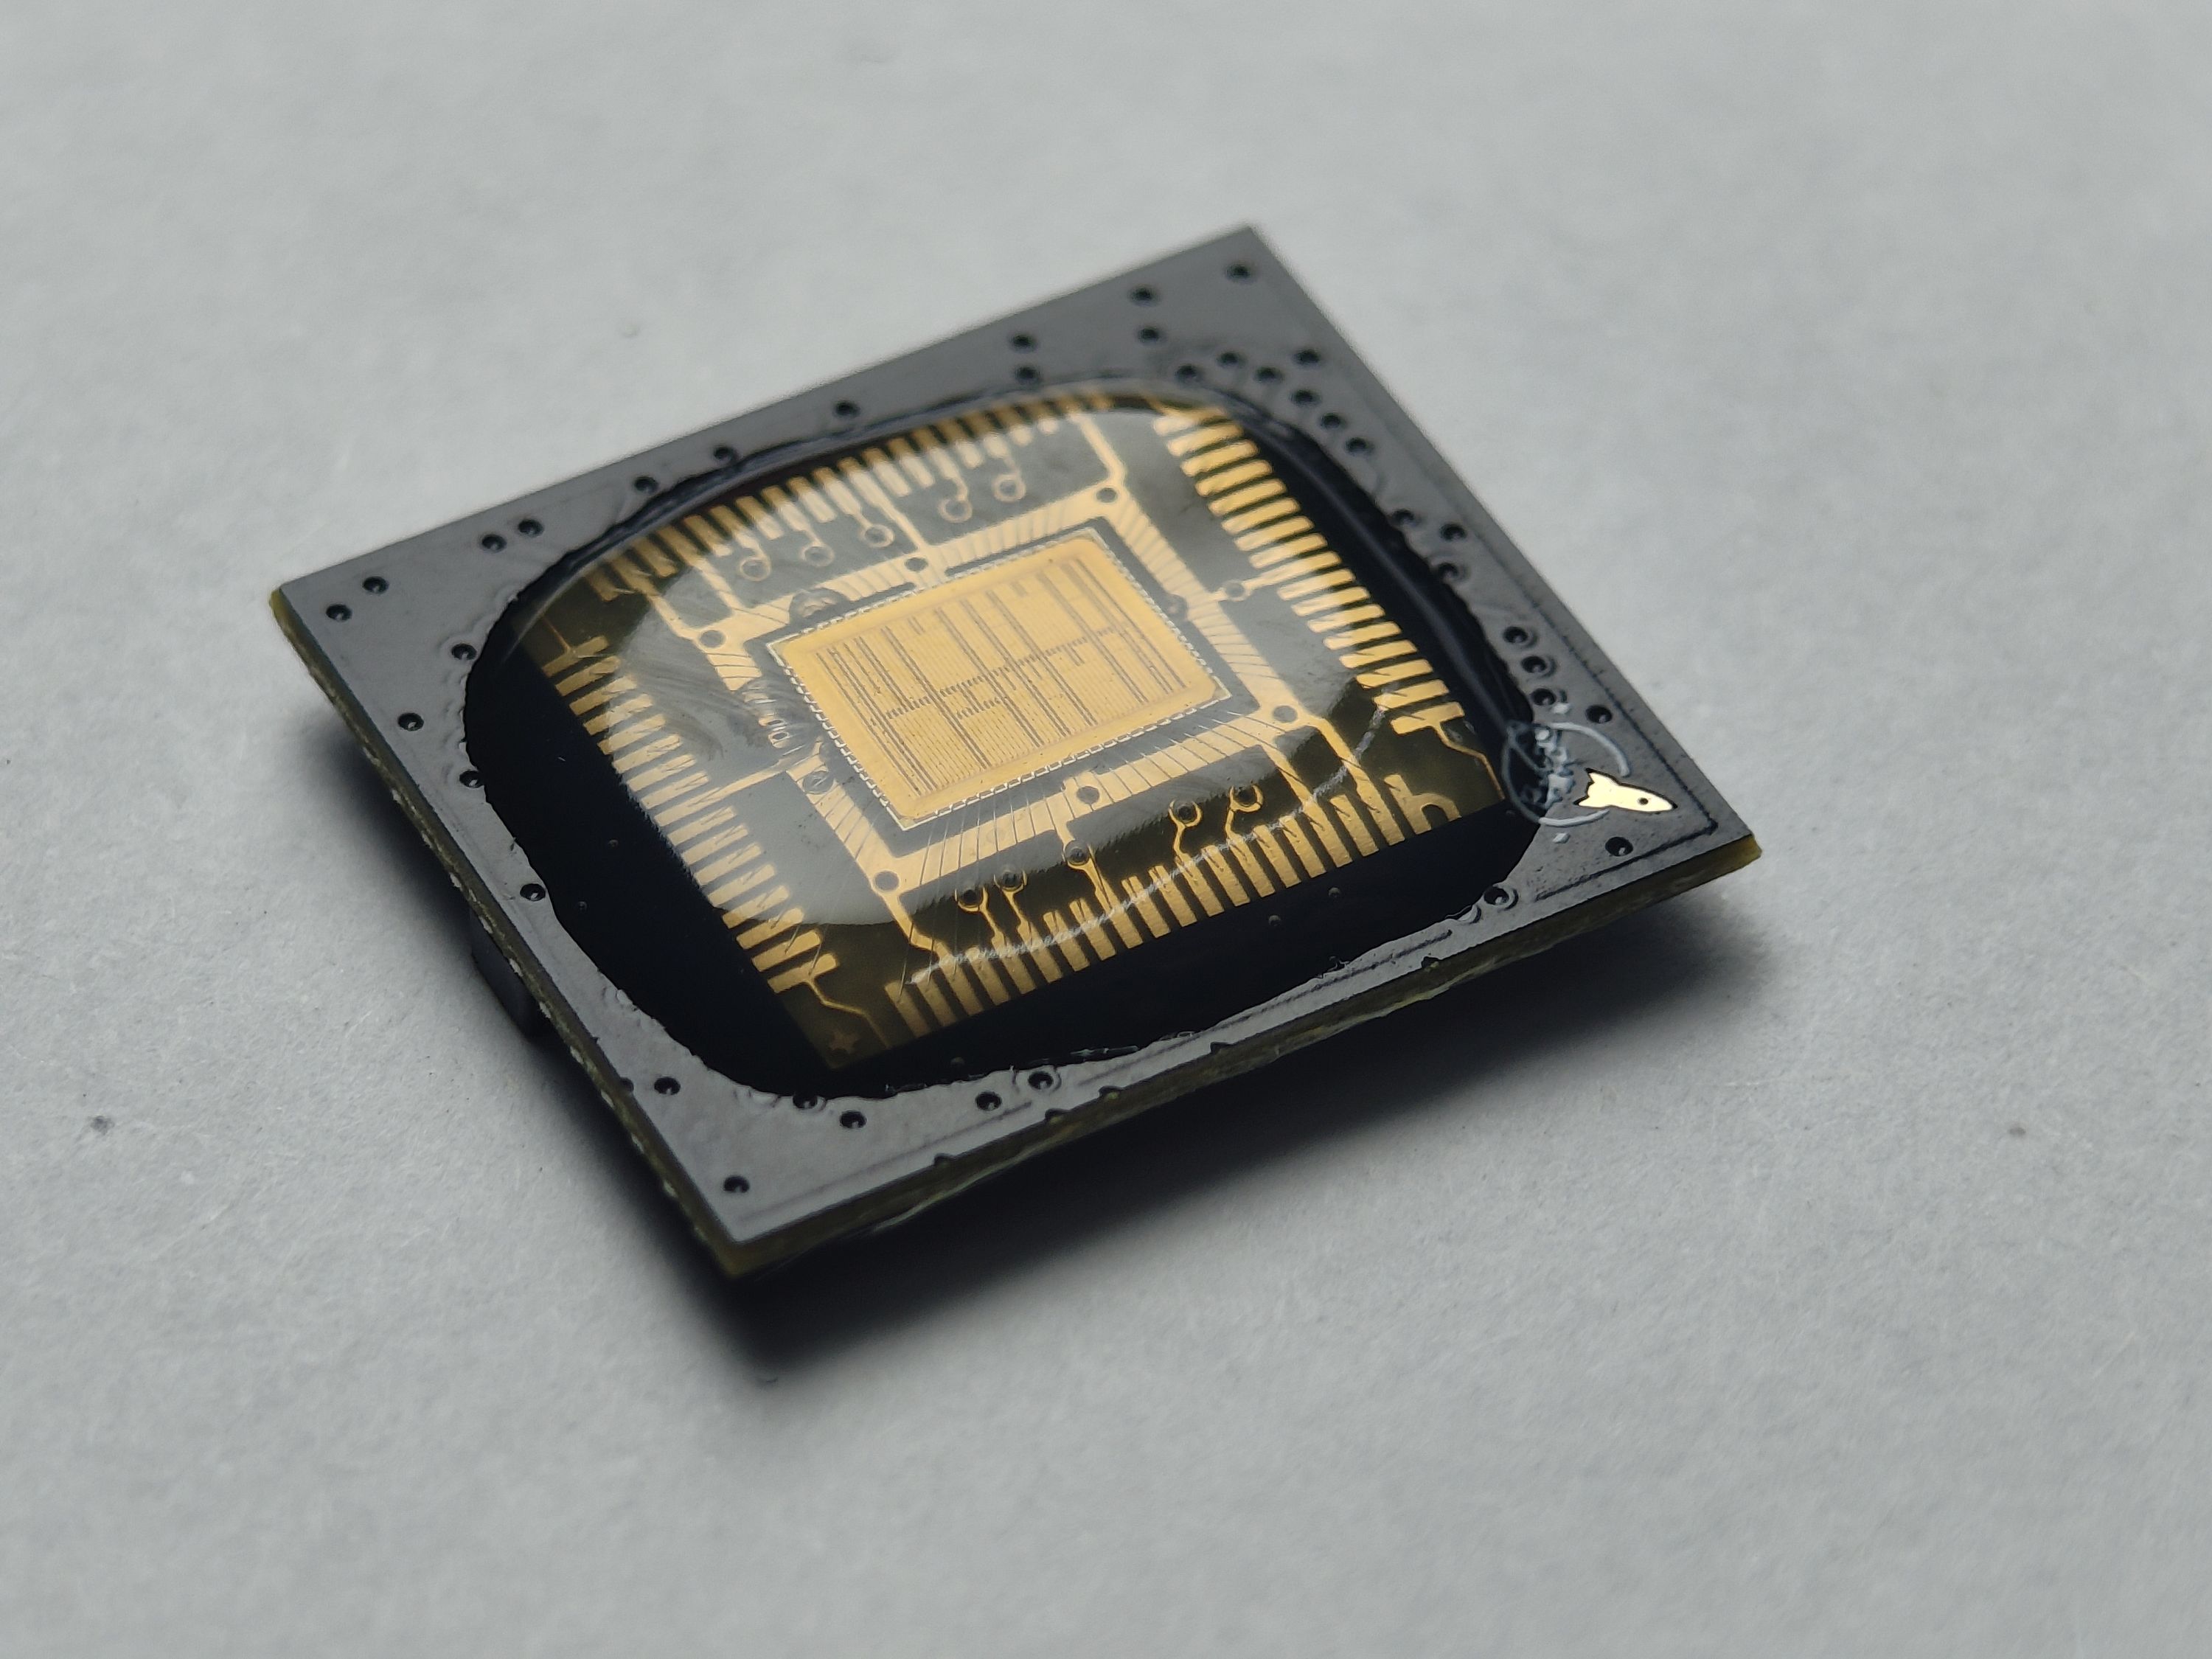
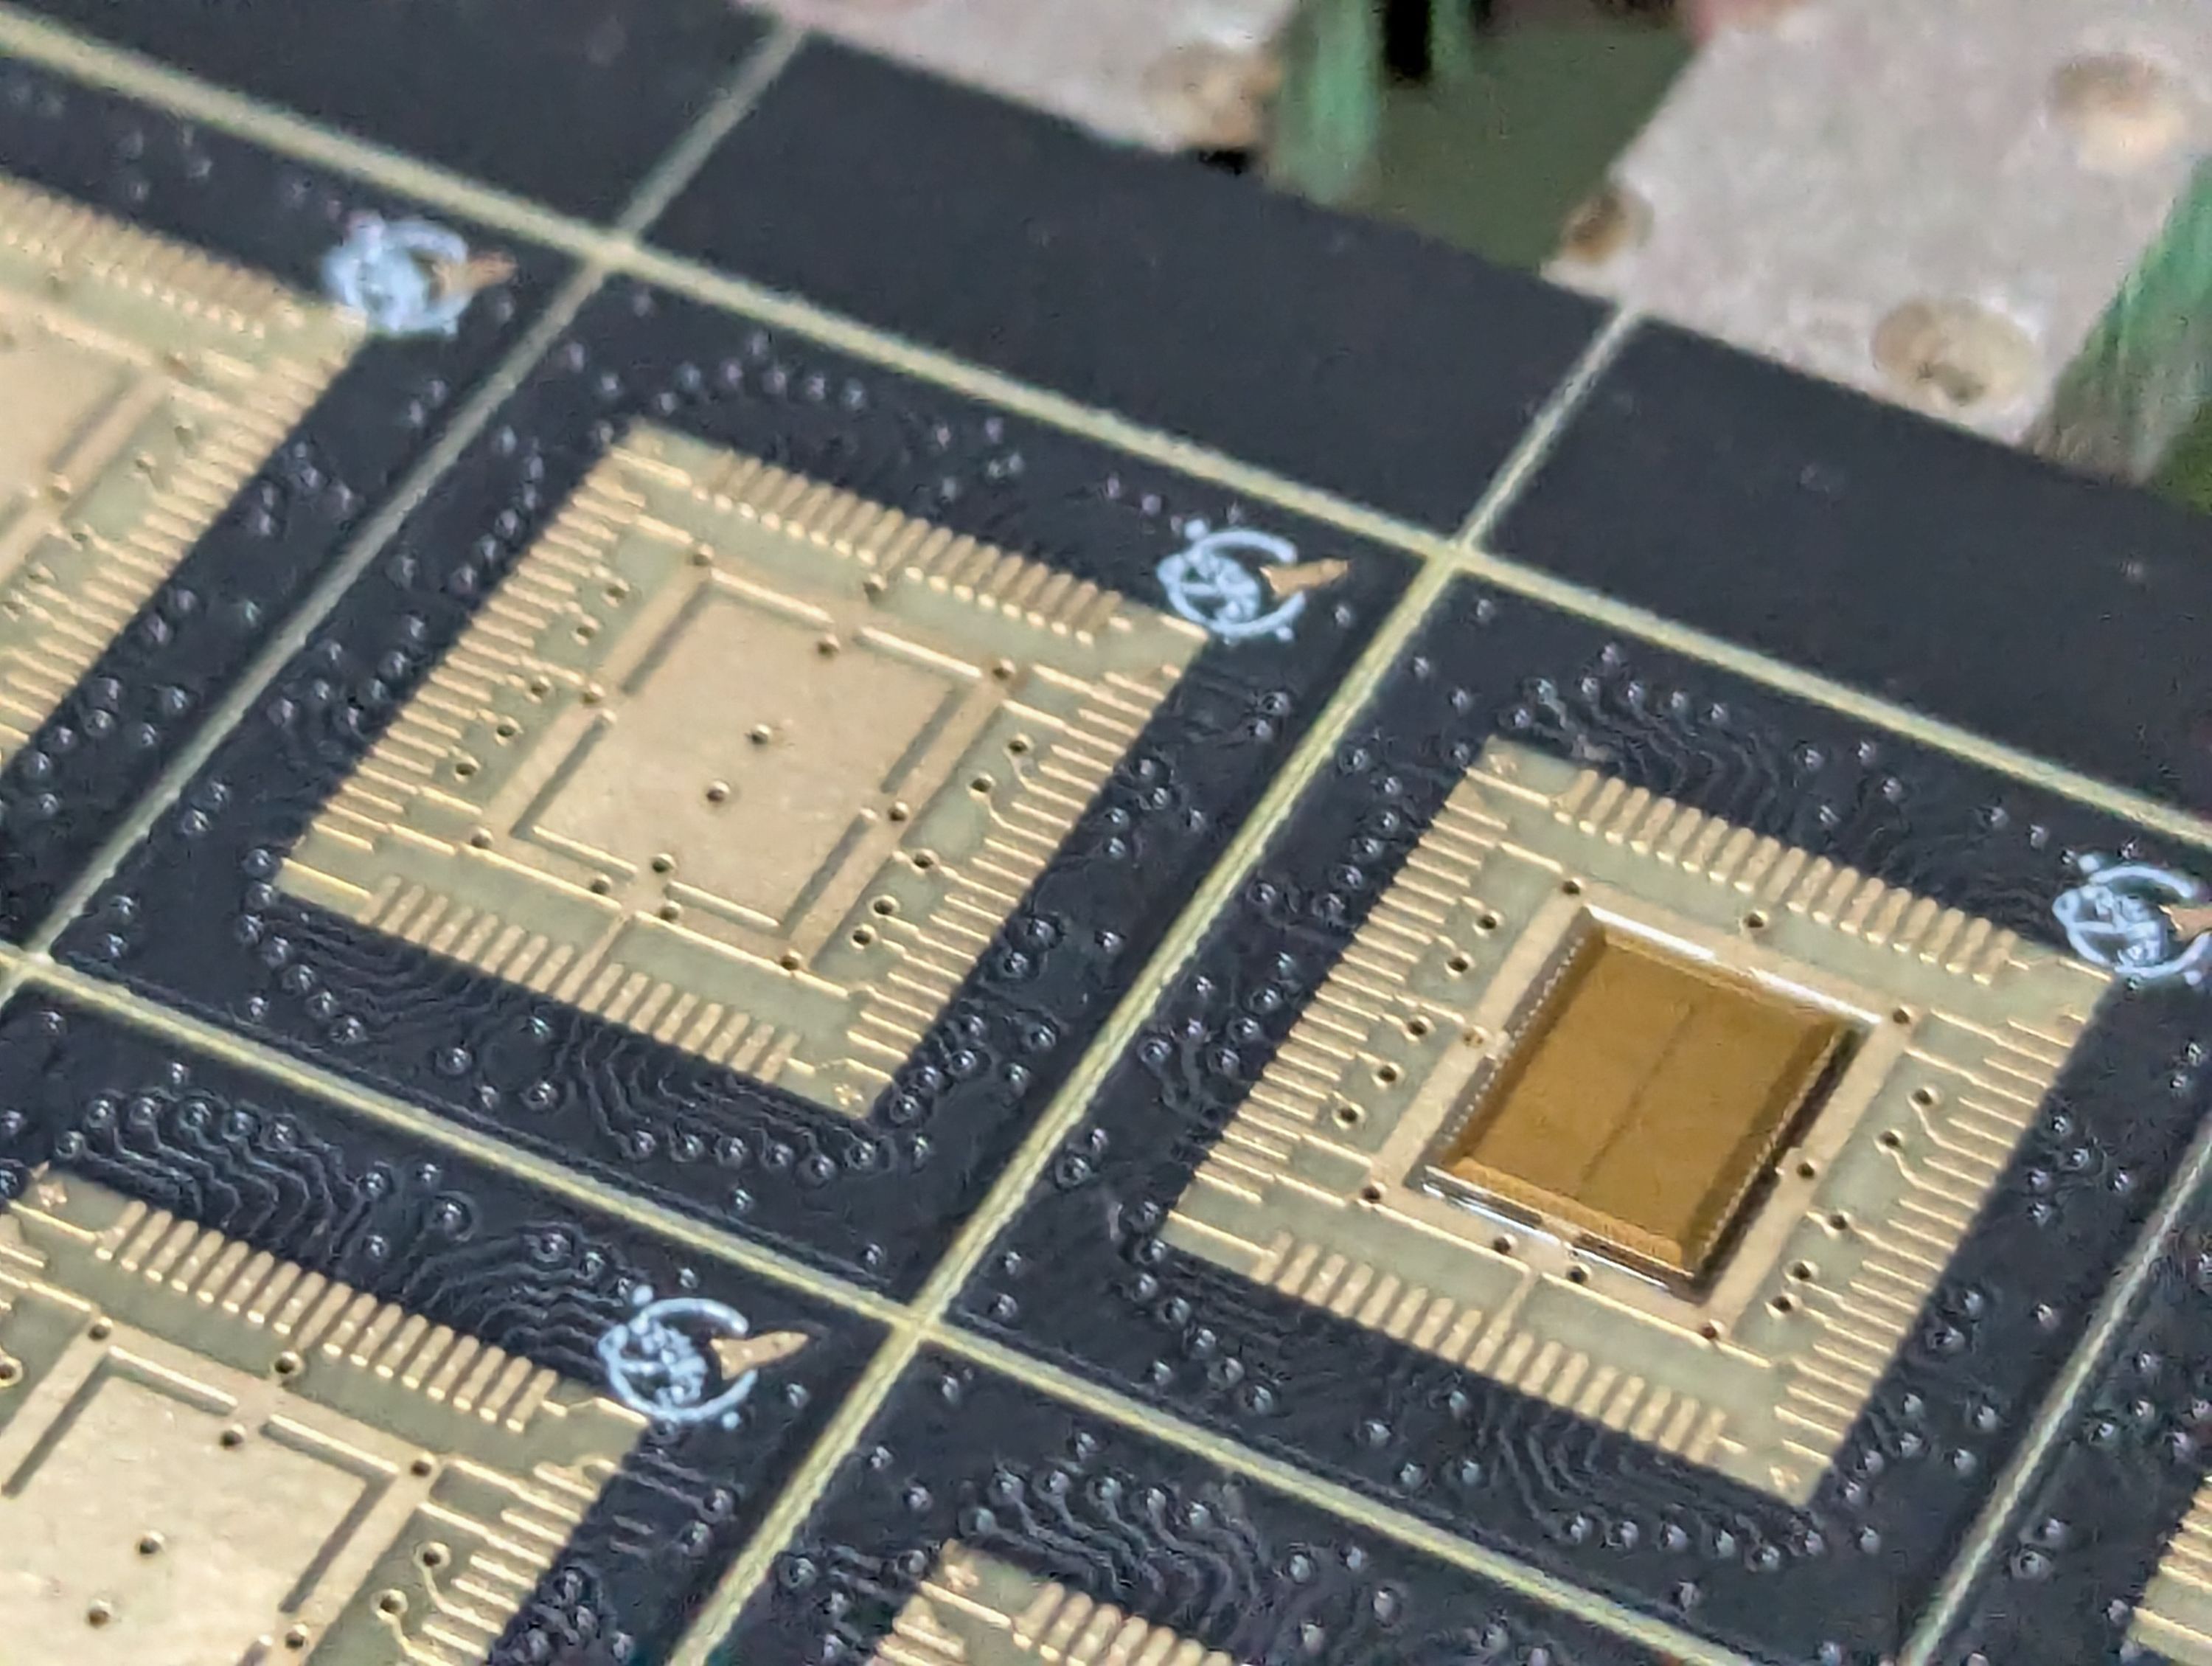
The top-level view of the process is that each die is placed onto a small PCB and wirebonded to connect the die to the board. Then, an epoxy glob-top is applied to protect the sensitive die and wires. The result is a packaged part that you can plug into your own board and start testing immediately, no specialized equipment needed.
Wirebonding is inaccessible for most people, and traditional packaging solutions remain cost prohibitive due to the low volume nature of the manufacturing runs. The COB boards were designed as an accessible way for people to use their wafer.space dies.
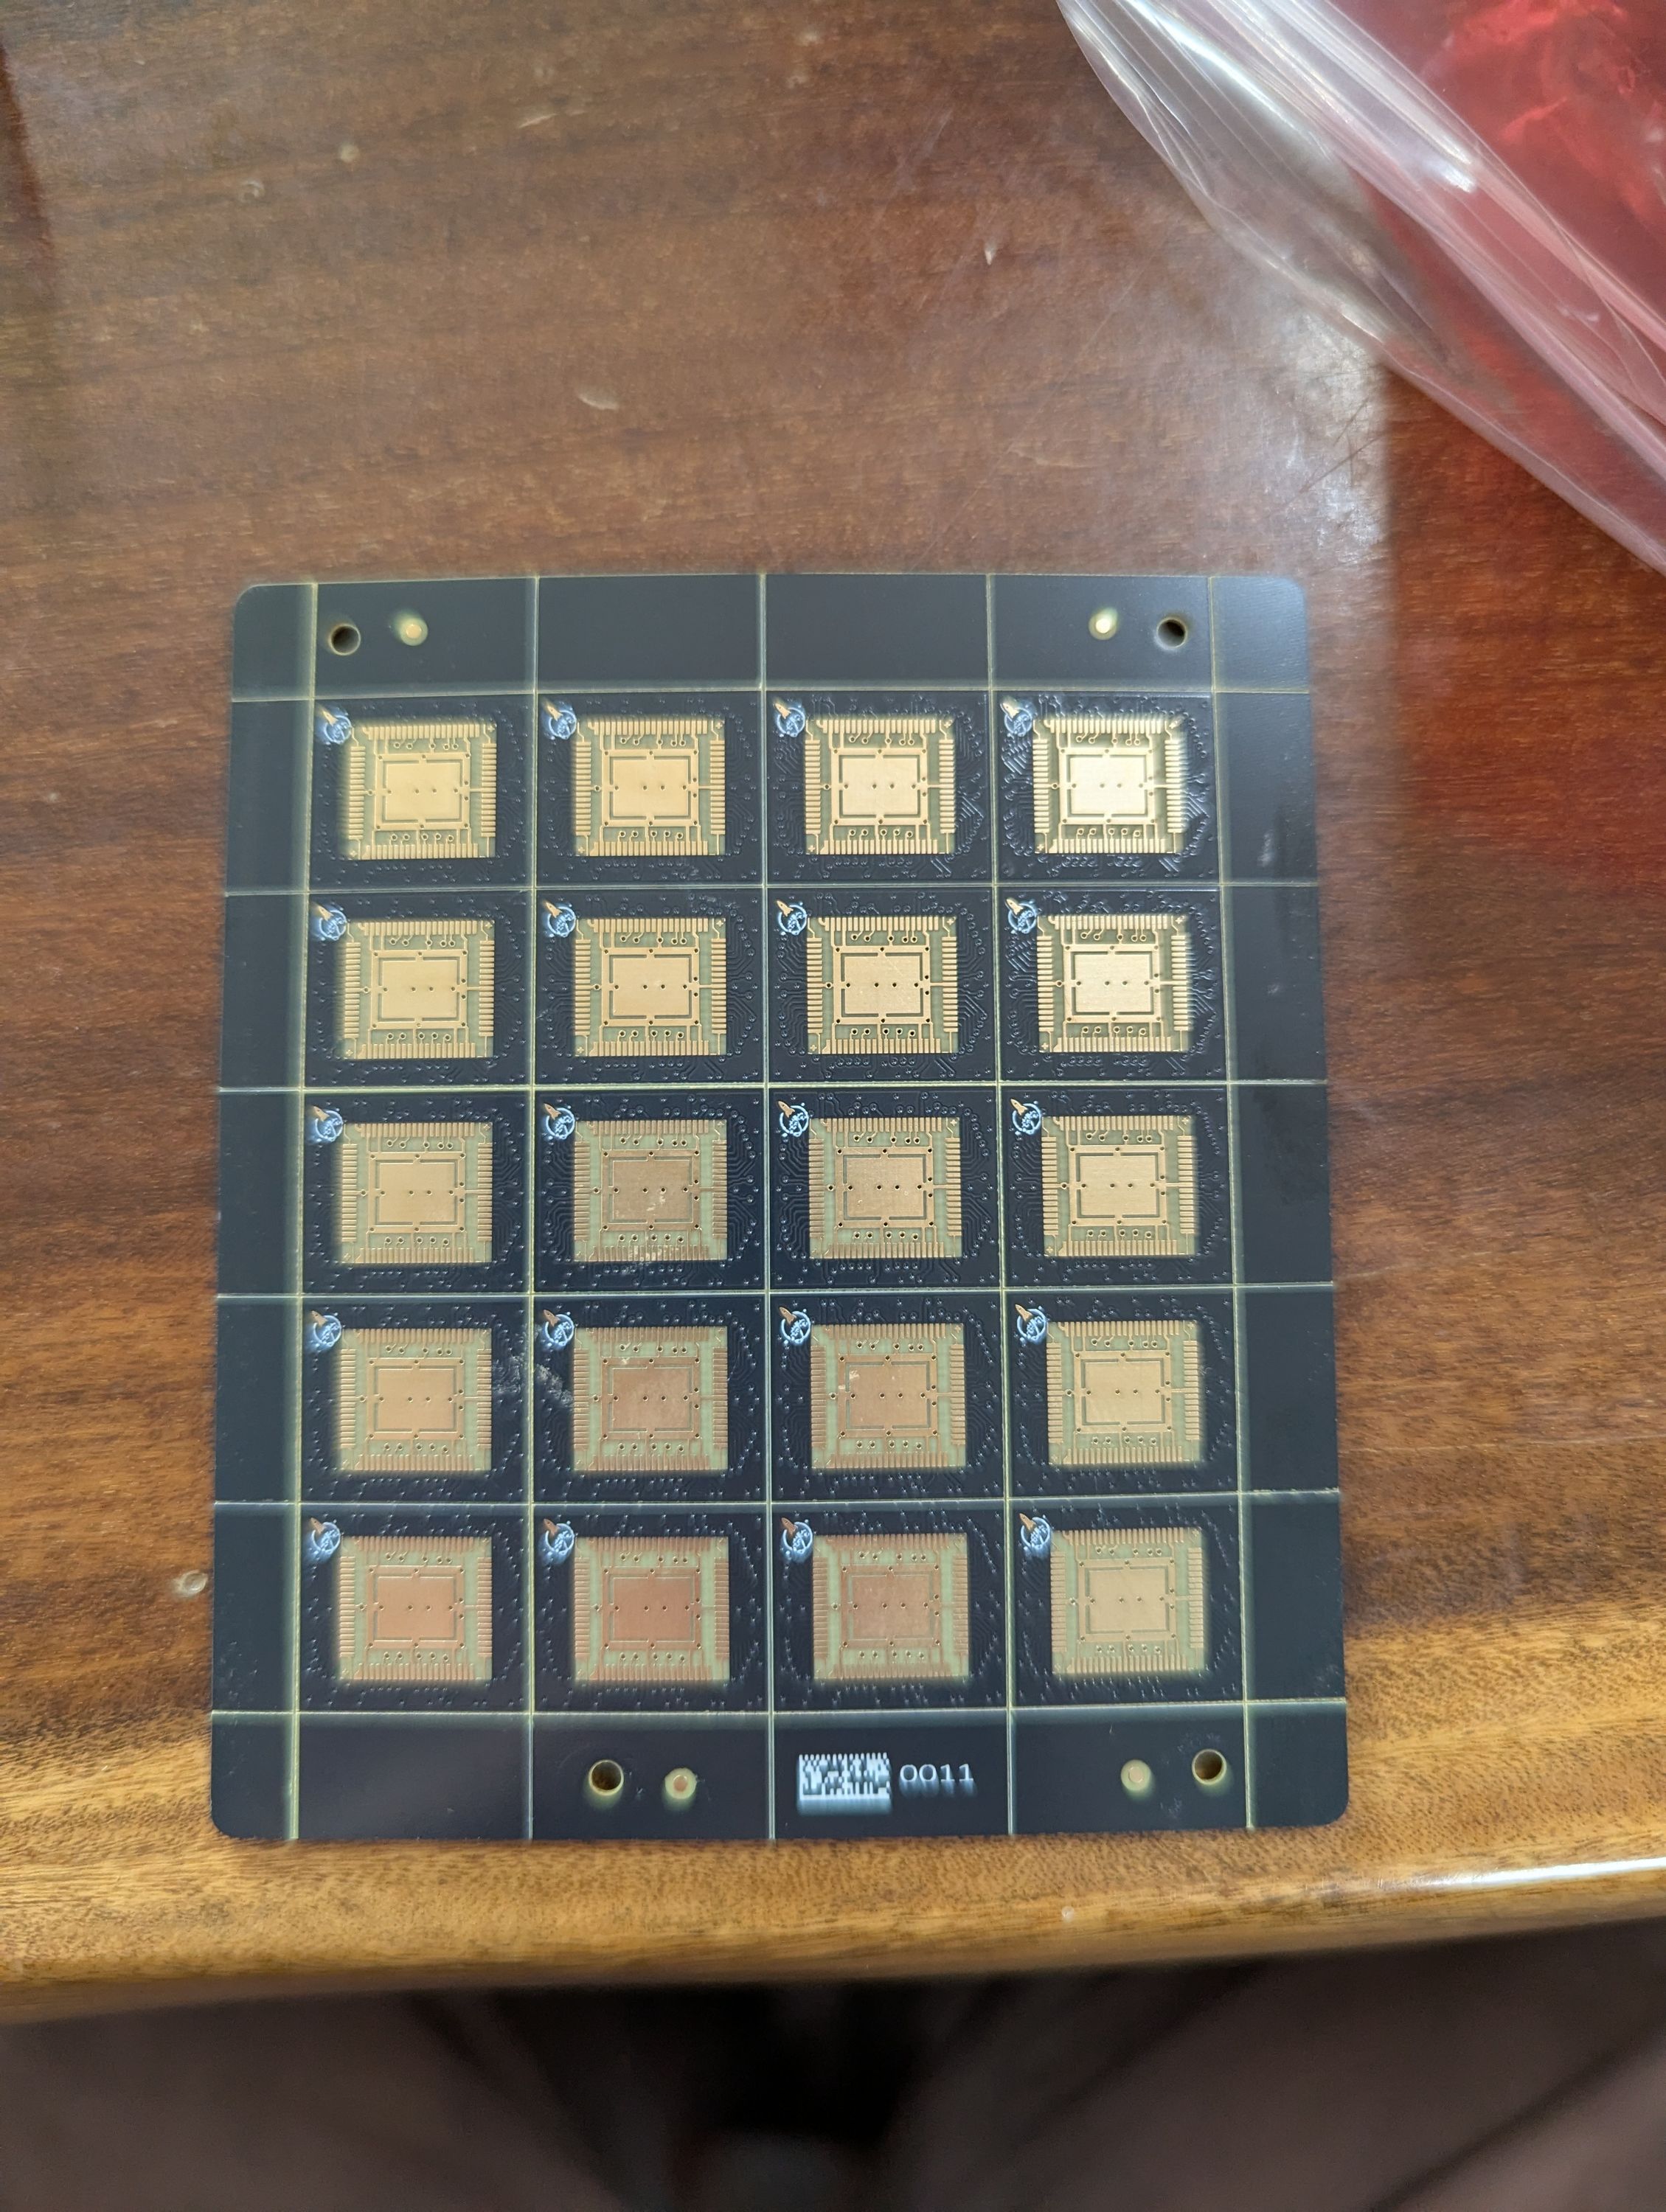
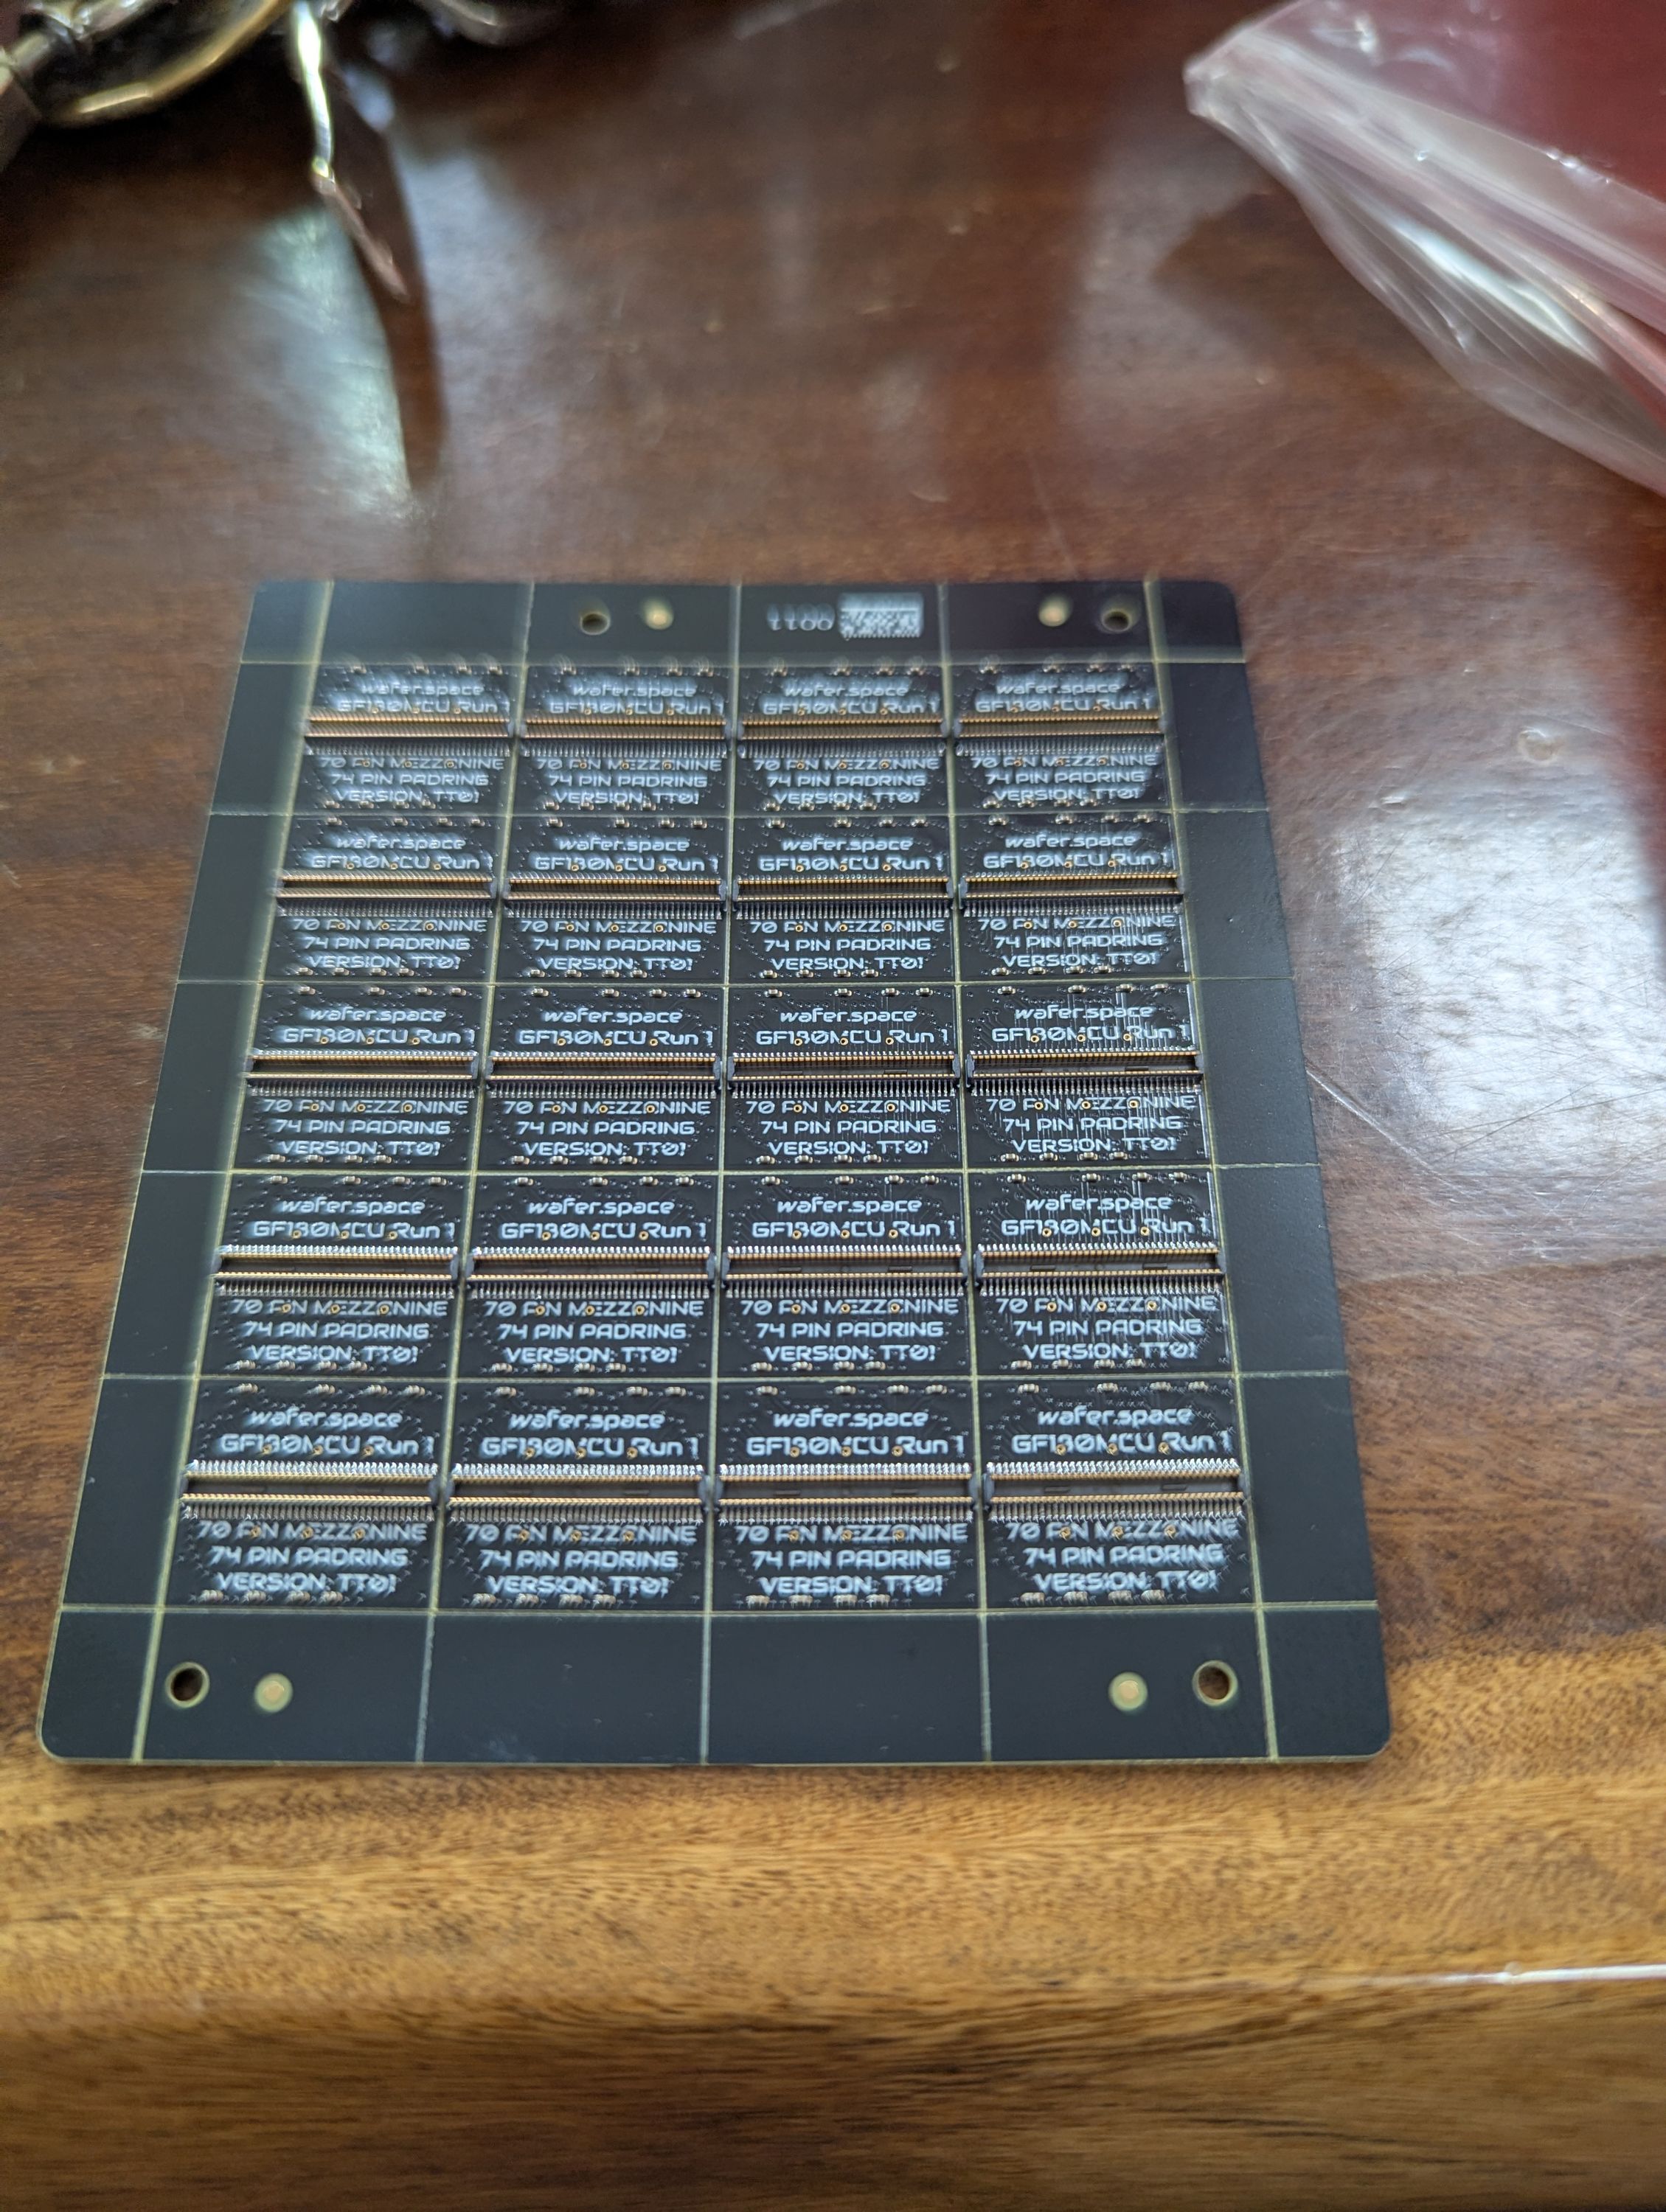
These boards use an easily sourceable mezzanine connector for you to make your own motherboard. As always, the design of this COB is available on GitHub.
Preparing for Wirebonding
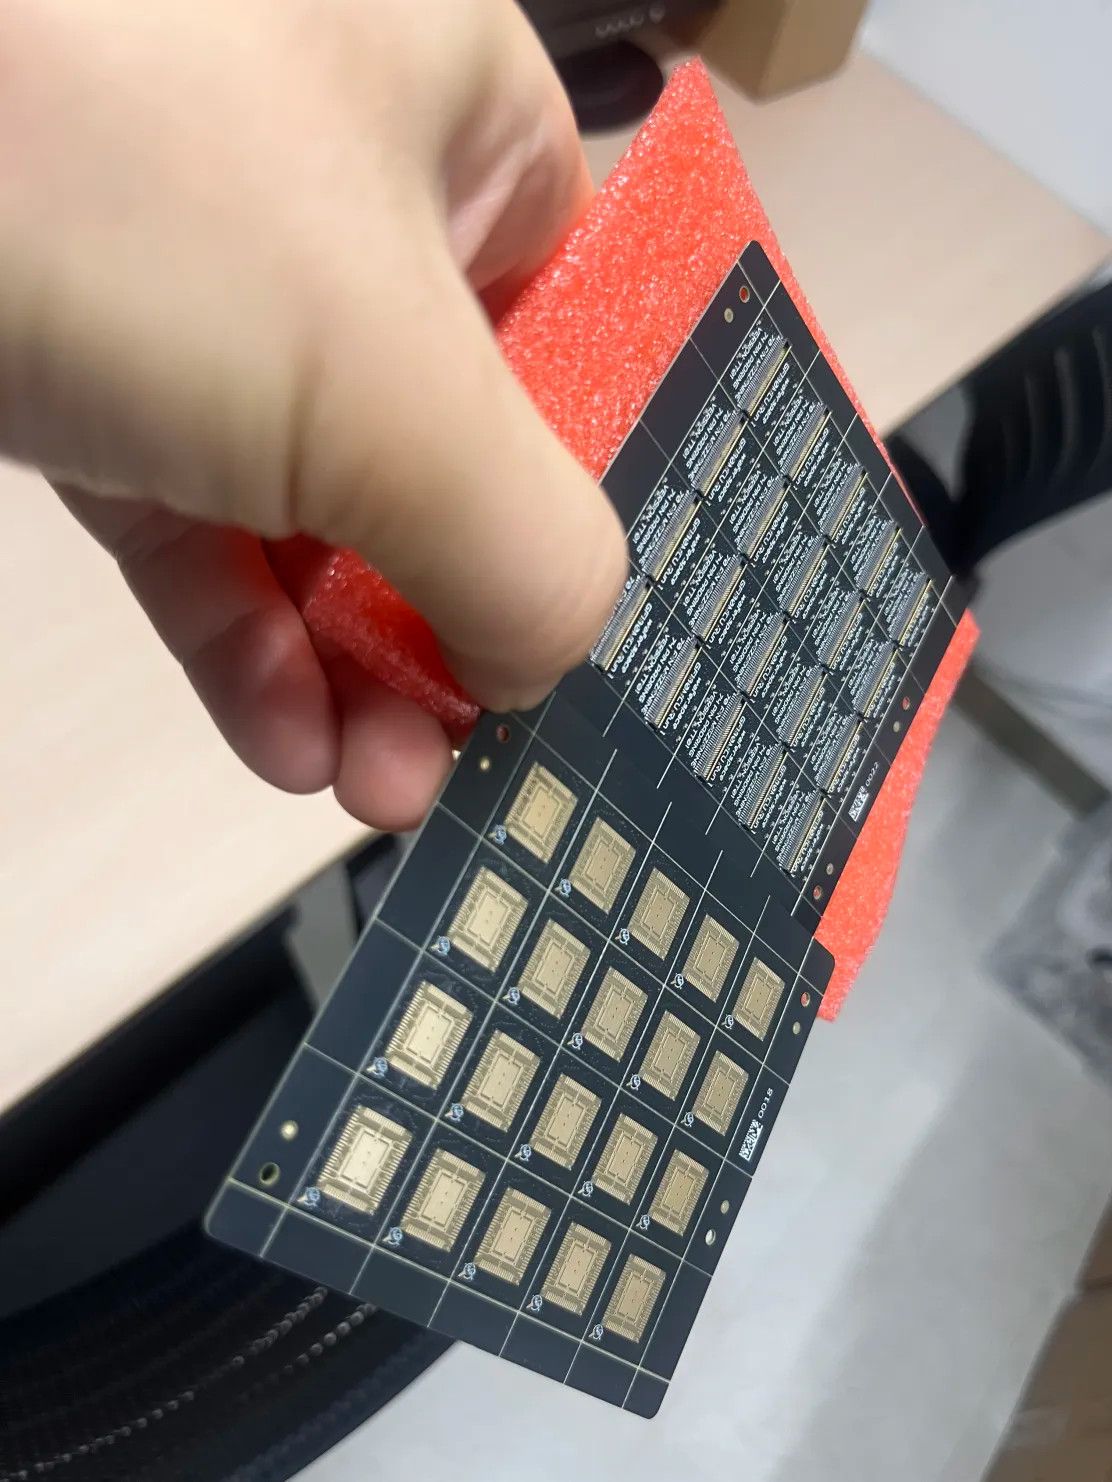
The COB boards arrive as a panel of 20 from the PCB house, but these are too large to fit onto the vacuum chuck used by the wirebonders. The solution is simple: snap the panels in half!
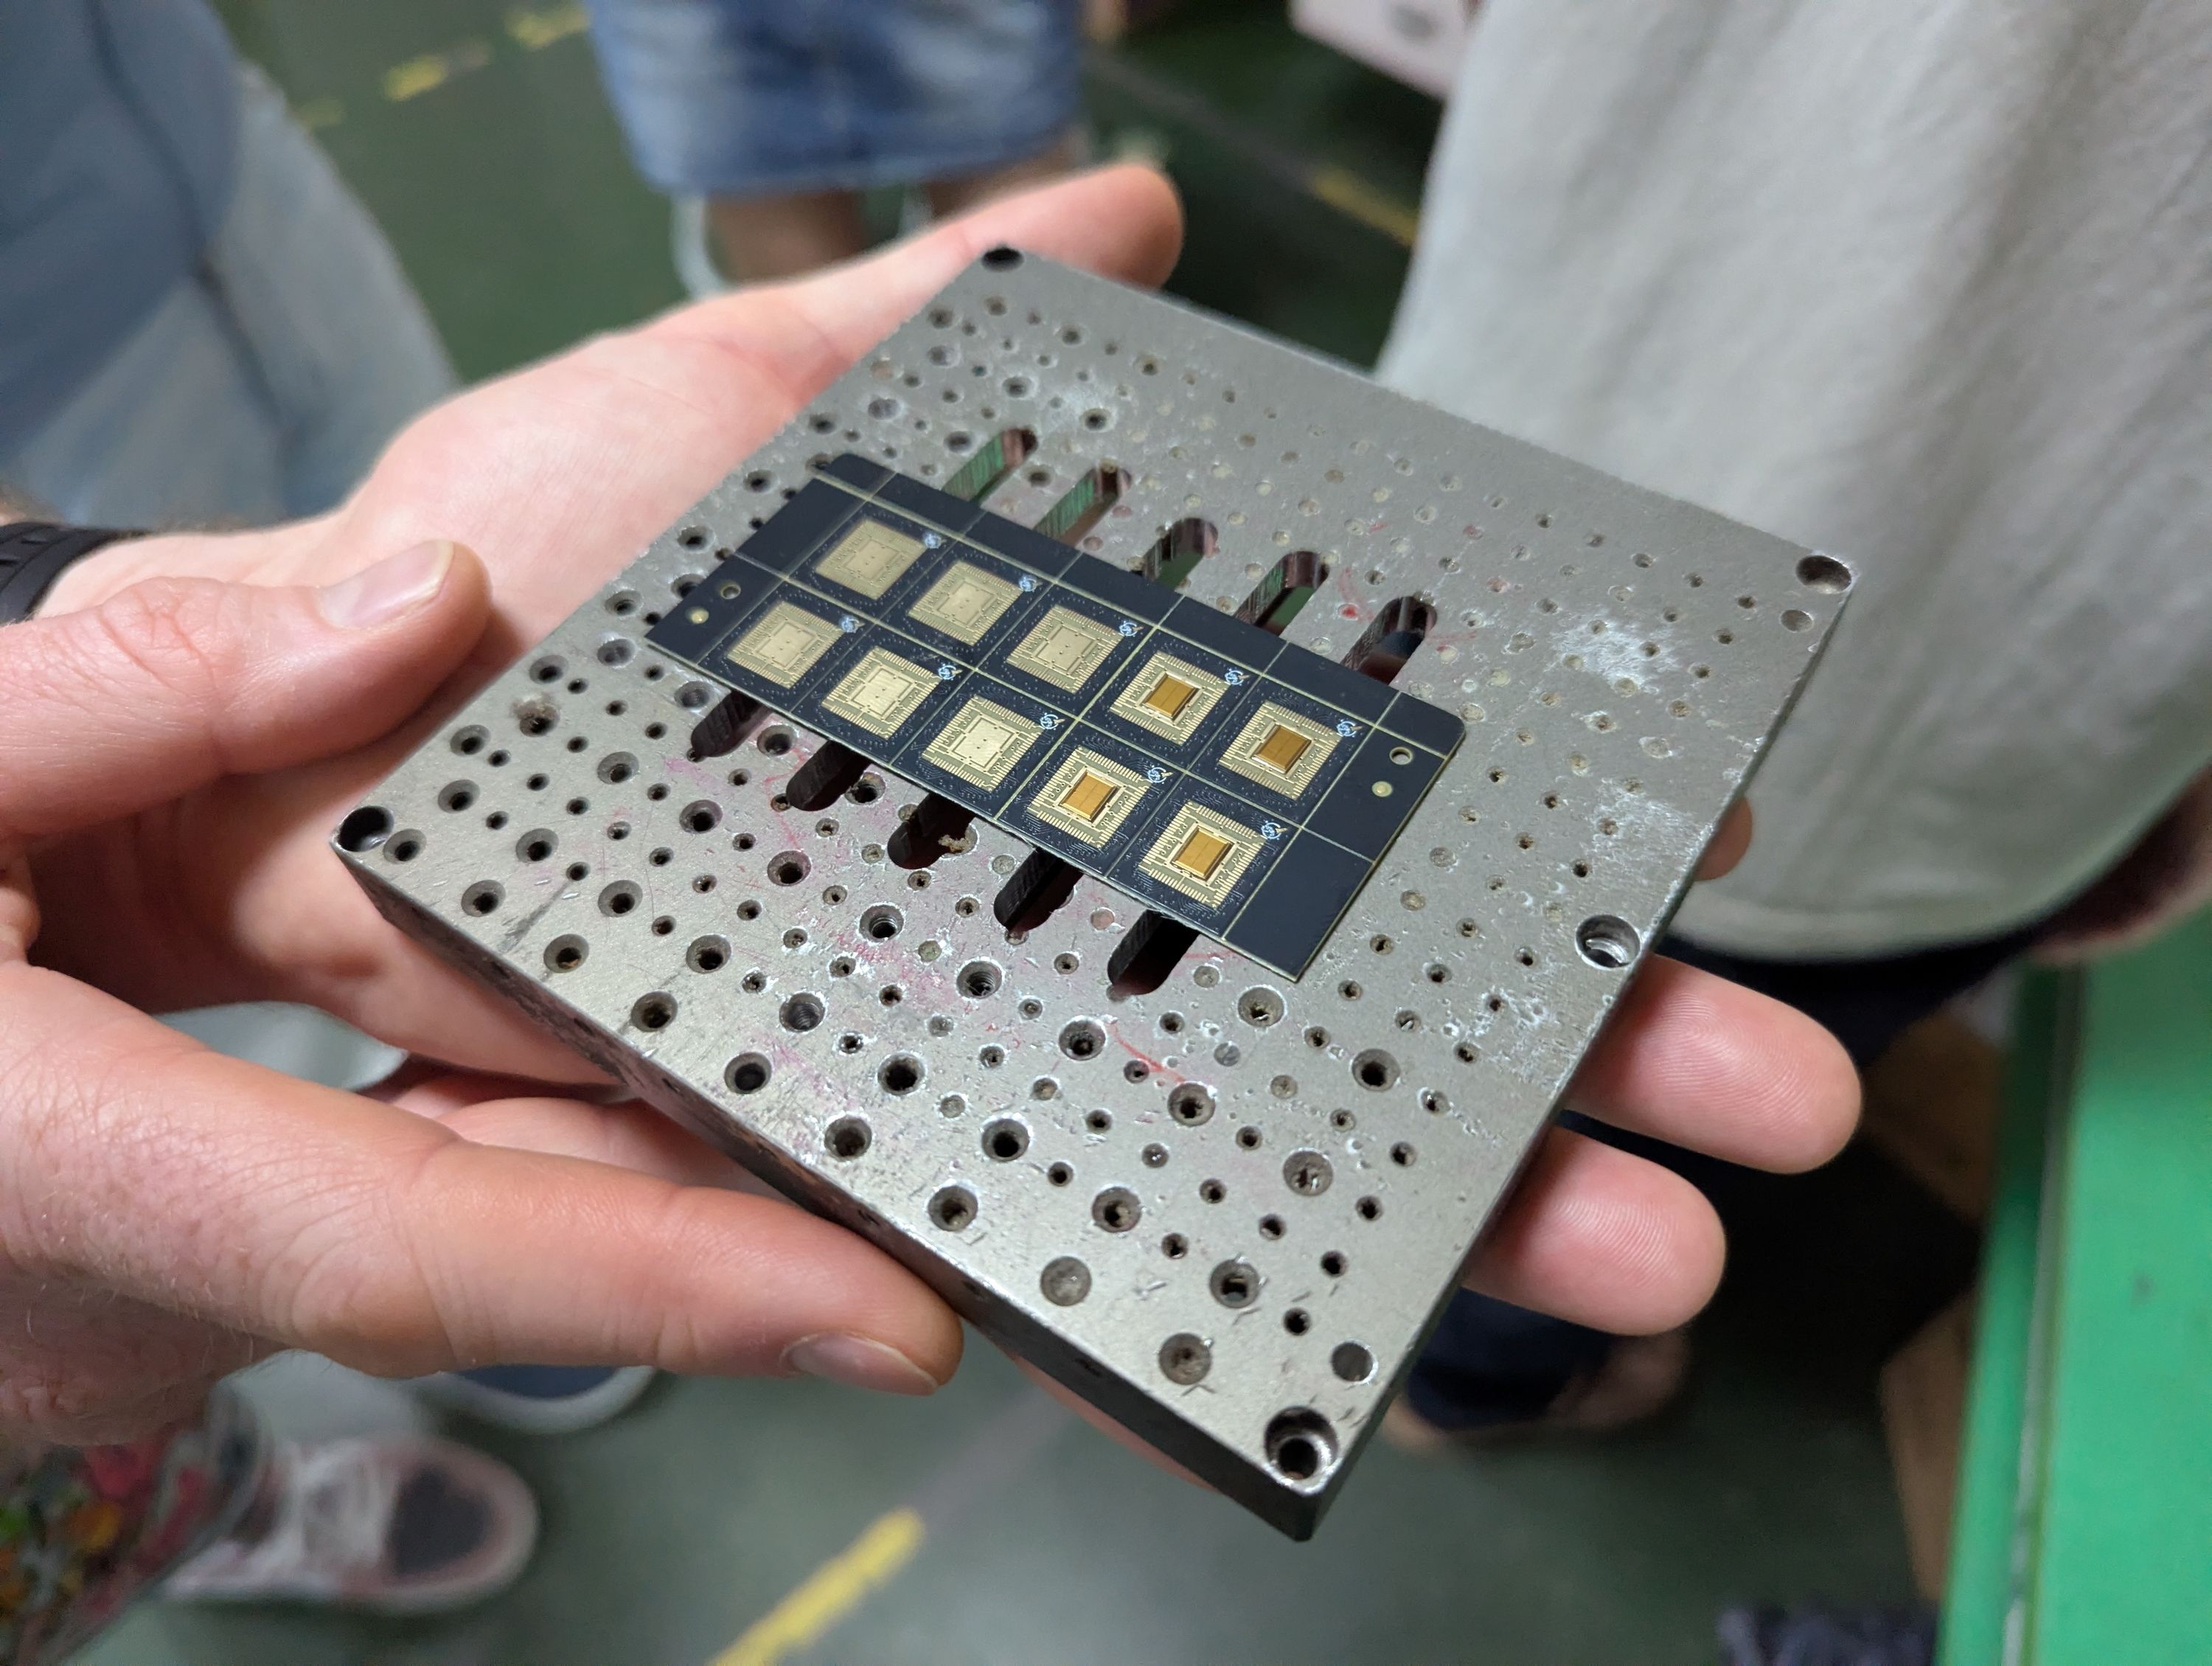
Components moving during the wirebonding process is a concern. Tiny pads on the die and sharp movements caused by the wirebonder mean that any misalignment could result in a failed bond (or multiple). These failed bonds could prevent the chip from working properly, so our goal is to minimize any excessive movement.
The PCB itself is affixed to the chuck using a vacuum, and the die is physically glued to the PCB.
Performing the Wirebonding
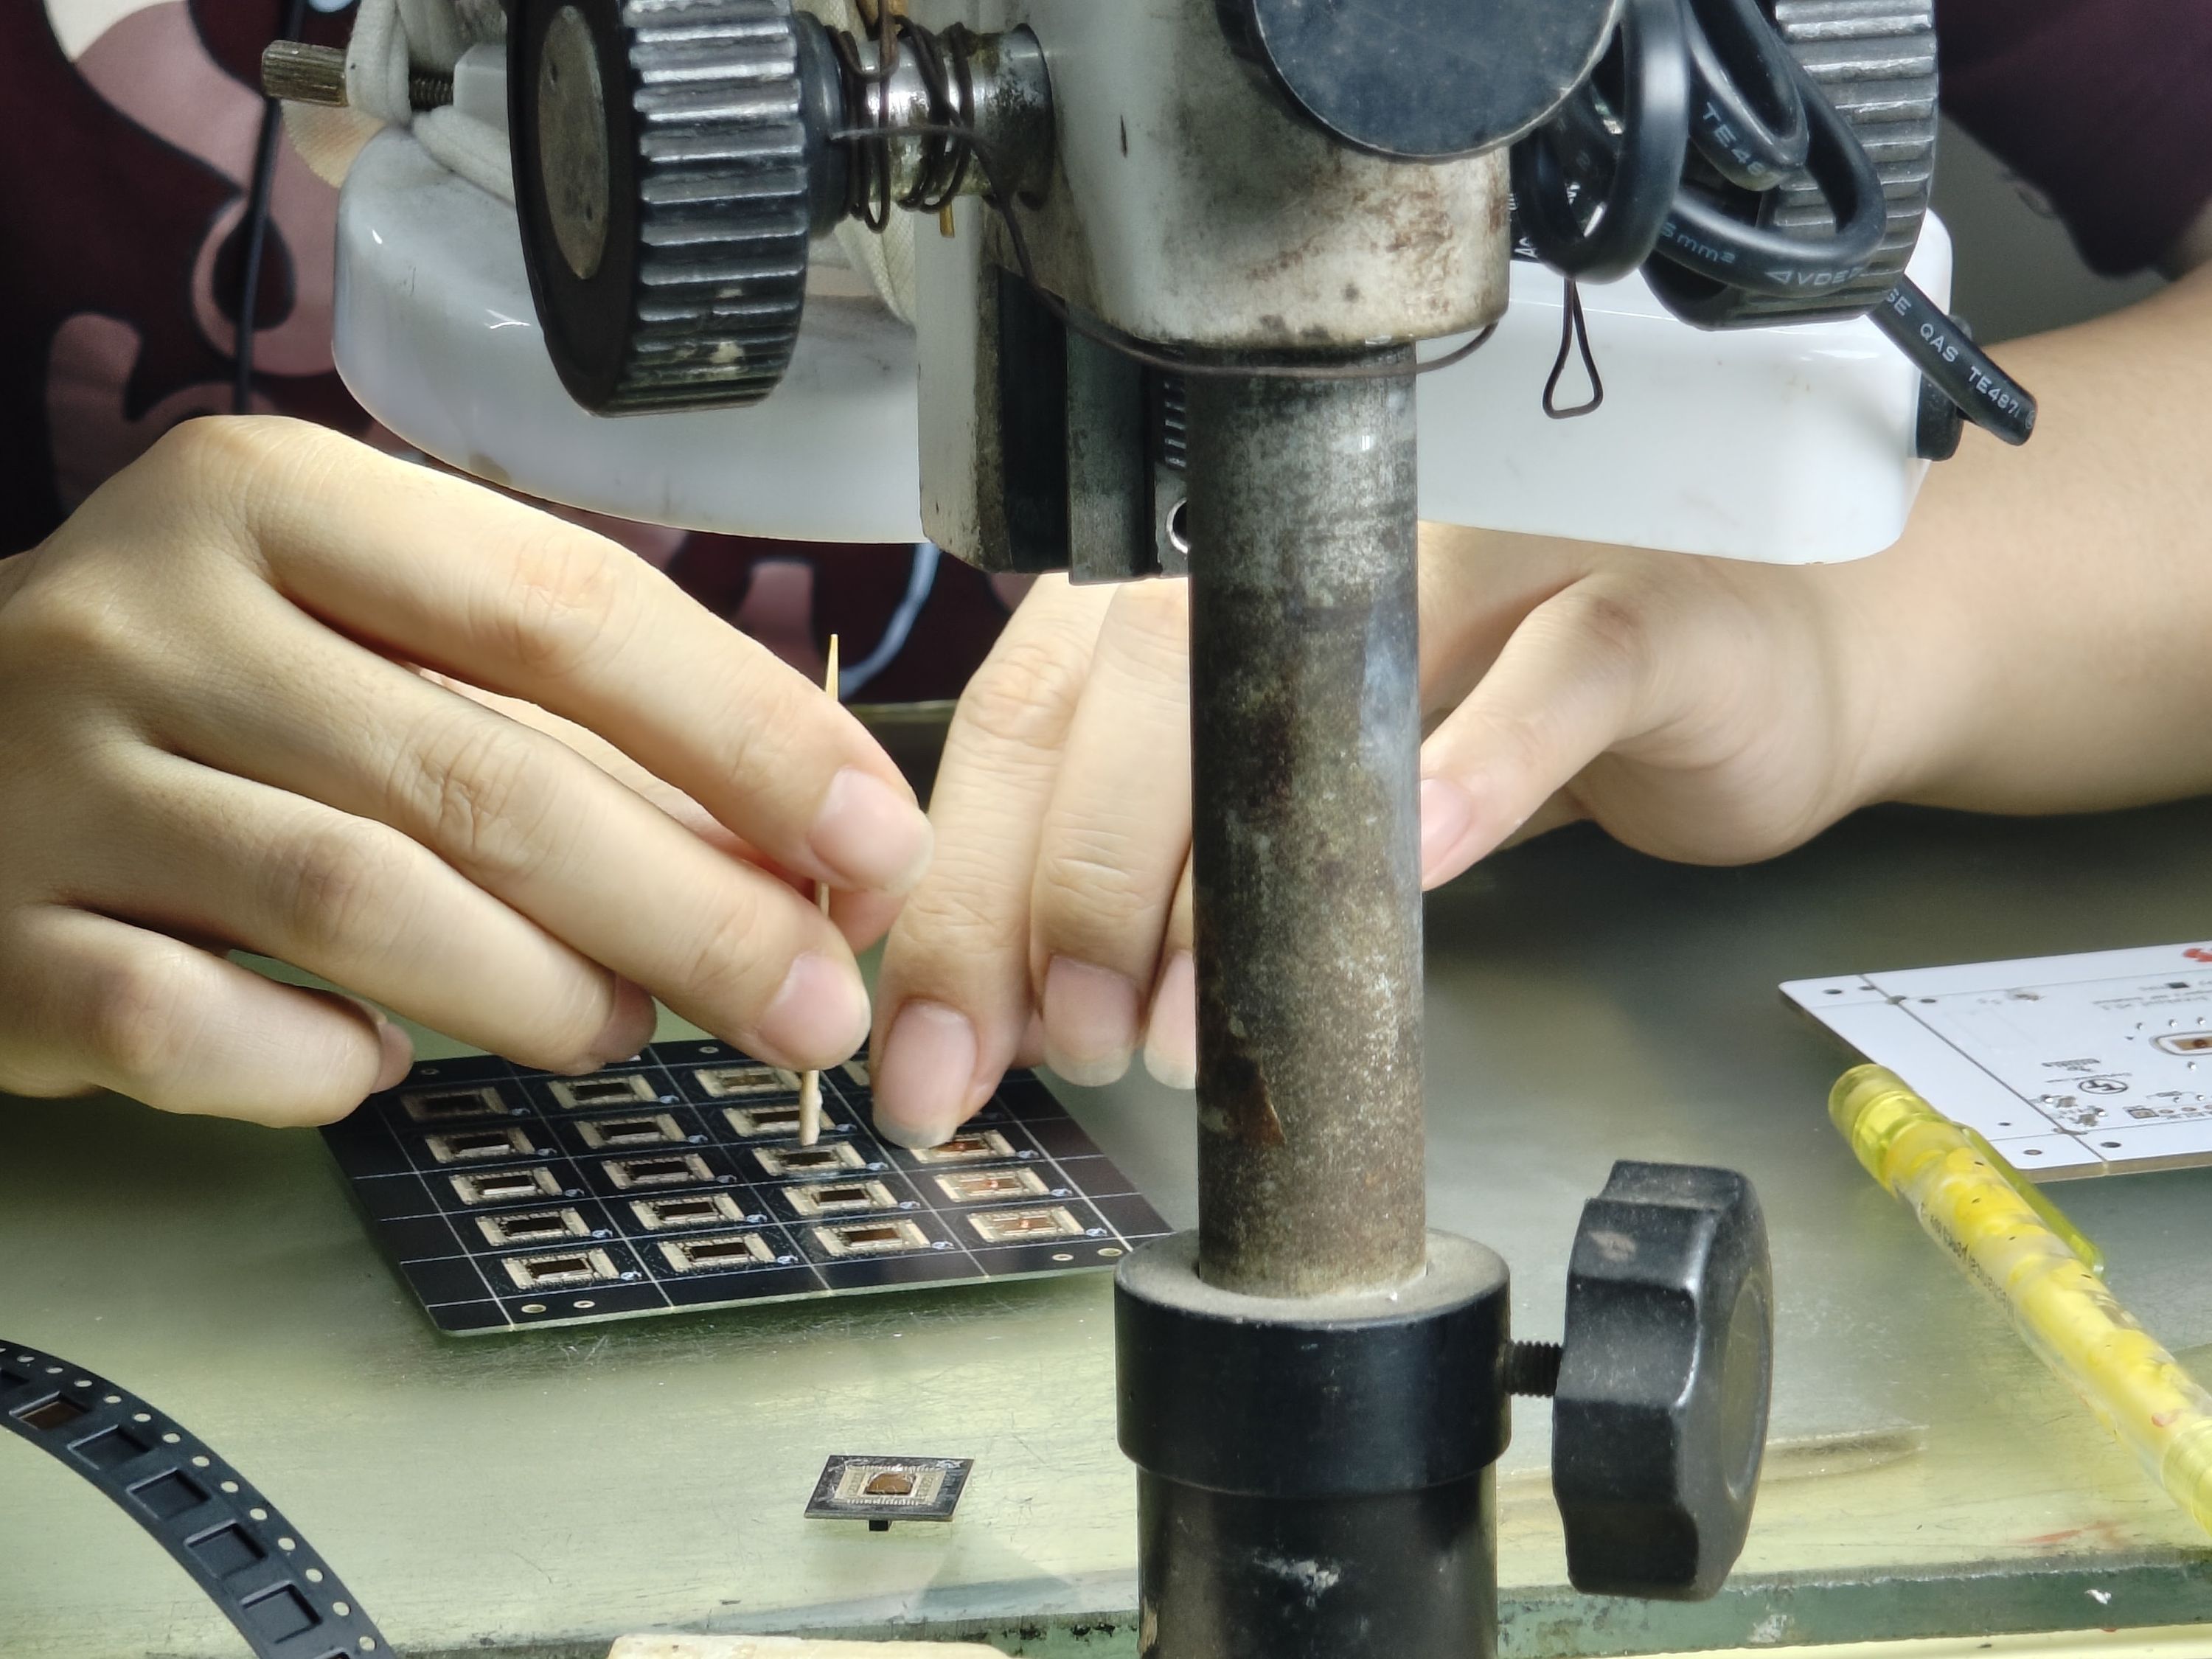
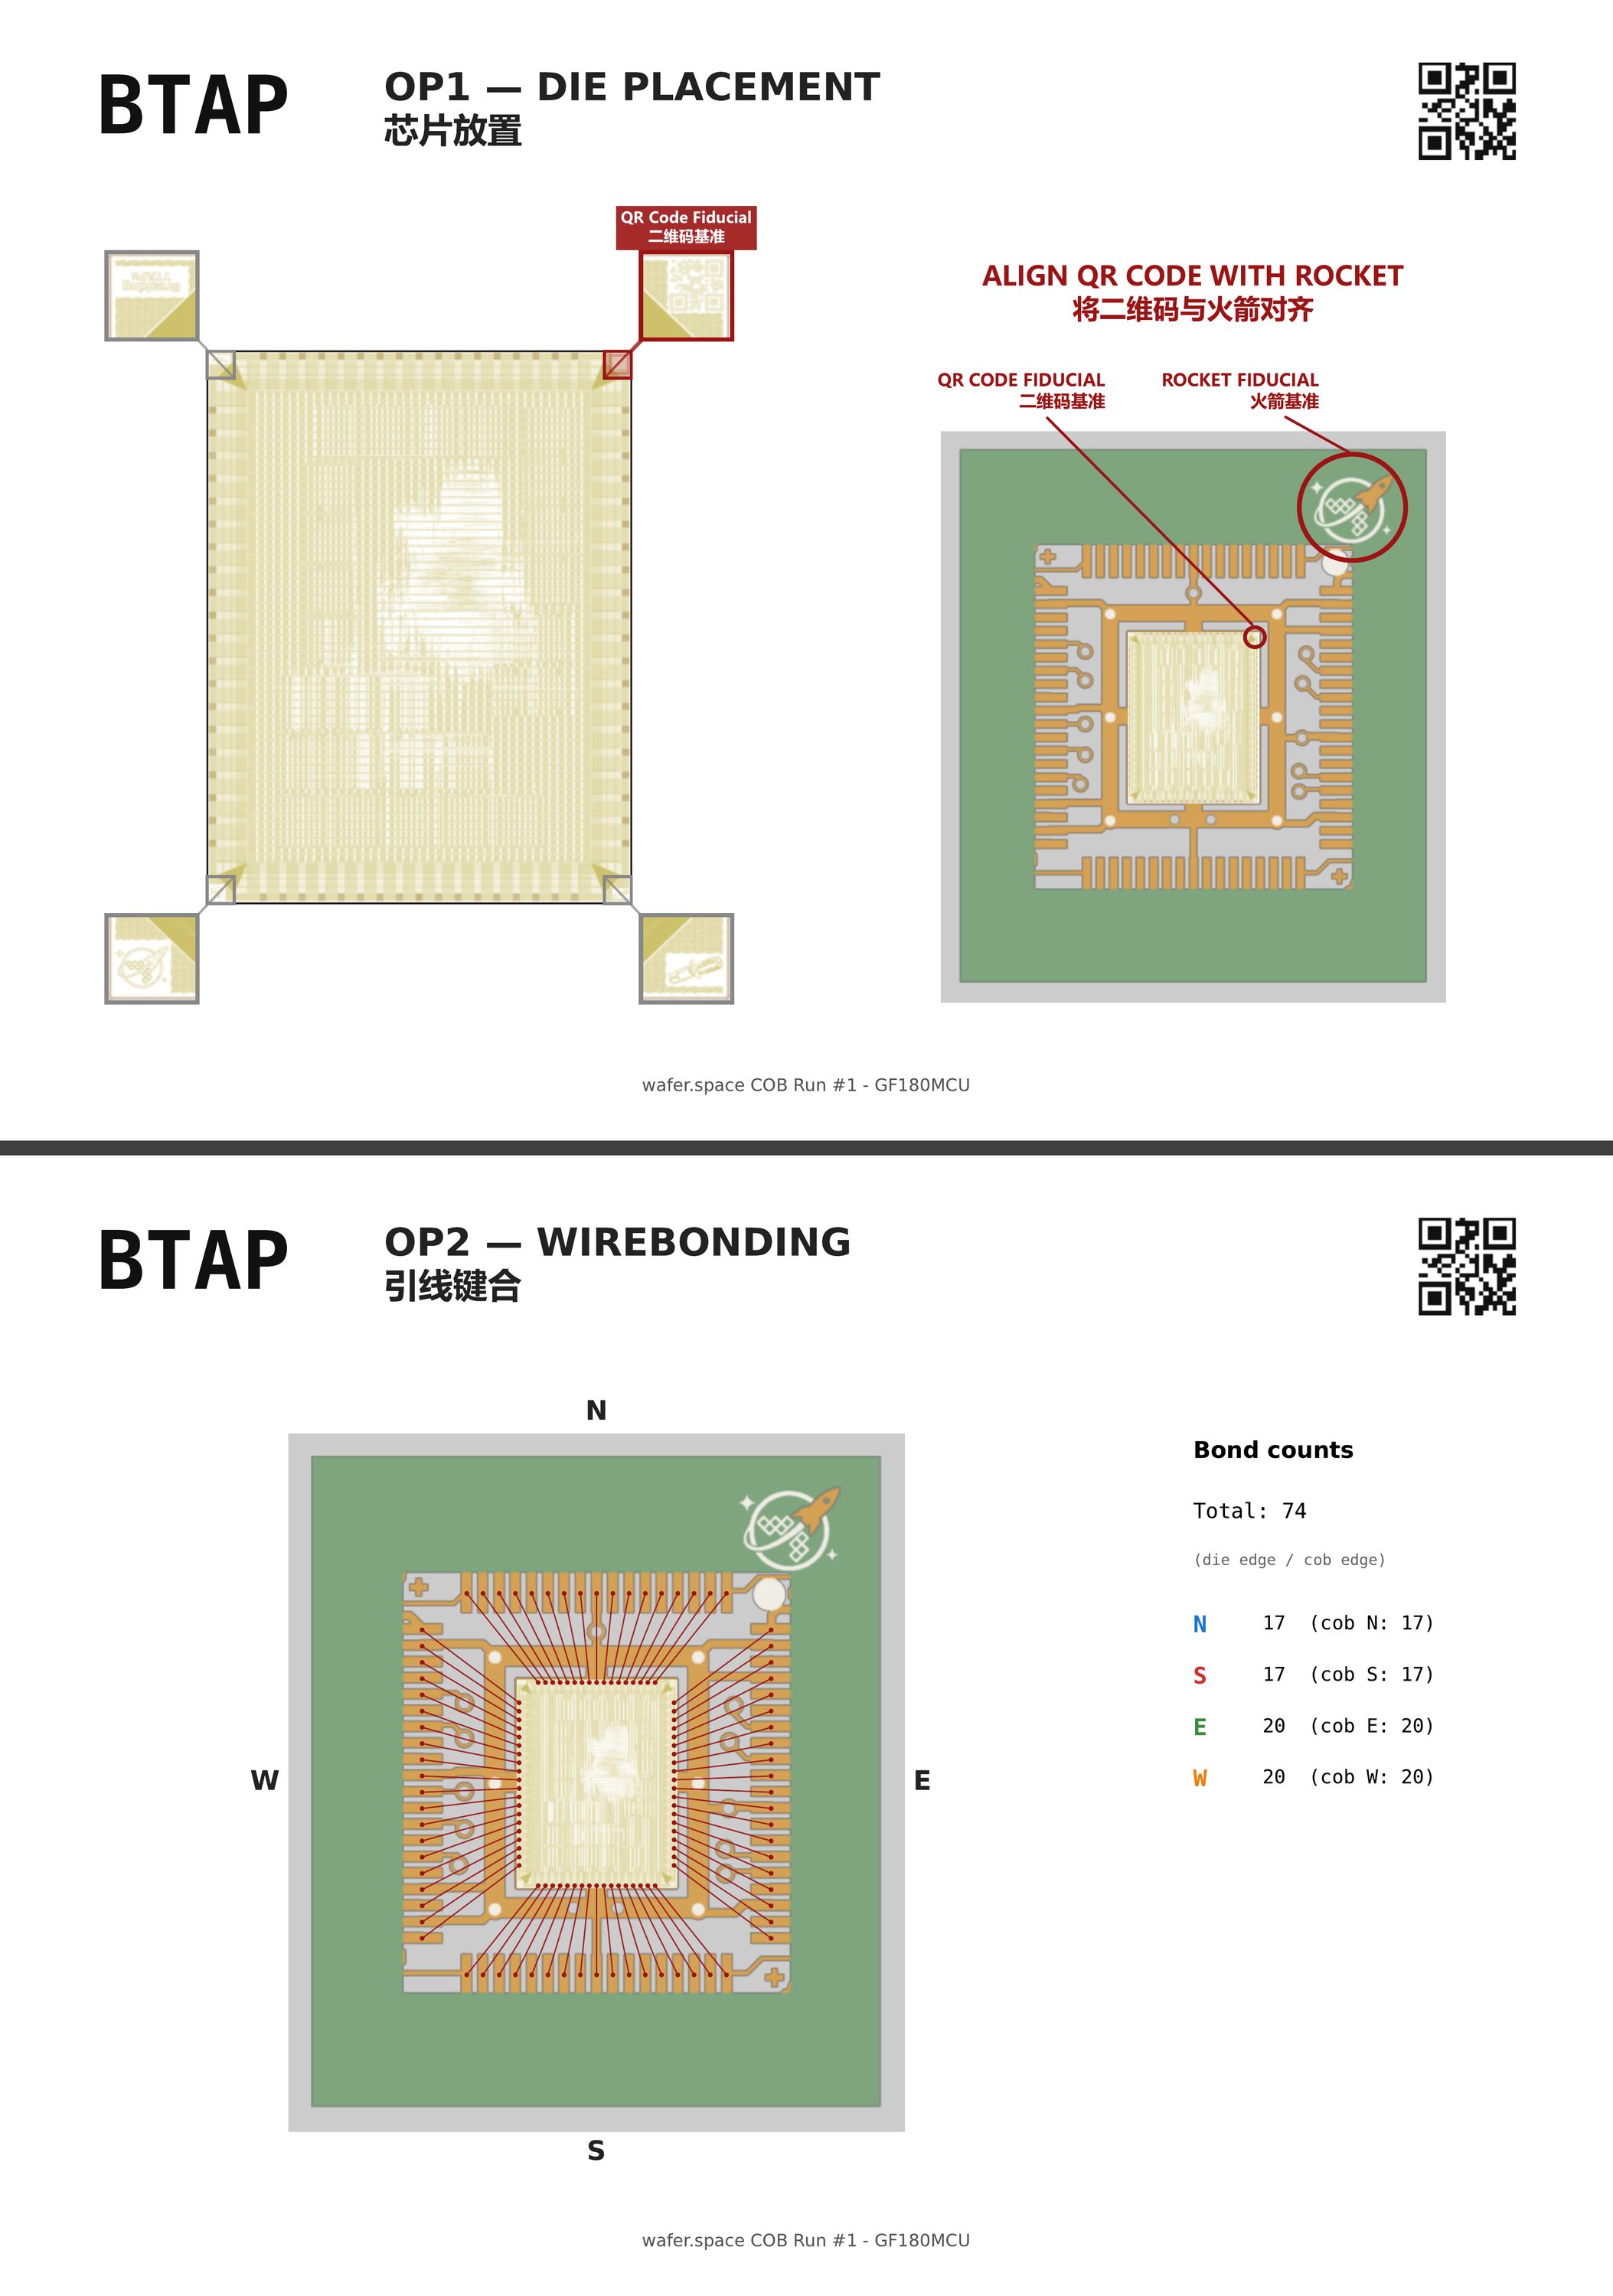
Everything so far has been quite hands-on, and this is no different with the wirebonding machine. Before any bonding can take place, the machine must first be programmed with the desired locations and settings, and only then can it proceed. The machine operator is provided with a diagram showing all of our requested bonds, which they will interpret and configure the machine with.
Since the die is mounted by hand, the machine uses a computer vision system to readjust the bond based on the visual location.
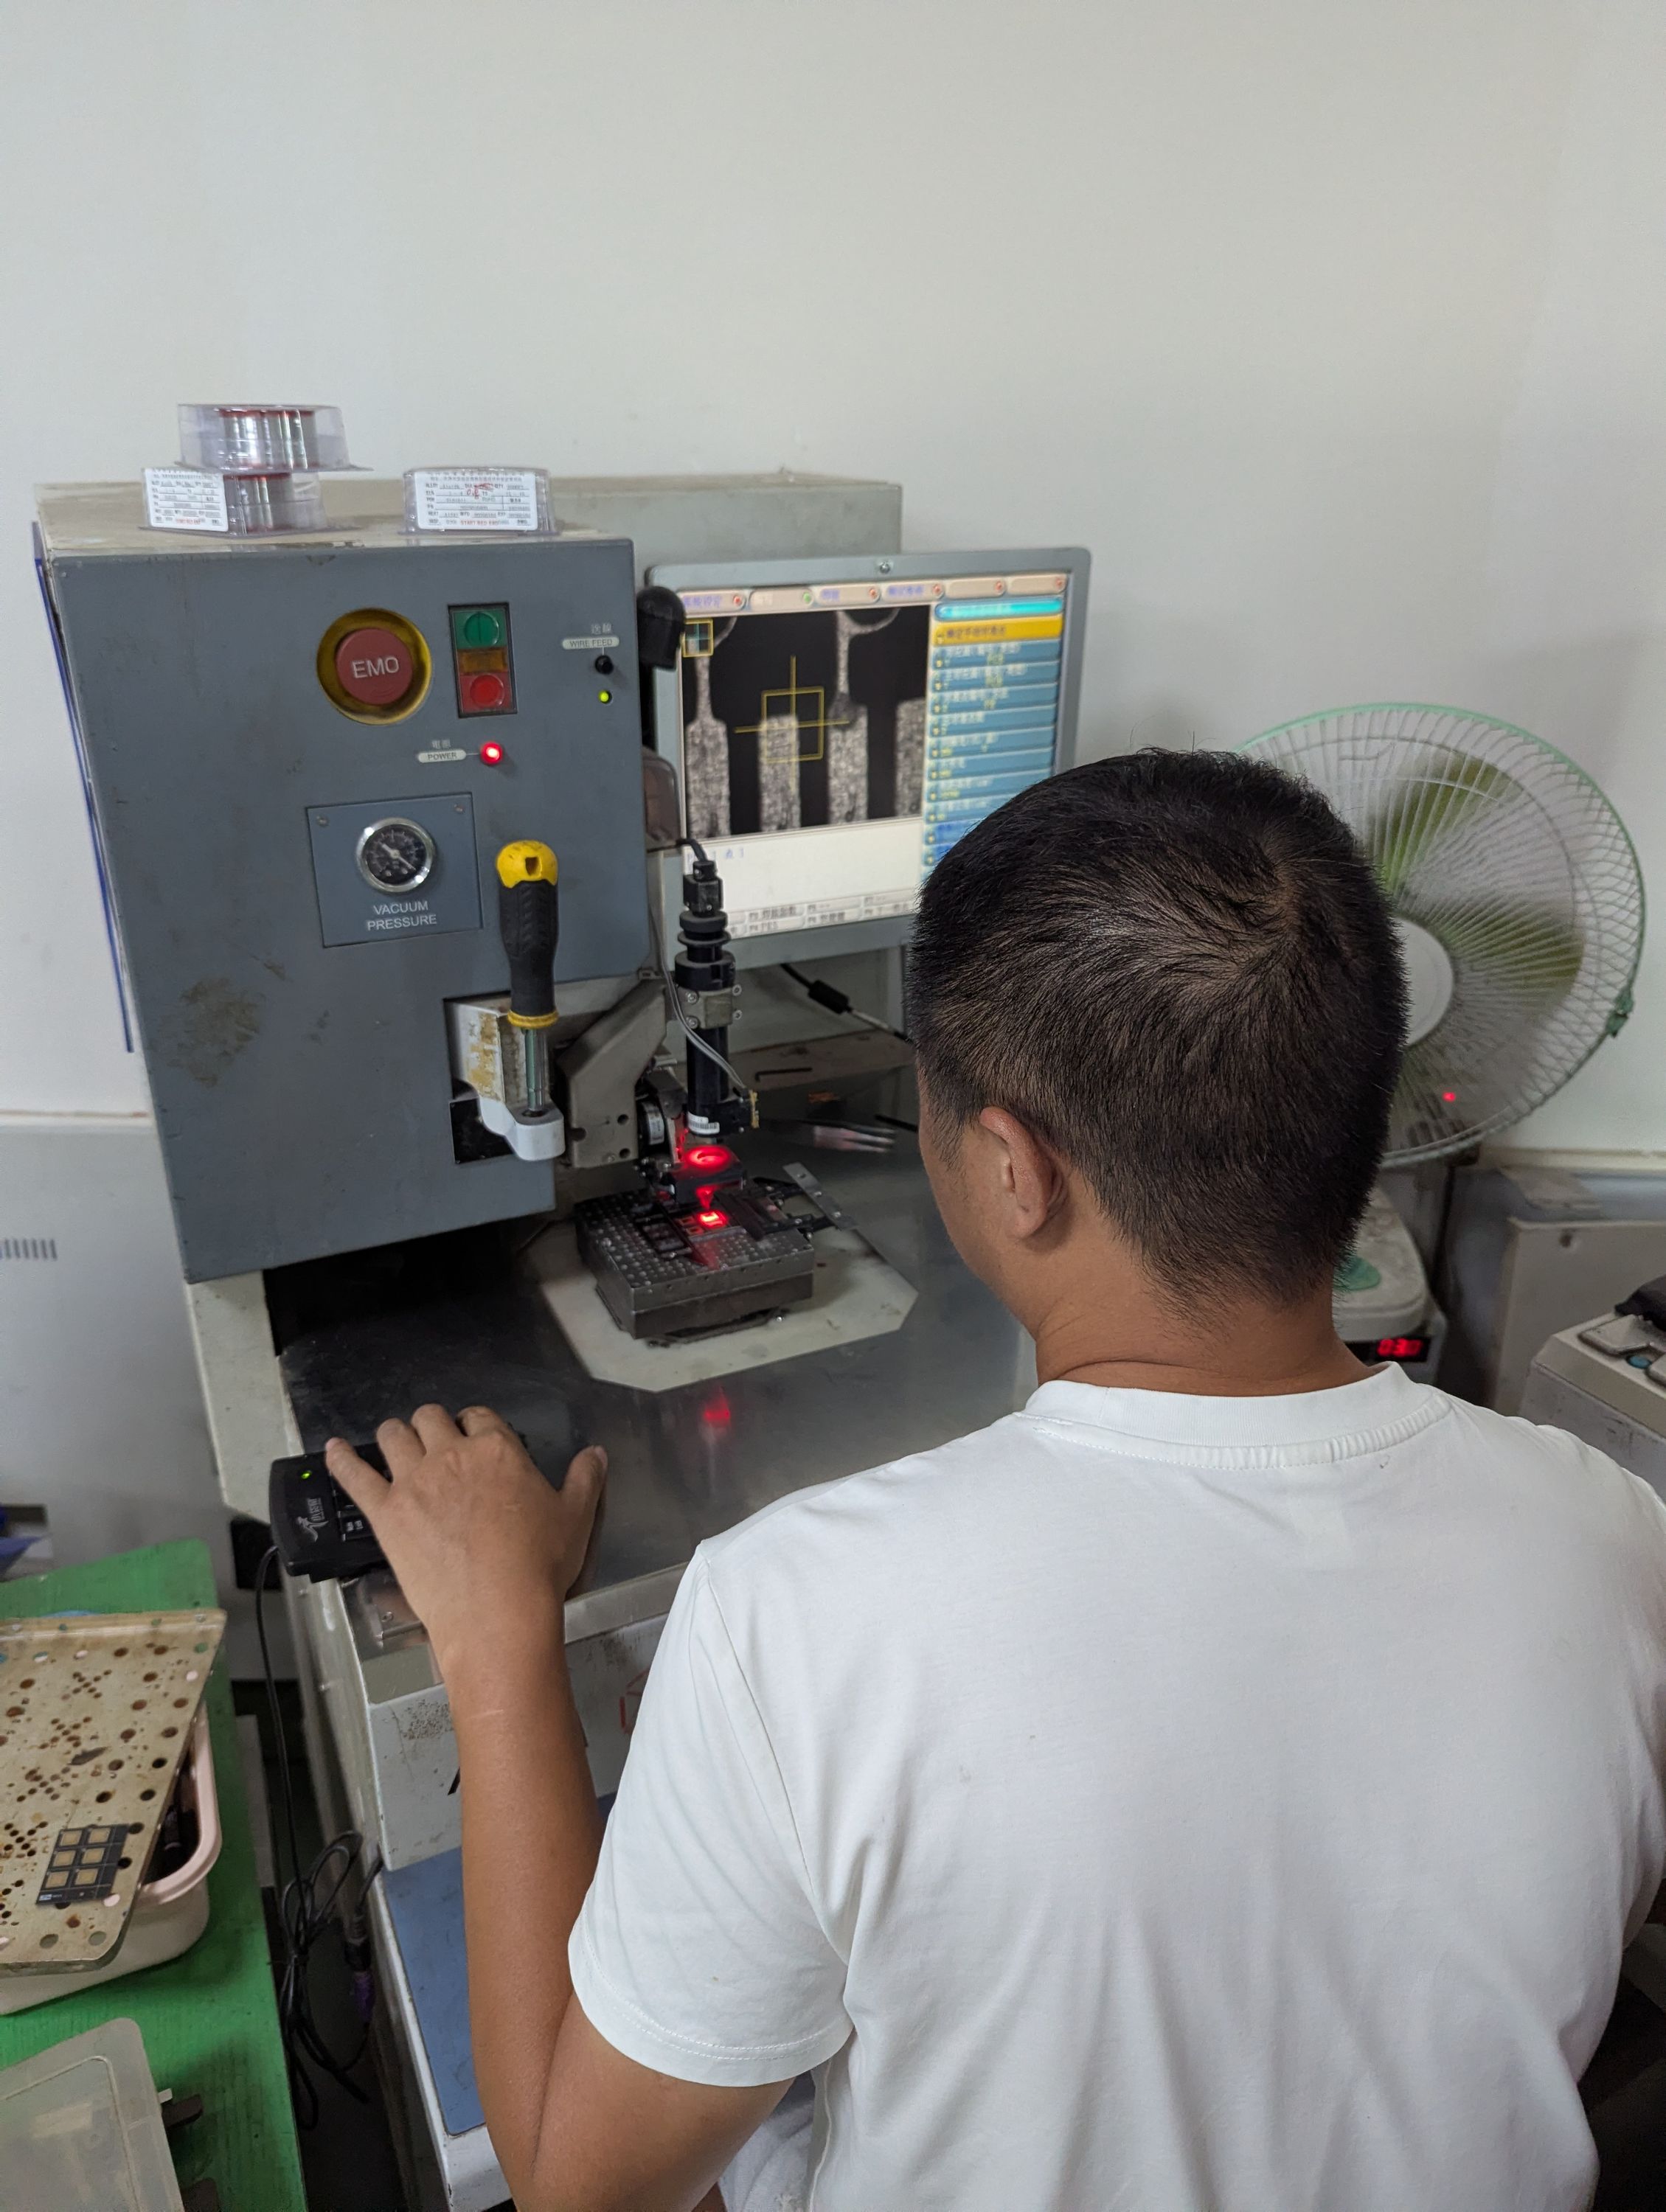
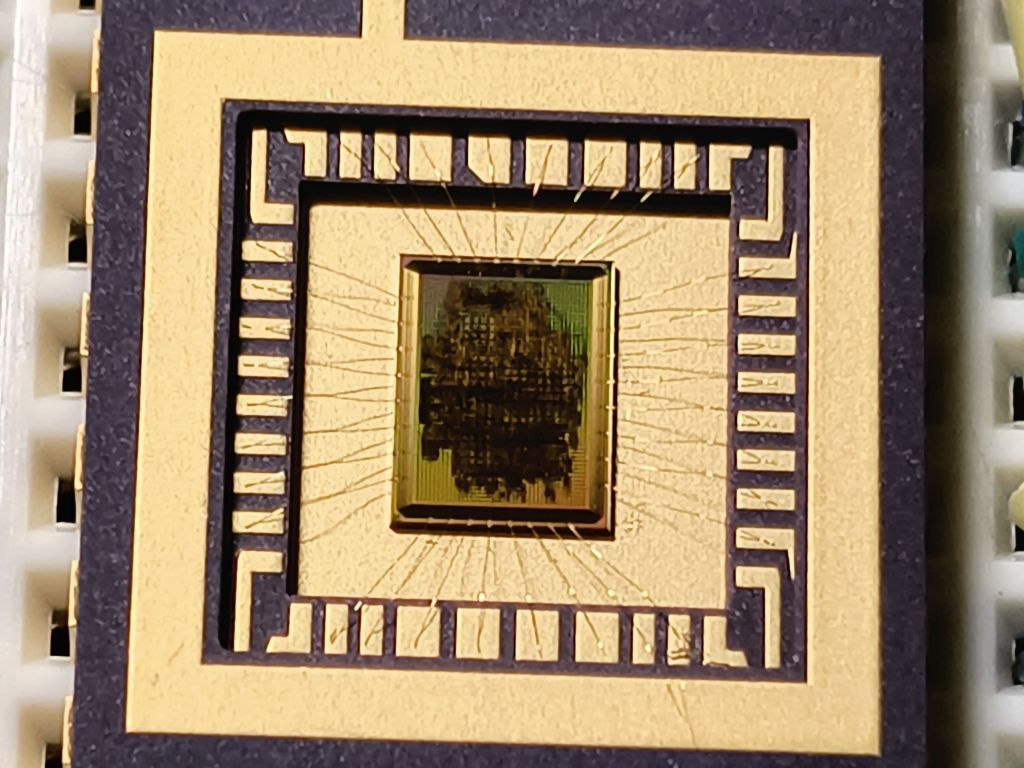
Now we’re ready for the fun part! Once programmed, the machine will begin performing the wirebonding - all 74 pins.

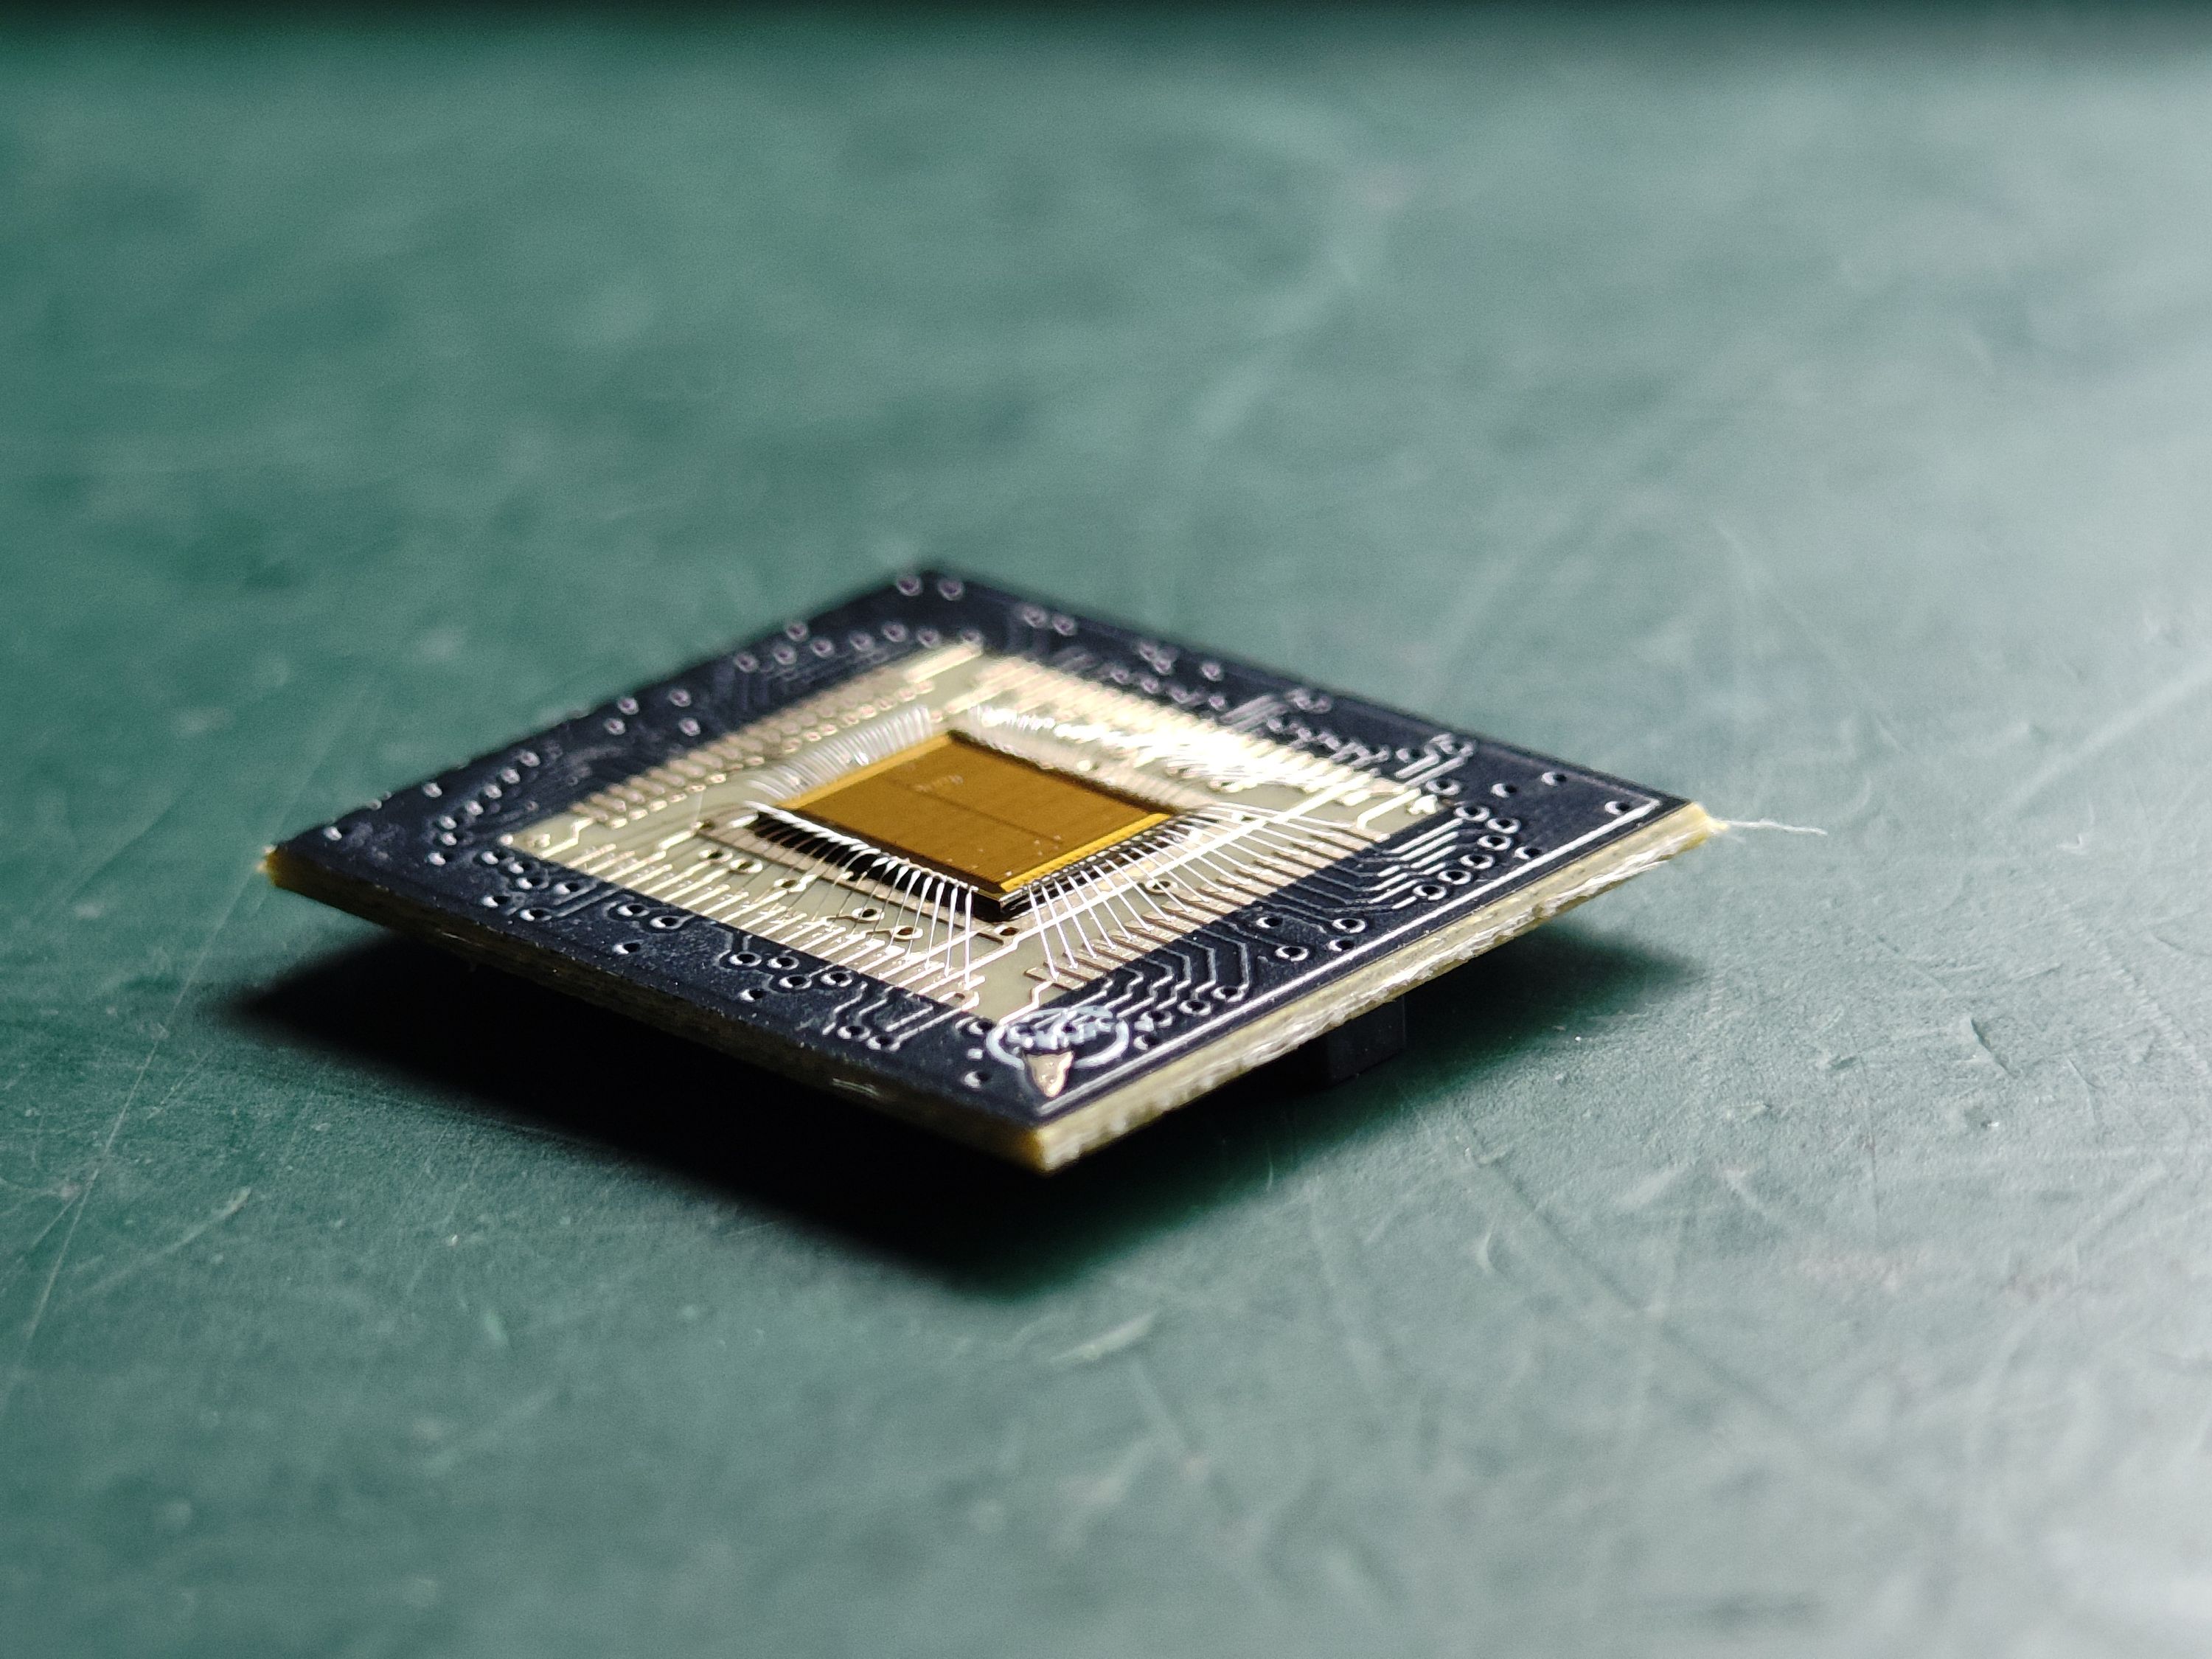
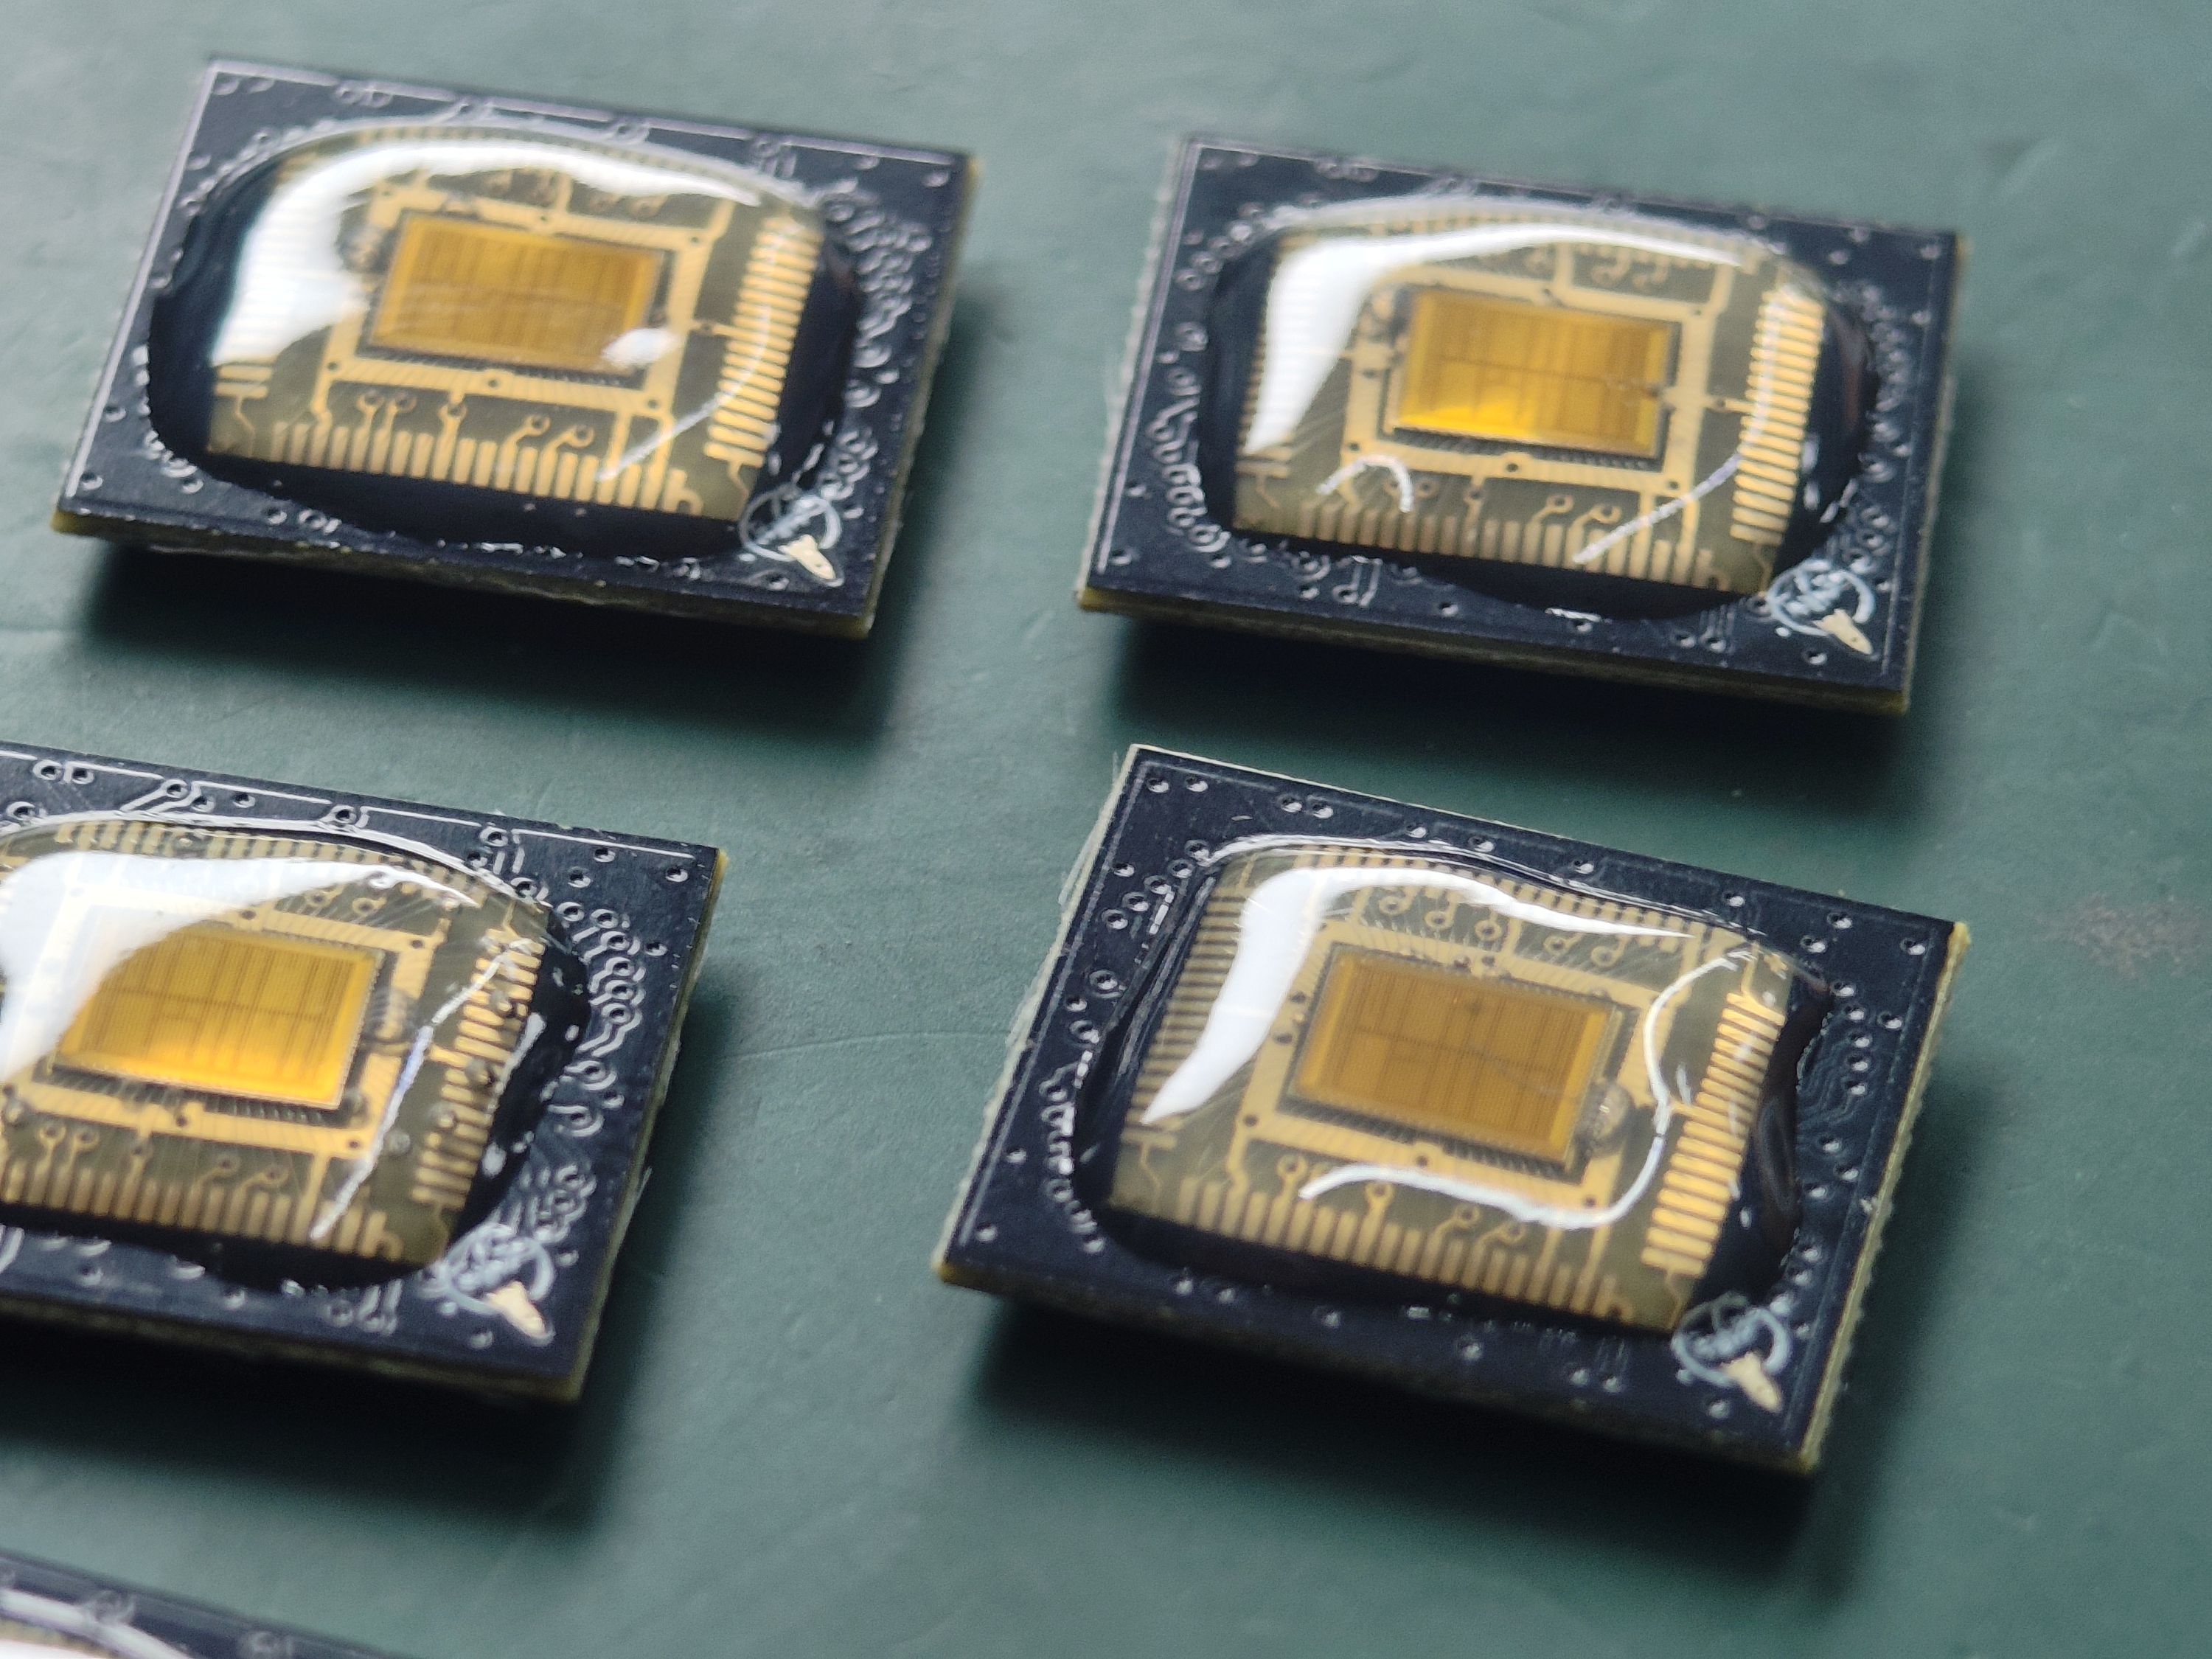
We’re not finished yet - the die and bonds are extremely fragile, so for them to survive the journey back to you, we must first cover them with an epoxy resin and bake them in the oven to harden.
Final Steps
Do they work?
…
Yes!!
We’ve been able to successfully run Tiny Tapeout’s own factory test on their TTGF0p2 shuttle, and can confirm that it works as expected. We’d love to hear about your testing successes when you get your hands on your COBs, so please come join our community on Discord!
That’s not all though - check out this scrolling VGA screensaver with the wafer.space logo. You can view the source code for this on GitHub, or experiment with it on VGA Playground.
Sylvain "tnt" Munaut has also been hard at work testing several designs onboard the TTGF0p2 shuttle and reporting their status. You can view these on Tiny Tapeout’s "Silicon Proven Projects" page - head to tinytapeout.com/chips/silicon-proven/#ttgf0p2 to view the currently tested projects on TTGF0p2.
If you’d like to see some more packaging goodness, Tiny Tapeout recently uploaded a video with some more behind the scenes footage for their TT08 shuttle.
Of course, COBs aren’t the only way to package your chip. Community member Thorben Moos bonded their die to a stunning ceramic DIP, with others doing (or planning to do) their own bonding too.

Shipping Timeline
COB packaged parts have started to ship. You will receive a notification from Crowd Supply when your order is on its way.
Run 2: Slots Still Available
Run 2 slots are available on Crowd Supply until 30 June 2026. Standard pricing is now in effect:
- 1x1 (full) slot: $7,500 ($7.50/die)
- 0.5x1 (half width) slot: $4,500 ($4.50/die)
- 1x0.5 (half height) slot: $4,500 ($4.50/die)
Chip-on-board packaging is available as an add-on for $1,500 ($1.50/die).
-Tim ‘mithro’ Ansell